 UPDF for Windows
 UPDF for Mac
 UPDF for iPhone/iPad
 UPDF for Android
 Nomostar
 UPDF AI Online
 UPDF Sign
 IvyCraft
 Edit PDF
 Annotate PDF
 Create PDF
 PDF Form
 Edit links
 Convert PDF
 OCR
OCR PDF to Word
 PDF to Image
 PDF to Excel
 Organize PDF
 Merge PDF
 Split PDF
 Crop PDF
 Rotate PDF
 Protect PDF
 Sign PDF
 Redact PDF
 Sanitize PDF
 Remove Security
 Read PDF
 UPDF Cloud
 Compress PDF
 Print PDF
 Batch Process
 About UPDF AI
 UPDF AI Solutions
 AI User Guide
 FAQ about UPDF AI
 Summarize PDF
 Translate PDF
 Chat with PDF
 Chat with AI
 Chat with image
 PDF to Mind Map
 Explain PDF
 PDF AI Tools
 Image AI Tools
 AI Chat Tools
 AI Writing Tools
 AI Study Tools
 AI Working Tools
 Other AI Tools
 AI Bookmark Generation
 AI Bookmark Summary
 AI Watermark Generation
 AI Background Generation
 AI Sticker Generation
 AI Stamp Generation
 AI Editing Suite
 UPDF Copilot
 AI Page Management
 AI Semantic Search
 PDF to Word
 PDF to Excel
 PDF to PowerPoint
 User Guide
 UPDF Tricks
 FAQs
FAQs UPDF Reviews
 Download Center
 Blog
Blog Newsroom
 Tech Spec
 Updates
 UPDF vs. Adobe Acrobat
 UPDF vs. Foxit
 UPDF vs. PDF Expert
Create PDF on Mac with UPDF
UPDF, the all-in-one PDF editor, enables users to create PDFs from screen captures, clipboard, images, Word, Excel, PowerPoint, TXT, CAJ, scanner, and blank pages. So, if you are into converting your files into PDFs for convenient and secure sharing, you just have to download UPDF for Mac here or from Mac App Store and hop into the guides below to perform the easy steps to create your desired PDF.
Windows • macOS • iOS • Android 100% secure
Method 1. Creating a PDF from Other Files
Currently, UPDF supports the creation of PDFs from Word, Excel, PowerPoint, CAJ, TXT, RTF, HTML, MarkDown and various image formats including:
3FR, ARW, ASTC, AVCI, BMP, CR2, CR3, CRW, DCR, DDS, DNG, DXO, ERF, EXR, FFF, GIF, HEIC, HEICS, HEIF, ICNS, ICO, IIQ, JP2, JPG, JPEG, KTX, MOS, MPO, MRW, NEF, NRW, ORF, PBM, PDF, PEF, PIC, PICT, PNG, PSD, PVR, RAF, RAW, RW2, RWL, SGI, SR2, SRF, SRW, TGA, TIFF, WEBP.
Let's proceed to the guide!
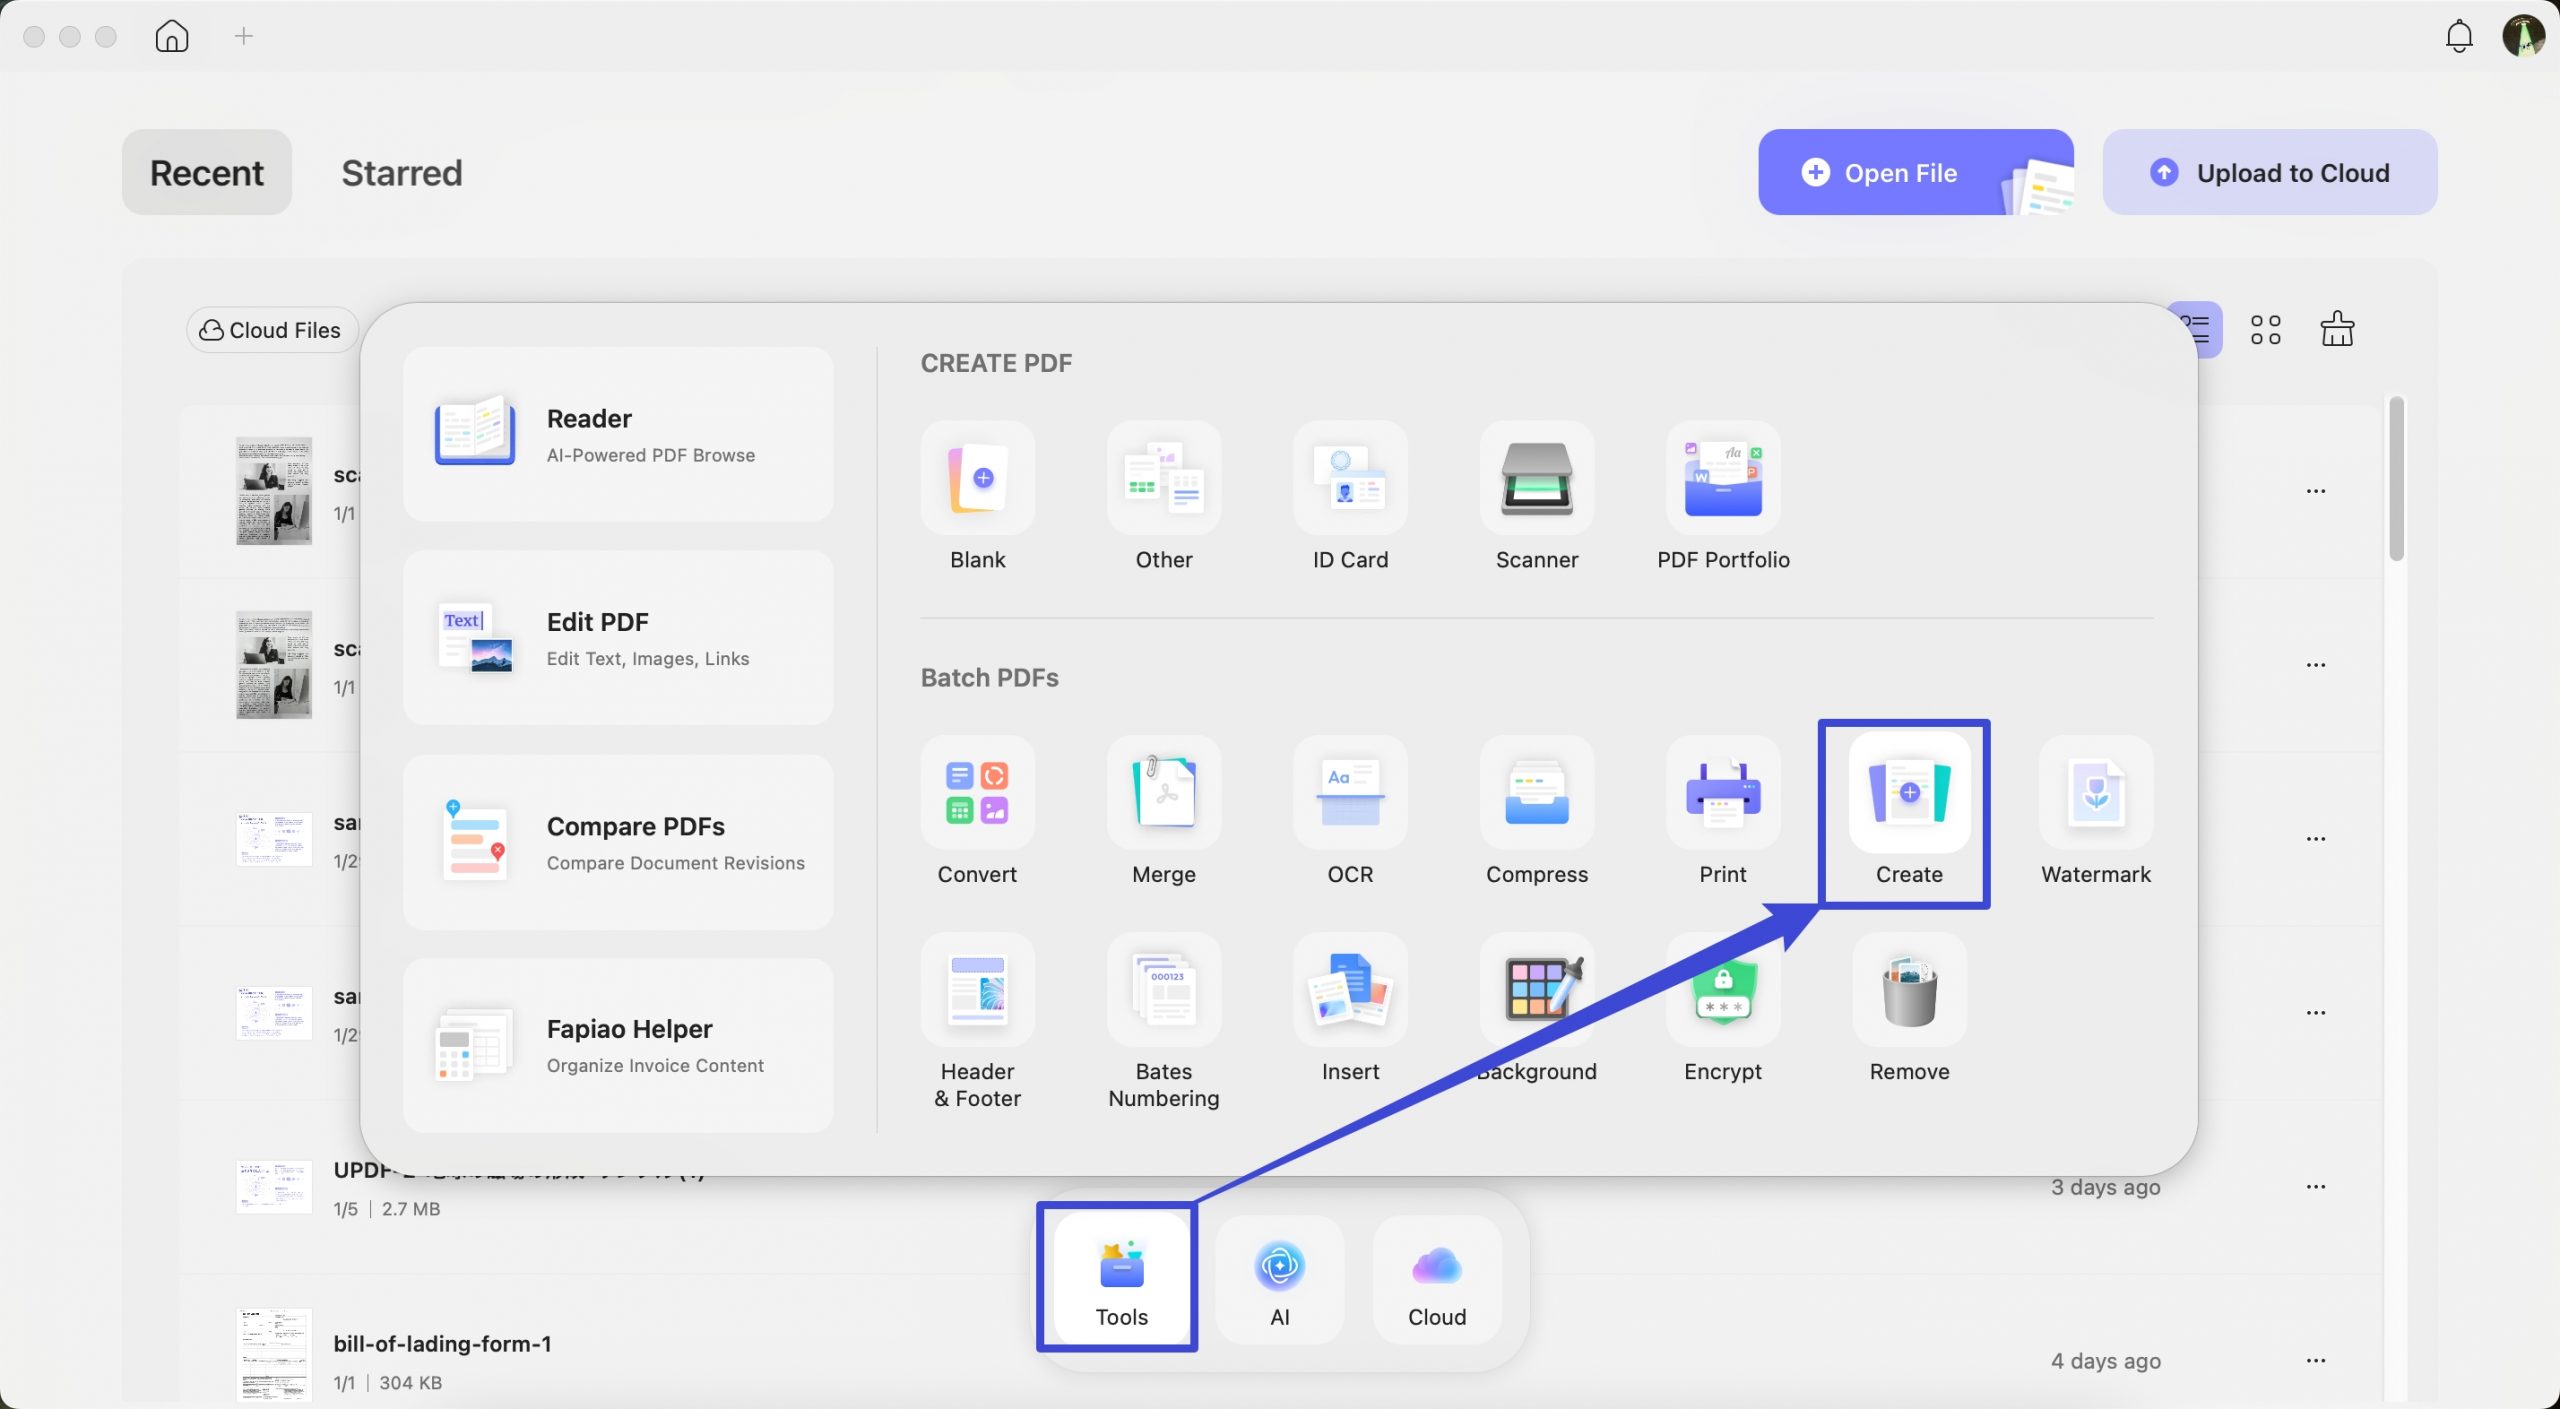
- Launch UPDF and navigate to "Tools".
- Click the "Other" option, a pop-up window will appear and choose the relevant option.
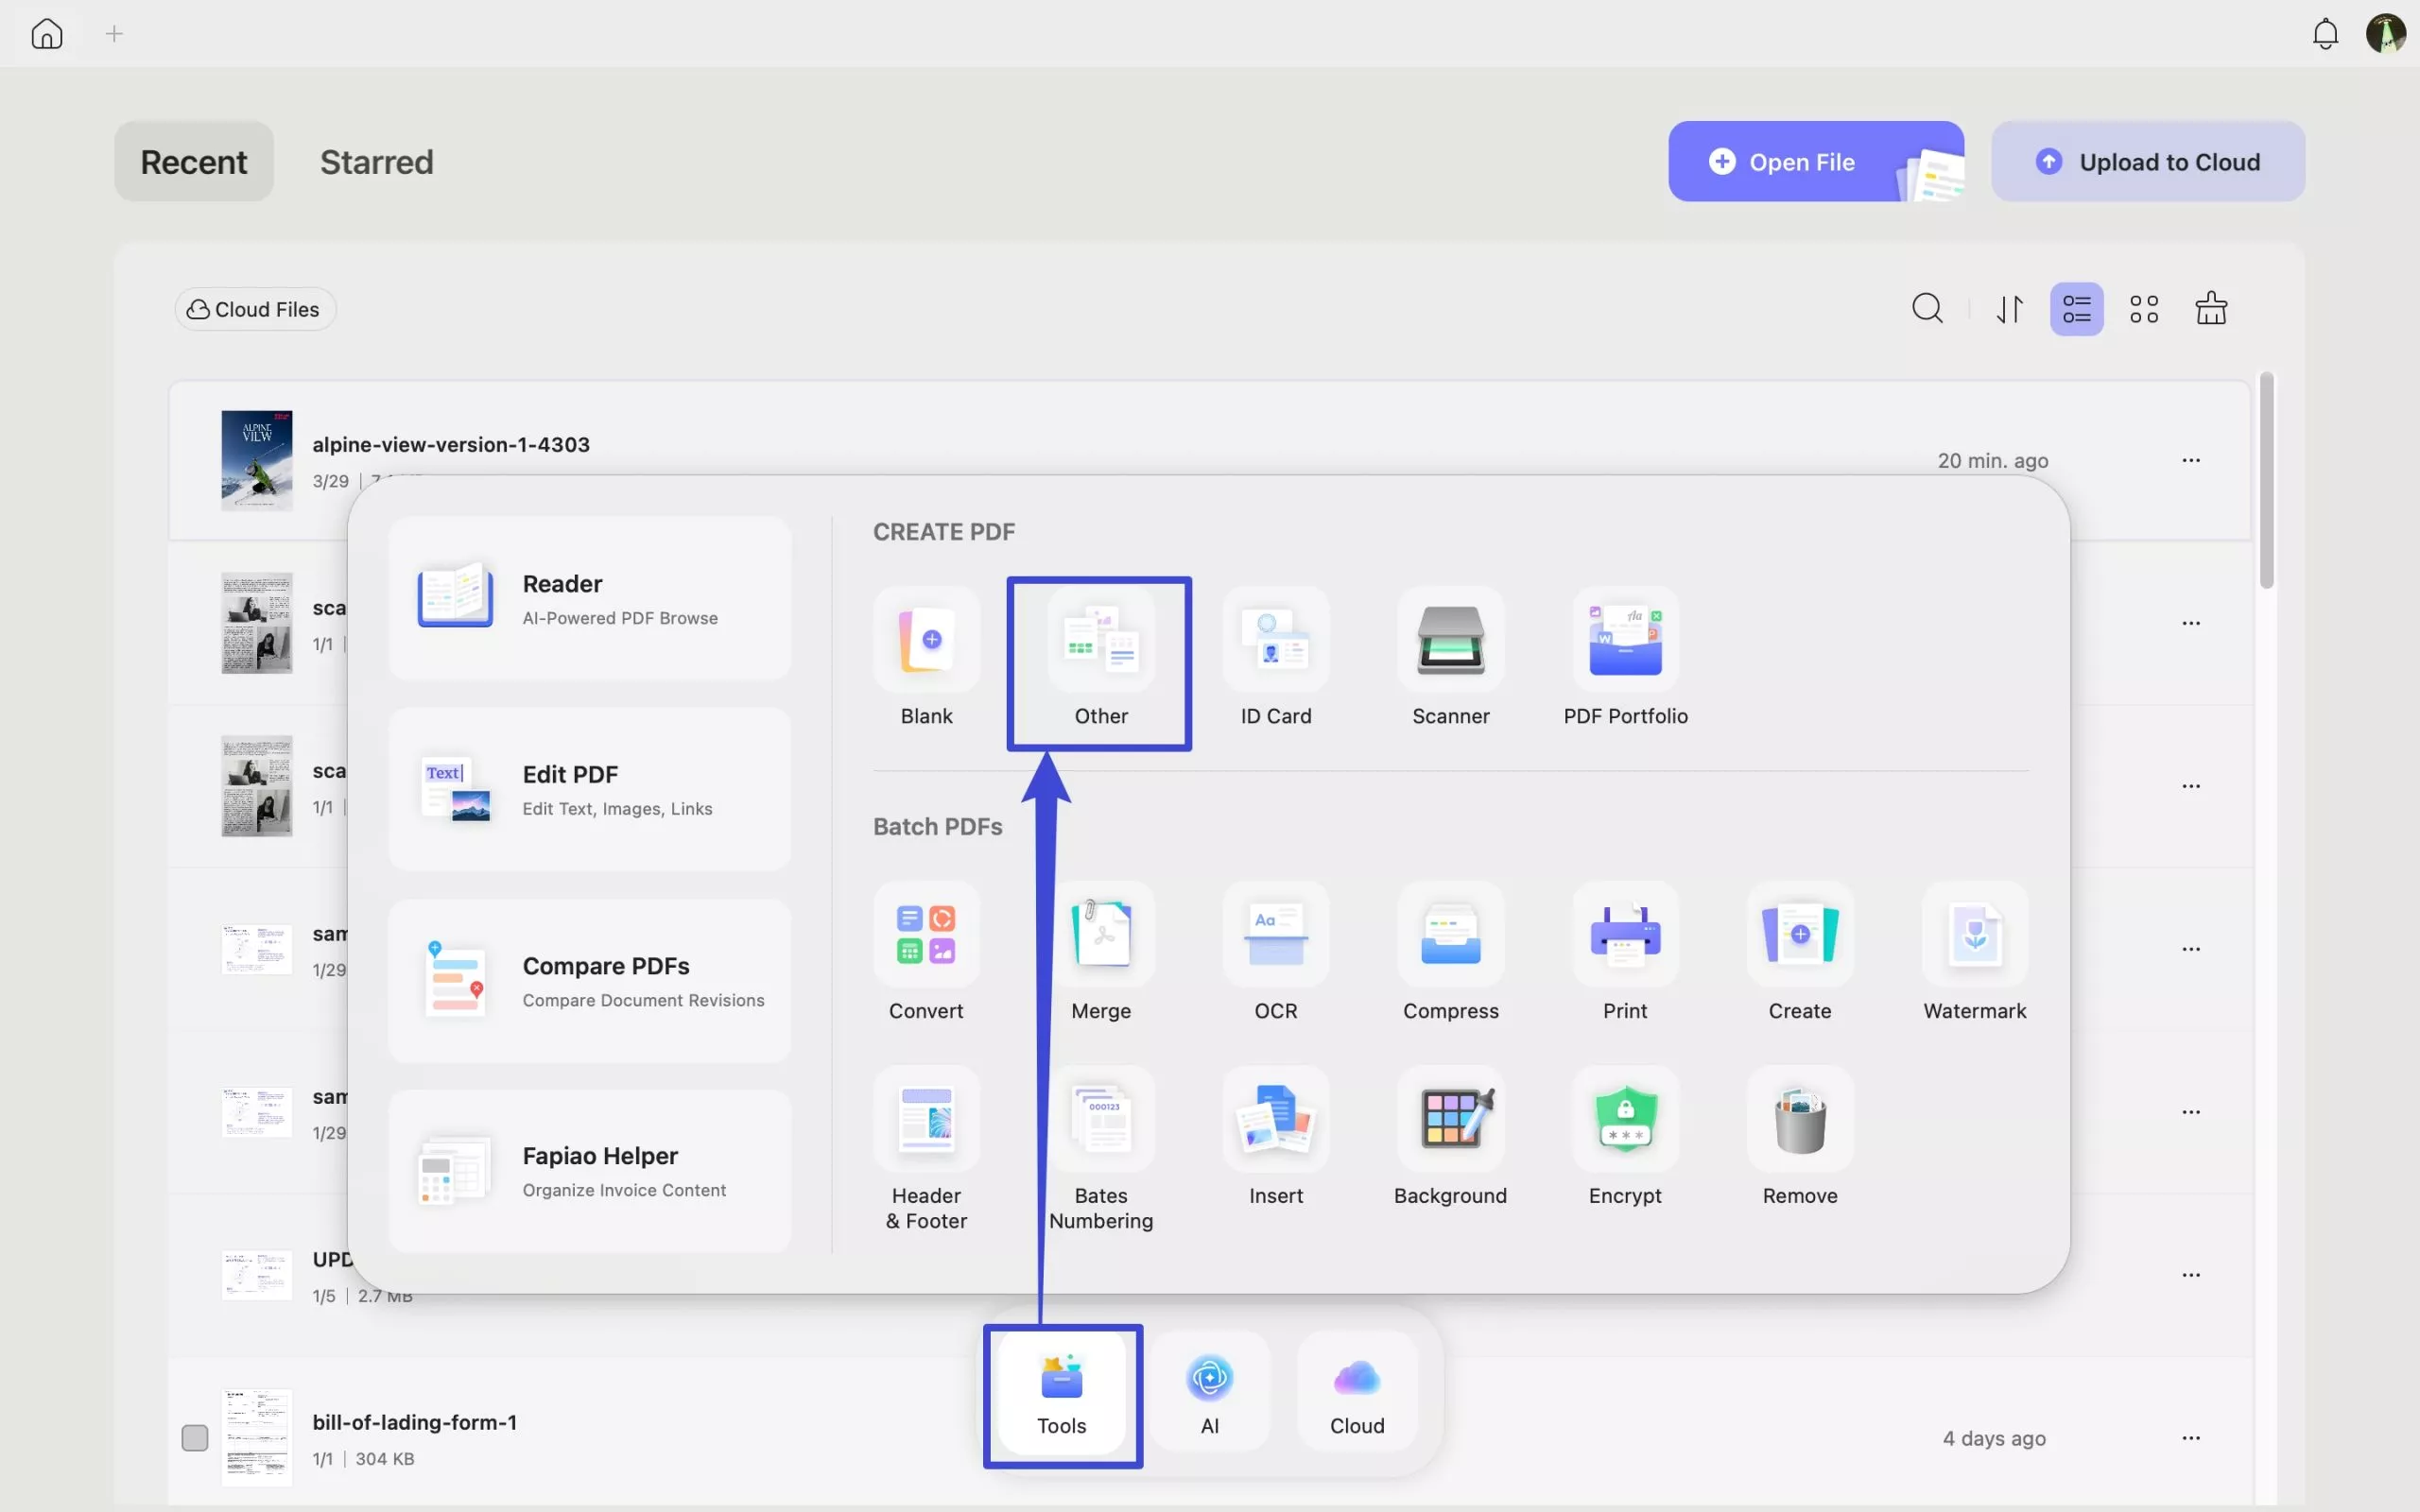
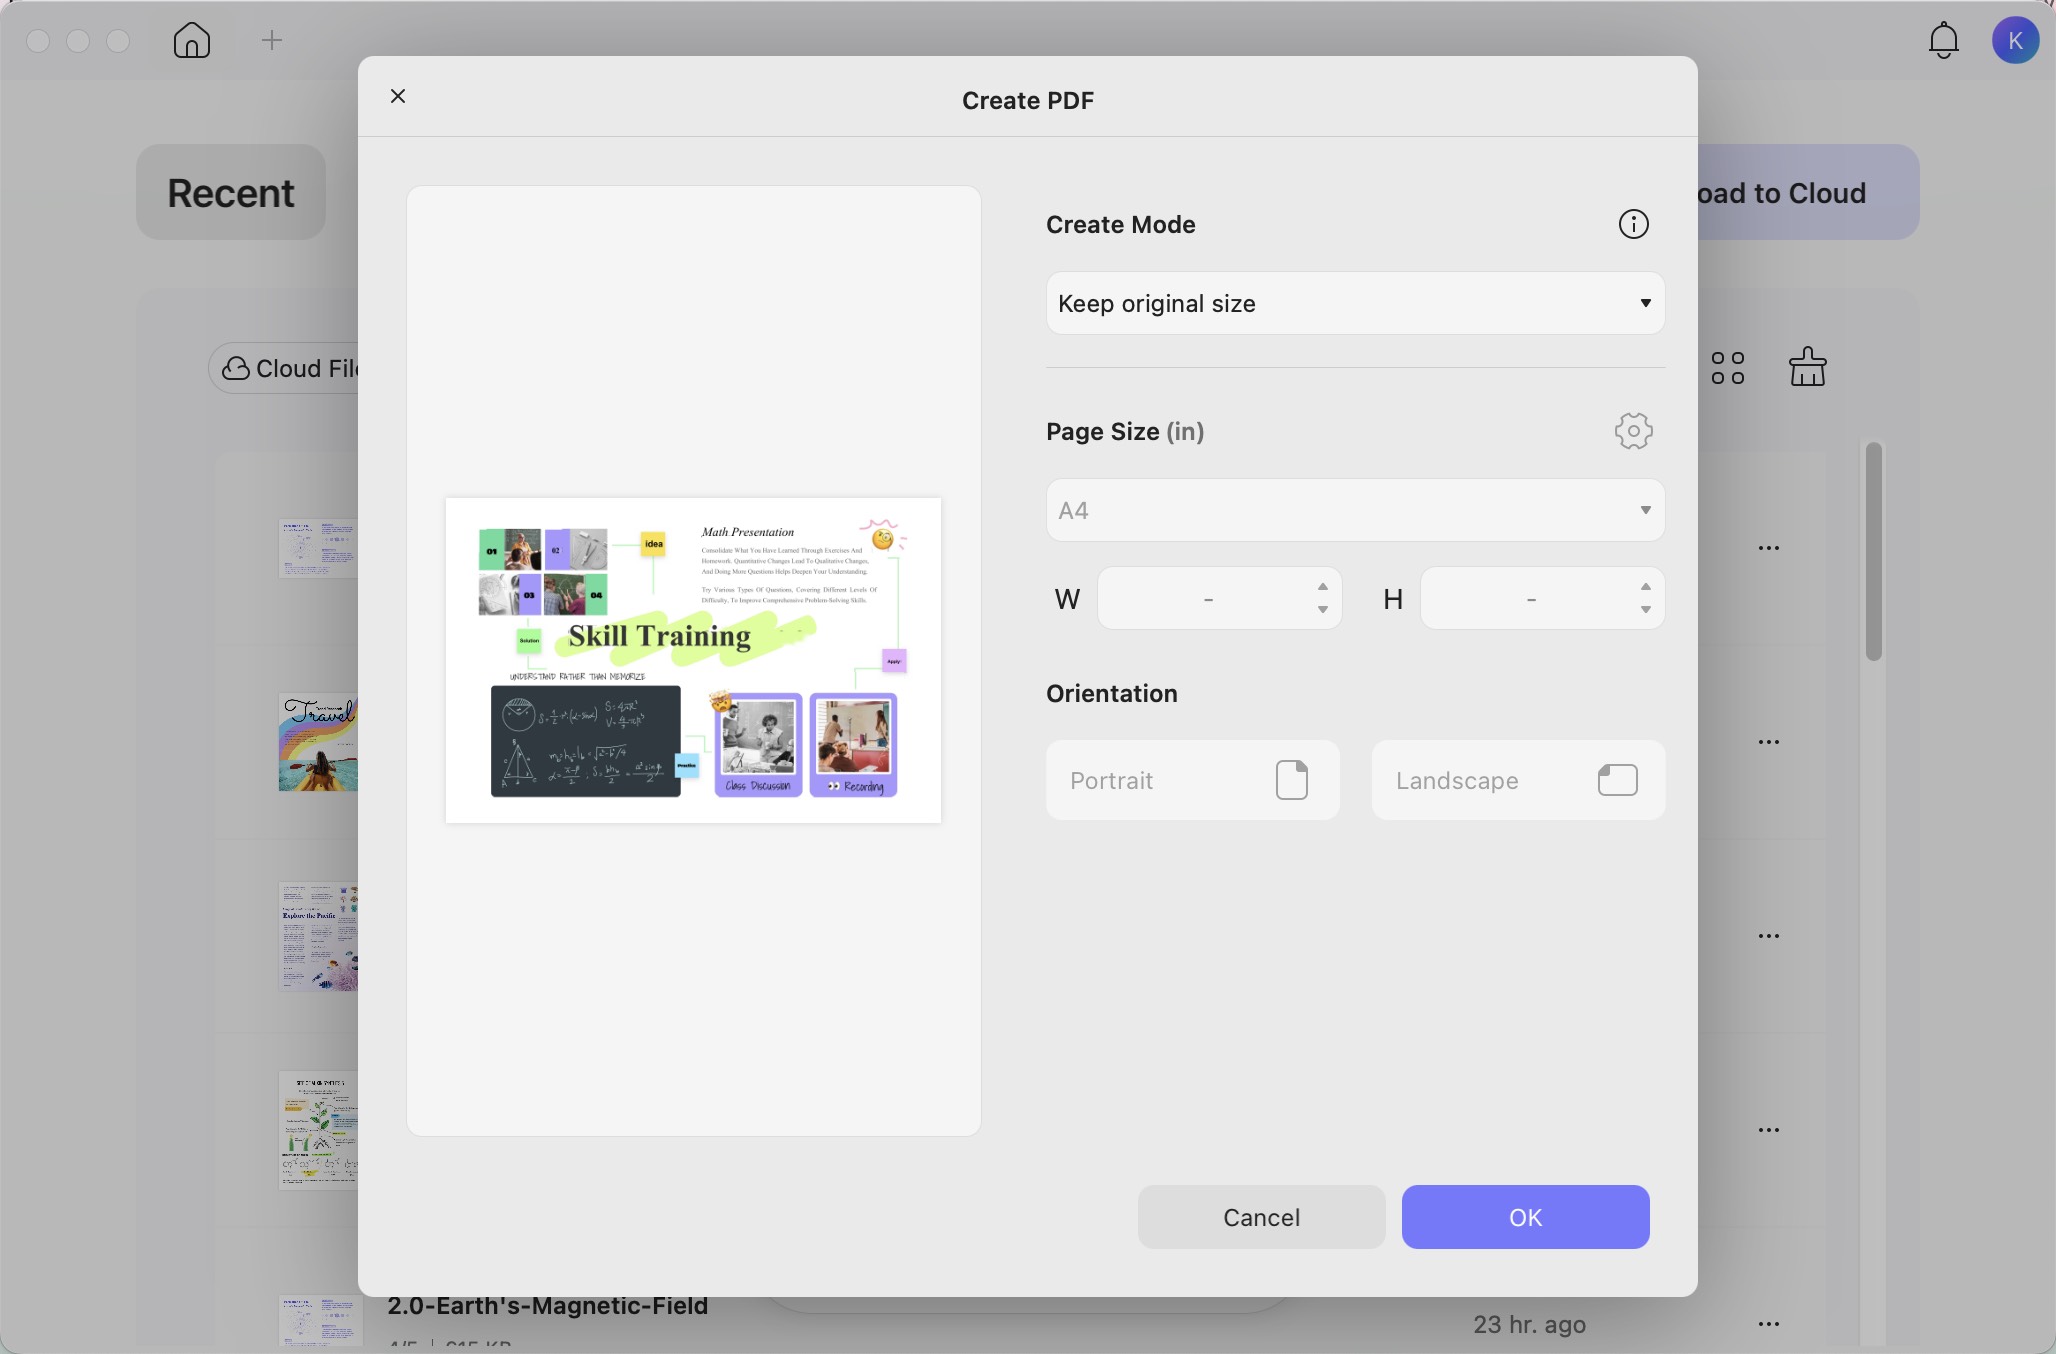
"Select Files" and you can generate a PDF from all supported file formats.
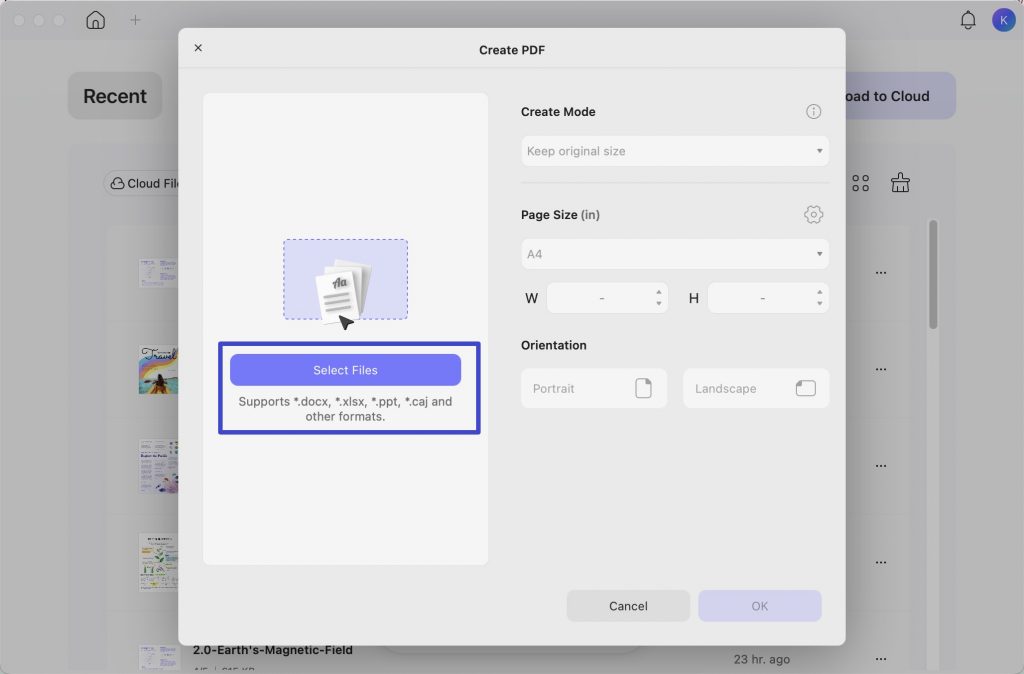
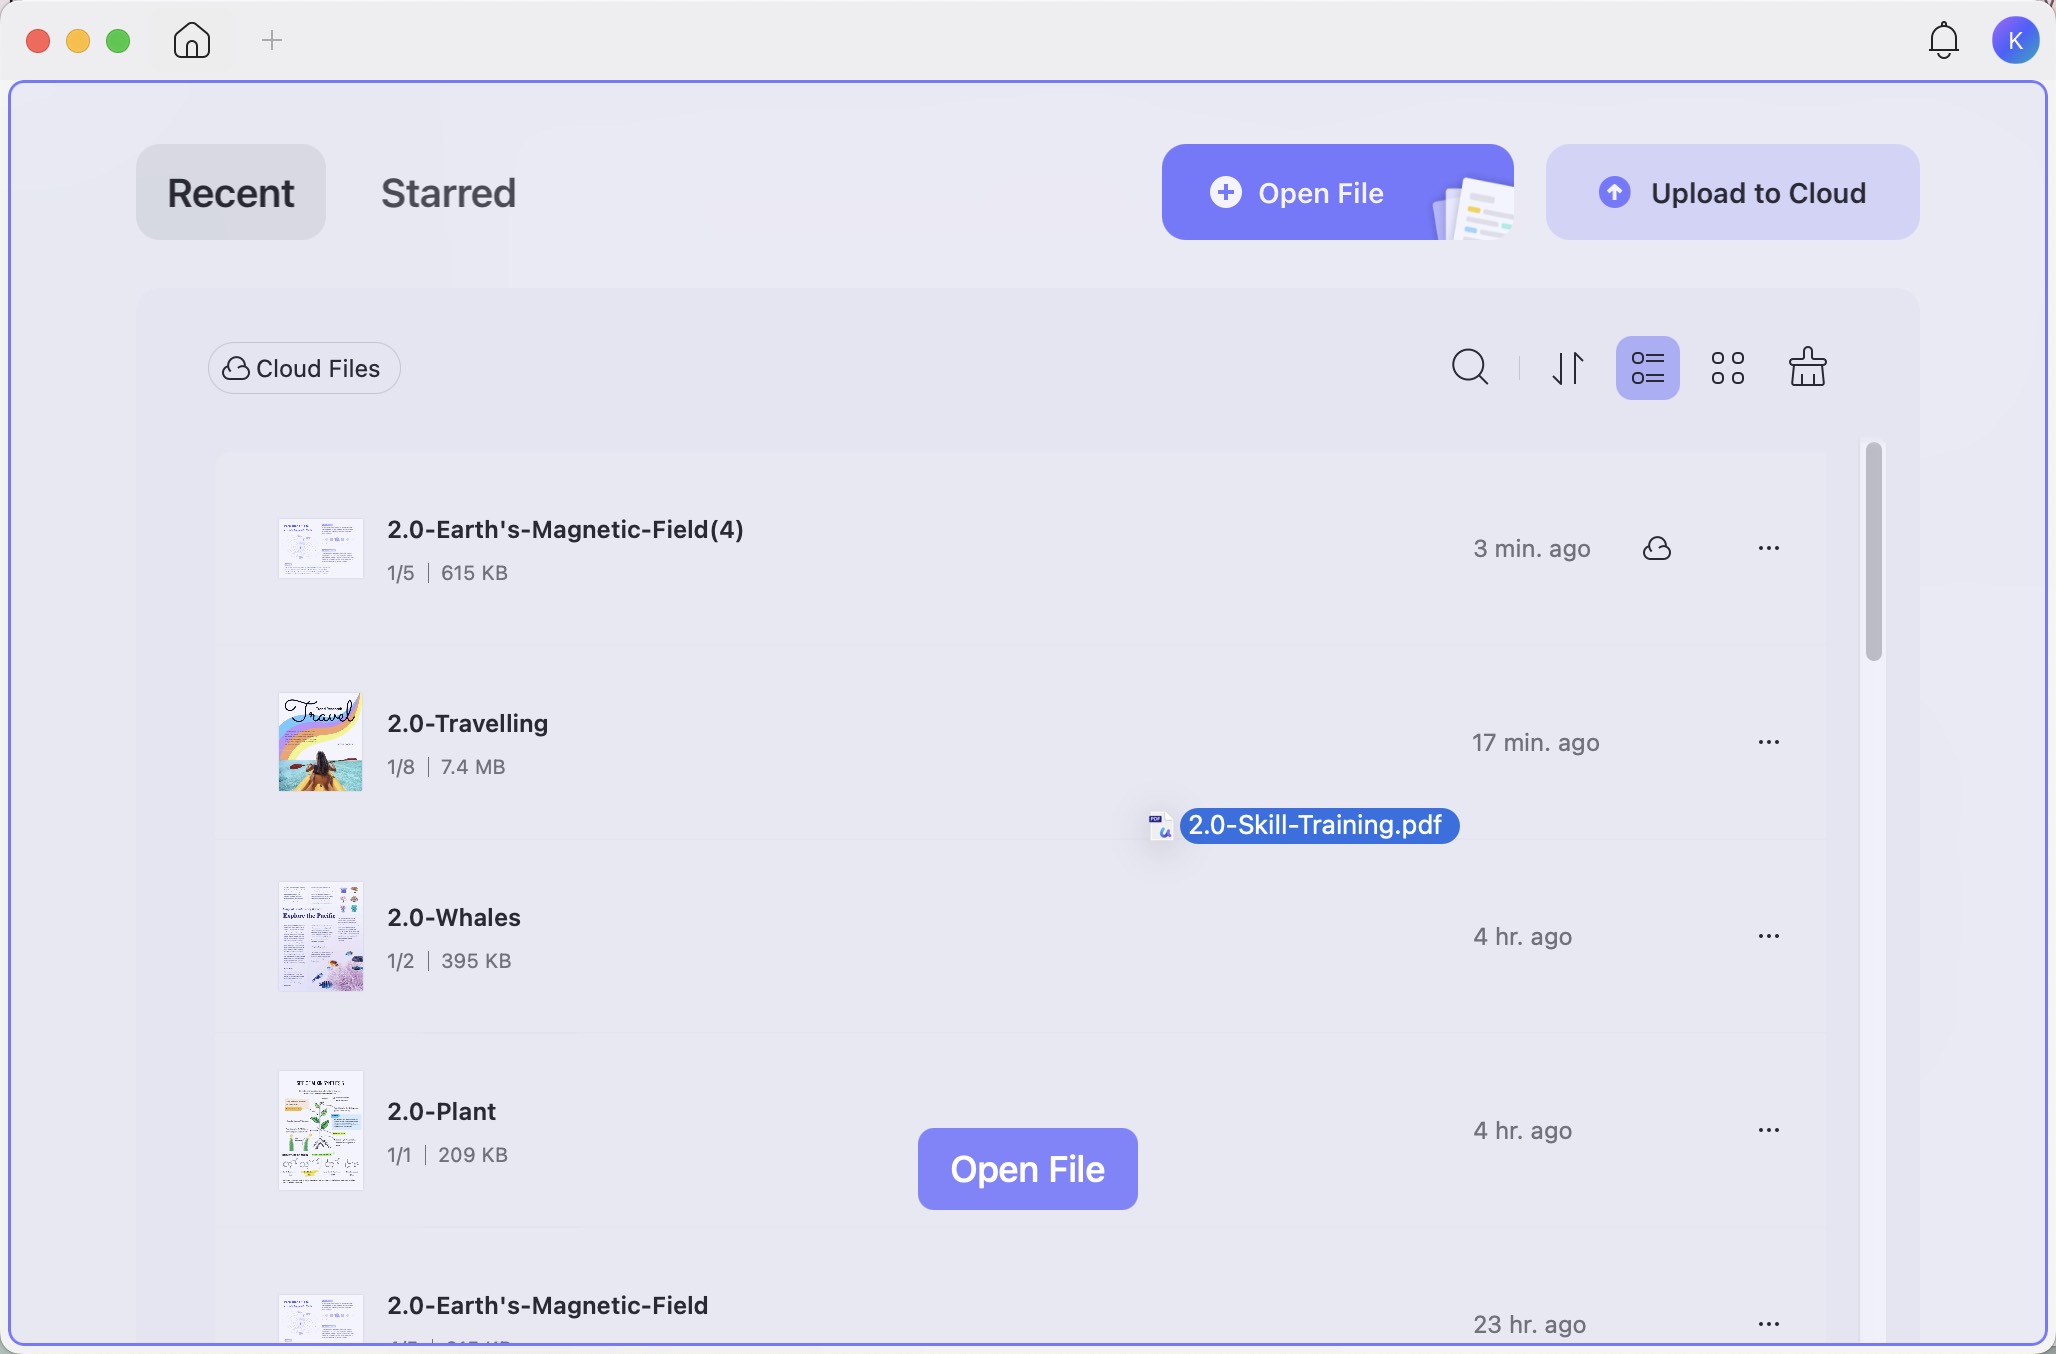
- You'll be asked to choose a document from your device. After selecting, press the "OK" button, and UPDF will automatically convert the chosen file into a PDF.
Alternatively, you can drag and drop the file you want to convert directly into UPDF; this action will also convert it to a PDF.
- You can also select and drag multiple files. UPDF will create several PDFs for you. If you need to create one PDF with multiple files, you need to click Tools on the homepage and select Create to use UPDF's batch create function.
- Now, Simply click "File" > "Save" from the top of Mac or the "Save" icon in UPDF to pick a location to save it or them.
Method 2. Creating a PDF from Screen Captures or Clipboard
With UPDF for Mac, you can also create a PDF from screen captures or the clipboard. Follow the steps below to accomplish this:
Navigate to "File" and select the creation method from the provided options: "PDF from Selection Capture," "PDF from Windows Capture," "PDF from Screen Capture," or "PDF from Clipboard."
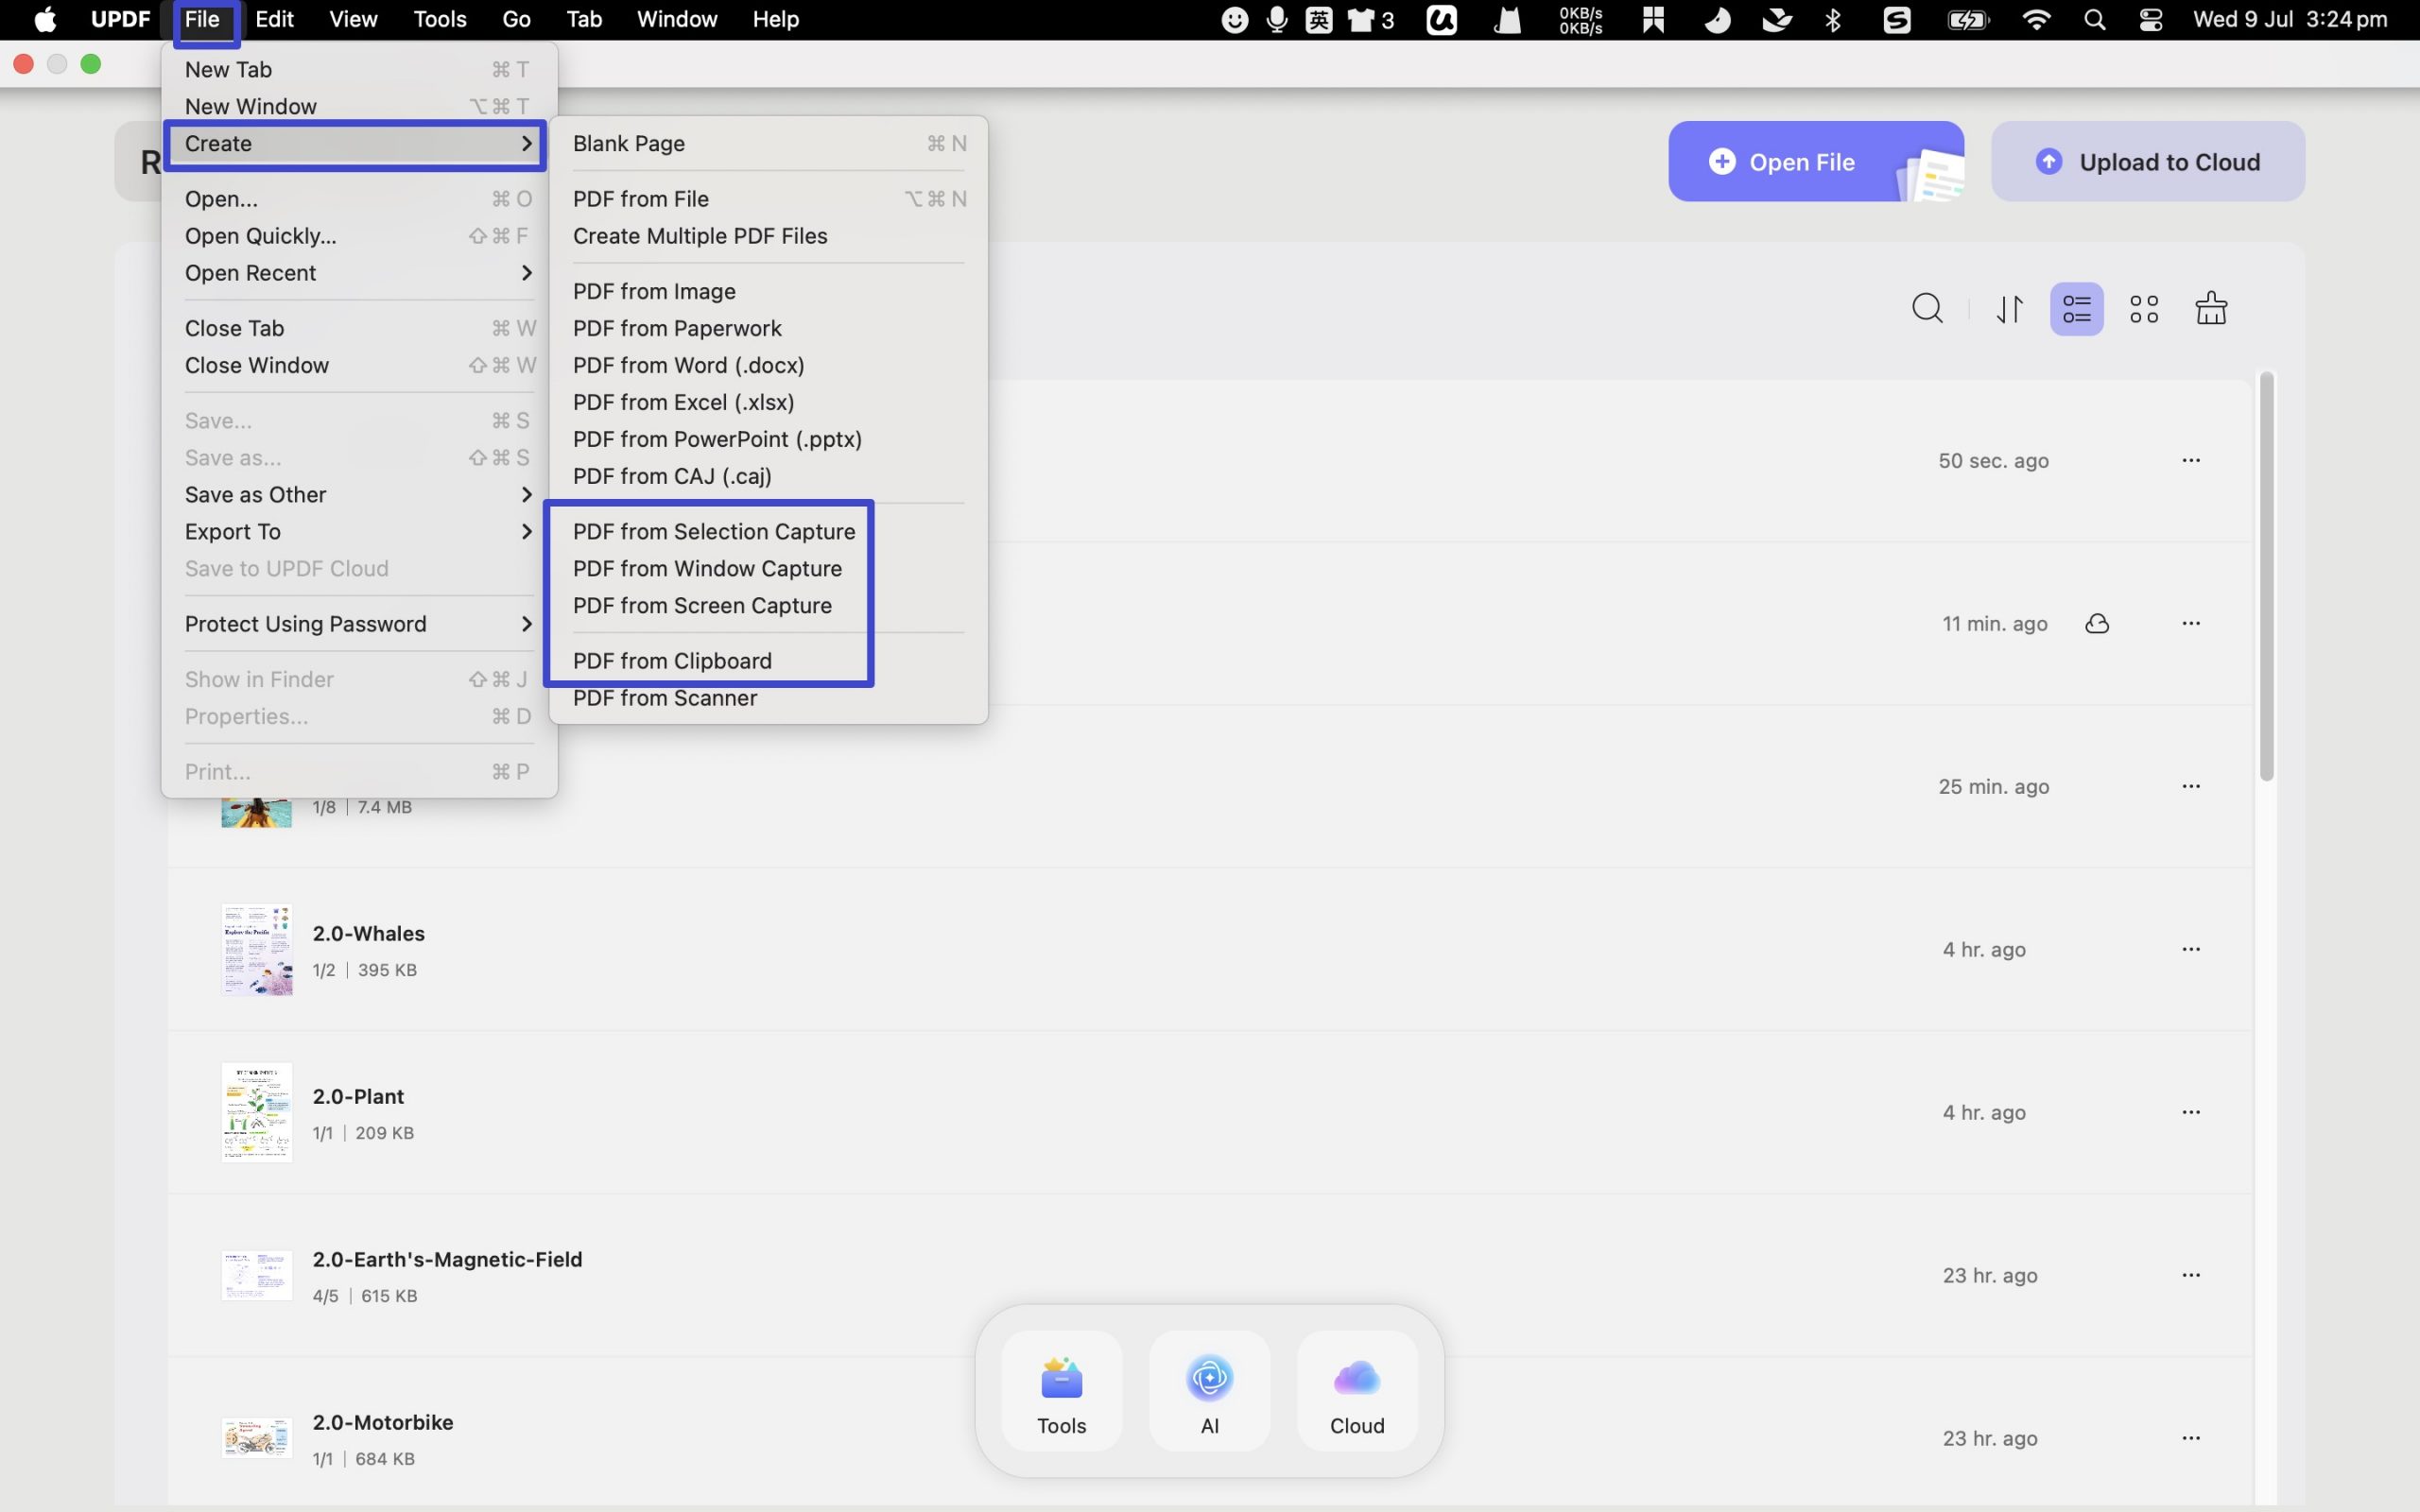
Note:
- If you opt for "PDF from Selection Capture," you can capture a screenshot with your selected part, and UPDF will automatically convert it into a PDF.
- If you choose "PDF from Windows Capture," UPDF will capture the current window's screen and transform it into a PDF.
- If you select "PDF from Screen Capture," UPDF will capture the whole screen and convert them into a PDF.
- If you select "PDF from Clipboard," UPDF will convert the last copied image into a PDF.
Once you have selected your desired option, UPDF will automatically create a PDF from your selection and open it.
To save it, click on the "File" > "Save" or the "Save" icon in UPDF and select where you want to save the PDF.
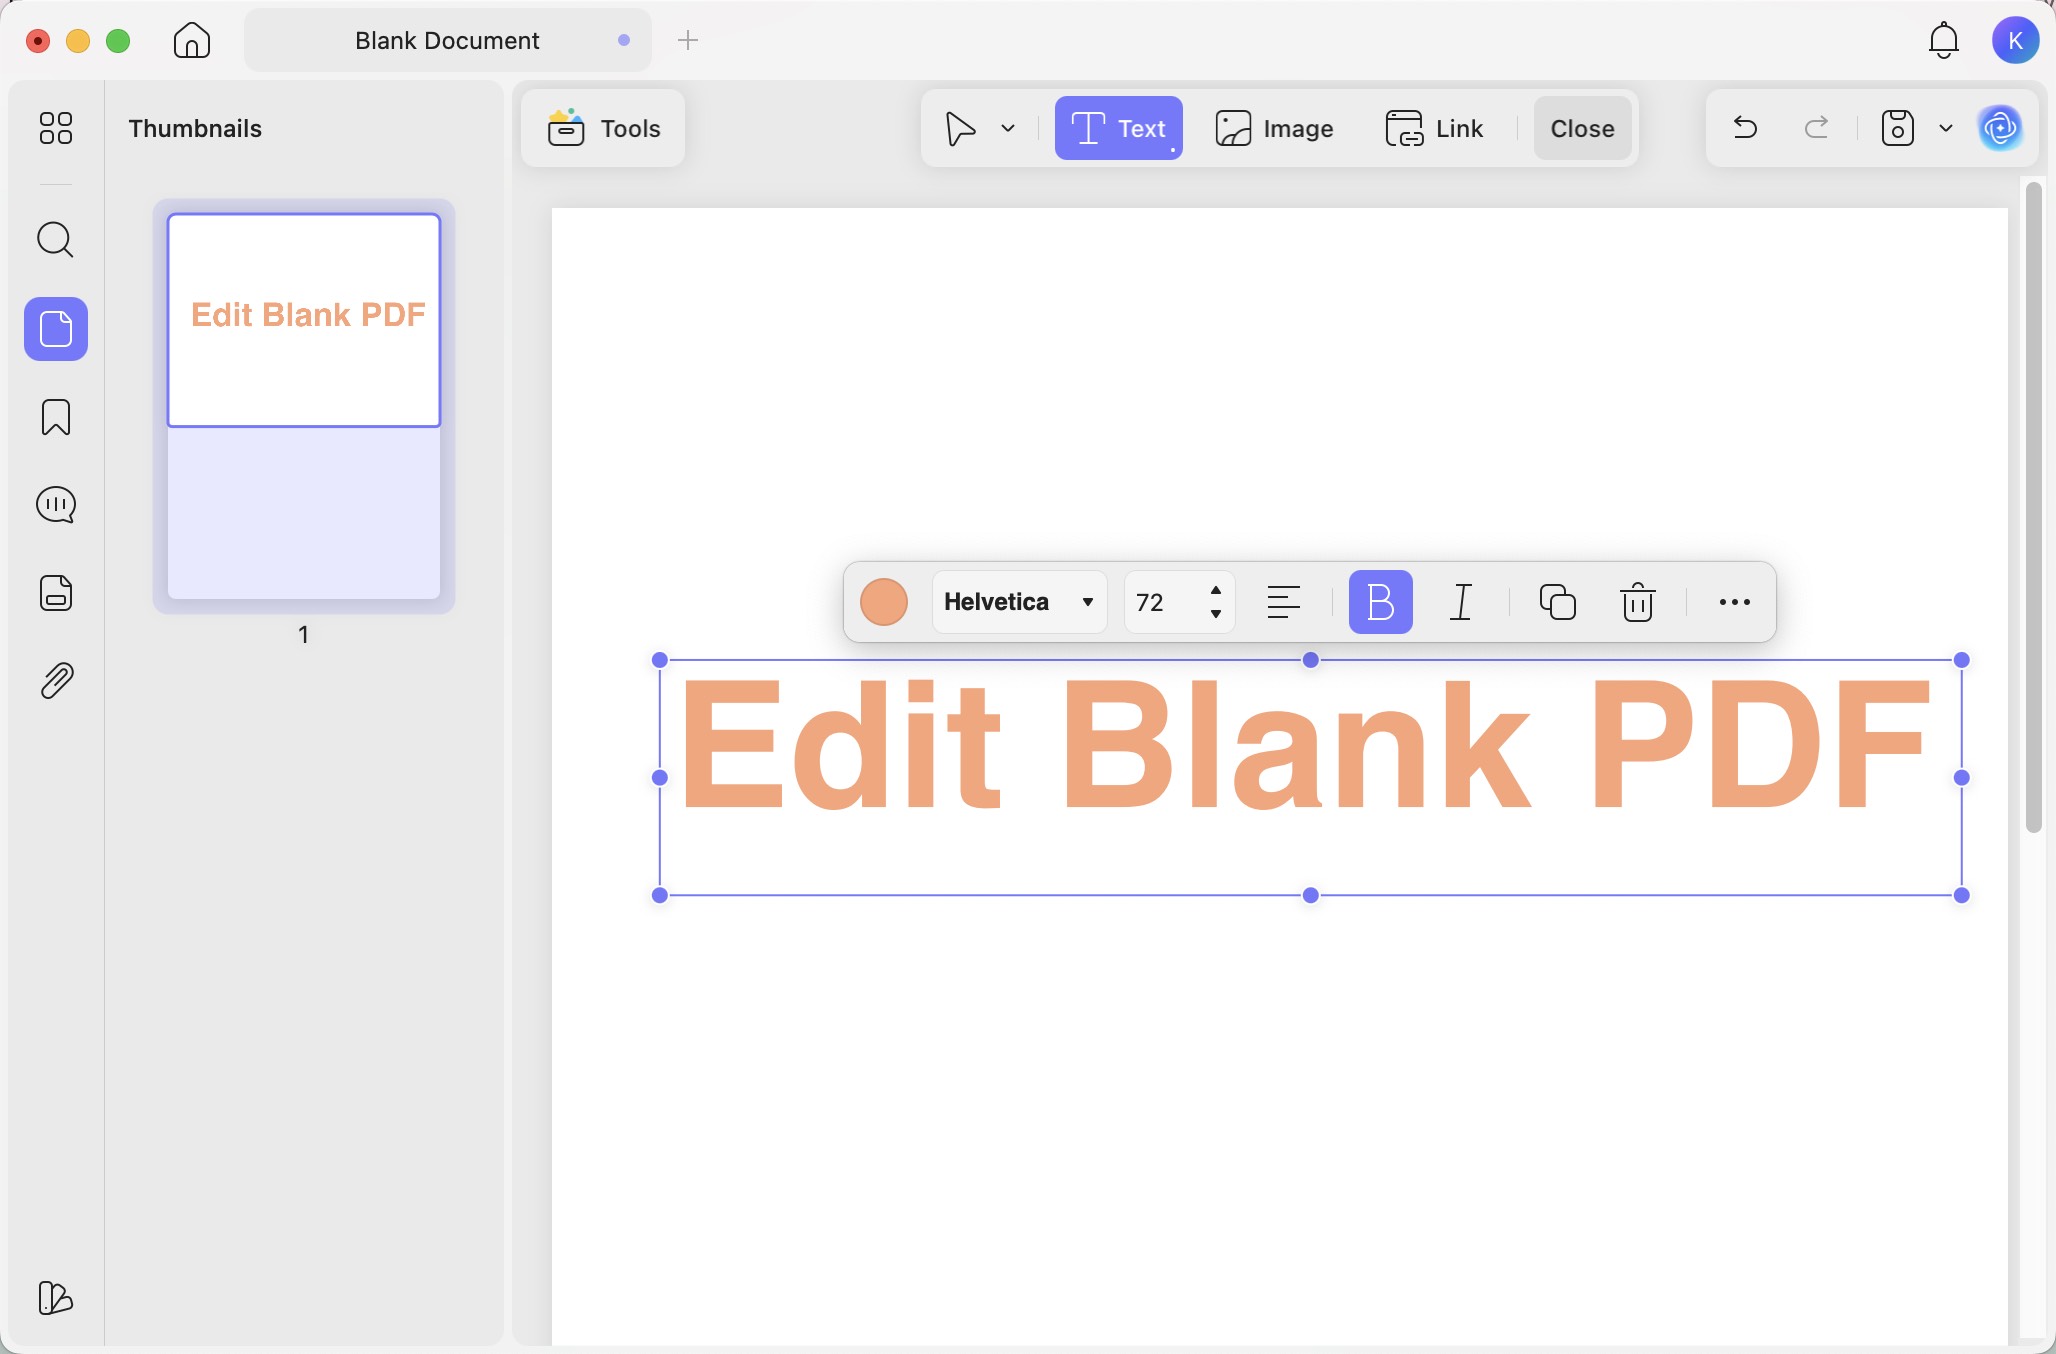
Method 3. Creating a Blank PDF
Besides the above methods, you can create one blank PDF. Here is how you can create a PDF from a blank PDF with UPDF on Mac:
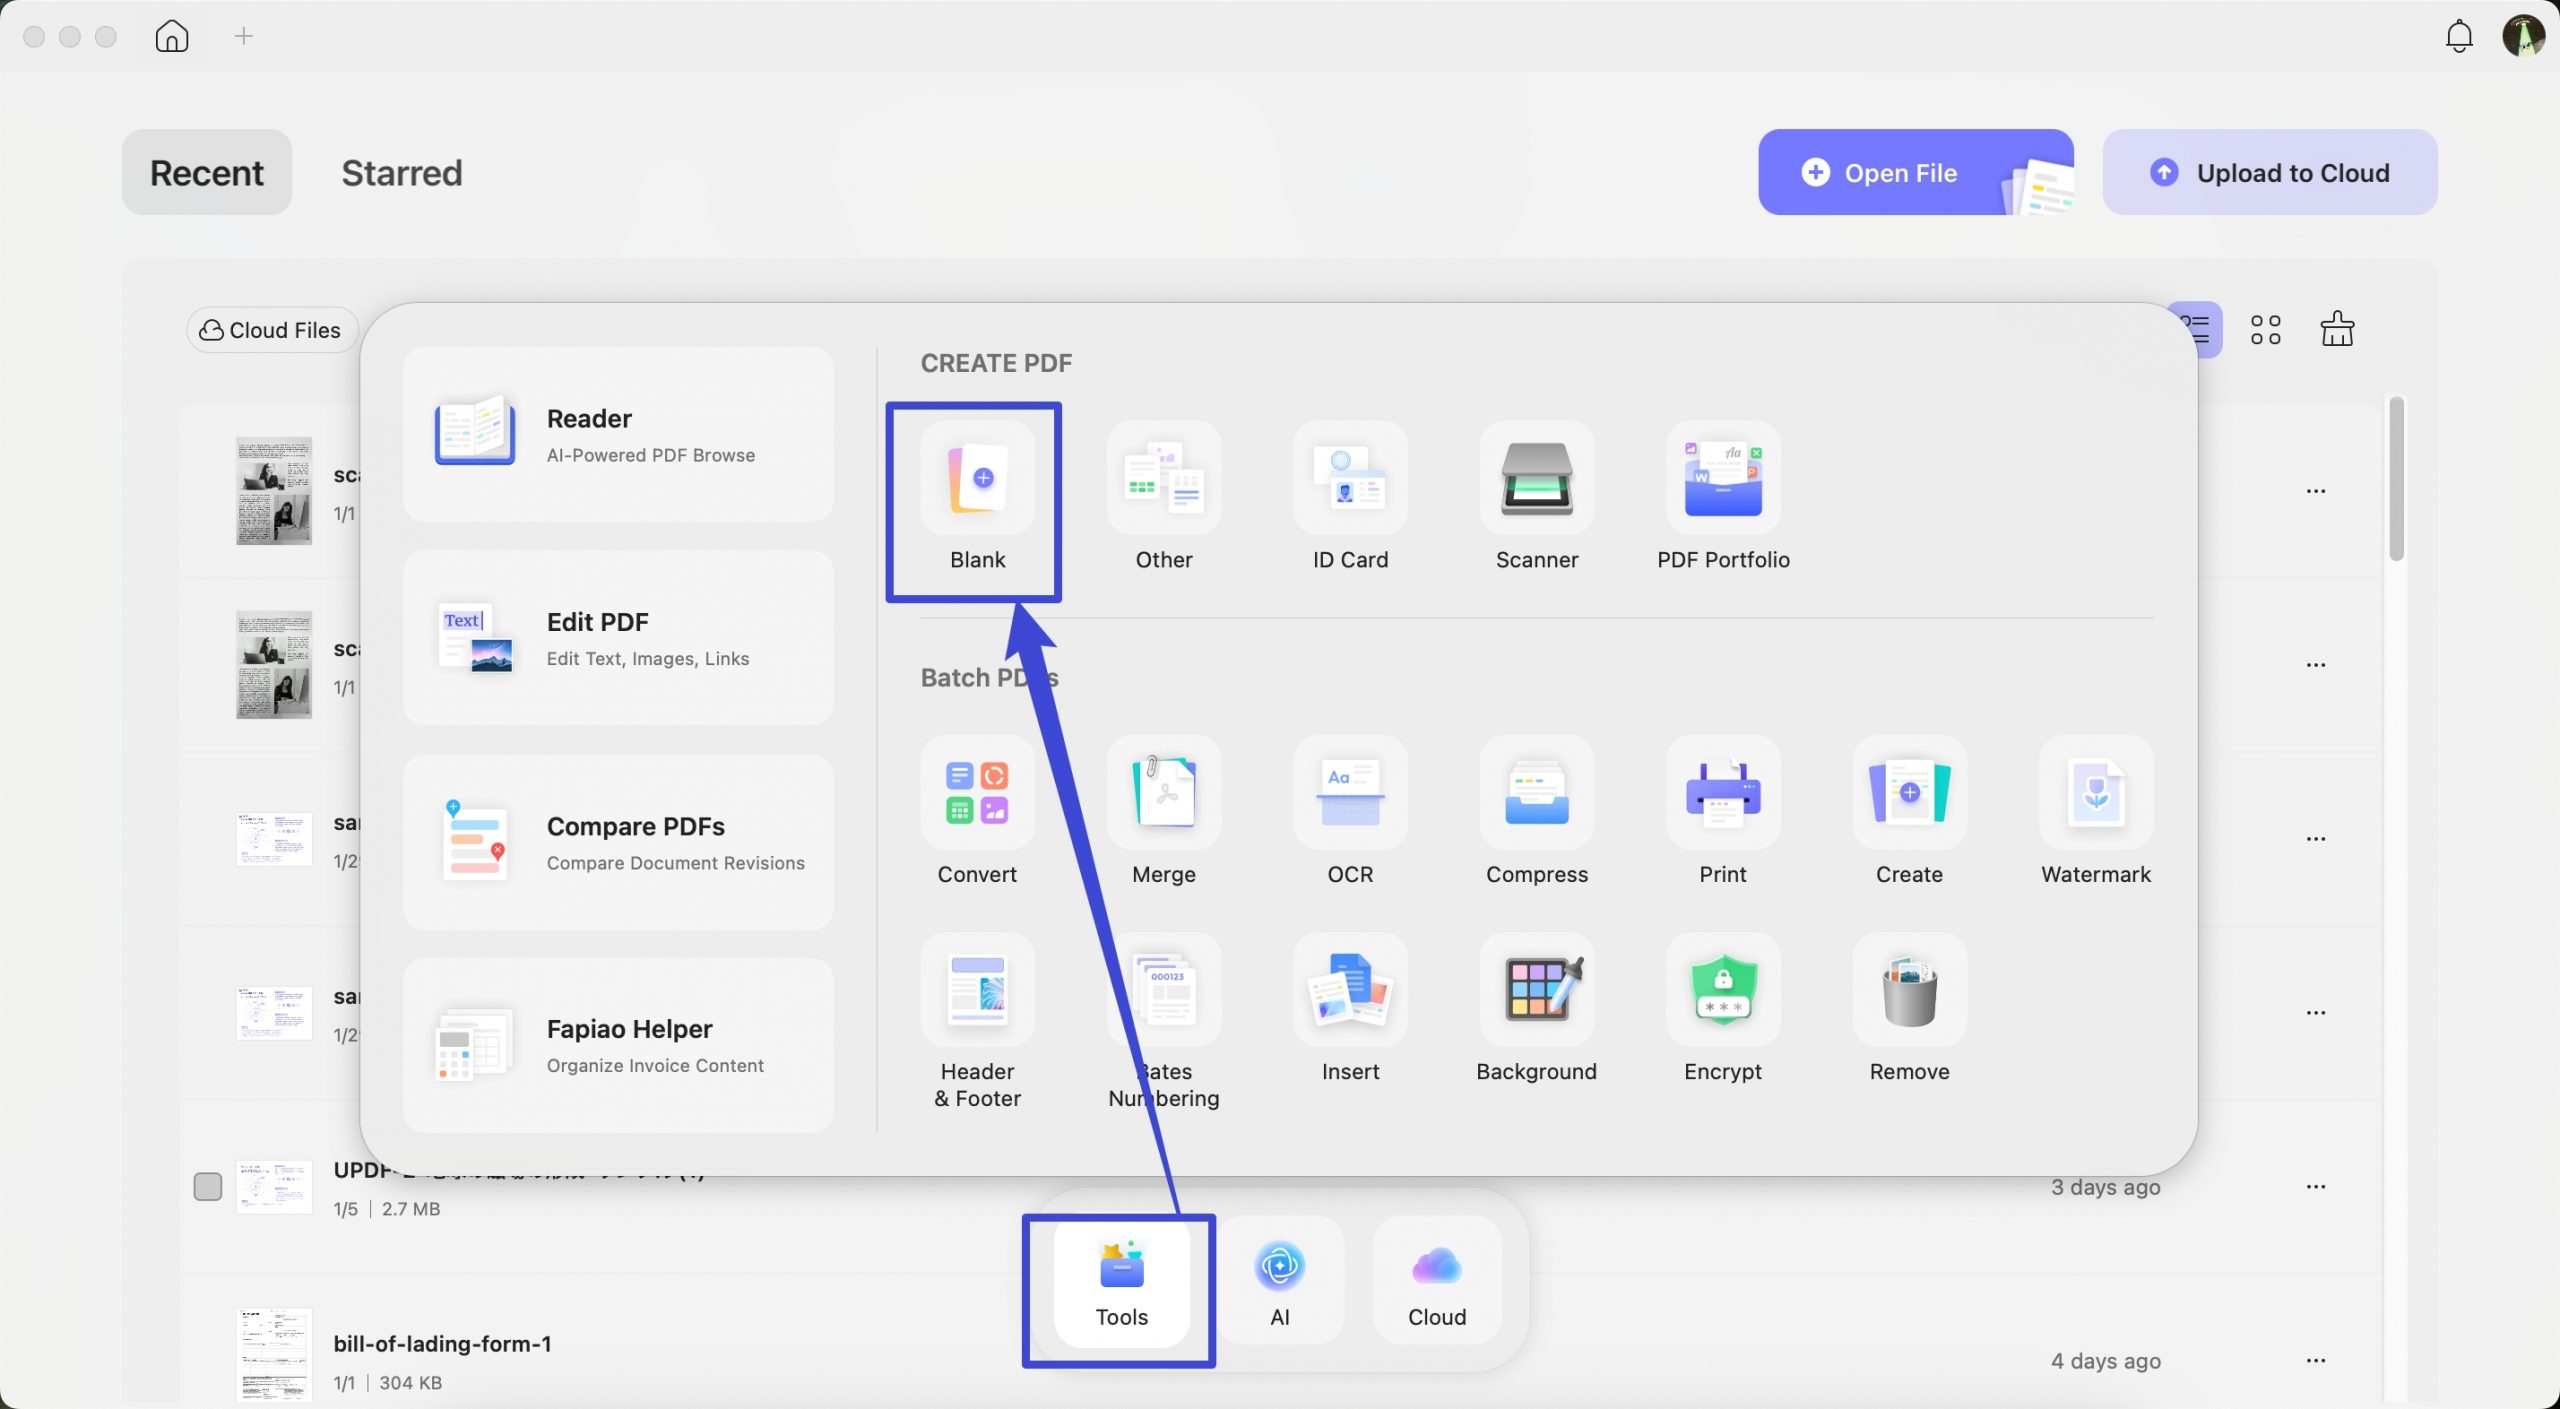
- Navigate to the top left corner and click on the File option. Select "Create" and then select "Blank Page".

- Alternatively, navigate to "Tools" > "Blank" in UPDF.
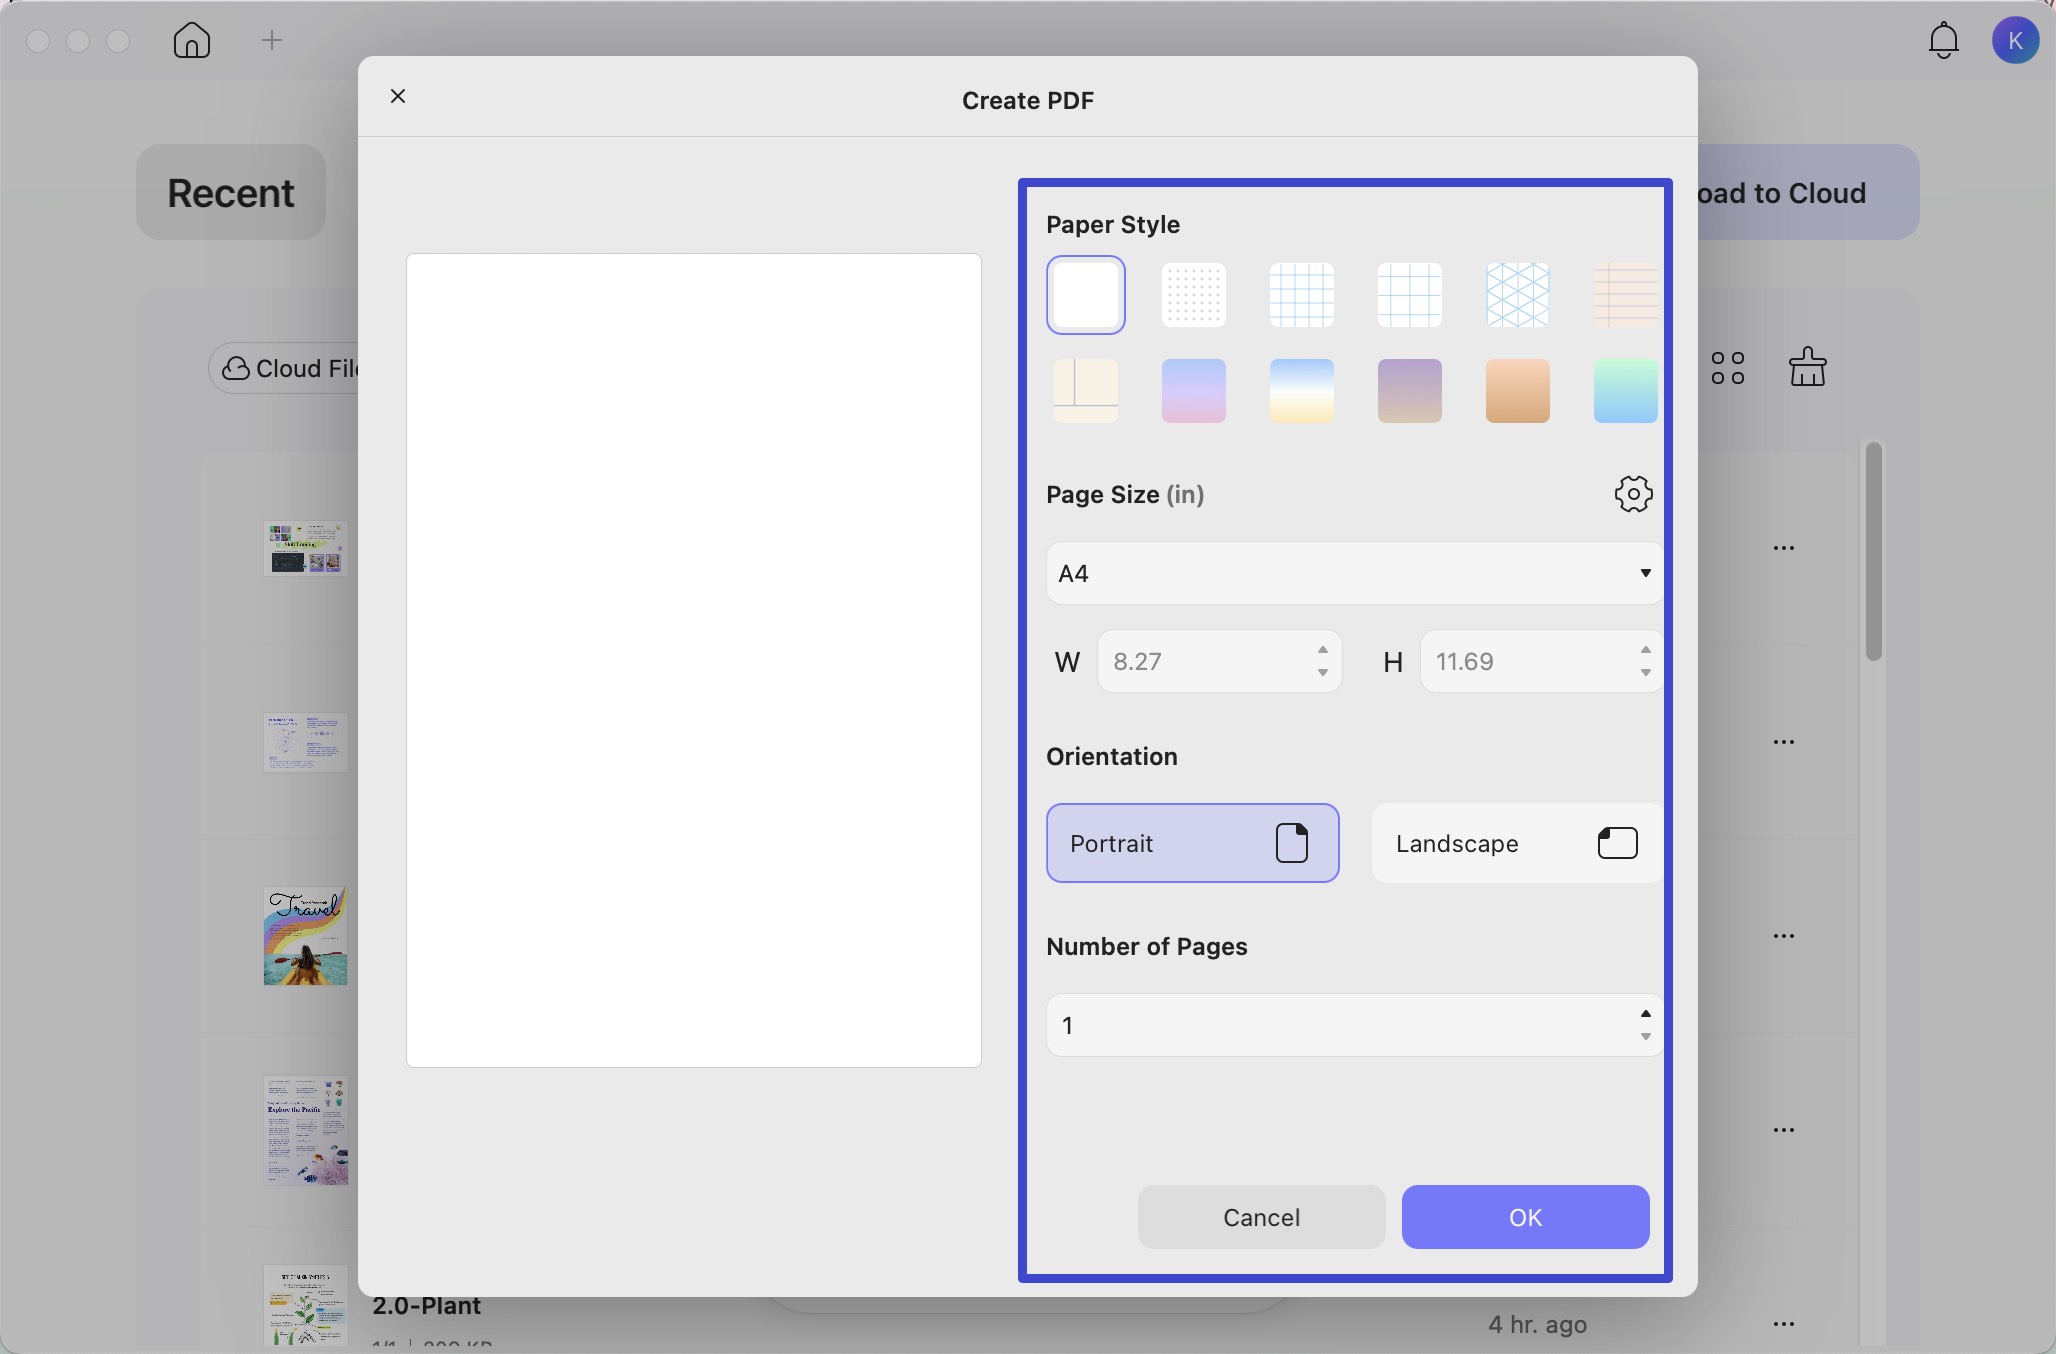
- Now, in the pop up window, you can name the blank PDF, enter how many pages you need, change the page size, orientation, and paper style. Then, click on the "OK".
- Once created, you can play with different UPDF features to craft your desired PDF and save and share it with whomever you want.
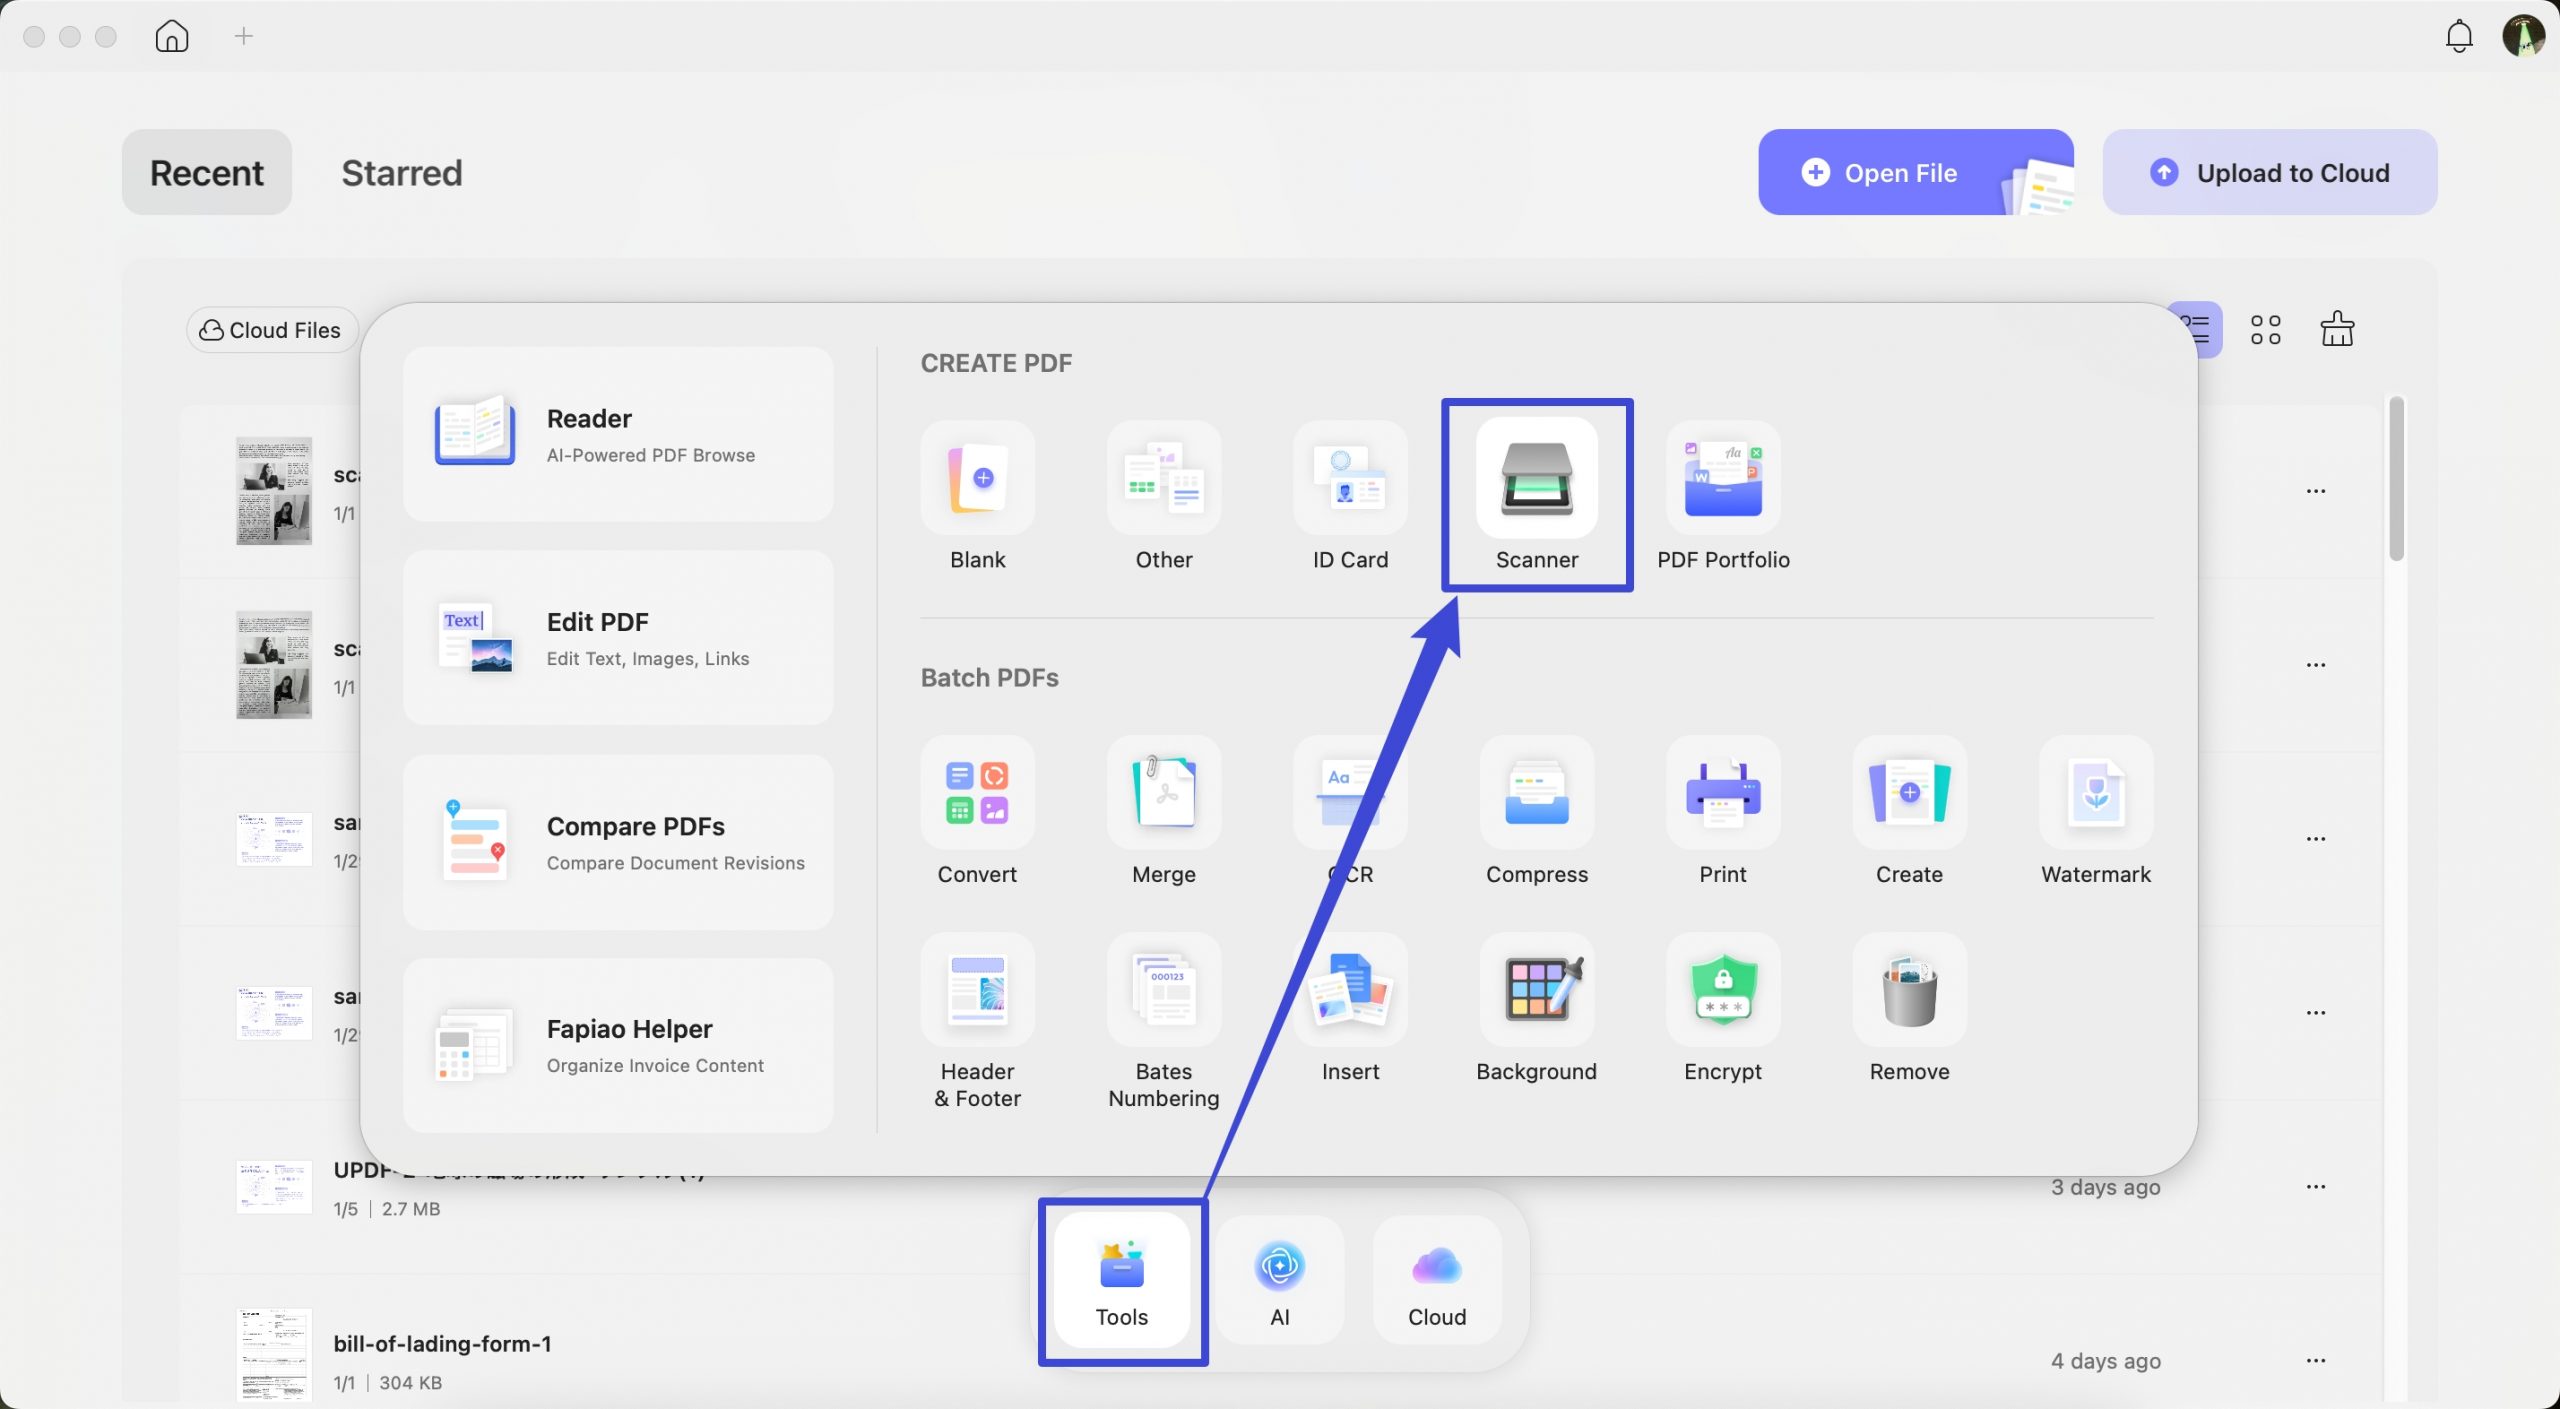
Method 4. Creating a PDF from Scanner
UPDF for Mac also supports creating PDFs from scanners. Want to know how to make one? Read this comprehensive guide to find out! Before hopping on, ensure that your computer is connected to the scanner.
Step 1: Open UPDF and navigate to "Tools" > "Scanner" in UPDF.
Step 2: UPDF will then prompt you to choose a scanner from the list on the left panel. If you have not connected to a scanner, please follow this Apple guide to connect one first.
Step 3: Customize the settings on the right panel of the following window. Following are the options that you can customize:
- Kind and DPI: Here, you can choose whether to create a colour, black-and-white, or text-based PDF. Additionally, you can adjust the resolution of the scanned document, measured in DPI (dots per inch), which affects the quality and clarity of the final PDF.
- Size: You can also enter your desired size, i.e., length and width in inches. You can also use the custom size.
- Rotation Angle: This feature allows you to adjust the orientation of your scanned document, ensuring that the final PDF appears correctly aligned, whether it needs to be rotated by 90, 180, or 270 degrees.
- Auto Selection: You can either set auto selection Off, Detect Separate Items, or Detect Enclosing Box. Detect Separate Items allows the scanner to automatically identify and scan multiple items placed on the bed as separate images. However, the Detect Enclosing Box enables the scanner to detect and scan content within a defined area.
- Image Correction: The Image Correction setting can be set to None or Manual. None leaves the image as it is, while Manual allows you to adjust the image's colour, brightness, and other aspects to correct any imperfections.
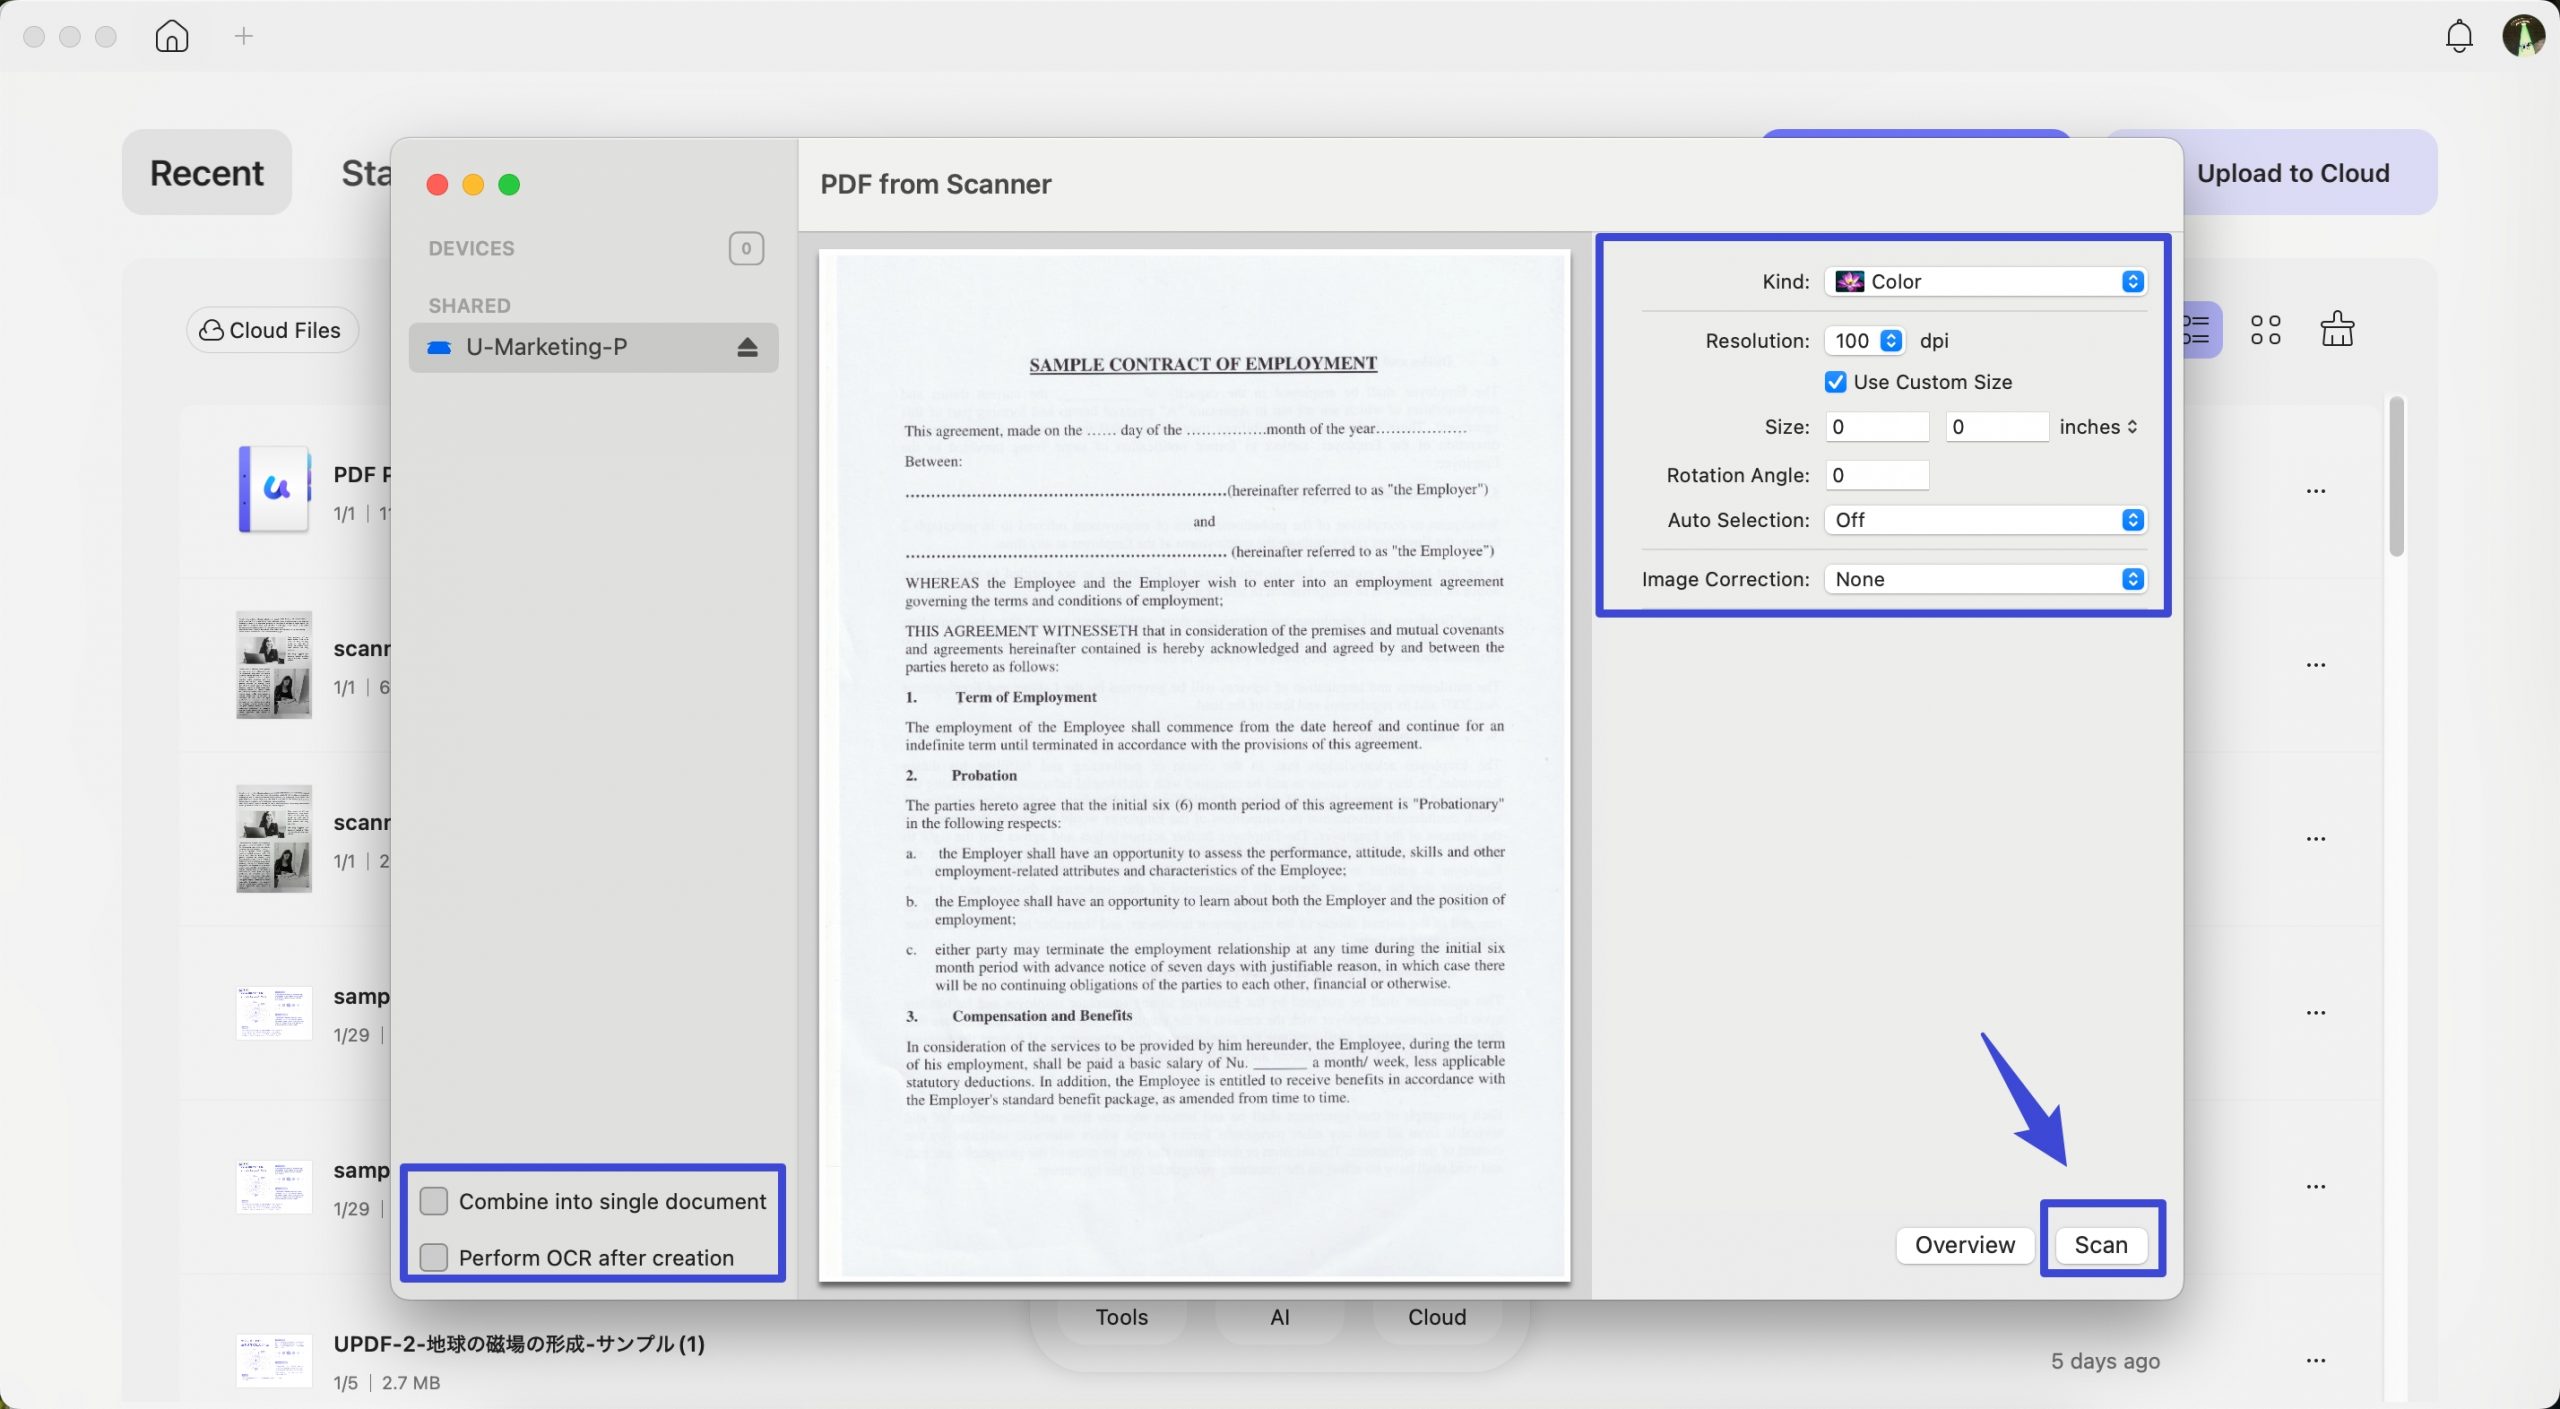
Step 4: Select the area that you want to scan. Either choose an automatic size or manually select it from the preview window. You can also choose Perform OCR in the bottom-left corner and select the document language. This will make the created PDF editable.
Step 5: Click on "Scan" and wait for scanning. Choose "Scan completed" or "Scan more pages" when prompted. You can "combine these pages into a single document" by pressing the corresponding button on the bottom-left panel.
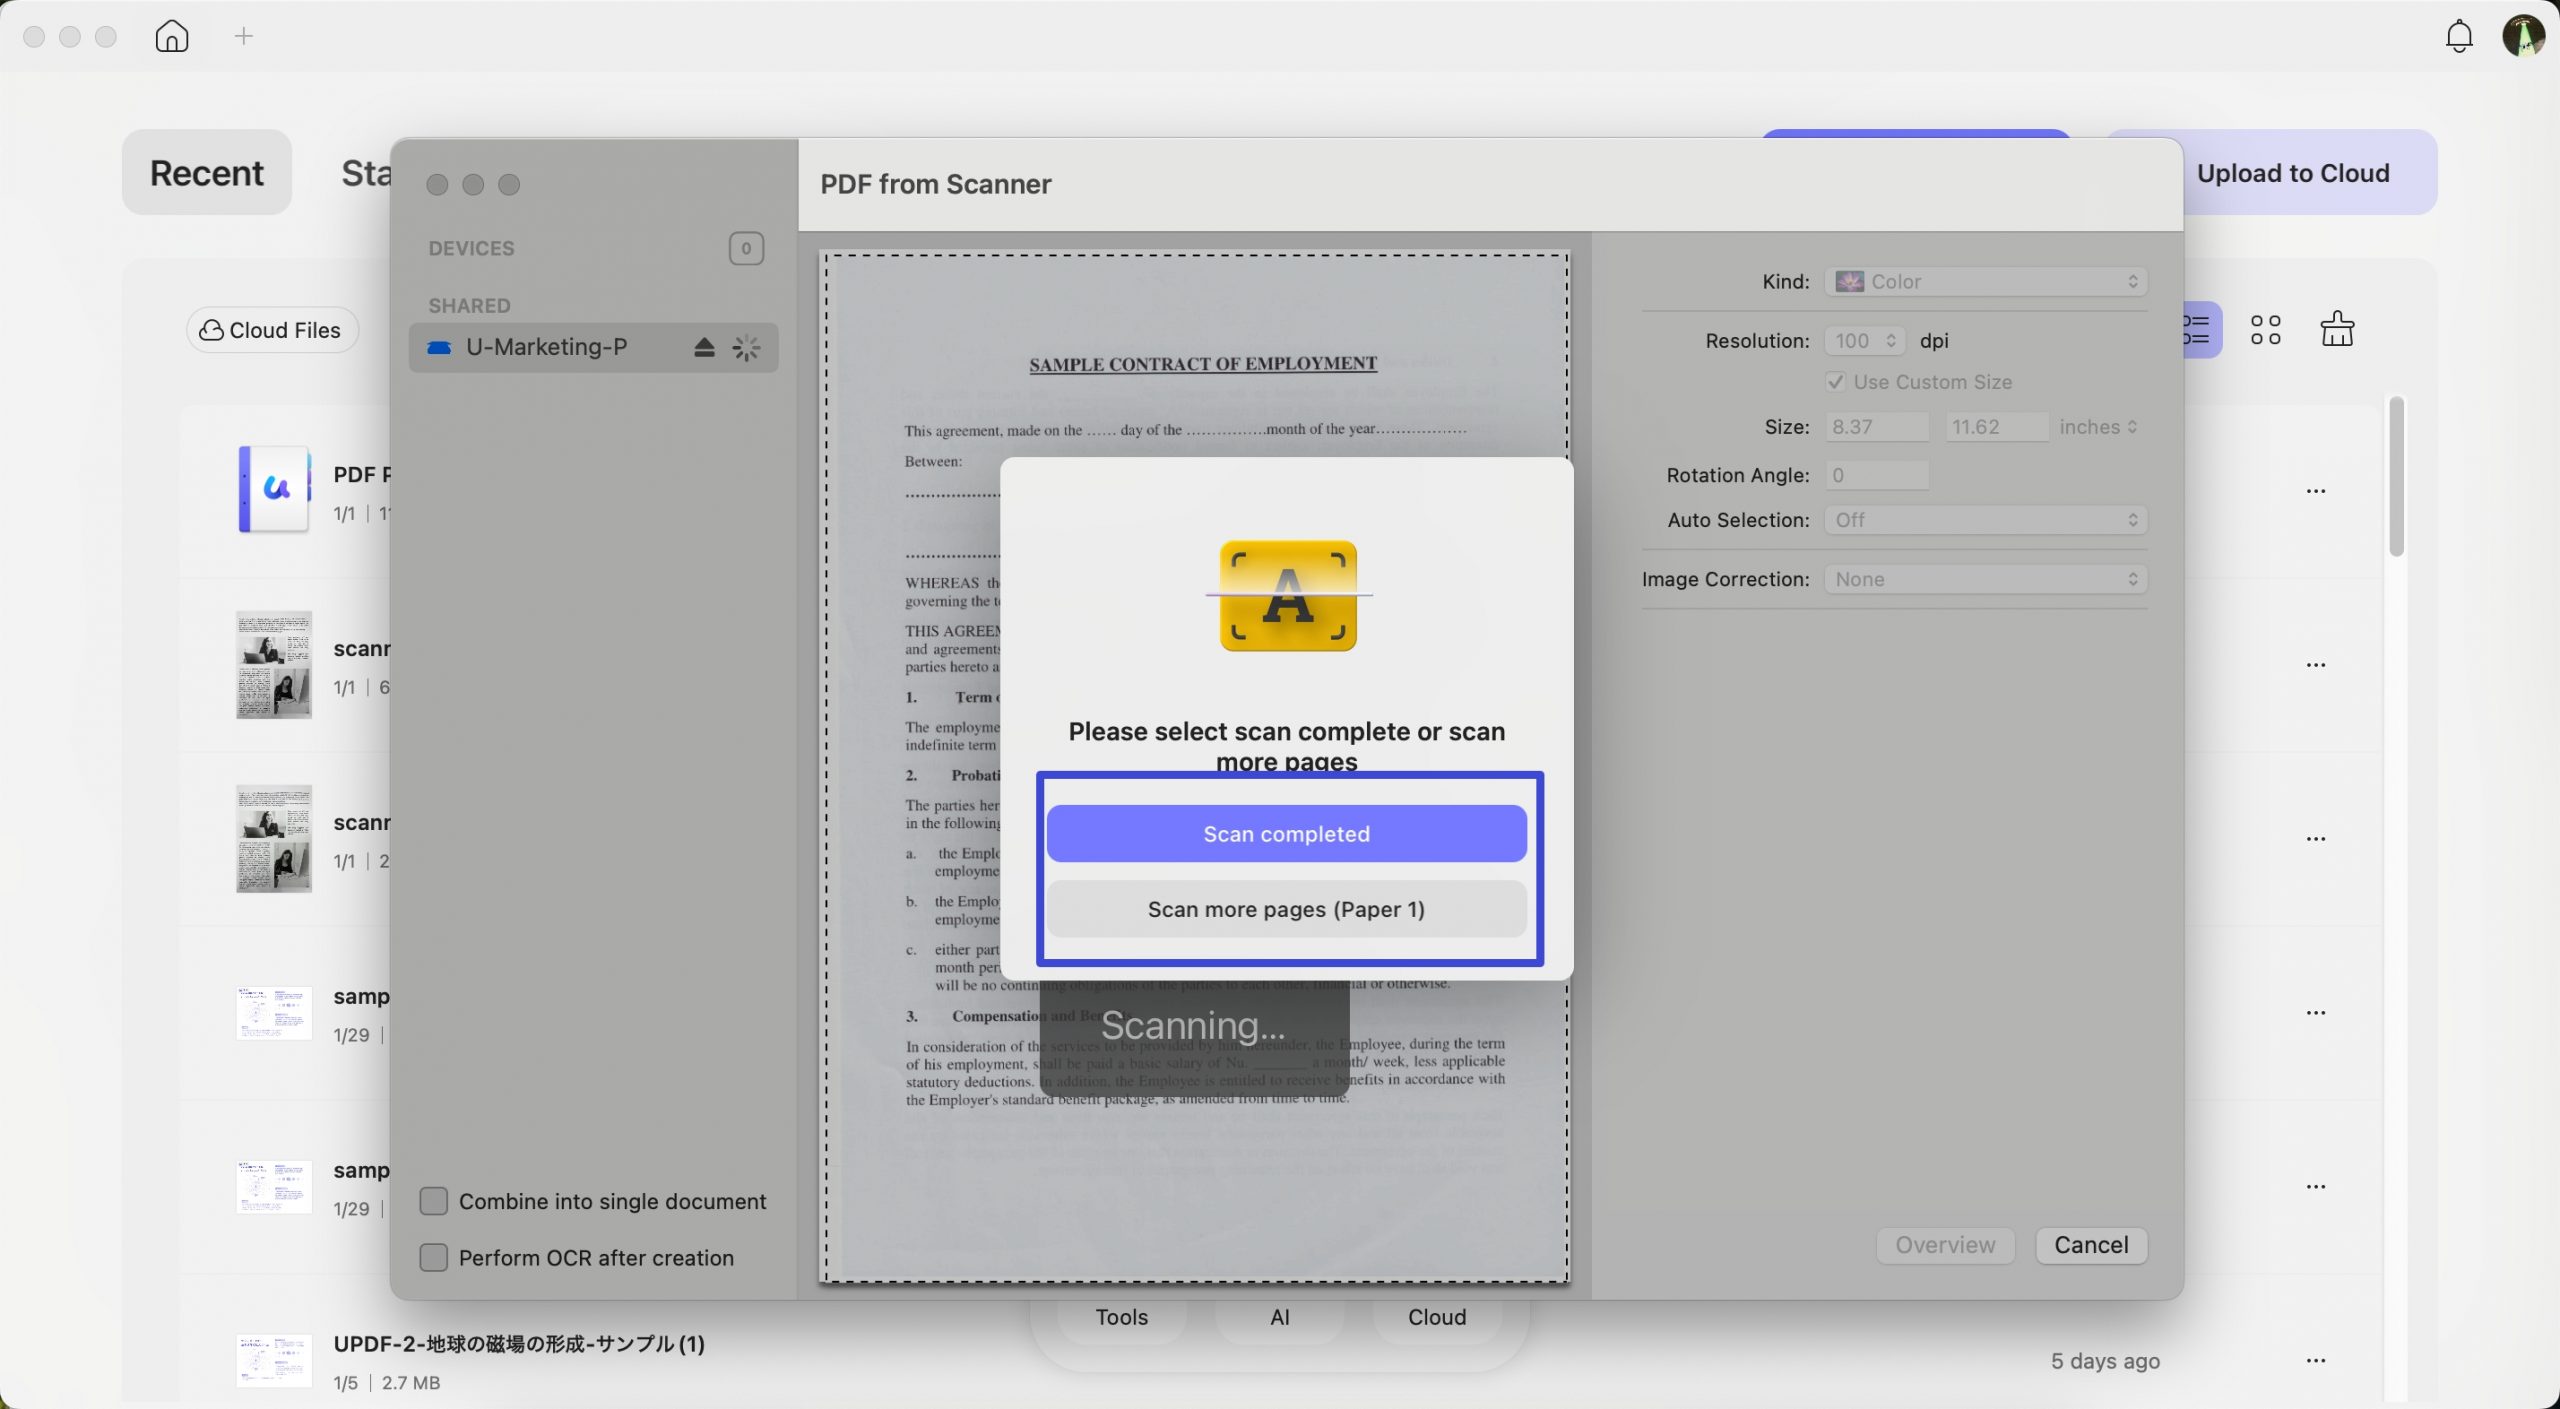
Step 6. After scanning, UPDF will automatically open the created PDF. You can now edit, annotate, or perform any other action on your PDF.
Method 5. Creating a PDF Portfolio
You can assemble multiple files into a single portfolio document with UPDF for Mac. The following steps explain how to make it.
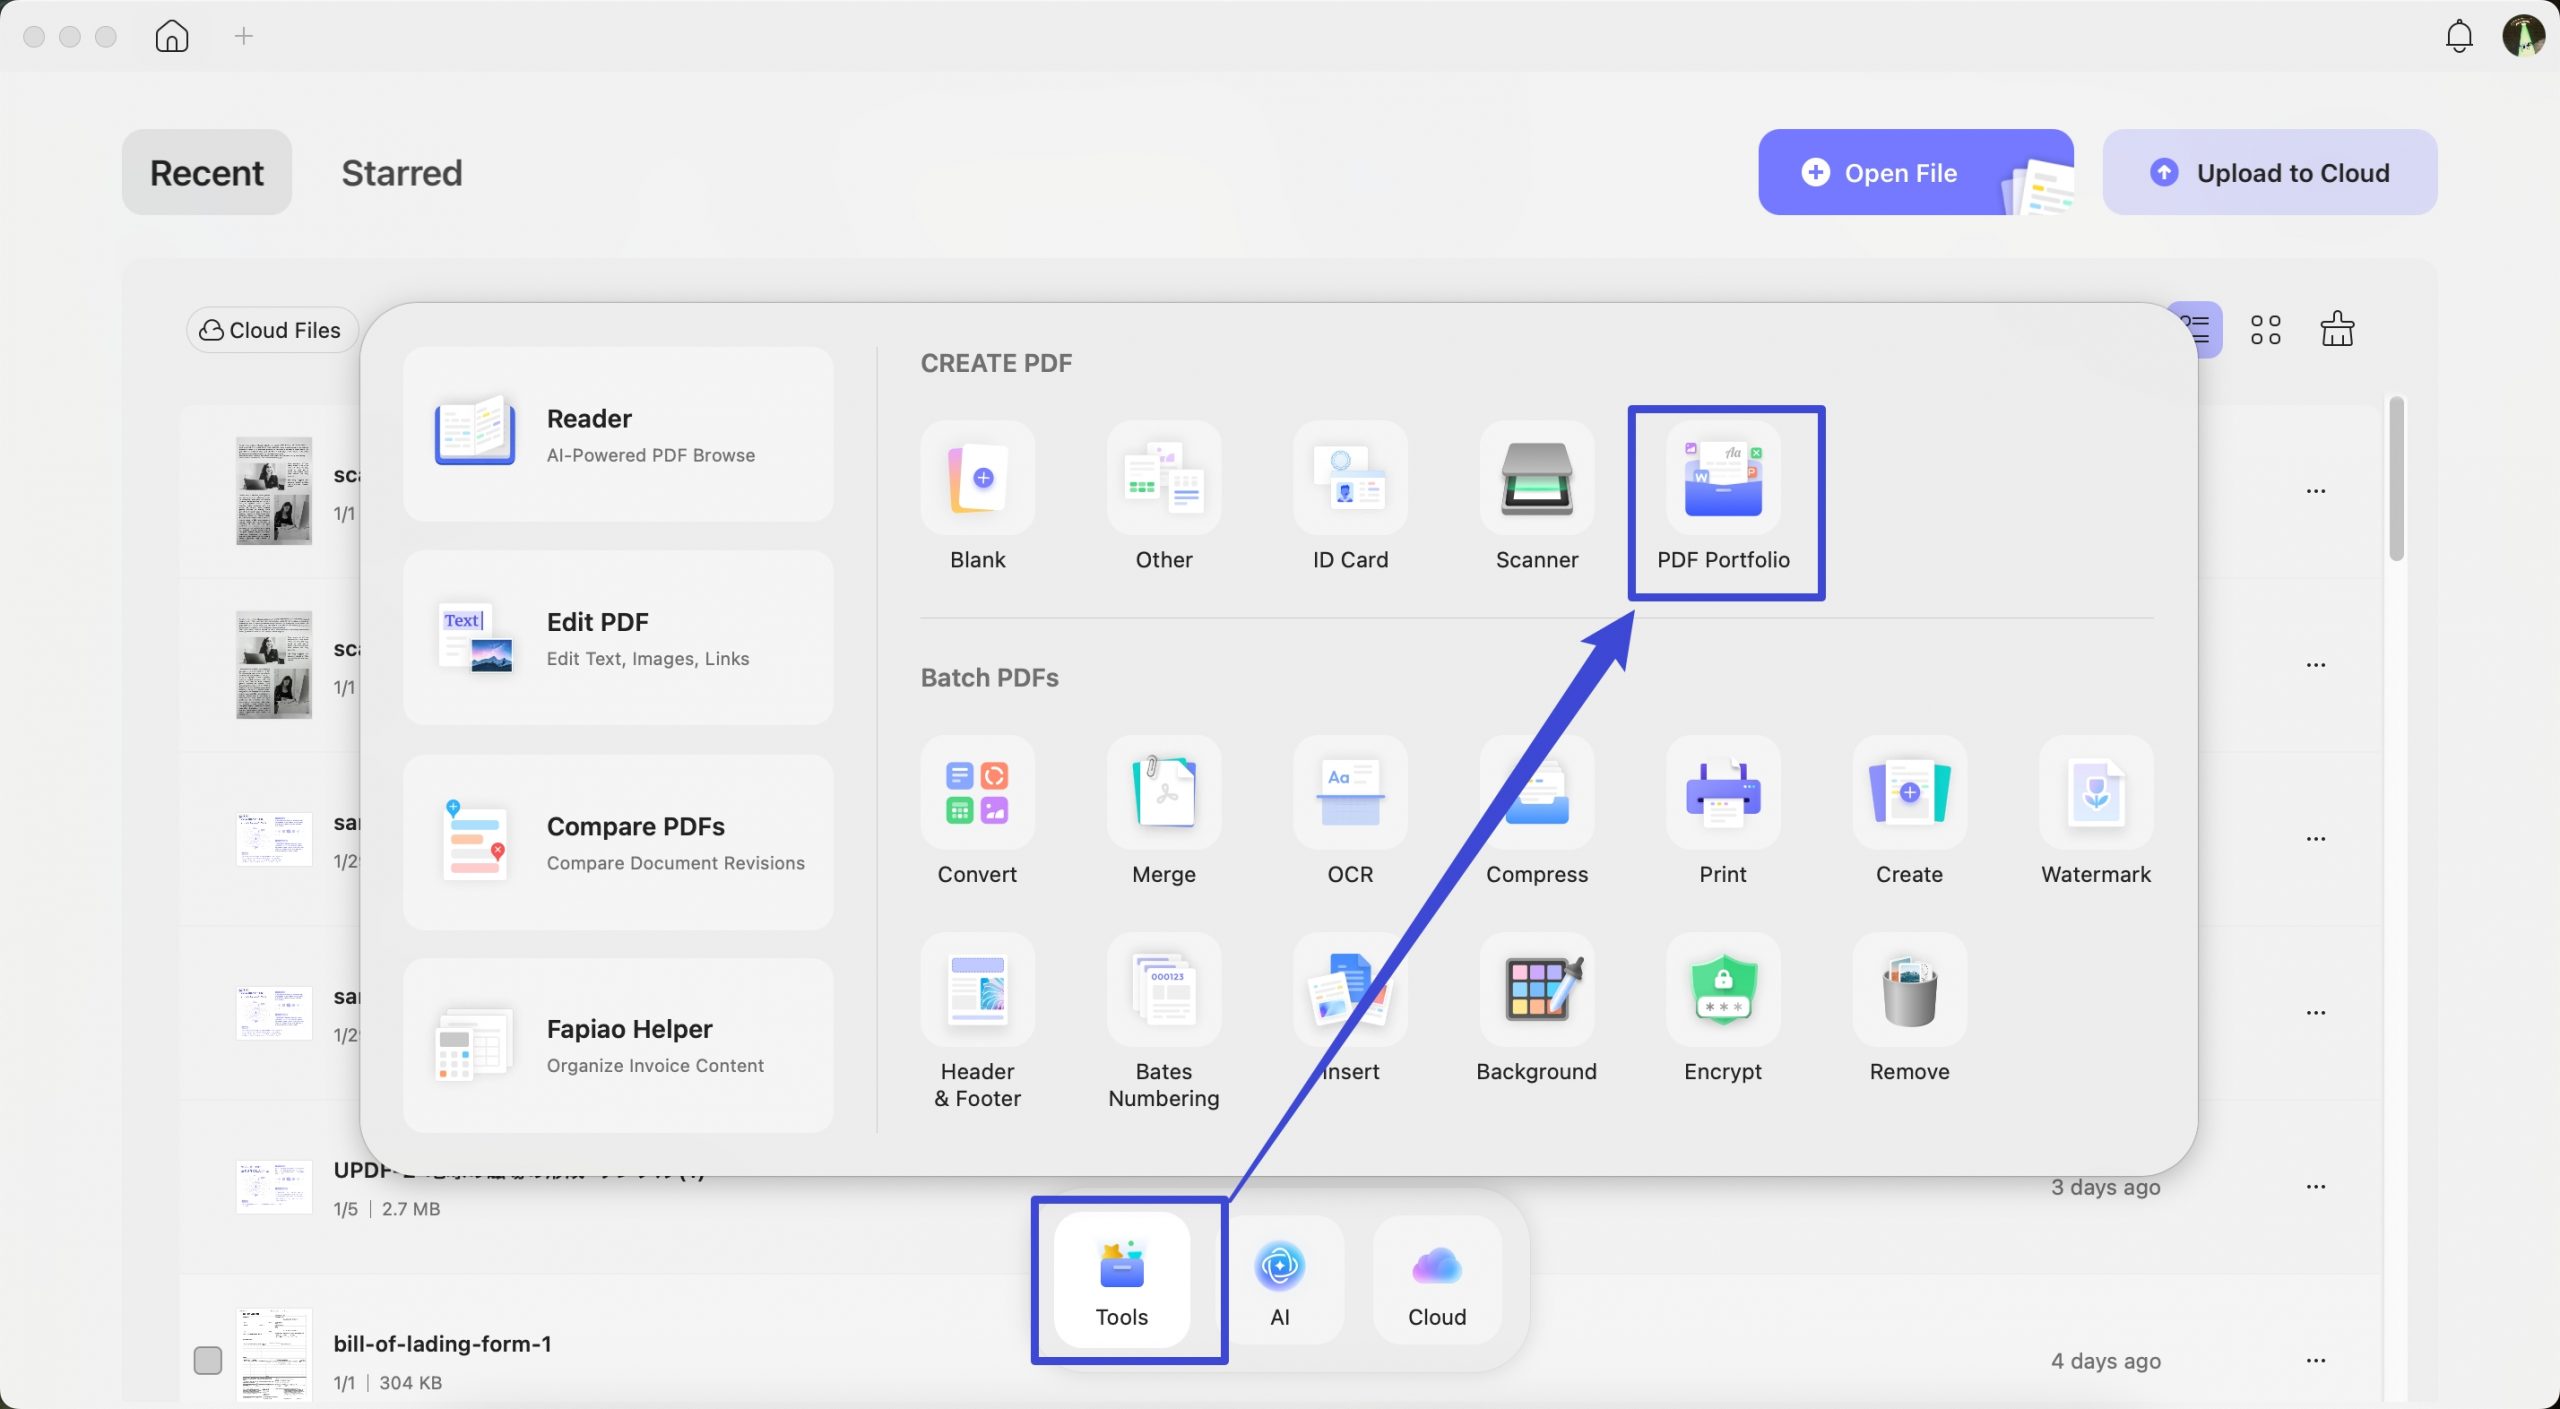
Step 1: Access the PDF Portfolio creation option
Click the Tools icon at the bottom of the window. Then, select the PDF Portfolio optiont.
Step 2: Add files to the PDF Portfolio
In the PDF Portfolio interface, click the"+ Add Files" button on the left side of the toolbar. Choose the files you want to include. Then click Save to finalize and store your PDF Portfolio.
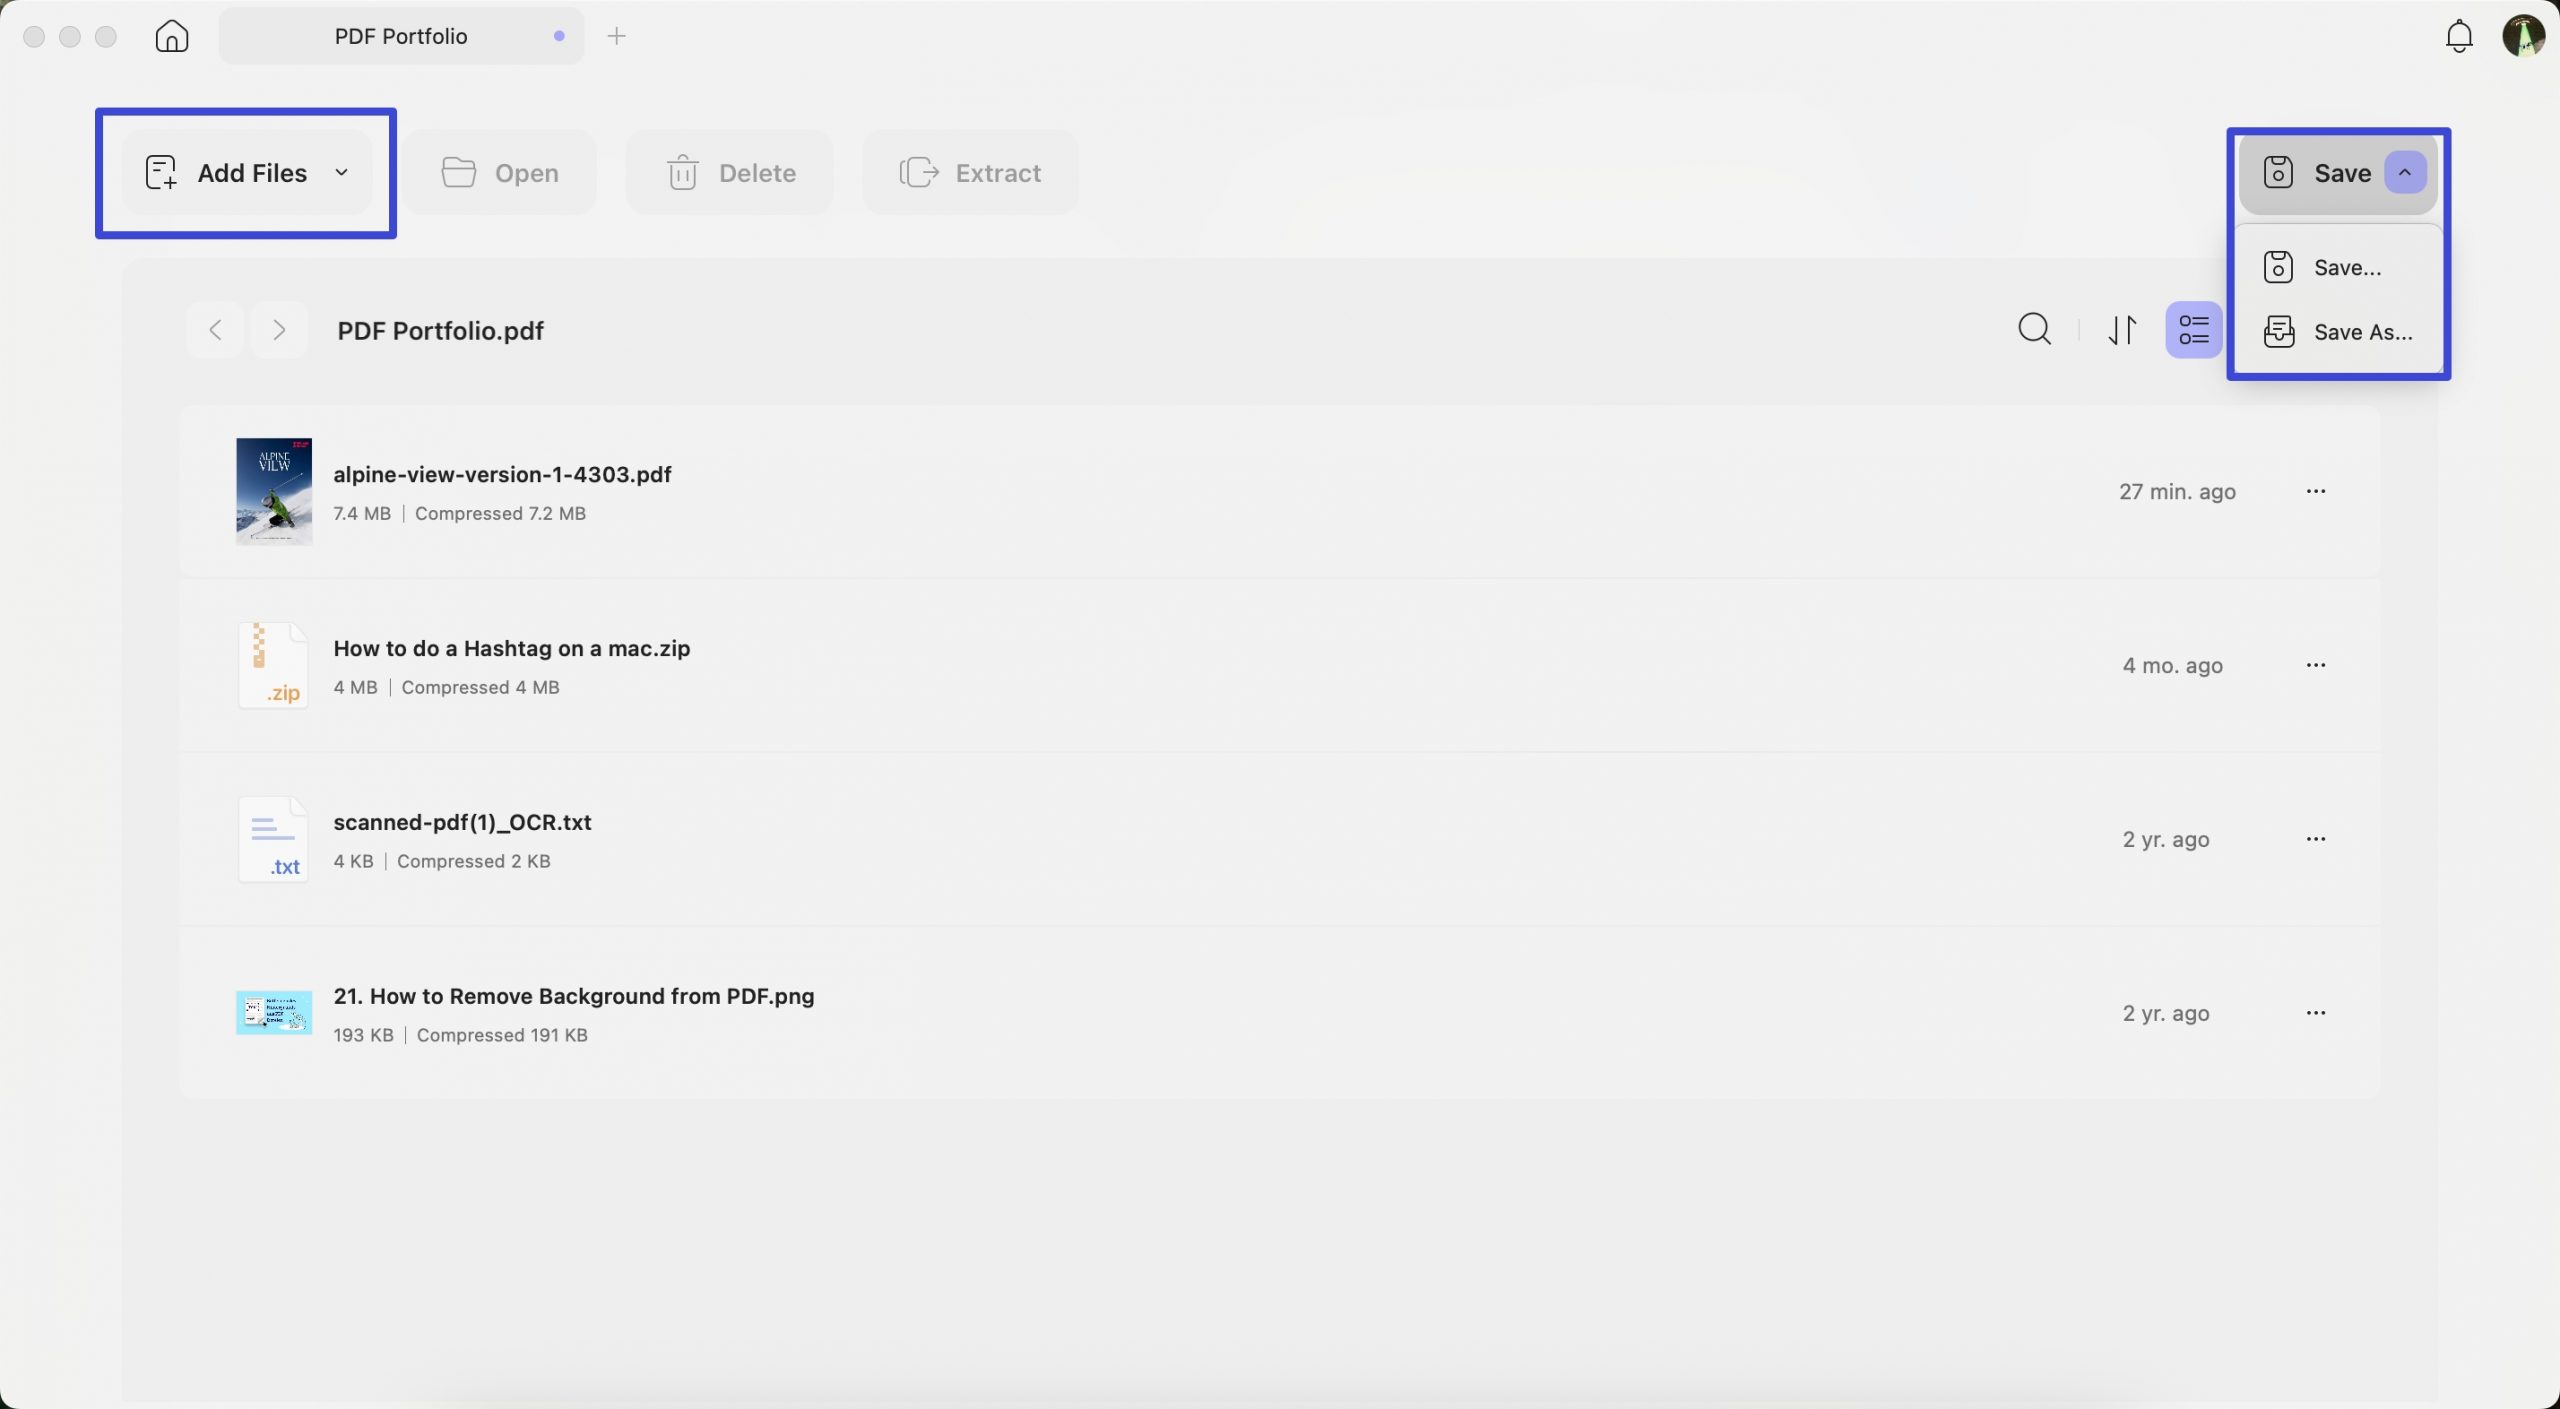
You can select specific files to Open, Delete, and Extract as needed before you store your PDF Portfolio.

It is super easy to create PDFs with UPDF on Mac, so why not upgrade to the pro version now?