UPDF for Windows
 UPDF for Mac
 UPDF for iPhone/iPad
 UPDF for Android
 UPDF AI Online
 UPDF Sign
 Read PDF
 Annotate PDF
 Edit PDF
 Convert PDF
 Create PDF
 Compress PDF
 Organize PDF
 Merge PDF
 Split PDF
 Crop PDF
 Delete PDF pages
 Rotate PDF
 Sign PDF
 PDF Form
 Compare PDFs
 Protect PDF
 Print PDF
 Batch Process
 OCR
OCR UPDF Cloud
 About UPDF AI
 UPDF AI Solutions
 FAQ about UPDF AI
 Summarize PDF
 Translate PDF
 Explain PDF
 Chat with PDF
 Chat with image
 PDF to Mind Map
 Chat with AI
 User Guide
 Tech Spec
 Updates
 FAQs
FAQs UPDF Tricks
 Blog
Blog Newsroom
 UPDF Reviews
 Download Center
 Contact Us
Organize Pages in PDF with UPDF
Sometimes the PDF layout gets tricky with the formatting of the shapes on the pages. To present the PDF documents professionally, you need to rotate pages to look organized.
Windows • macOS • iOS • Android 100% secure
- 1. Multiple Selection Mode
- 2. Select Pages
- 3. Insert Pages
- 4. Replace
- 5. Extract Pages
- 6. Split
- 7. Page Label, Order, and Size
- 8. Rotate Pages
- 9. Delete Pages
- 10. Zoom in and zoom out
First, click the Organize Pages icon on the left toolbar to access the page management tools.
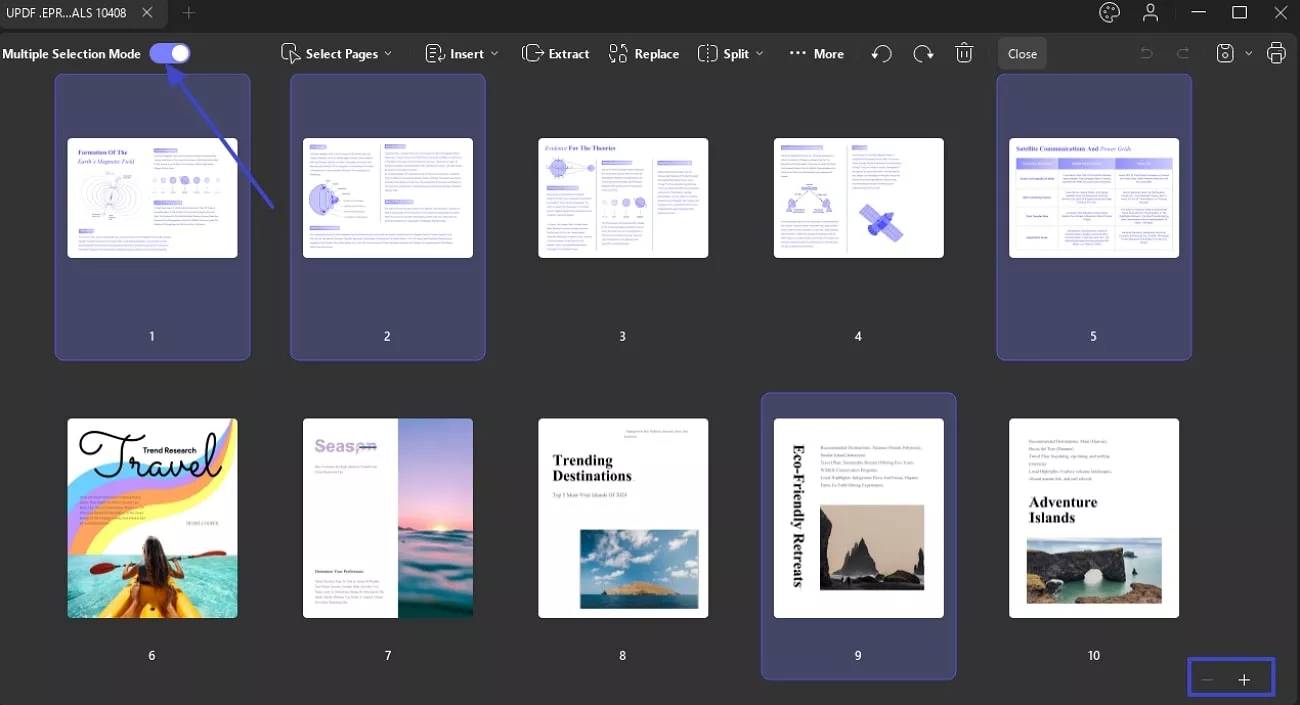
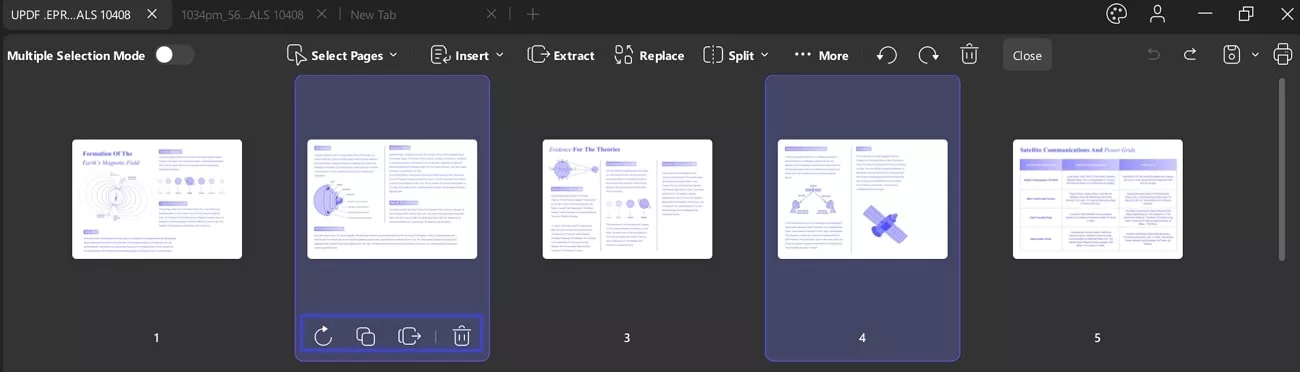
1. Multiple Selection Mode
You can toggle this feature to select as many pages as you want to edit as you like.
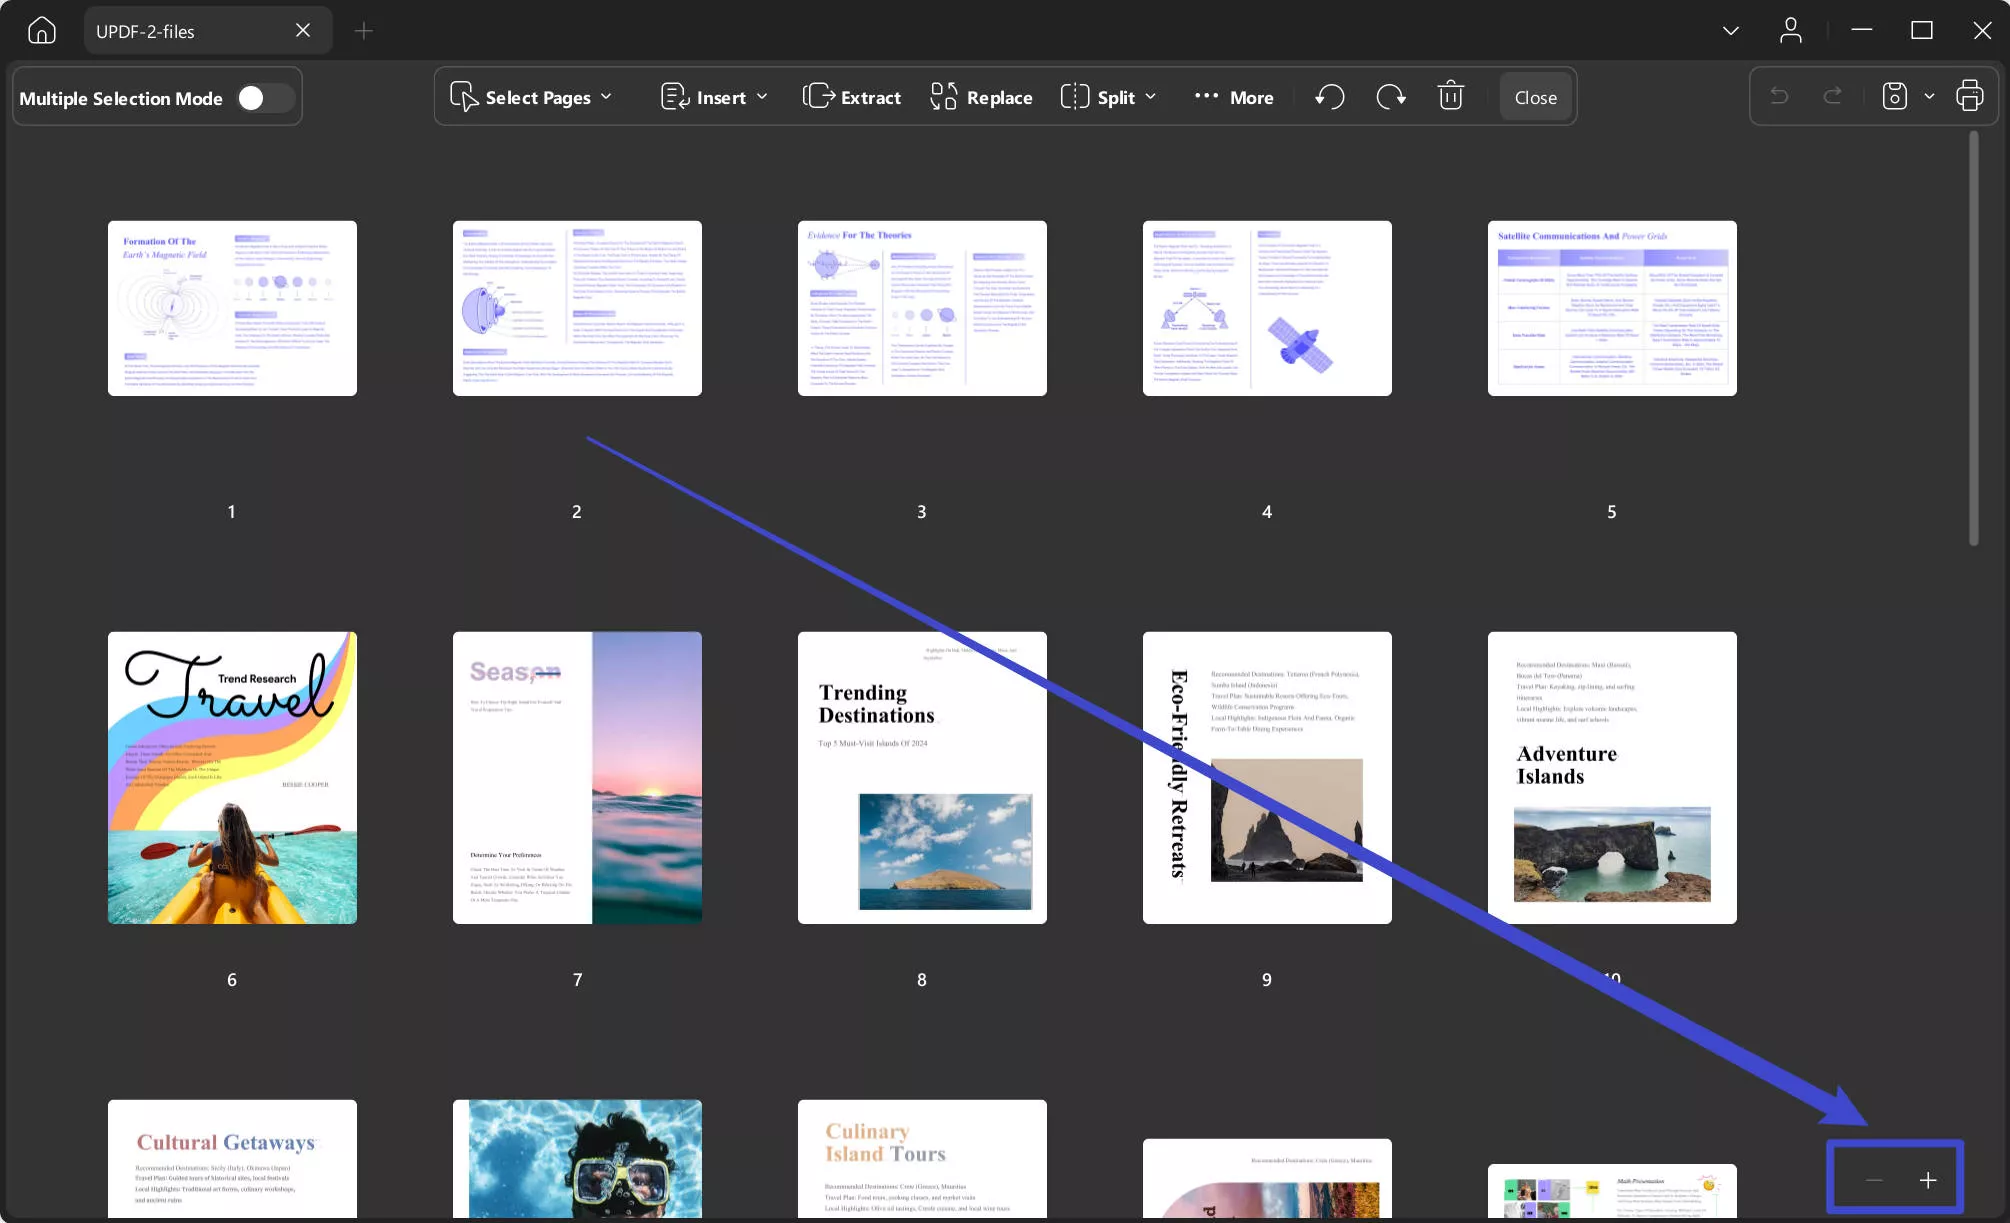
- From the same page, UPDF offers Plus and Minus icons to zoom in and out of the main screen.
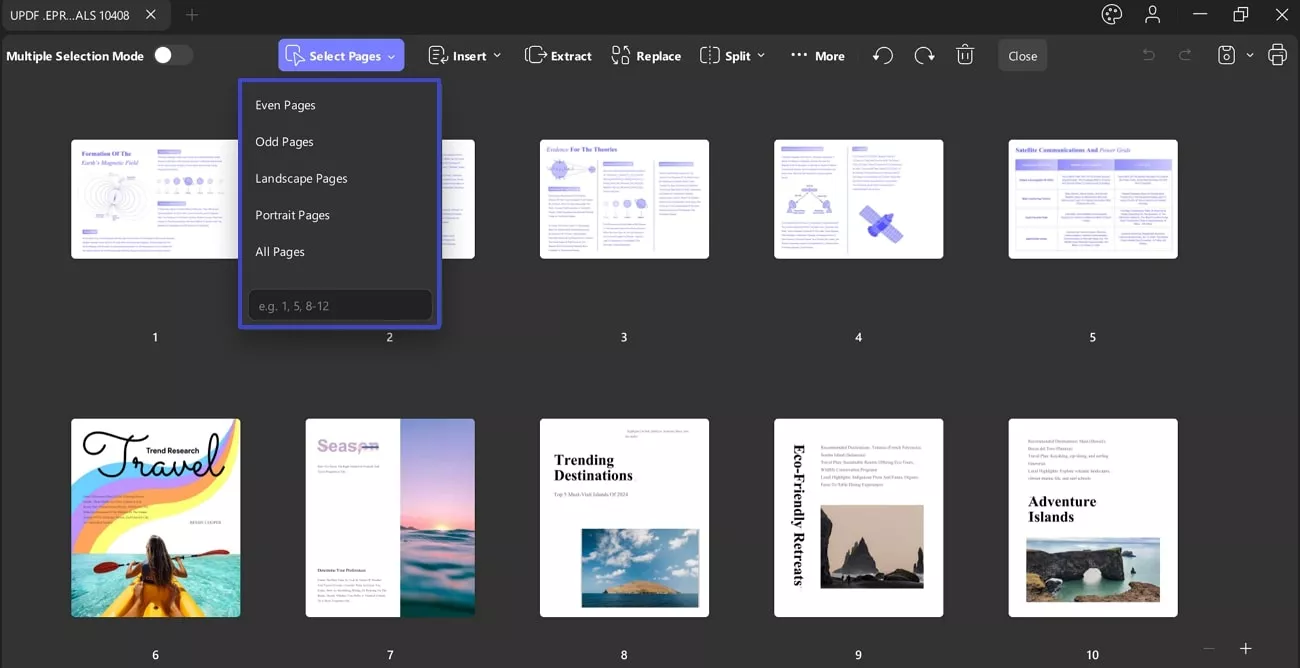
2. Select Pages
UPDF lets you select pages of a PDF document. Go to Select Pages from the top of the screen, and there are five options:
- Even Pages: By choosing the Even Option, you can select even pages for all of your documents at once. From there, you can individually edit each of those even pages by selecting the Rotate, Copy, and Extract buttons. It also lets you delete those selected pages by using the Delete icon.
2. Odd Pages: From the Odd Pages option, you can choose all the odd pages of the document with one click. Further, you can edit these pages just like the even pages.
3. Landscape Pages: The Landscape Pages option highlights the only horizontal pages of your document.
4. Portrait Pages: By choosing the Portrait Pages option, you can select only vertical pages of the document, leaving the horizontal pages.
5. All Pages: Likewise, if you want to select all document pages, you can use its All Pages option.
6. If you want to choose pages other than this option, it offers a Text Bar where you can type any page number manually.
3. Insert Pages
UPDF allows you to insert pages into a PDF document. Go to the Insert option on the page management toolbar, and there are five options:
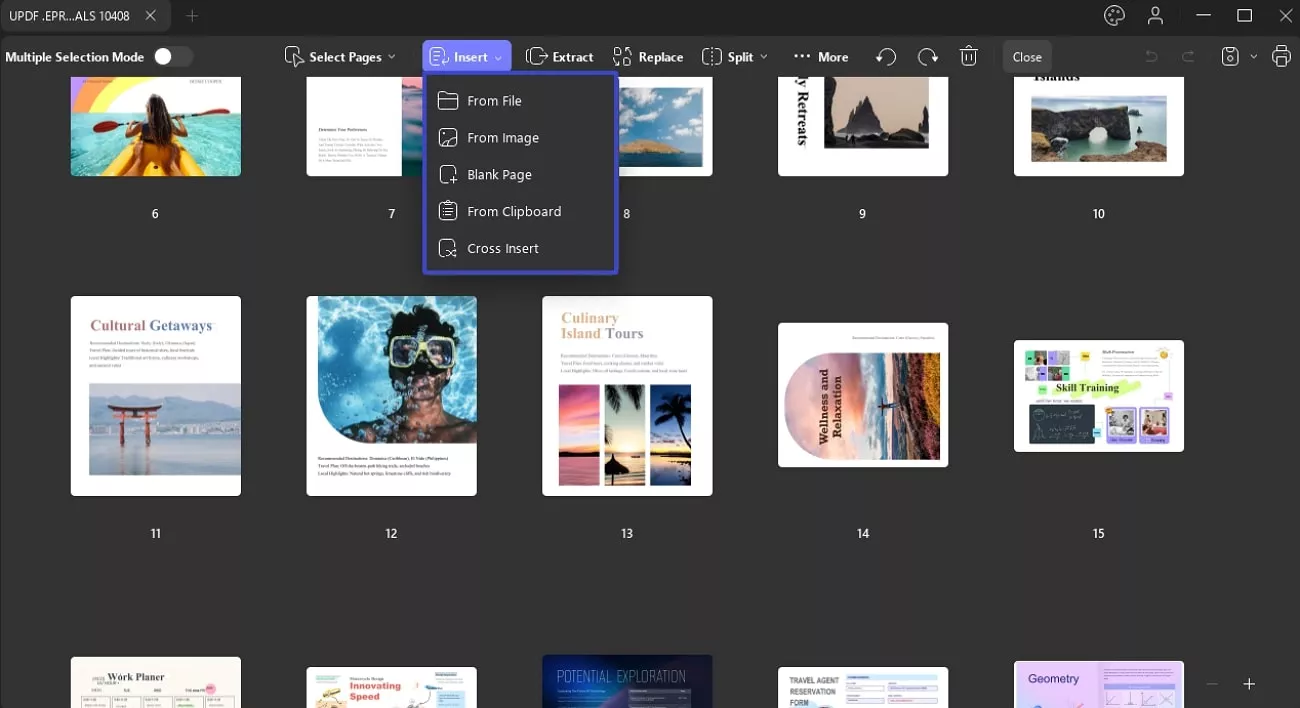
- From File: By selecting the 'Insert from File' option, you can choose another PDF and insert either all its pages or a specific page range into your current document. You can also specify where to insert these pages: at the beginning, at the end, or before or after a specific page.
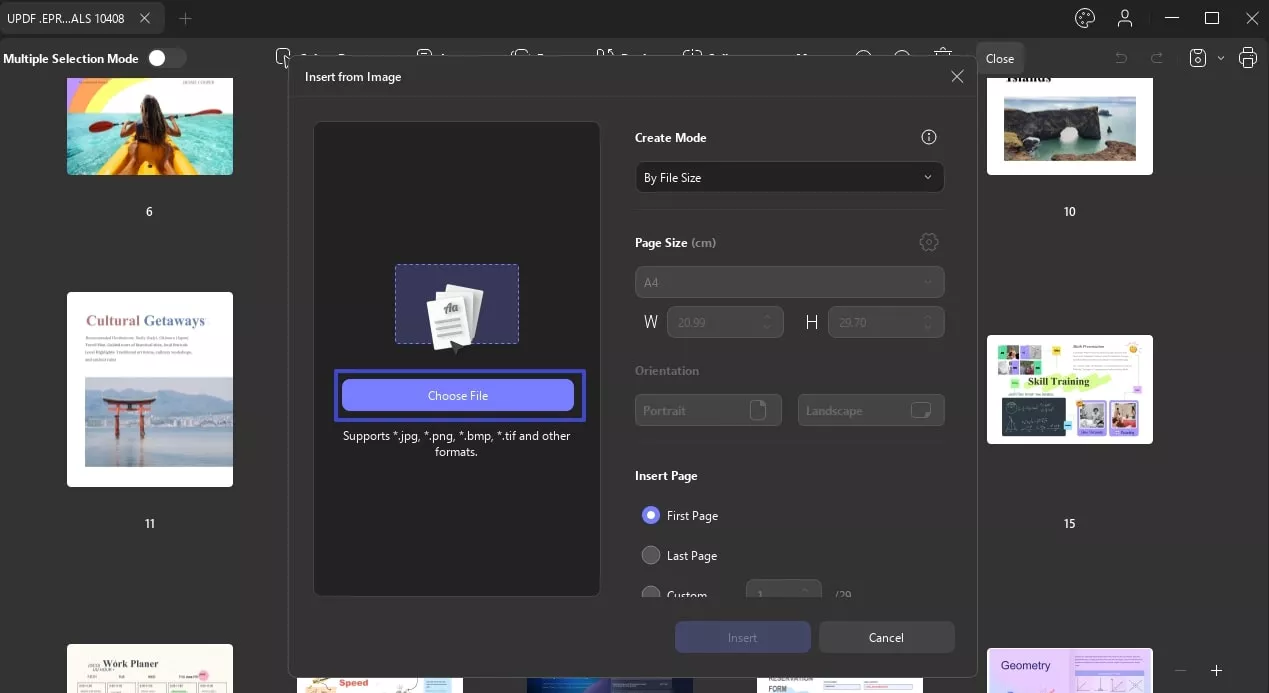
- From Images: You can use the From Images option to add an image by clicking the Choose File button. You can customize the Page Size and File Size from the picture insertion pop-up screen. It lets you enable or disable the First, Last Page, and Custom options. UPDF allows you to enable or disable the Before and After options from the Location option to insert the image.
- Insert Blank Page: By selecting the 'Blank Page' option, you can choose the page size—default, A1, A2, A3, A4, A5, custom, etc. UPDF also allows you to insert pages in either Portrait or Landscape orientation. Additionally, you can specify where to insert the blank page: as the first or last page, or before or after a specific page.
- Insert from Clipboard: You can insert a page with the content copied to your clipboard. Similar to the 'Insert from Blank Page' option, you can customize the page size and specify where to insert it. If the text on the inserted page appears too small, you can click on the “Close” and the Tools option to access the Edit and adjust the font size of the inserted page.
- Cross Insertion: This option allows you to insert the PDFs with odd pages and even pages together in the correct order. With the From option, you can select the whole file and insert it into the original file. On the screen for Across Insert Pages, you can use two methods as shown in the screenshot:
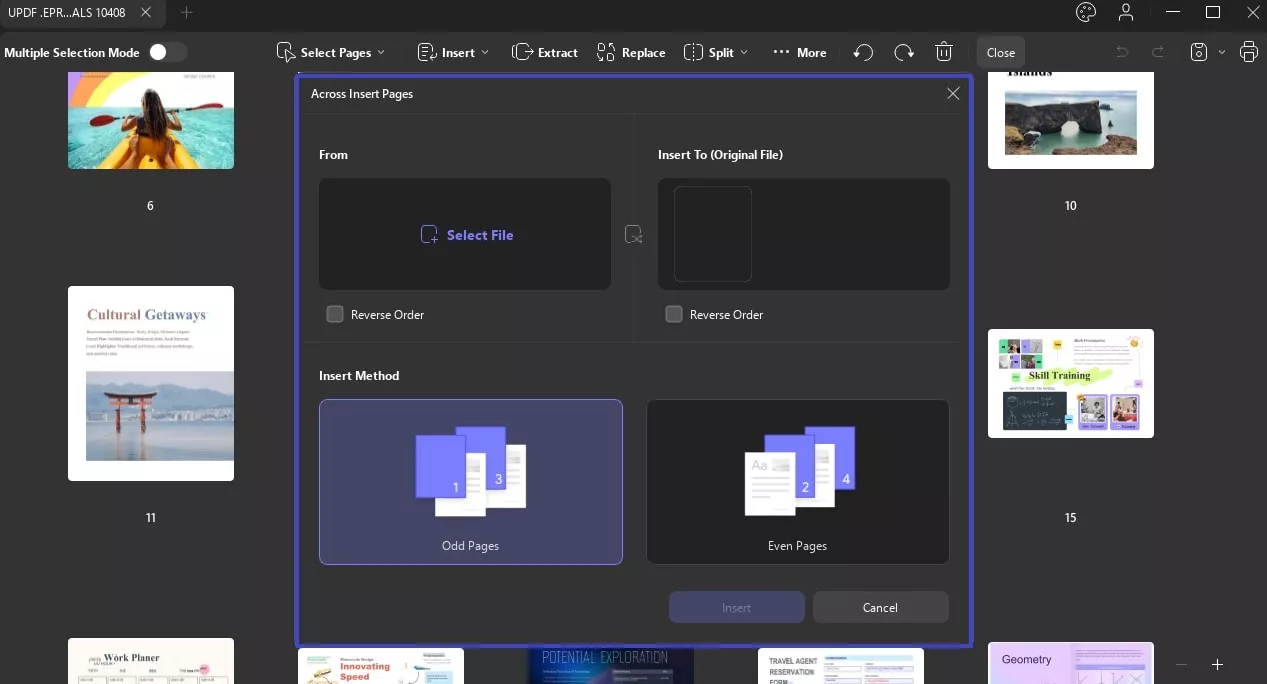
- Odd Pages: You can choose the Odd Pages option to add them as odd pages in your original file.
- Even Pages: If you want to insert the selected PDF pages as even pages in your original file, then select the Even Page option.
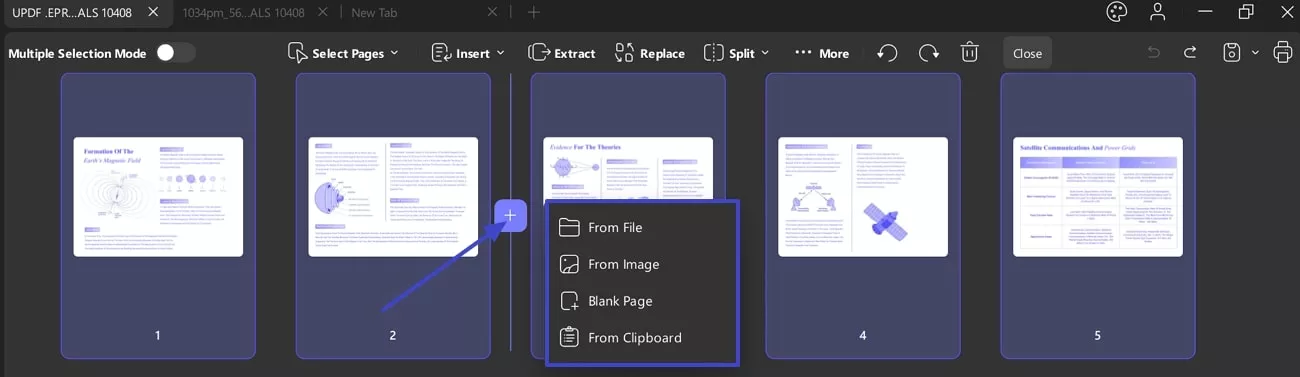
Apart from clicking on the button above, you can also click the Plus icon between pages and choose the From File, From Image, Blank Page, or From Clipboard option to insert as needed
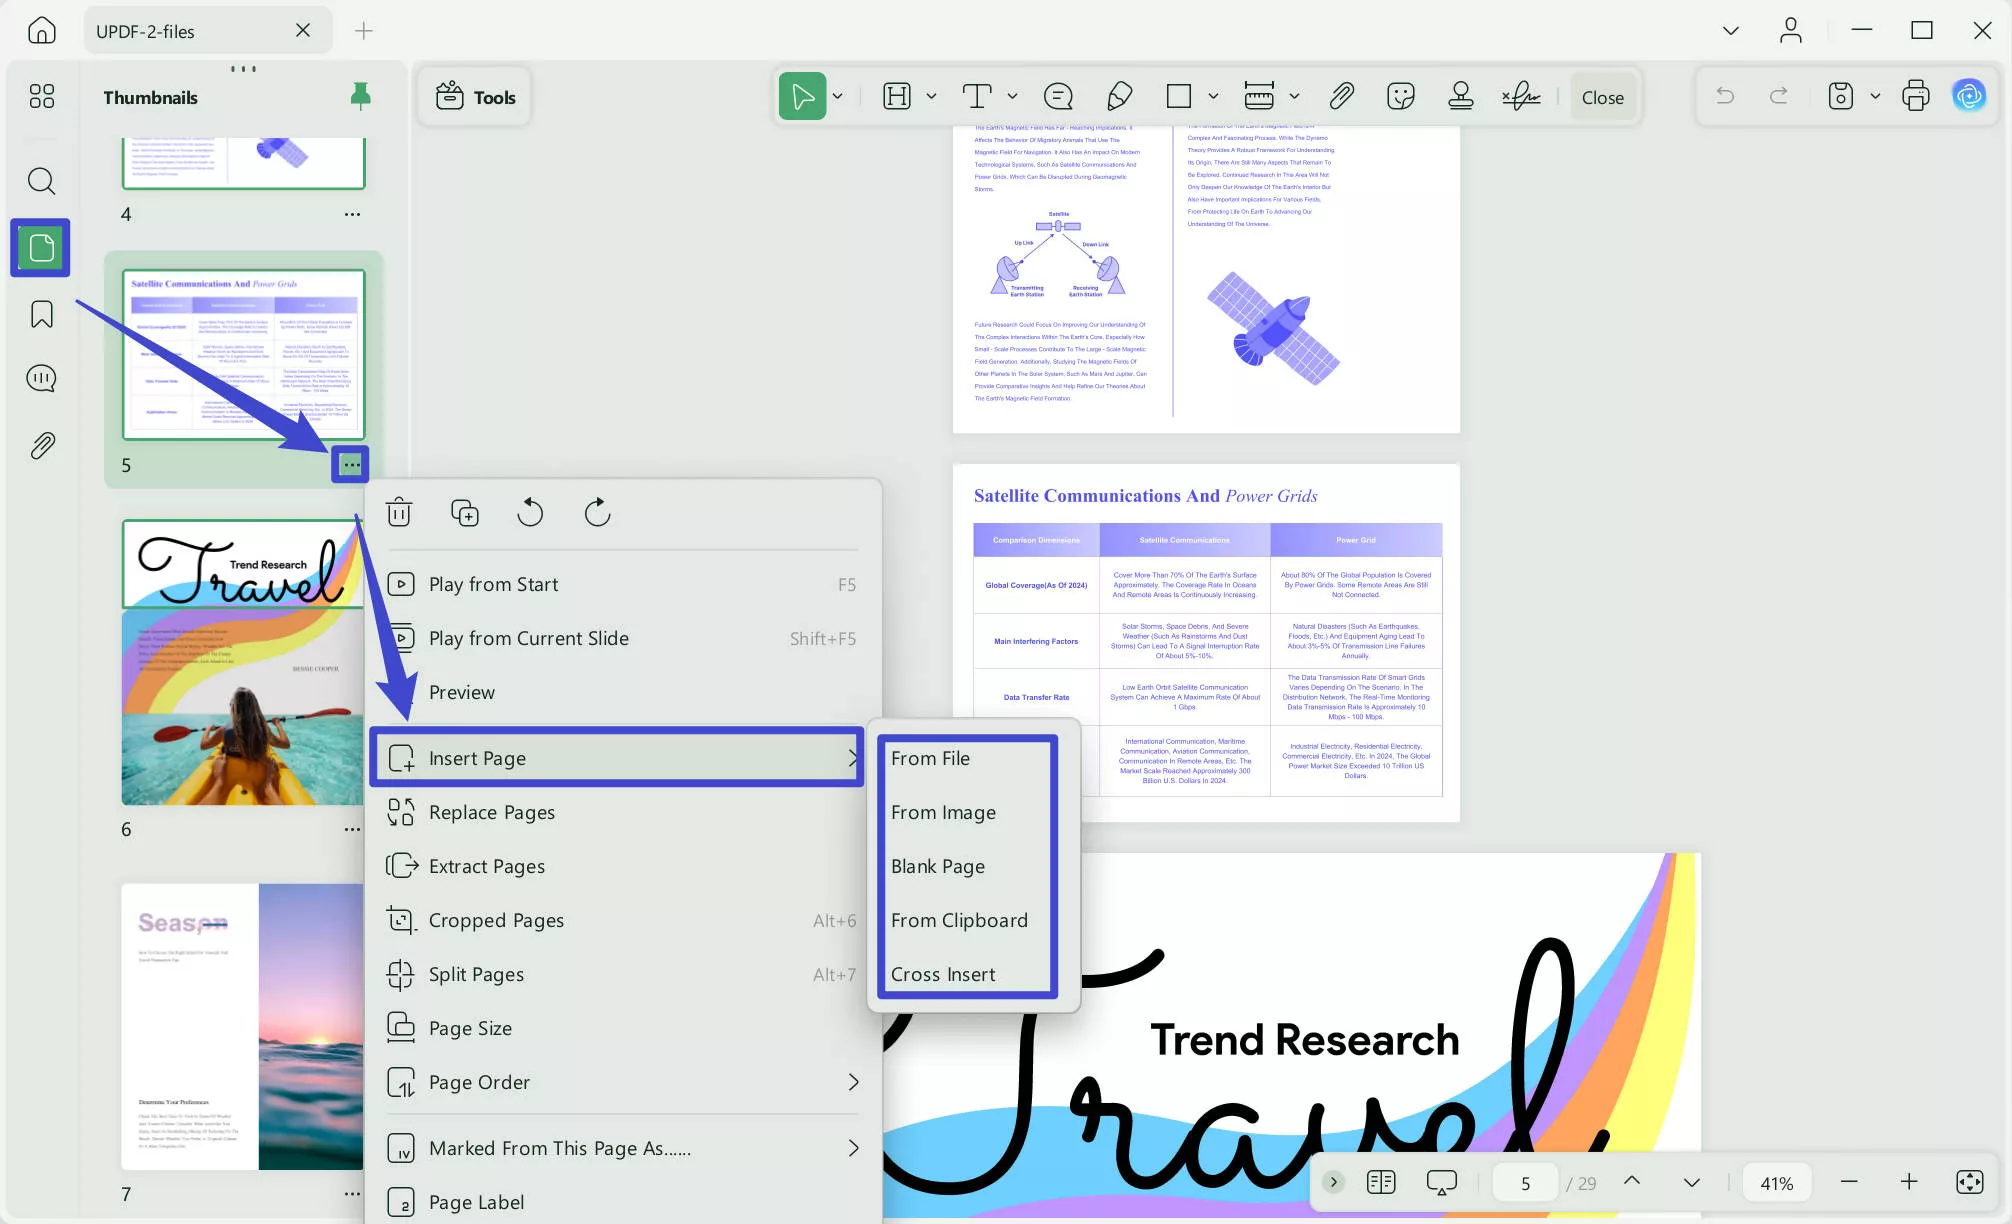
Aside from the methods mentioned above, UPDF also allows you to insert pages via thumbnail. Here's how:
Step 1: Ensure the thumbnail view is enabled. If not, click the thumbnail icon in the bottom-left corner.
Step 2: Click on the “Three Dots” or right click to select “Insert Pages”, then, choose the options you need.
4. Replace Pages
UPDF also allows you to replace pages with another PDF file. Here's how to replace a specific page with a single-page PDF:
- Select the page you want to replace in Organize Pages mode.
- Click the 'Replace' option on the top toolbar.
- Choose the single-page PDF you want to use for replacement and click 'Open.' The selected page will be replaced.
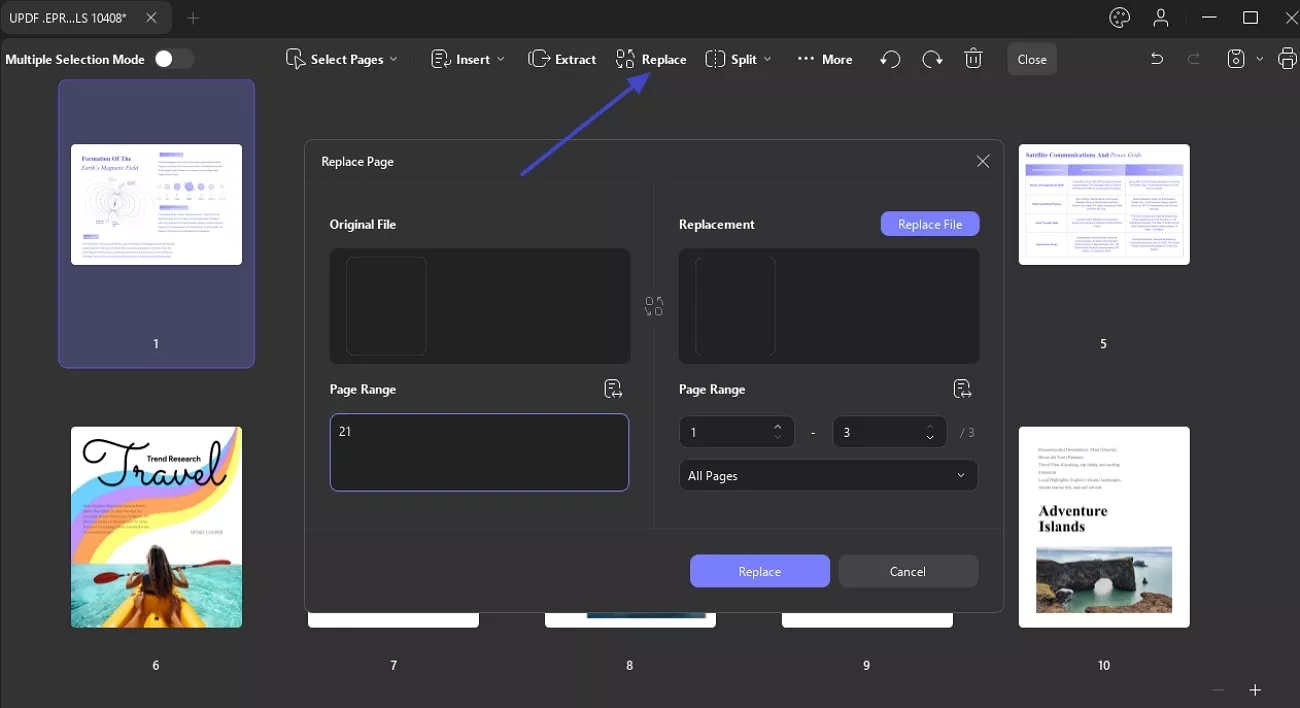
To replace multiple specific pages with a multi-page PDF:
- Select the pages you want to replace and click the 'Replace' option on the top toolbar. For example, if you've selected three specific pages.
- Choose the multi-page PDF from your local storage. UPDF will prompt you to customize the page range for insertion. Click the 'Replace' button to proceed. (If you're using a four-page PDF to replace the selected pages, ensure you customize the settings carefully.)
- The selected pages will be replaced with the pages from the chosen PDF.
5. Extract Pages
You can also extract pages in UPDF to create a new file. Here's how:
- Go to page management mode by clicking the 'Organize Pages' menu.
- Select the pages you want to extract from your PDF. Then, click 'Extract' on the top toolbar.
- UPDF will show a confirmation window. Where you can see the Extract Type from the PDF, Image, and Image PDF options. You can choose the page range to extract. You can also opt to extract pages as multiple files and delete the selected pages after extraction.
- After confirming, click 'Extract,' select a folder to save the extracted pages, and click 'Save.' The selected pages will be extracted to a new file, which will be saved in the location you selected.

6. Split Pages
UPDF supports splitting pages by the number of pages, by size, by top-level bookmarks, and by custom split range.
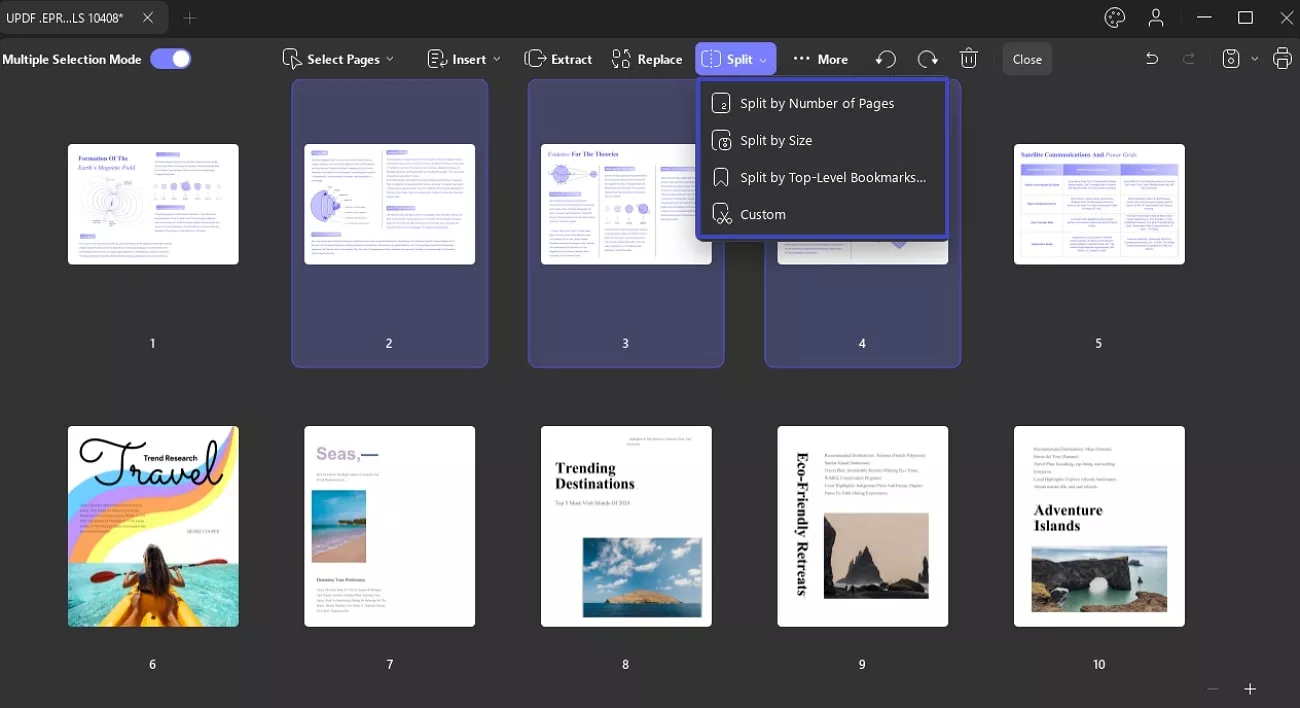
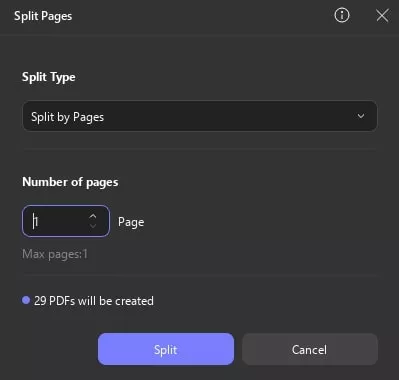
Method 1. Split by Number of Pages
This option lets you divide a multi-page PDF into several smaller PDFs. For example, if your PDF has 23 pages, you can choose to split it into any number of PDFs, up to 23, by manually entering the desired number.
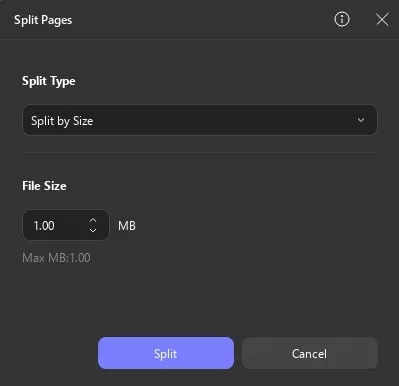
Method 2. Split by Size
If you choose 'Split by Size,' UPDF will prompt you to enter the specific size for each split PDF. After inputting the desired size, click the 'Split' button to confirm. UPDF will then generate multiple PDFs based on the specified size, and all of these PDFs will be saved in a folder within the selected directory.
The following image displays the confirmation interface when splitting a 17.12MB PDF.
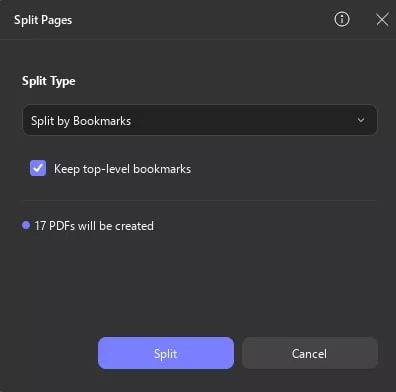
Method 3. Split by Top-Level Bookmarks
As the name suggests, this method allows you to split a multi-page PDF based on top-level bookmarks. Before using this method, ensure that you have added top-level bookmarks to the PDF for accurate splitting.
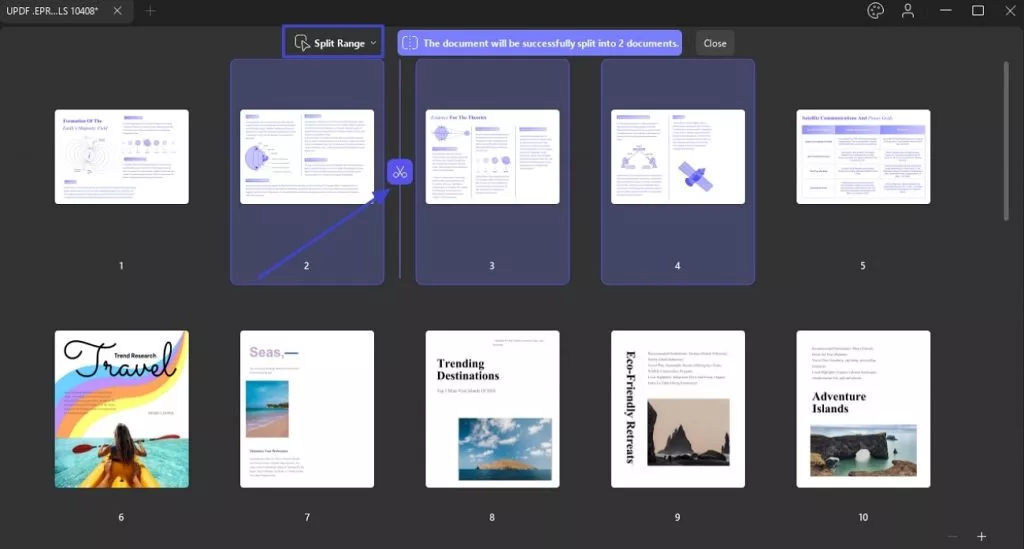
Method 4. Custom Split Range
UPDF also allows you to split a multi-page PDF using a custom page range.
After selecting this method, the left panel will display thumbnails of the PDF pages. Hover over the page where you want to start the split, and click the scissor icon. Afterward, press the document will be successfully split into 2 documents button and select a location to save the split PDFs.irm by clicking the 'Split' button and choose a location to save the split PDFs.
7. Page Label, Order, and Size
UPDF offers a More option where you can choose the following features:
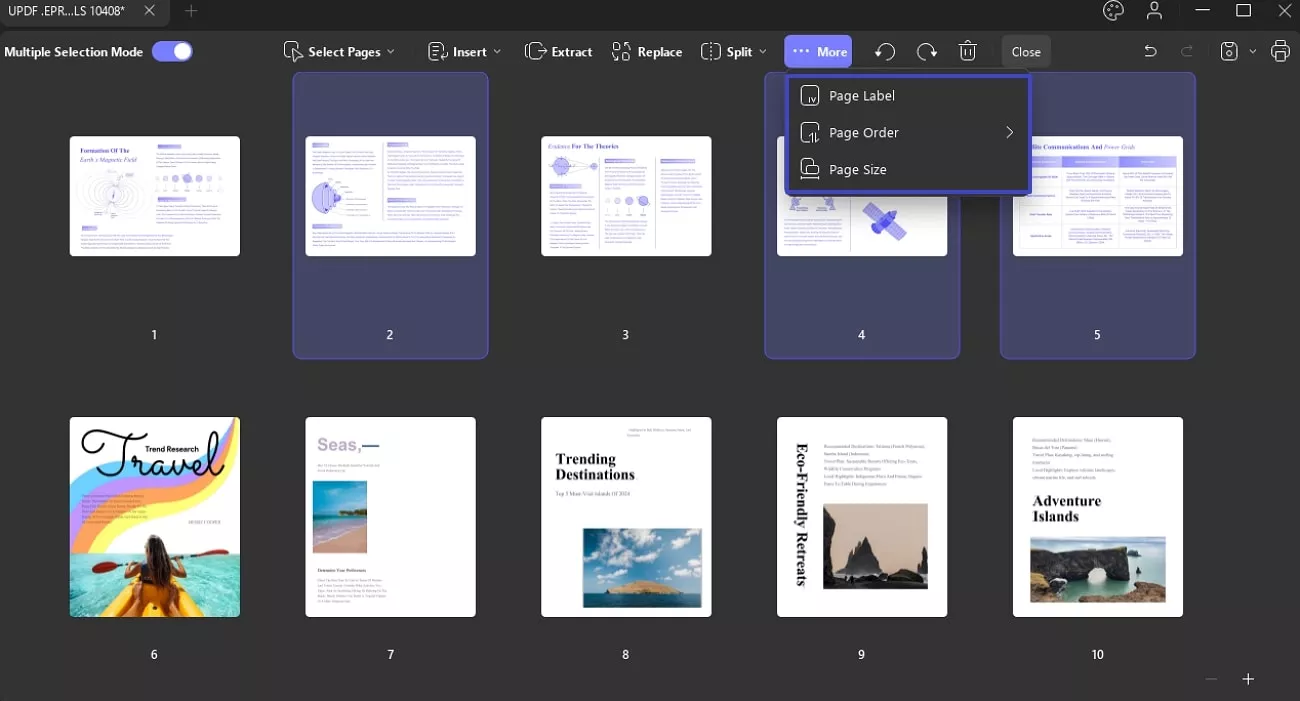
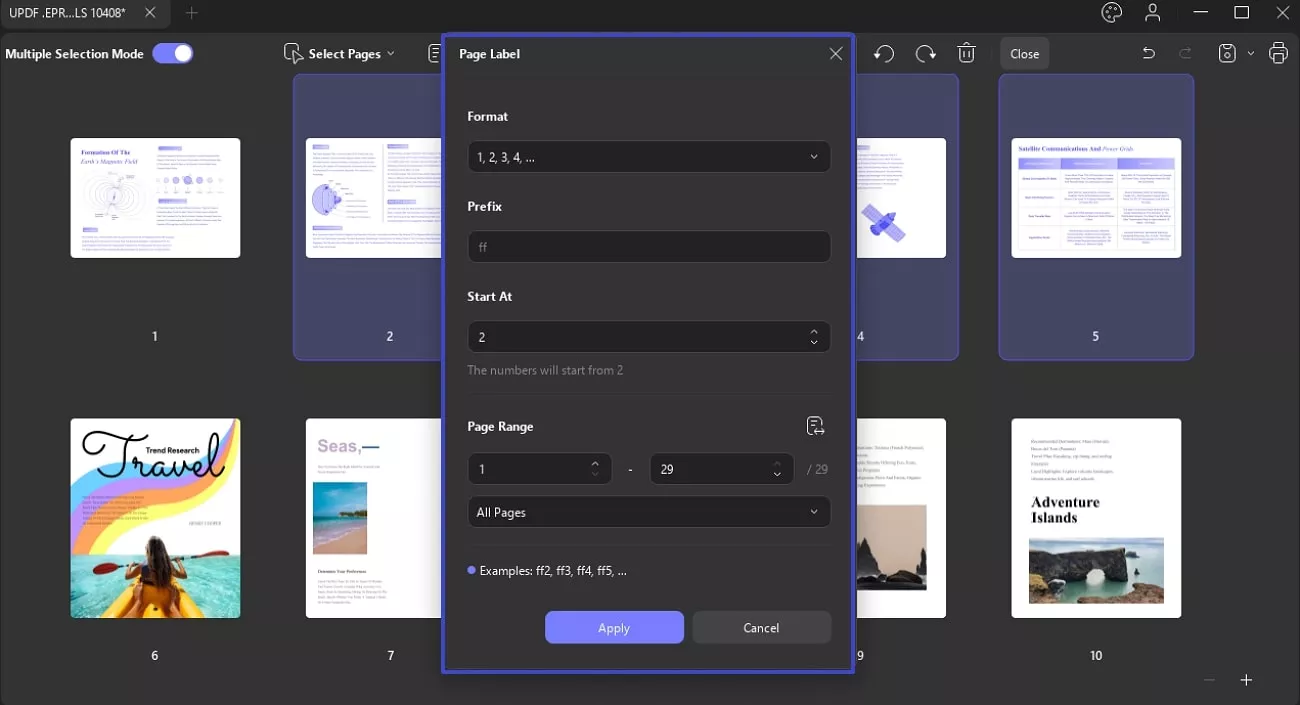
- Page Label: You can add the labels for your PDF pages with different formats like Roman numerals, or alphabetical order.
- It lets you change the first initial of the page from the Prefix section, such as ff1, ff2, and ff3.
- From the Start AT section, it allows you to name the pages after Prefixes such as ff2, ff3, and onward.
- UPDF allows you to organize pages by Page Range, such as All, Even, and Odd pages, as you like.
2. Page Order: From the Page Order option, you can get three further options:
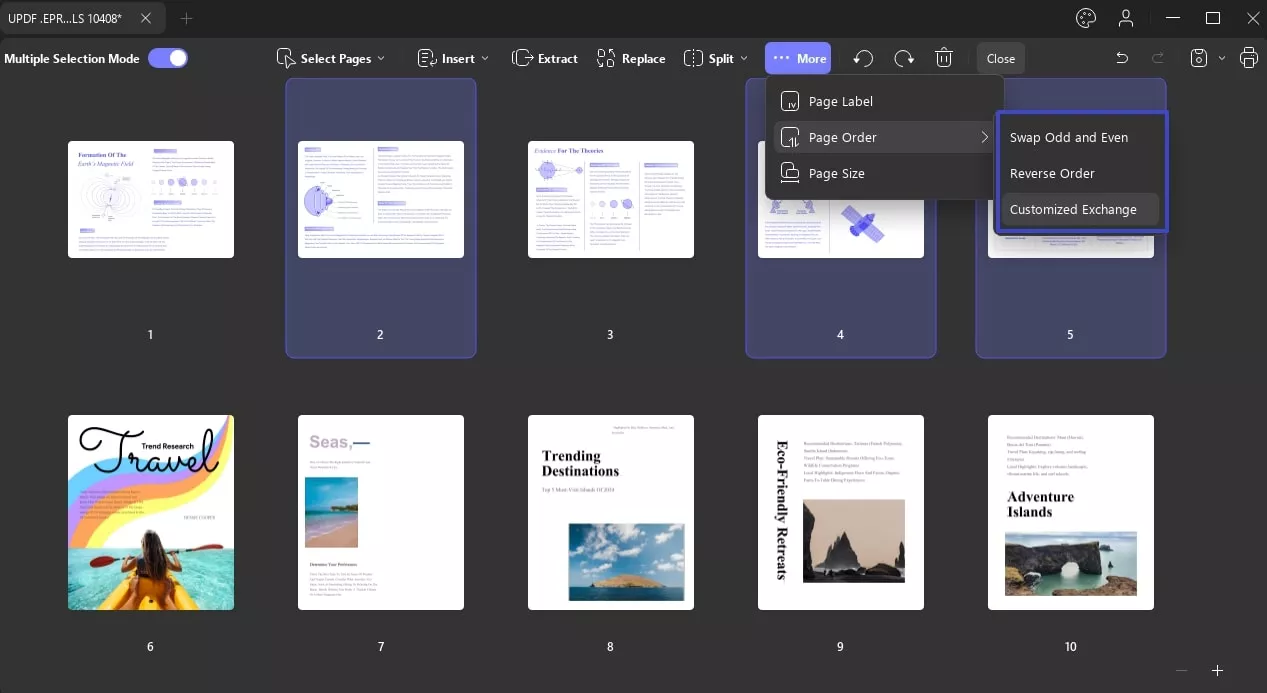
- Swap Odd from Even: With this option, you can exchange the page order from even to odd and odd to even as needed.
- Reverse Order: You can also reverse the order of your document pages by using the Reverse Order option.
- Customize Exchange: If you want to swap the pages, you can choose the Customize Exchange option by typing the number inthe Exchange and In to section.

3. Page Size: UPDF allows you to change the page size in cm, such as A4, and also by customizing the Width and Height of the page.
- You can change the pages in either Portrait or Landscape orientation.
- By typing the numbers, you can specify the page range of the pages whose size you want to change from starting to ending.

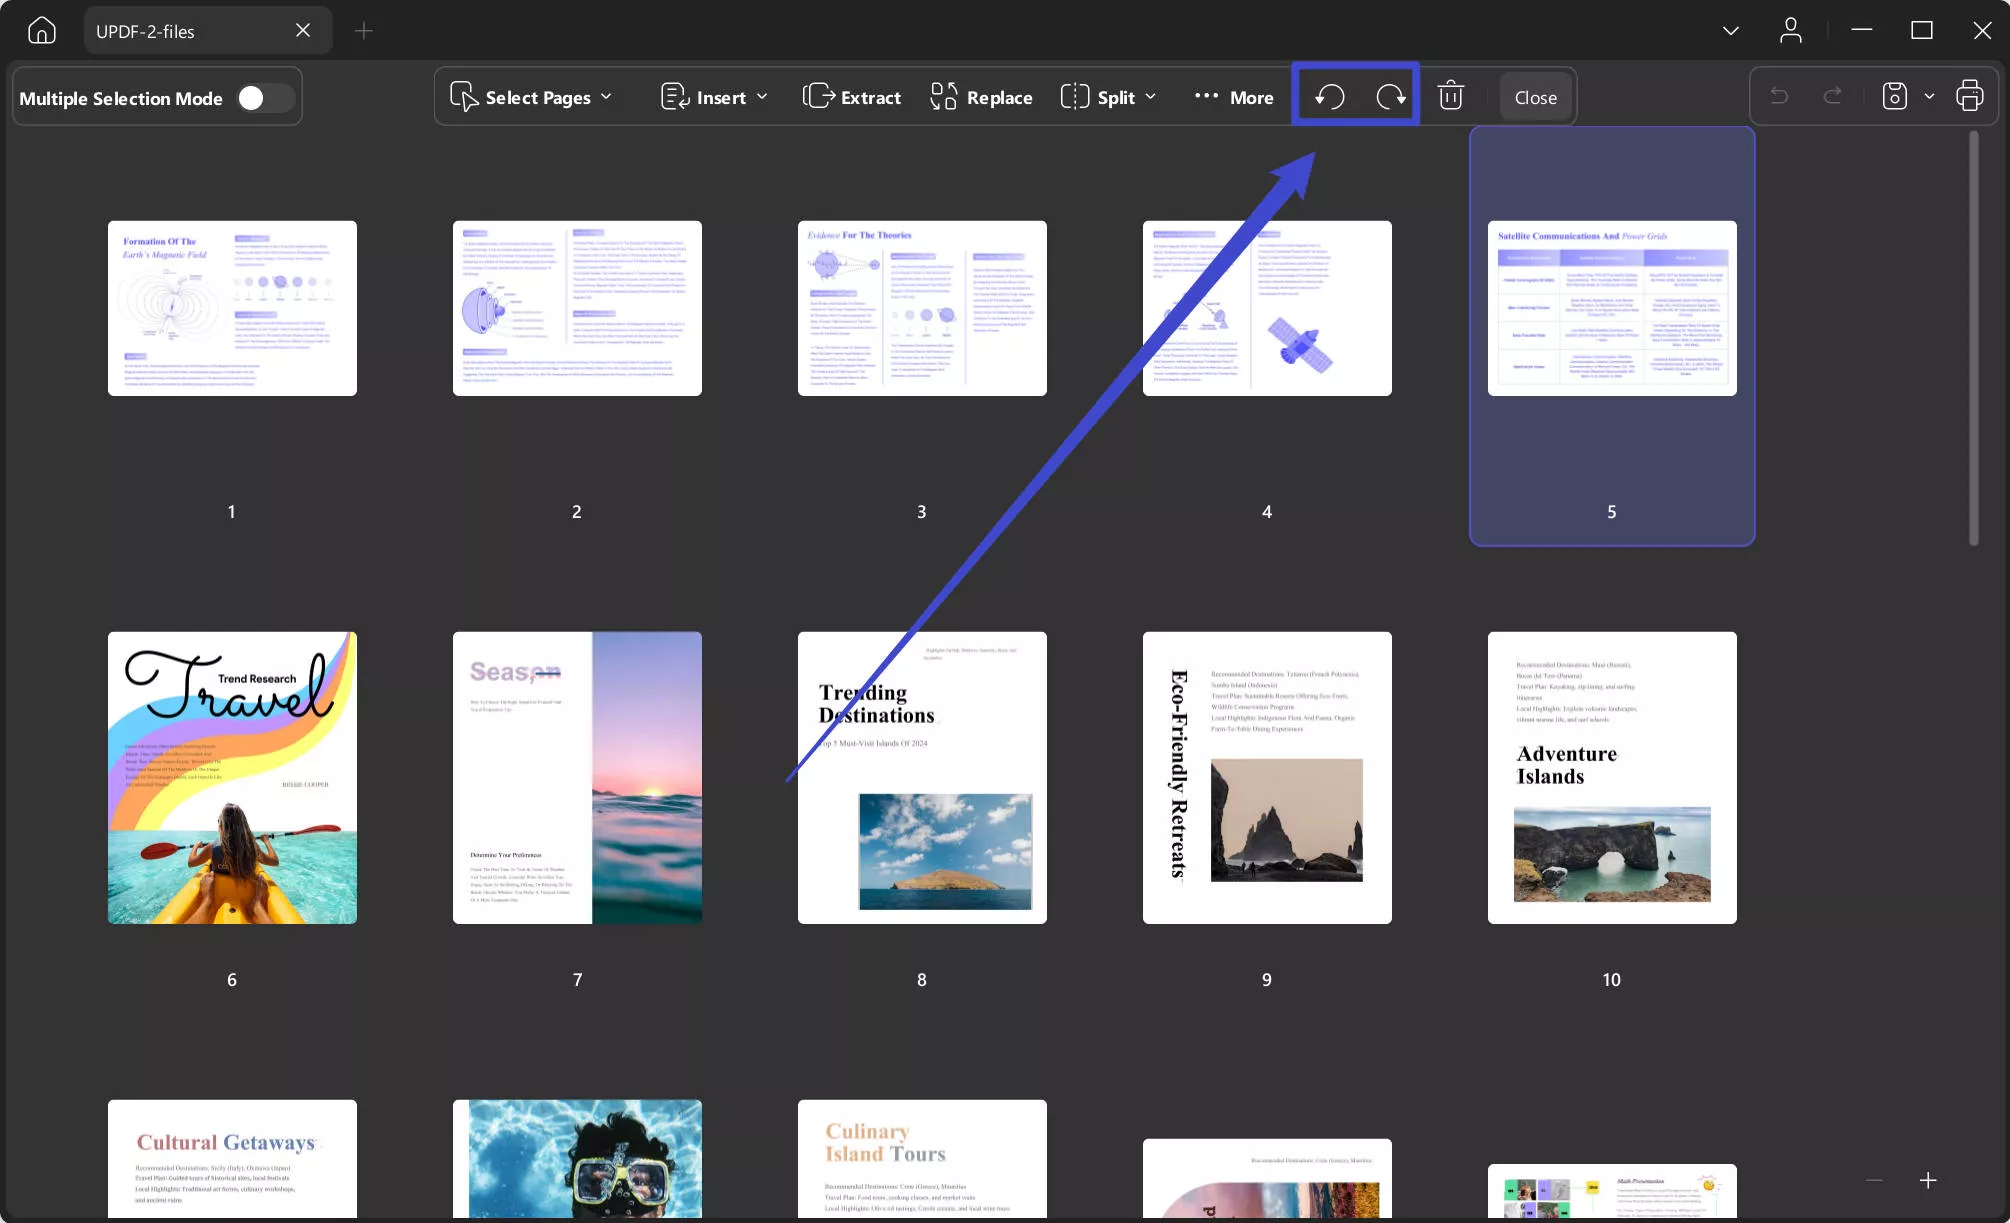
8. Rotate Pages
To rotate a specific page, click on the page and then select either the Rotate Counterclockwise or Rotate Clockwise option.
9. Delete Pages
You can also delete unwanted pages from your PDF documents. Here's how:
- Go to the primary Organize Pages function.
- Select the pages you want to delete. Click the 'Delete' option on the top toolbar or press the 'Delete' key on your keyboard.
Note: You can select either a single page or multiple pages to delete at once.
After deleting the pages, don't forget to save the file.
10. Zoom in and zoom out
In Organize Pages mode, you can also zoom in or out on the thumbnail preview. This is especially useful when organizing a PDF with small text.