 UPDF for Windows
 UPDF for Mac
 UPDF for iPhone/iPad
 UPDF for Android
 UPDF AI Online
 UPDF Sign
 Edit PDF
 Annotate PDF
 Create PDF
 PDF Form
 Edit links
 Convert PDF
 OCR
OCR PDF to Word
 PDF to Image
 PDF to Excel
 Organize PDF
 Merge PDF
 Split PDF
 Crop PDF
 Rotate PDF
 Protect PDF
 Sign PDF
 Redact PDF
 Sanitize PDF
 Remove Security
 Read PDF
 UPDF Cloud
 Compress PDF
 Print PDF
 Batch Process
 About UPDF AI
 UPDF AI Solutions
 AI User Guide
 FAQ about UPDF AI
 Summarize PDF
 Translate PDF
 Chat with PDF
 Chat with AI
 Chat with image
 PDF to Mind Map
 Explain PDF
 PDF AI Tools
 Image AI Tools
 AI Chat Tools
 AI Writing Tools
 AI Study Tools
 AI Working Tools
 Other AI Tools
 AI Bookmark Generation
 AI Bookmark Summary
 AI Watermark Generation
 AI Background Generation
 AI Sticker Generation
 AI Stamp Generation
 AI Editing Suite
 UPDF Copilot
 AI Page Management
 AI Semantic Search
 PDF to Word
 PDF to Excel
 PDF to PowerPoint
 User Guide
 UPDF Tricks
 FAQs
FAQs UPDF Reviews
 Download Center
 Blog
Blog Newsroom
 Tech Spec
 Updates
 UPDF vs. Adobe Acrobat
 UPDF vs. Foxit
 UPDF vs. PDF Expert
Protect PDF with UPDF on Mac
Ensuring the privacy of your PDF files is crucial, and implementing encryption, password protection, or redaction is essential. Mac users can now enhance the security of their PDFs by utilizing password protection or redaction features within the UPDF program.
Windows • macOS • iOS • Android 100% secure
1. Add an Open and Permission Password
UPDF provides extra security to your PDF documents by applying an Open and a Permission password. The purpose of this password is to restrict your document from unauthorized persons to open and view it.
- To add an open and permission password, first open your PDF in UPDF.
- After this, proceed to the Save icon at top left and extend its menu to choose the Protect Using Password option.
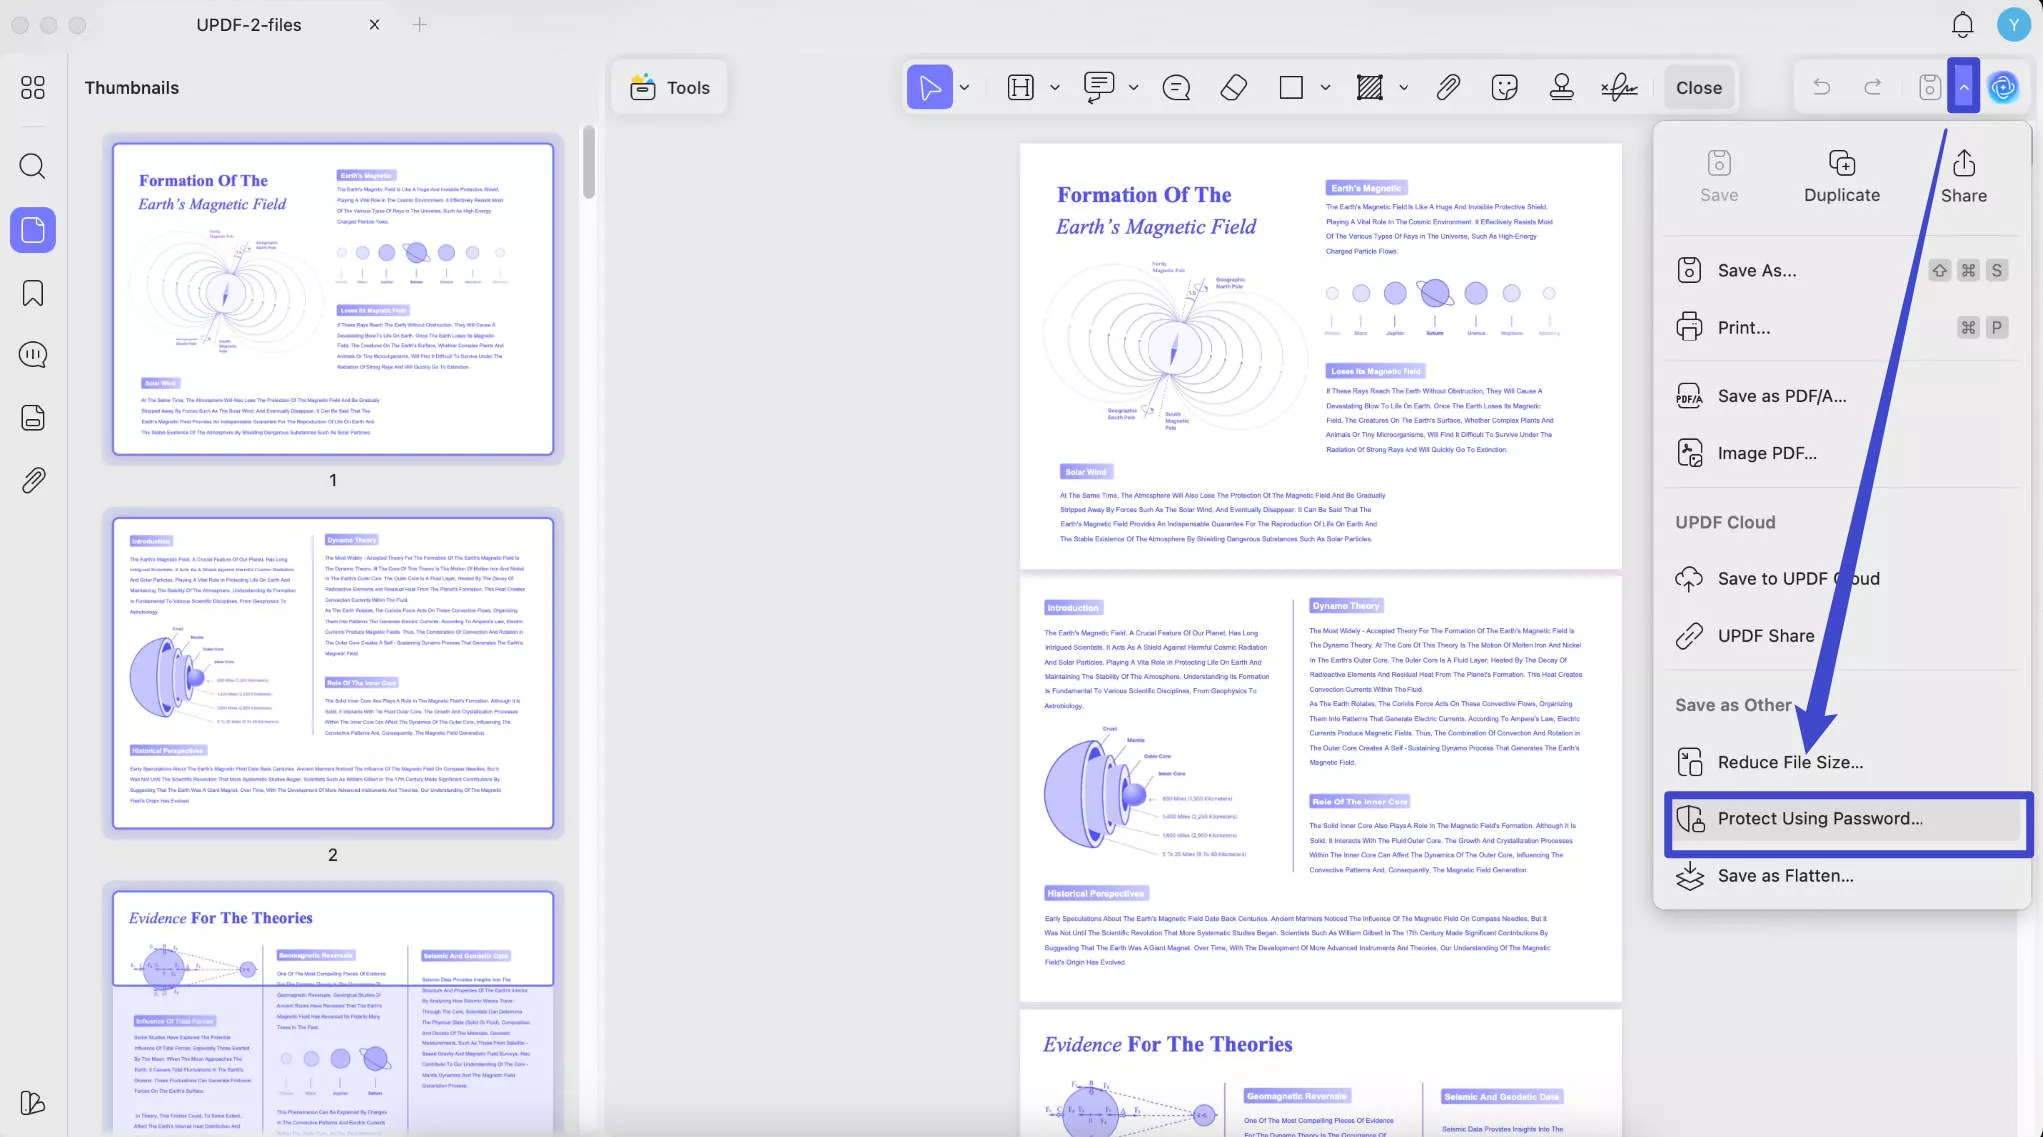
- Following this, a new window will appear on your screen, enabling you to set passwords respectively.
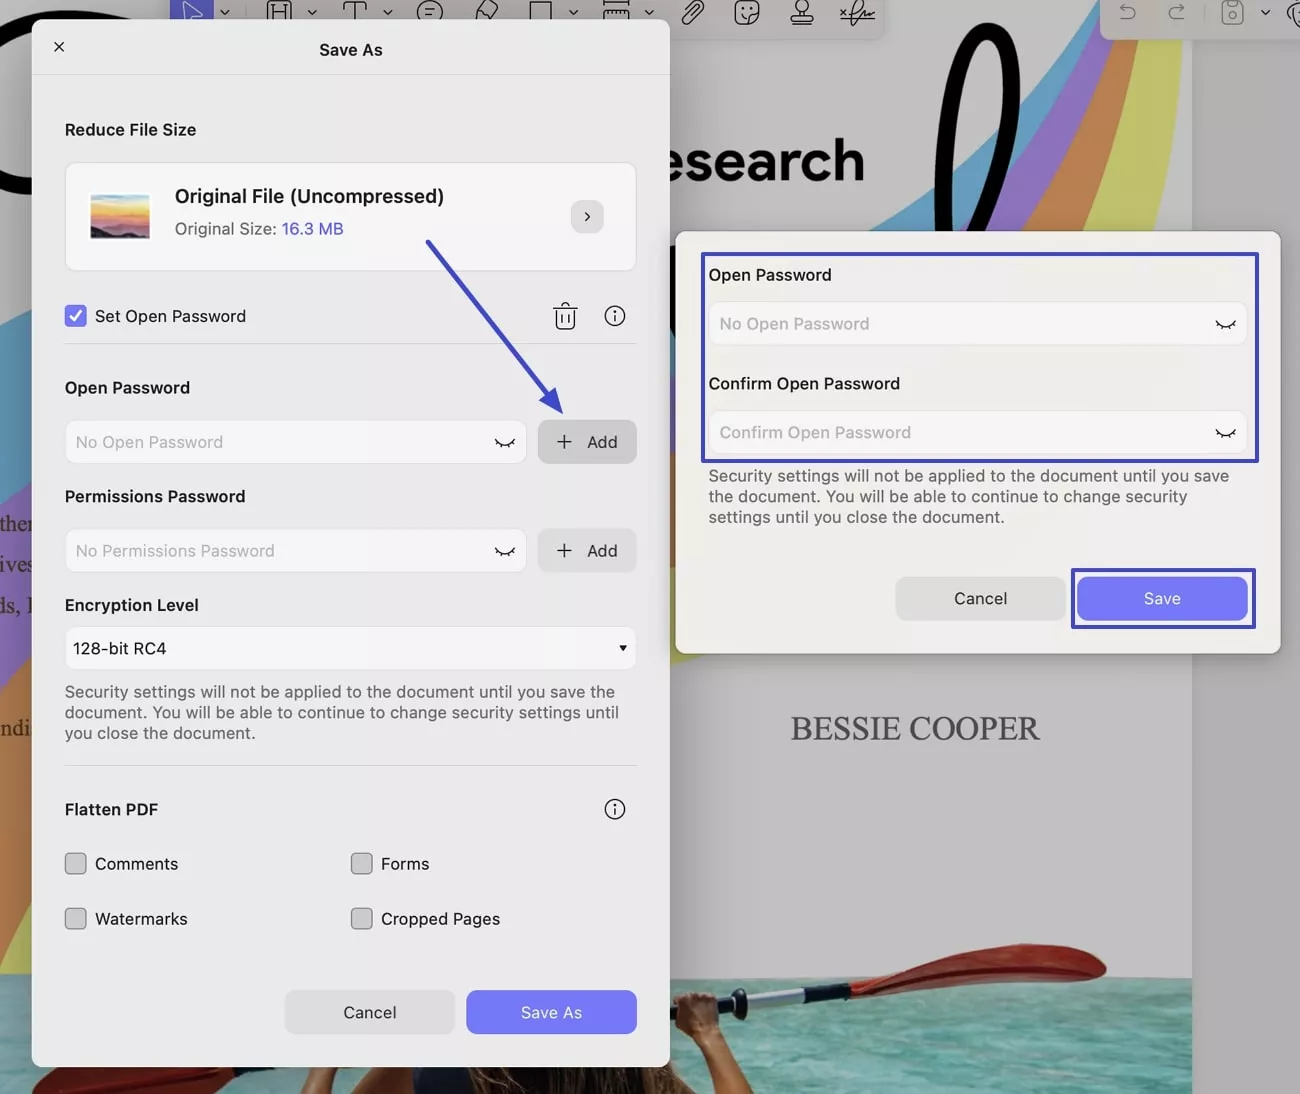
- Open Password:
From the current window, press the + Add button to reveal another window.
Now, set your Open Password and then confirm it by rewriting it. Once done, click on the Save button to set your open password.
- Permission Password: To put your permission password, follow the stepwise guide.
In the same window, click the + Add button to place a permission password and confirm it. Once all is set, press the Save button to save it for security reasons.
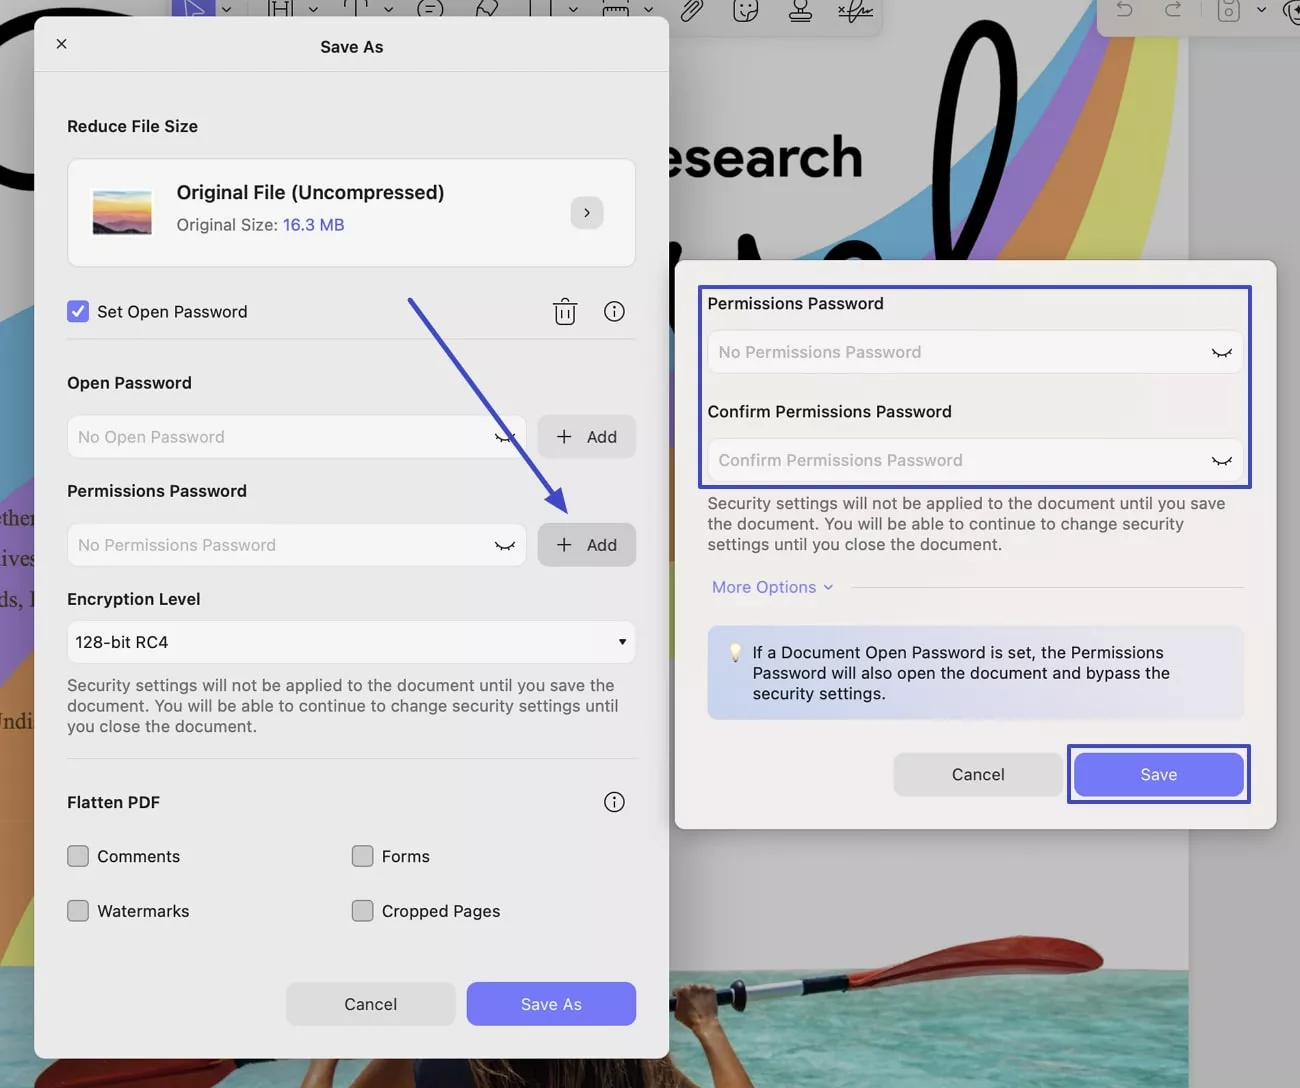
- Besides this, you can also specify your Encryption Level by extending the menu and choosing between 128-bit RC4, 128-bit AES, and 256-bit AES.
Once all the settings are applied, press the Save As button to secure your PDF with new passwords. Next, click Save to save the file in the new pop-up window. Please note, security settings will not be applied to the document until you save the document.
2. Remove Security
UPDF also gives you the feature to remove security from your existing document.
- To remove security from your document, click the Remove Password option from the Save menu.
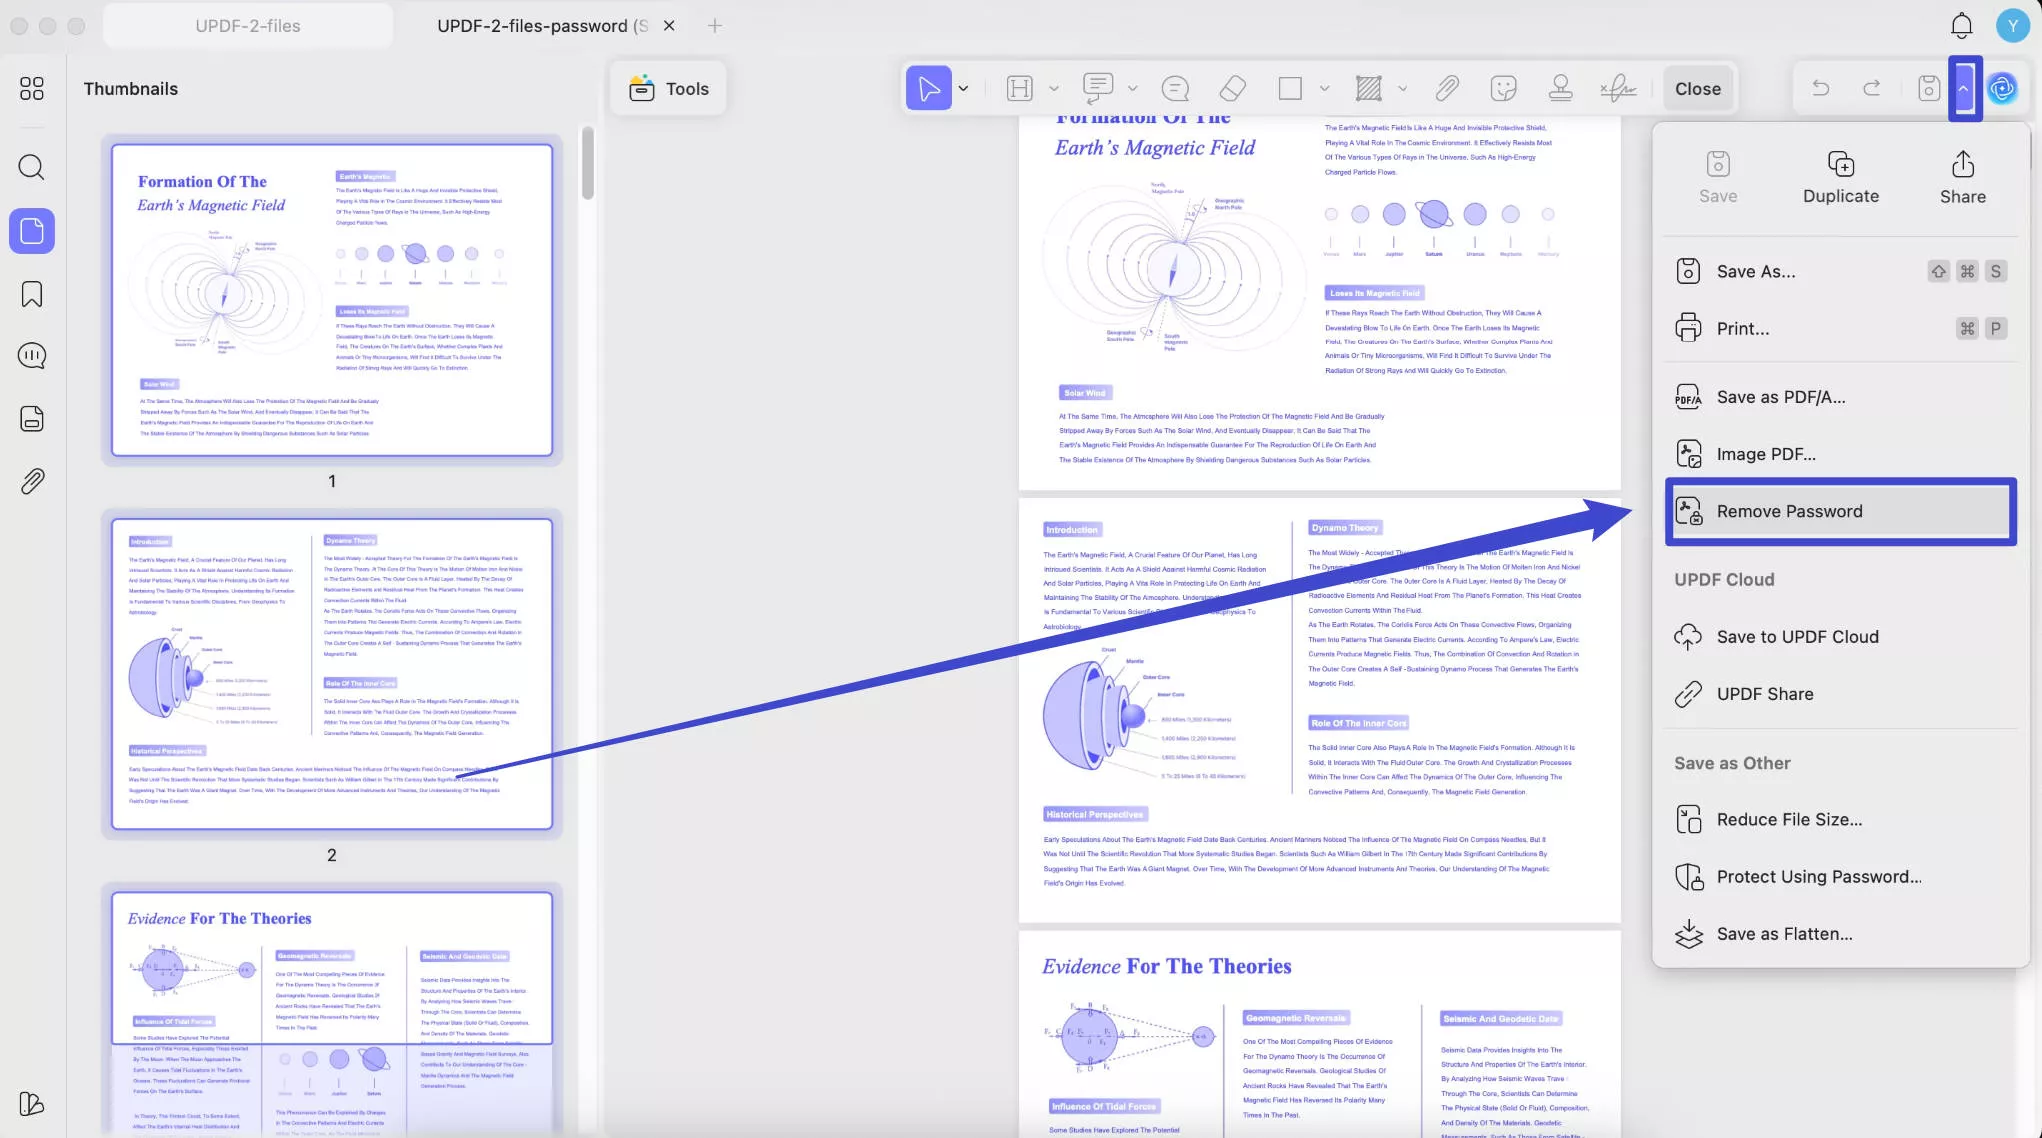
- Now, press the Remove button in the newly appearing window, enter the password, and click on the “Unlock” to remove security from your document.
- Finally, click the Save button, as the security settings will not be applied until you save the document.
3. Redact PDF
Besides restricting access by the implication of the passwords, you can also limit text revelation via the PDF text redaction feature. It lets you black out the selected portion of the PDF content. Once redacted, no one can view the content; thus, your data privacy will remain intact.
Hop on below to learn how you can redact PDFs with UPDF!
- Open the desired PDF in UPDF.
- Now, go to the Tools option from the top left side and choose the Redact option from the drop-down menu.
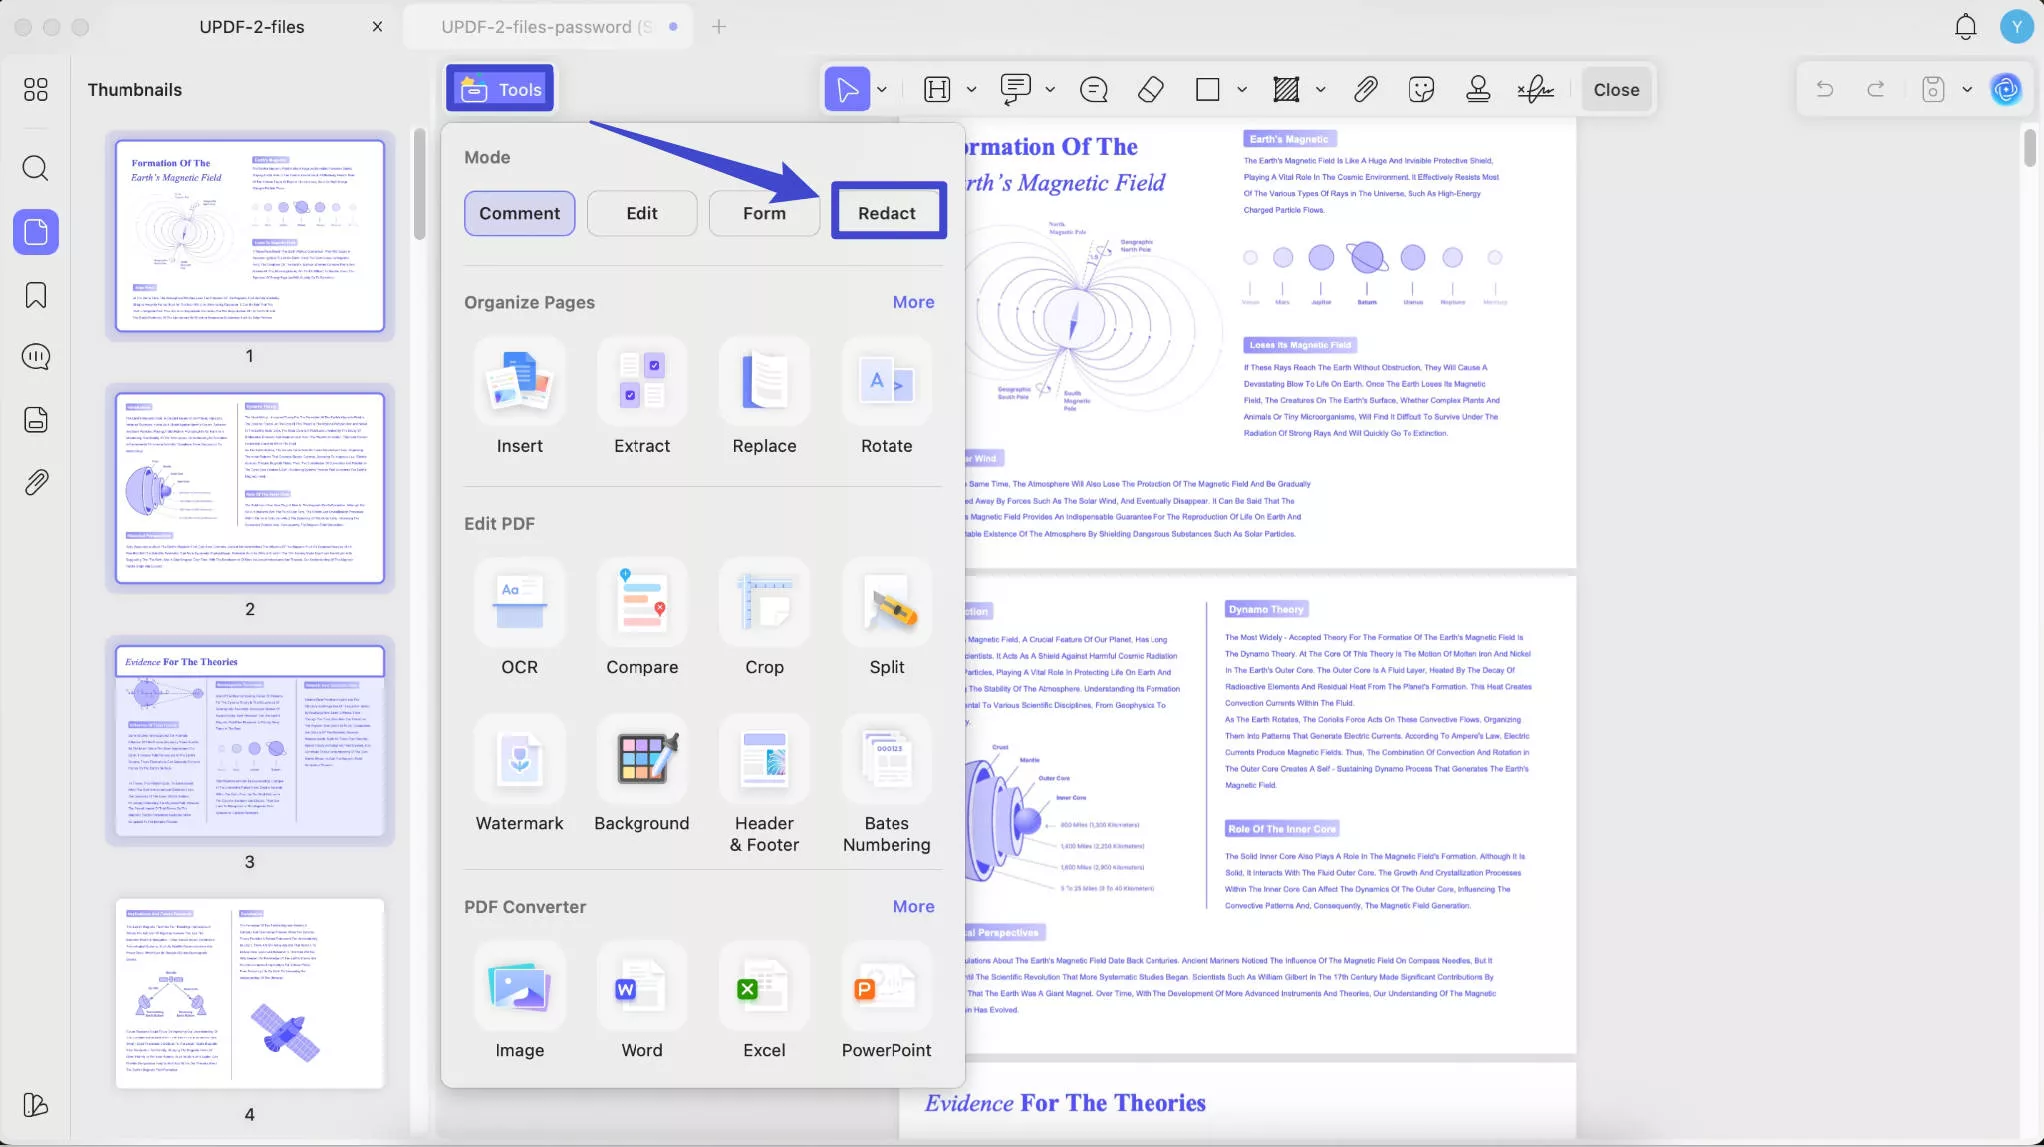
- Following this, a toolbar will appear at the top with 4 redaction options to choose from.
Redact Text & Images
- To redact any text from your document, press the Redact Text & Images option from the top toolbar. After this, highlight any text with the help of the cursor.
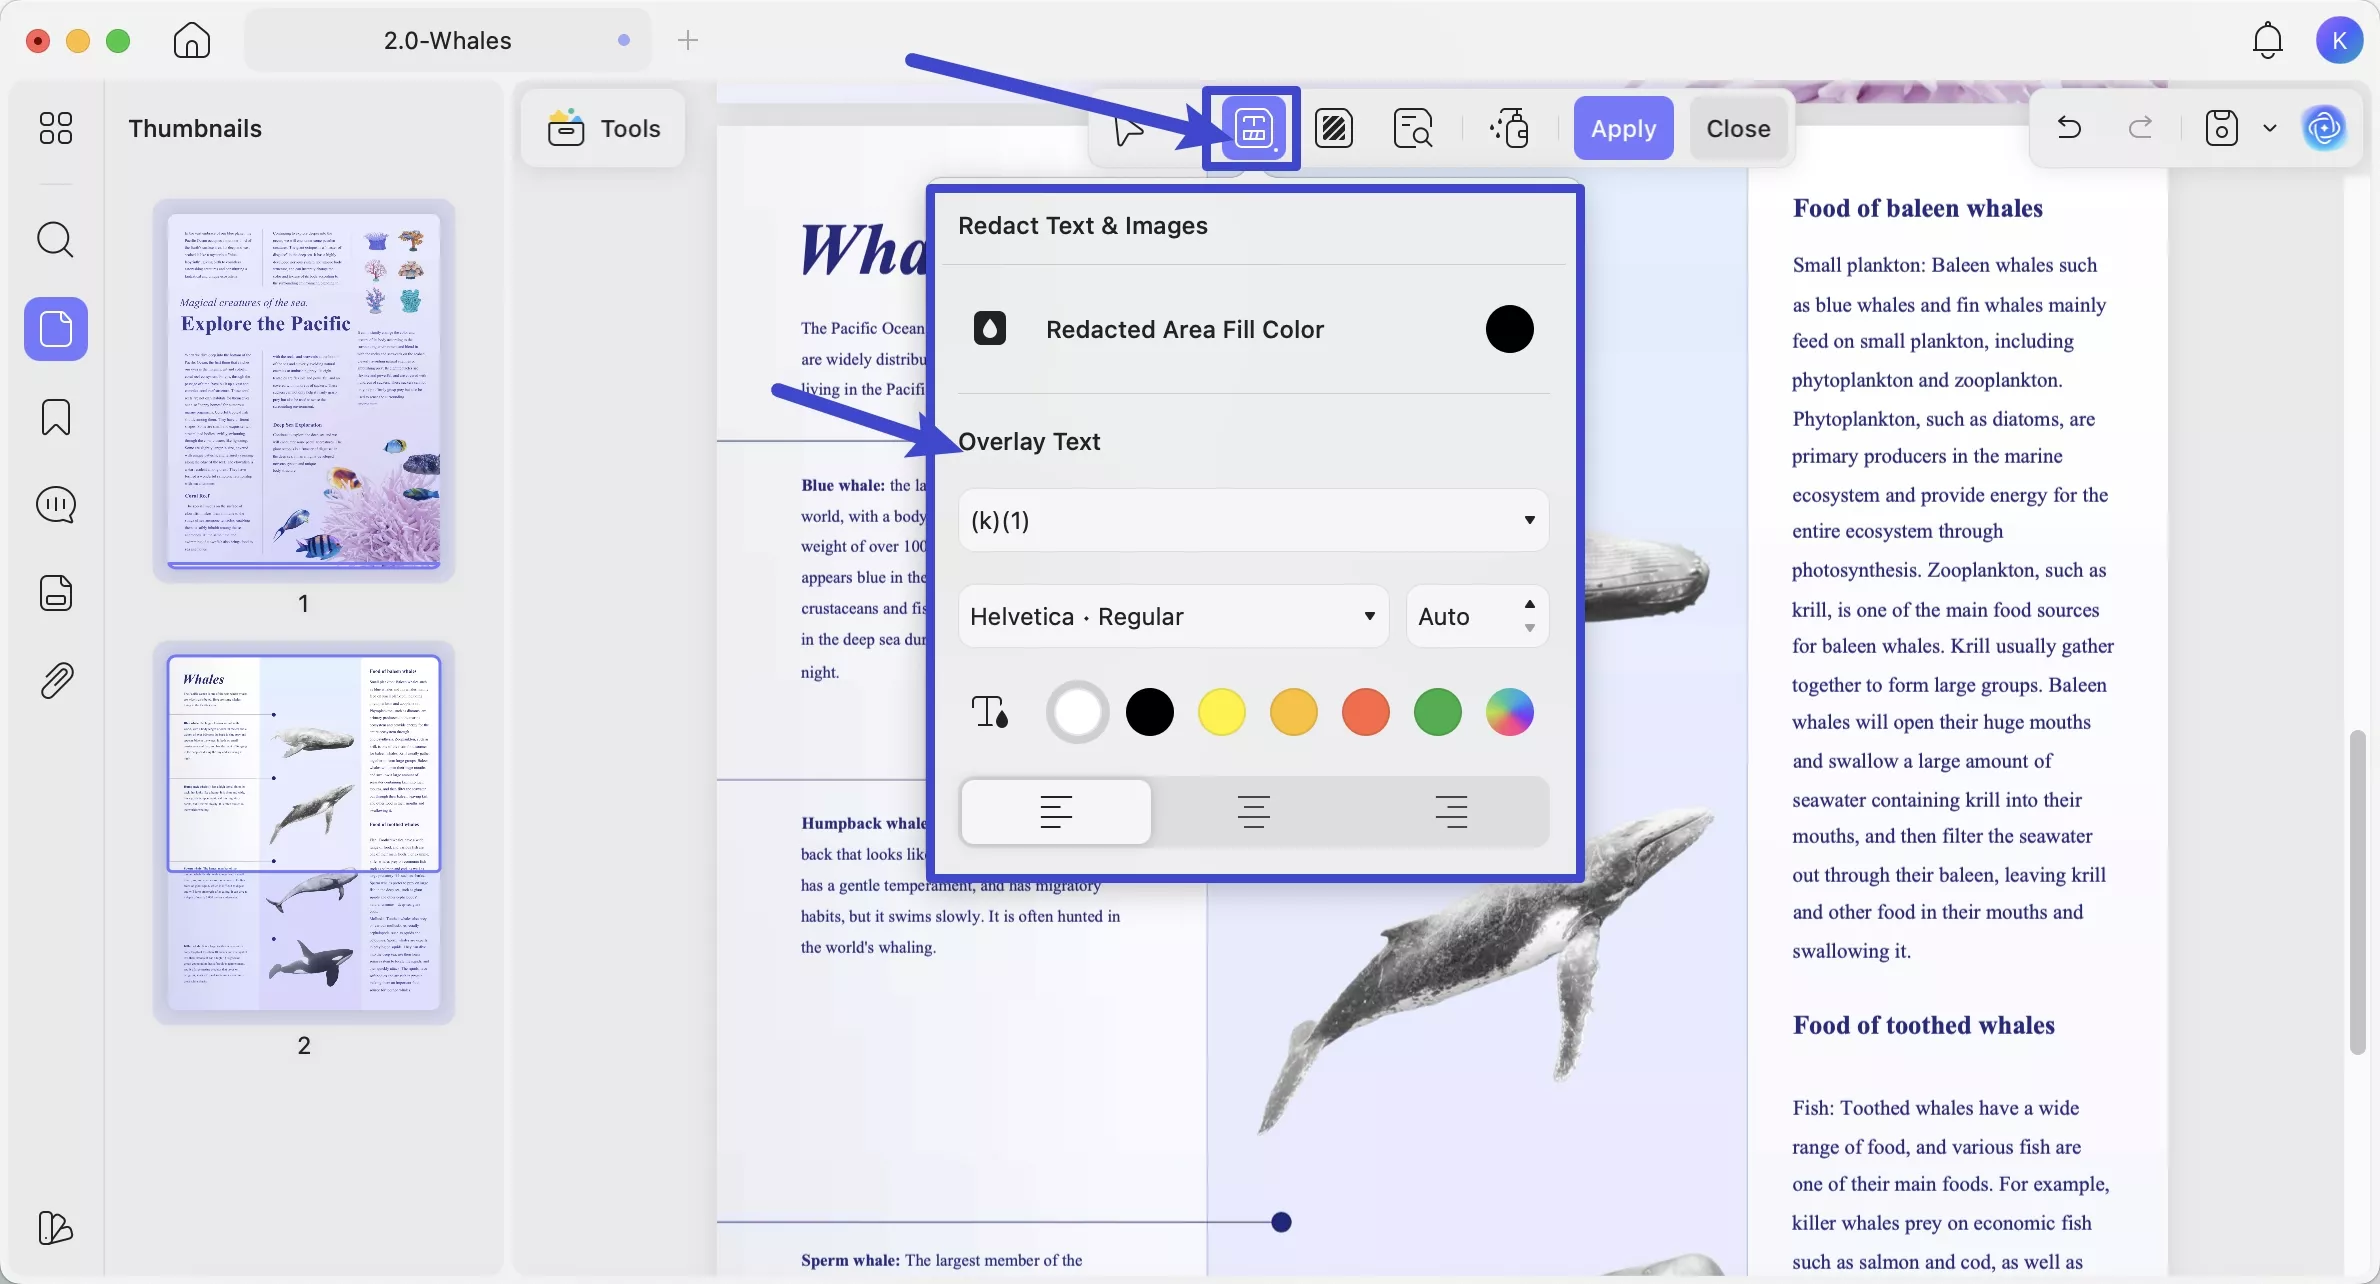
- Once done, you can change the redaction color, add a note, or delete the redaction from the floating toolbar.
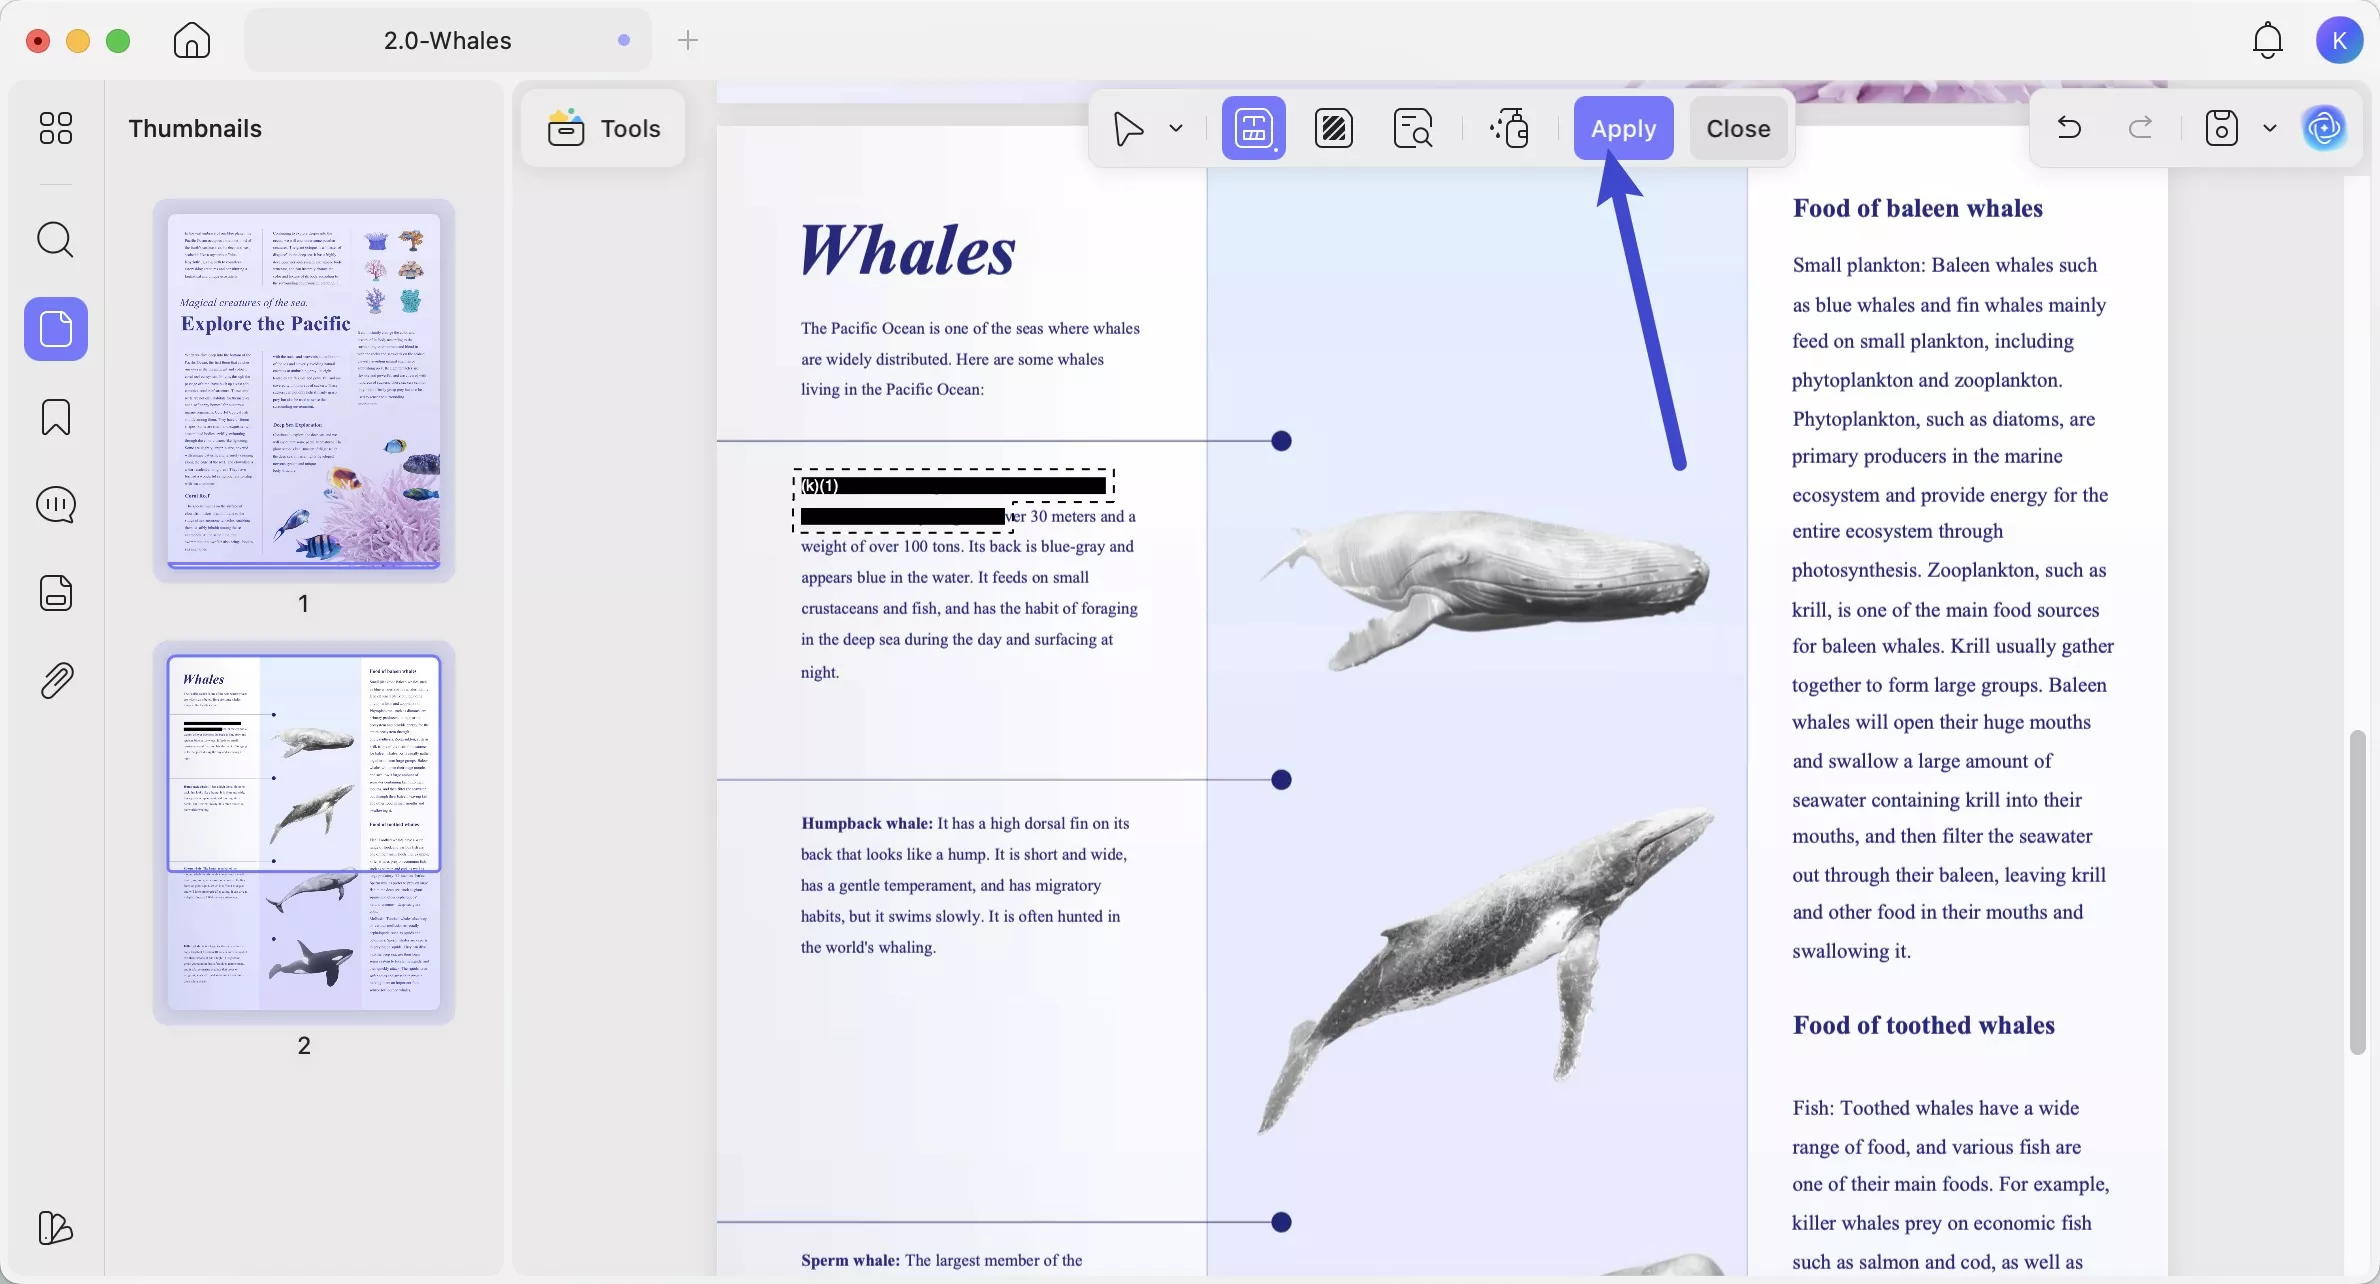
- The revealing toolbar also provides an Overlay Text icon, revealing a window to input the overlay text, change text alignment, color, and font.
- Finally, press the Apply button to redact the selected text from your document.
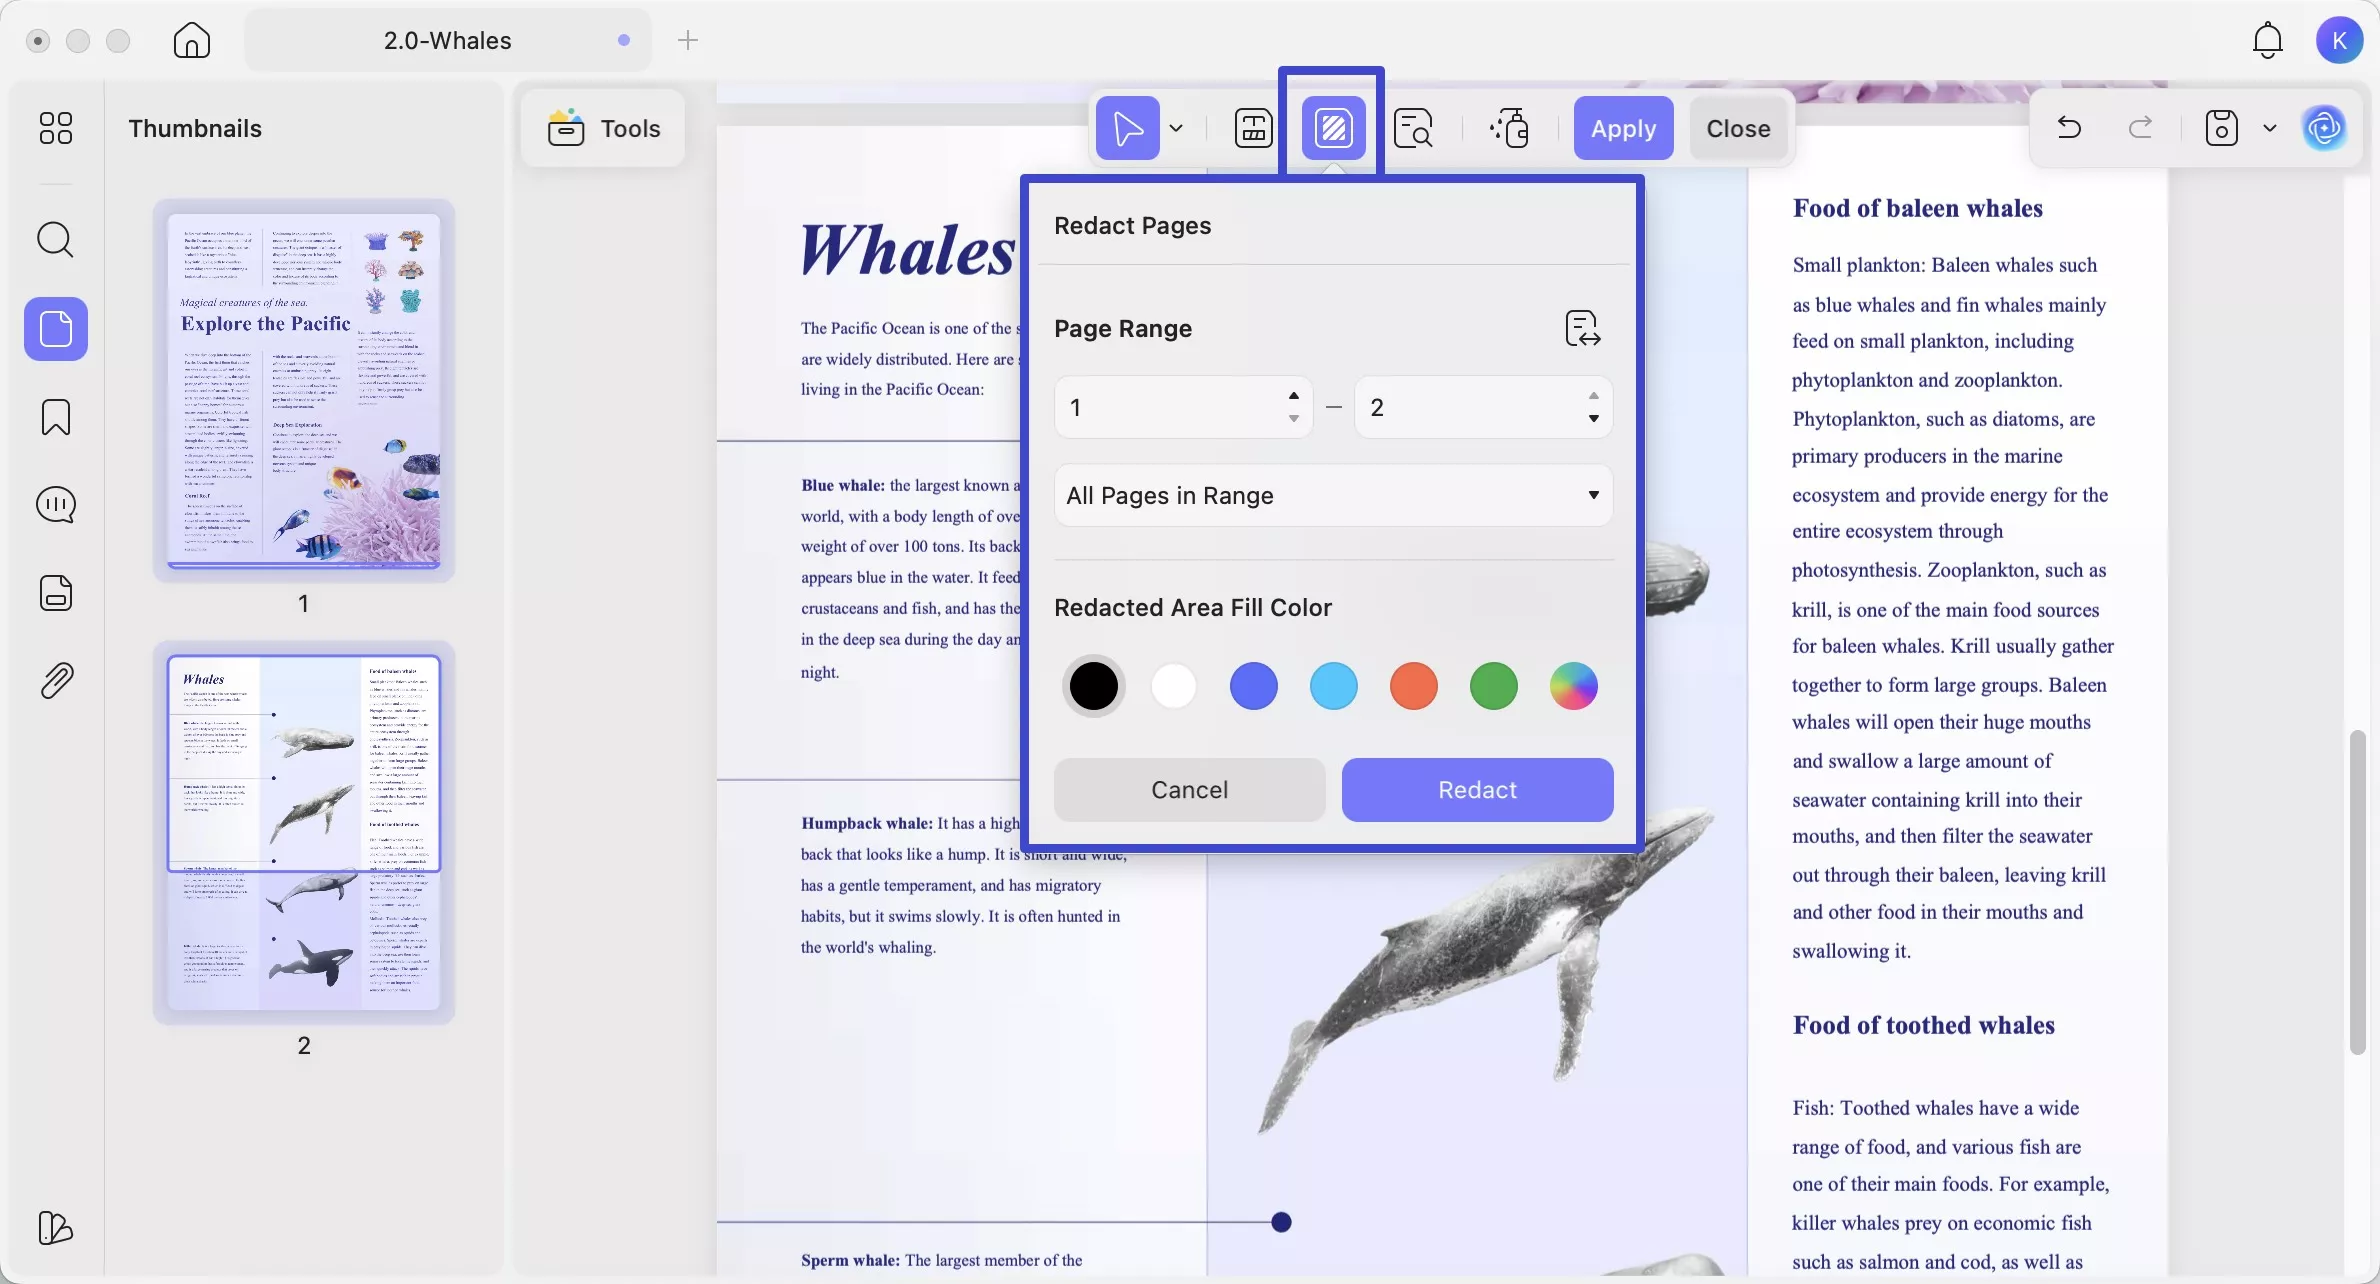
Redact Pages
- Owing to this option, you can select whether you want to redact all of the PDF pages at once, or a custom range of pages. You can also choose to redact odd, even, landscape, or, portrait pages.
- Besides this, you can choose the redacted area fill color from the options provided.
- Once all properties are selected, press the Redact button to perform redaction on the selected pages.
Find Text & Redact
- Go to Find icon from the left panel and select Find Text & Redact. When you select this option, you can type a keyword or text in the given text box in the left panel to find the available matches.
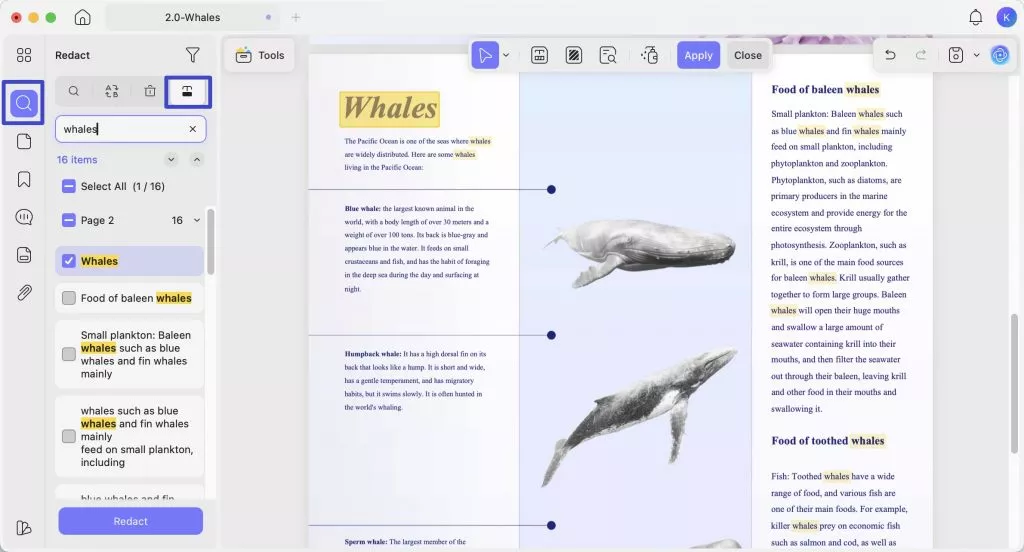
- From the results, choose between Select All or a specific item to press the Redact button at the bottom of the panel later.
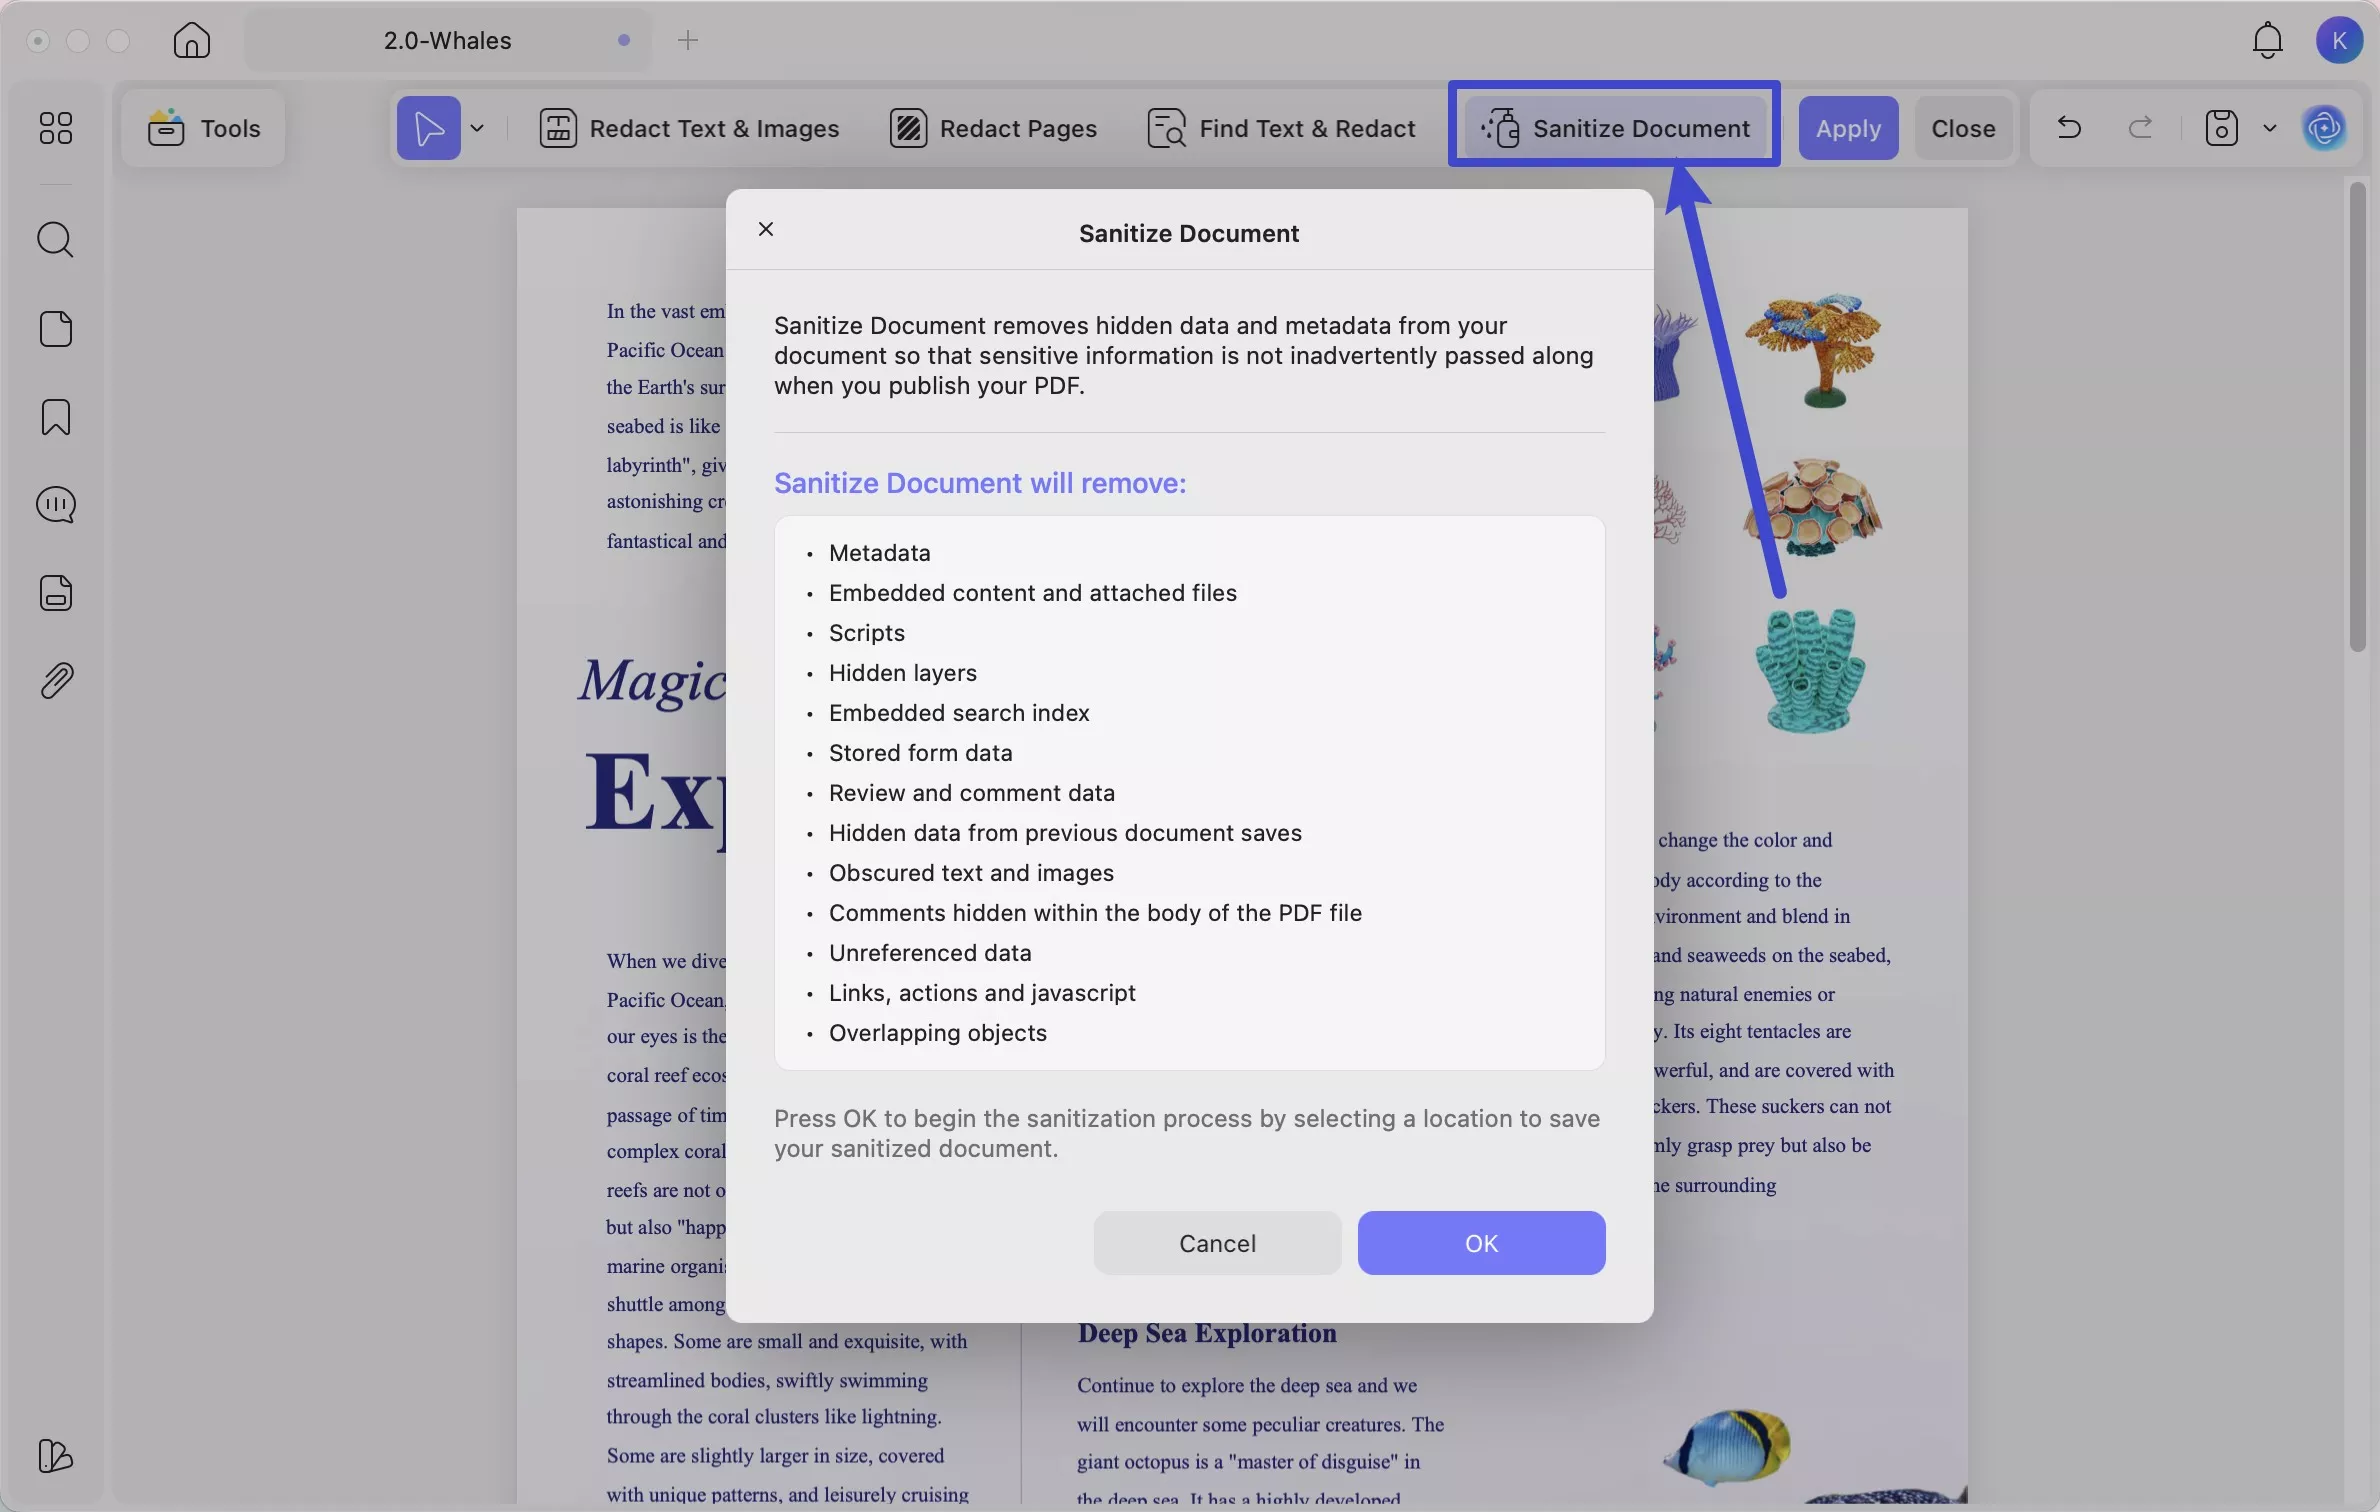
Sanitize Document
The new UPDF provides a Sanitize Document option, which removes hidden data and metadata from your document. It helps to keep your sensitive information intact, so that it's not passed along in the PDF when published.
- For this, press the Sanitize Document option from the top toolbar and then press OK button after reading the list of removed items.
- Now, click the Apply button in the top right corner to apply all the redaction changes throughout the PDF.
Once you are done with all these steps, don't forget to save your file.