 UPDF for Windows
 UPDF for Mac
 UPDF for iPhone/iPad
 UPDF for Android
 Nomostar
 UPDF AI Online
 UPDF Sign
 IvyCraft
 Edit PDF
 Annotate PDF
 Create PDF
 PDF Form
 Edit links
 Convert PDF
 OCR
OCR PDF to Word
 PDF to Image
 PDF to Excel
 Organize PDF
 Merge PDF
 Split PDF
 Crop PDF
 Rotate PDF
 Protect PDF
 Sign PDF
 Redact PDF
 Sanitize PDF
 Remove Security
 Read PDF
 UPDF Cloud
 Compress PDF
 Print PDF
 Batch Process
 About UPDF AI
 UPDF AI Solutions
 AI User Guide
 FAQ about UPDF AI
 Summarize PDF
 Translate PDF
 Chat with PDF
 Chat with AI
 Chat with image
 PDF to Mind Map
 Explain PDF
 PDF AI Tools
 Image AI Tools
 AI Chat Tools
 AI Writing Tools
 AI Study Tools
 AI Working Tools
 Other AI Tools
 AI Bookmark Generation
 AI Bookmark Summary
 AI Watermark Generation
 AI Background Generation
 AI Sticker Generation
 AI Stamp Generation
 AI Editing Suite
 UPDF Copilot
 AI Page Management
 AI Semantic Search
 PDF to Word
 PDF to Excel
 PDF to PowerPoint
 User Guide
 UPDF Tricks
 FAQs
FAQs UPDF Reviews
 Download Center
 Blog
Blog Newsroom
 Tech Spec
 Updates
 UPDF vs. Adobe Acrobat
 UPDF vs. Foxit
 UPDF vs. PDF Expert
Are you looking for a way on how to transfer photos from Mac to iPhone? You don't have to worry if you have high-quality photos that you would like to send from Mac to iPhone 17. The best thing is to look for the easiest and most efficient ways to do it. Using UPDF for iOS is the best option for you. You can easily move your photos with no cables involved. This article offers you a detailed guide on how to move photos from Mac to iPhone 17 with UPDF for iOS.
Windows • macOS • iOS • Android 100% secure
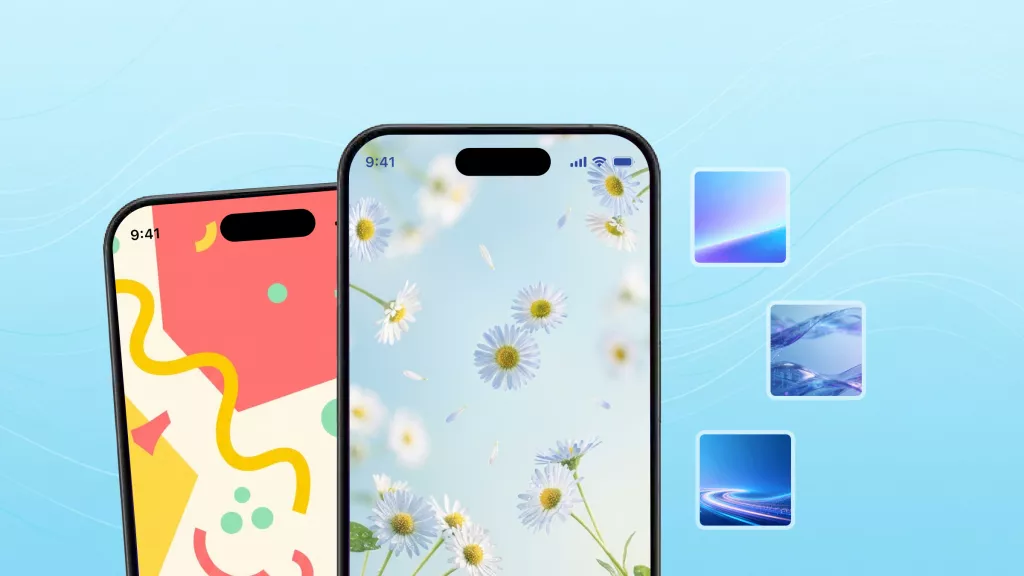
How to Transfer Photos from Mac to iPhone
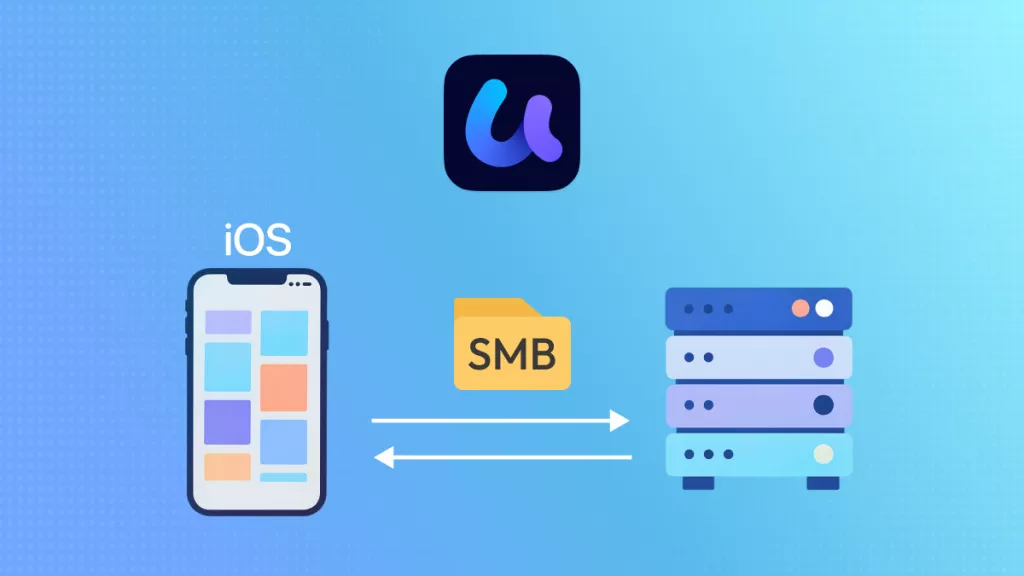
UPDF is a simple app that can help you manage and organize your files more efficiently. It has vast features that allow you to organize your digital documents and keep them fully secured. The features enable you to view, organize, share, upload, and protect digital files on your iOS devices.
The app makes it possible to transfer documents from your Windows or Mac to your iPhone 17 or iPad and vice versa without the use of cables. This is made possible if you connect your two devices with the same Wi-Fi connection. UPDF for iOS has a friendly design that allows for a smooth connection to your Mac to allow the file imports and management safe and easy.
When you import photos from Mac to iPhone 17, you should make sure that you connect the iPhone 17 and the Mac to the same Wi-Fi connection; otherwise the process won't be possible. Here are the easy steps on how to send photos from Mac to iPhone 17 with UPDF.
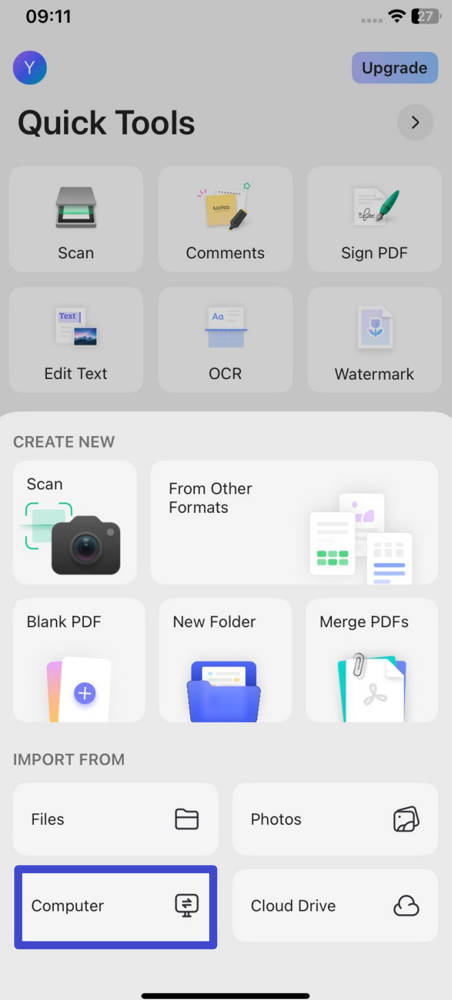
Step 1. Click "+" and then "Computer"
Begin the photo import by clicking the "+" symbol on the bottom right side of the UPDF app on your iPhone 17. Clicking the add button enables the app to be ready to receive all the photos that will be sent from your Mac. Then choose "Computer" as the source. You will find the computer from the "IMPORT FROM" option next to the "Photos" and "Files".
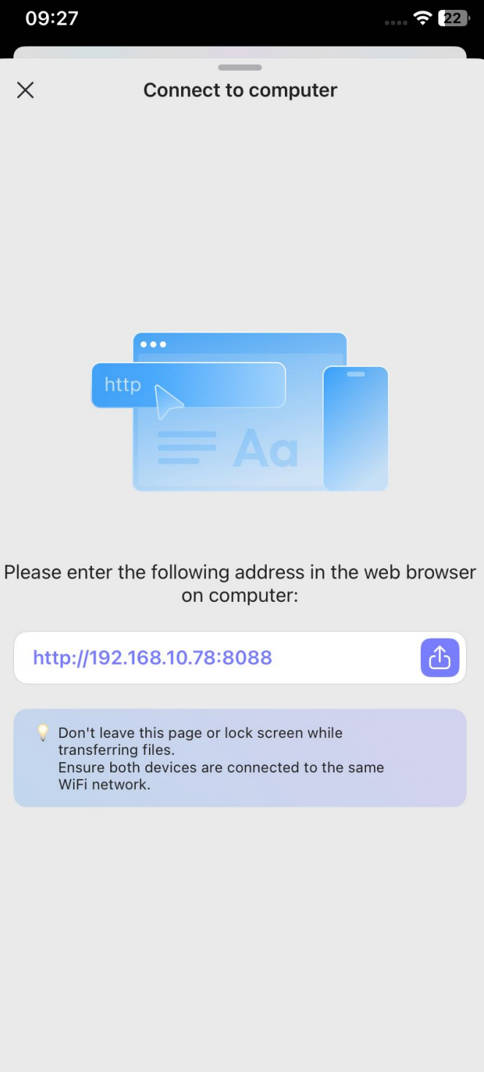
Step 2. Connect UPDF to Computer with the Browser
Since you don't have to use cables to connect your Mac to your iPhone 17, you need to connect the app to the computer using the browser. When you connect UPDF with your Mac device using the browser you get a URL on your iPhone 17 screen. After getting the URL, open a new browser tab. Enter the URL into the address bar of the new tab. Then click enter.
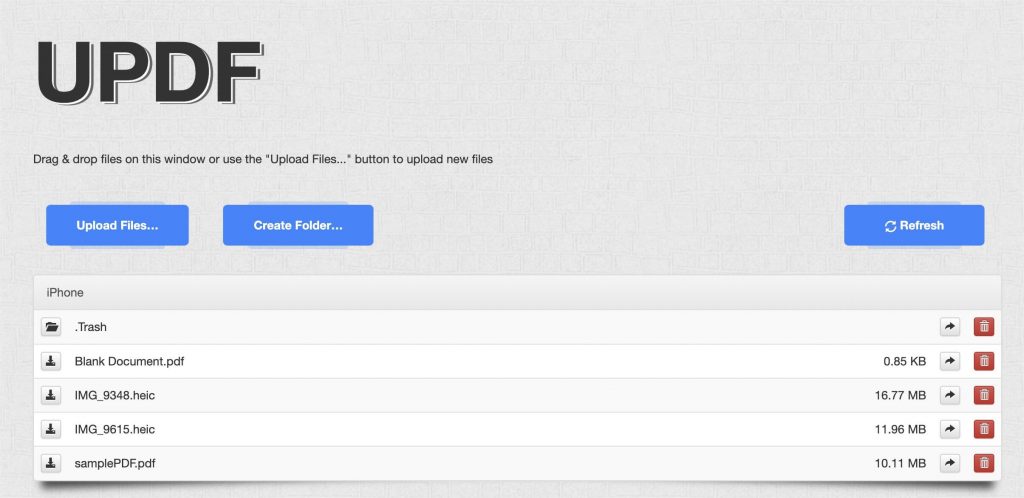
Step 3. Upload the Photos from Your Mac to Your iPhone
After you click enter, you will find the UPDF folders in your browser window. Choose the photos you want to upload on your UPDF for iOS. Click the "Upload Files..." button to move your photos from your Mac's local computer memory to the iPhone 17. After you click the "Upload Files..." button, you will have your photos moved to your iPhone 17 within a few seconds. You are not limited to the number of photos that you can move from Mac to iPhone 17.
An important thing to note is that the photo transfer from Mac to iPhone 17 should not be interrupted. The UPDF for iOS tab should be open from the start until all the photos are imported. Besides, you should also not lock the screen since this can make the import process abort.
Conclusion
Now that you know how to get photos from Mac to iPhone 17 you will find the process hassle-free. All you need is to download and install the UPDF for iOS onto your iPhone 17 and enjoy the great features. It can easily edit PDF images and text, annotate PDFs, compress files, write on a PDF on iPhone, etc.
Windows • macOS • iOS • Android 100% secure


 Enola Miller
 Enid Brown