 UPDF for Windows
 UPDF for Mac
 UPDF for iPhone/iPad
 UPDF for Android
 Nomostar
 UPDF AI Online
 UPDF Sign
 IvyCraft
 Edit PDF
 Annotate PDF
 Create PDF
 PDF Form
 Edit links
 Convert PDF
 OCR
OCR PDF to Word
 PDF to Image
 PDF to Excel
 Organize PDF
 Merge PDF
 Split PDF
 Crop PDF
 Rotate PDF
 Protect PDF
 Sign PDF
 Redact PDF
 Sanitize PDF
 Remove Security
 Read PDF
 UPDF Cloud
 Compress PDF
 Print PDF
 Batch Process
 About UPDF AI
 UPDF AI Solutions
 AI User Guide
 FAQ about UPDF AI
 Summarize PDF
 Translate PDF
 Chat with PDF
 Chat with AI
 Chat with image
 PDF to Mind Map
 Explain PDF
 PDF AI Tools
 Image AI Tools
 AI Chat Tools
 AI Writing Tools
 AI Study Tools
 AI Working Tools
 Other AI Tools
 AI Bookmark Generation
 AI Bookmark Summary
 AI Watermark Generation
 AI Background Generation
 AI Sticker Generation
 AI Stamp Generation
 AI Editing Suite
 UPDF Copilot
 AI Page Management
 AI Semantic Search
 PDF to Word
 PDF to Excel
 PDF to PowerPoint
 User Guide
 UPDF Tricks
 FAQs
FAQs UPDF Reviews
 Download Center
 Blog
Blog Newsroom
 Tech Spec
 Updates
 UPDF vs. Adobe Acrobat
 UPDF vs. Foxit
 UPDF vs. PDF Expert
Scanning images to PDFs is an excellent way to secure and manage your files. PDFs are a preferred format for saving scanned documents due to their high security and versatility, allowing for easy sharing and compatibility across various devices and platforms. With the advancement of technology, scanning images to PDFs has become a simple task, thanks to a variety of apps. In this article, we will explore how to effortlessly convert images to PDFs using UPDF, one of the most effective tools available. Additionally, we will guide you through the process of using the Notes app on your iPhone to achieve the same result.
Way 1. How to Easily Scan Image to PDF with UPDF
UPDF for iOS is the best photo to PDF scanner that converts images to scanned PDFs. The app has a simple interface that makes the scanning process hassle-free and fast. The tool has a wide range of features that make the conversion task more efficient compared to when you use other online tools in the process. Some of the features include password protection, PDF annotations, cloud sharing, and multi-finger selection. You can scan photos to PDF with UPDF using two ways. You can scan from photos or by taking the pictures that you want to scan to PDF - download UPDF and scan now!
Windows • macOS • iOS • Android 100% secure
1. Scan Photos to PDF
You can scan pictures to PDF by scanning from the Photos app. Here are the steps:
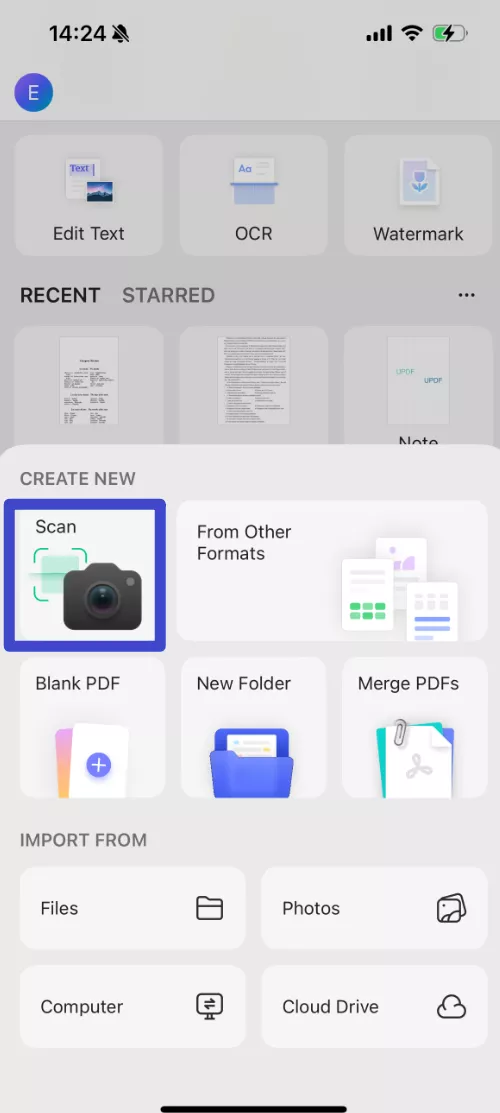
Step 1. First, tap the "+" symbol on the bottom right of the tool. In the new pop-up, tap the "Scan" option.
Step 2. Then you will see there is a photos icon in the bottom left corner. Click on that to choose photos. Pick the image or images you want to scan. You can select from your album or other image storage on your device. Tap "Add" at the top right to import the selected images to the UPDF.
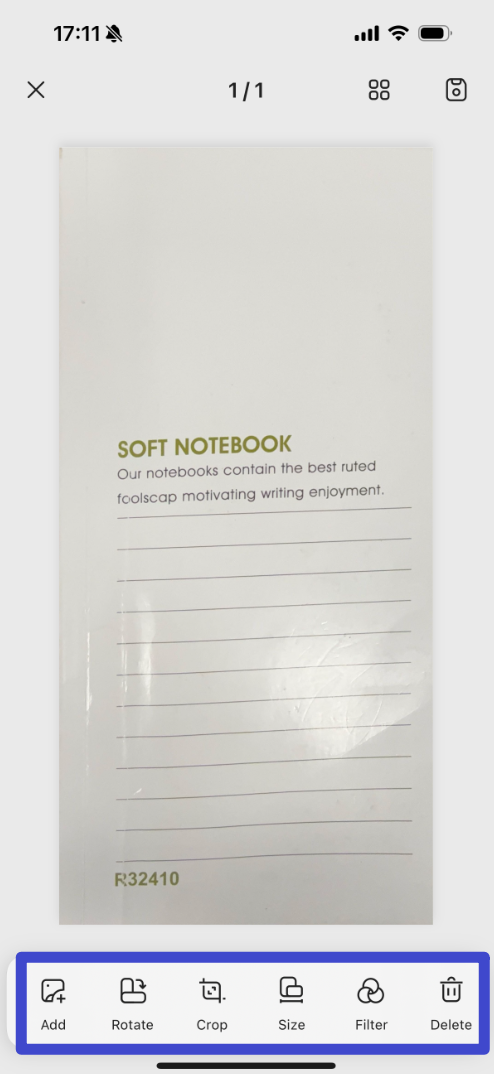
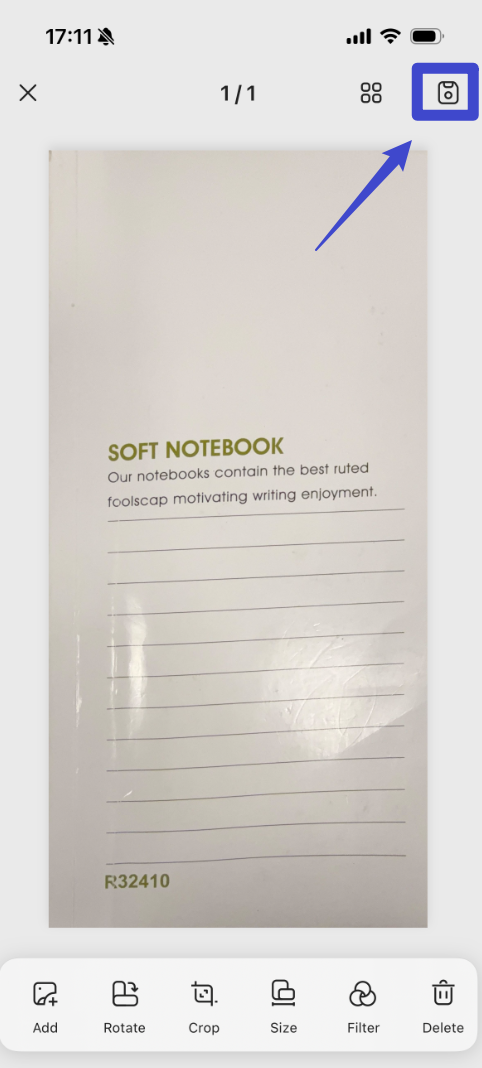
Step 3. Then you can perform all the edits such as editing, cropping, deleting, and filtering to ensure the PDFs meet your specific needs.
Step 4. Finally, click the download icon at the top right and the PDF will be added to the UPDF interface.
Finally, if you wish to convert a scanned PDF into an editable PDF, it is recommended to use the OCR feature of UPDF to accomplish this task.
2. Scan the Image to PDF by Taking Photos
The other option to turn a photo into a scanned document is to take photos of the images you want to convert. You can take the photos either automatically or manually. Follow these simple steps.
Step 1. Tap on the "+" symbol on the bottom right. This allows the import menu to open. Tap "Scan".
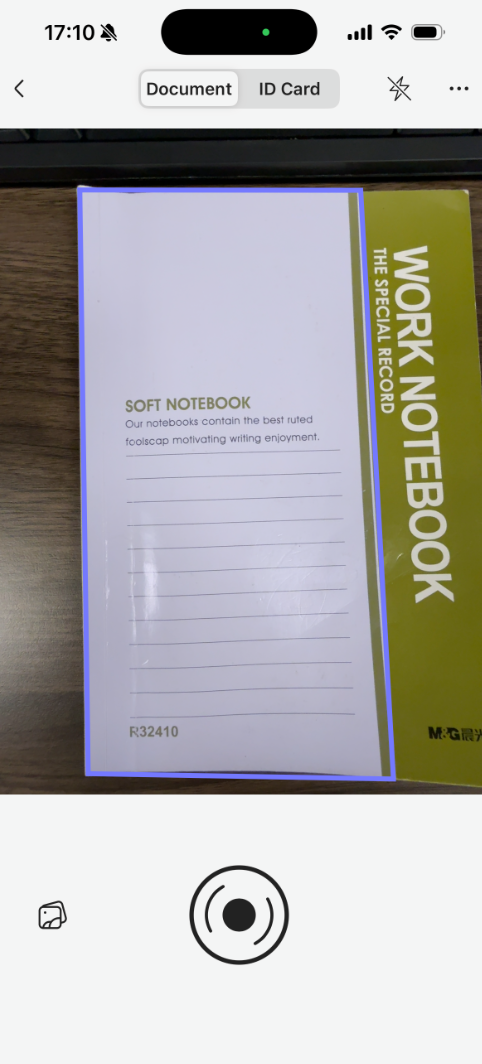
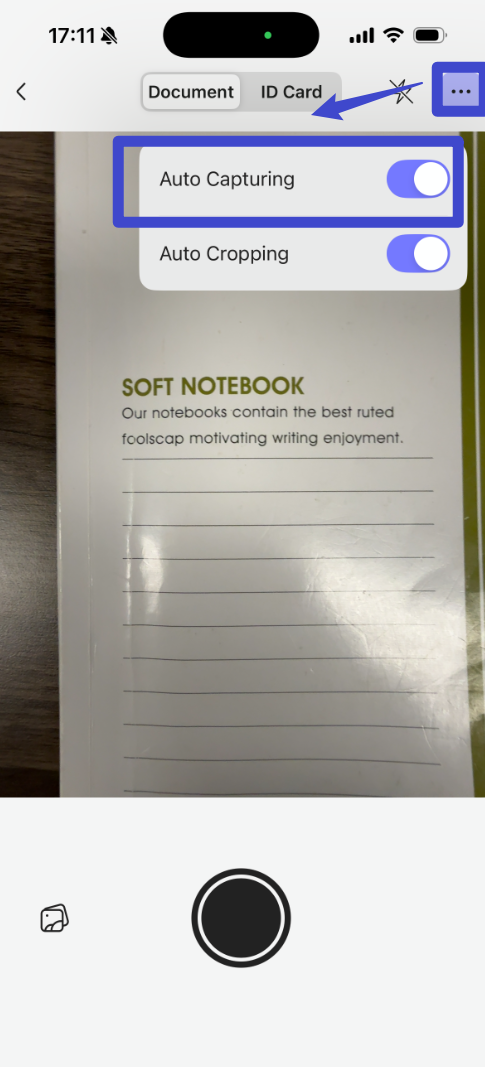
Step 2. Then, take a snapshot of the picture to scan into PDF. To take the photos automatically, tap on the "three dots" and turn on "Auto Capturing" in the top right before you take the snapshot. All the components in the nearby area are identified automatically. You can also turn the "Auto-capture" to "Manual" and take the pictures.
Step 3. Then you can make edits to the photos you take, such as cropping, deleting, and filtering. You can also arrange the page order.
Step 4. At last, click the download icon to save the PDF. This is how you convert images to a scanned PDF on iPhone.
Now that you've learned how to scan image to PDF effortlessly with UPDF. In addition to this very powerful feature, UPDF also enables you to scan a signature into PDF. Download UPDF and have it a try now!
And if you want to learn more about UPDF, you watch the video below.
Windows • macOS • iOS • Android 100% secure
Also Read: Top 5 AI PDF Scanners (Tested)
Way 2. How to Scan Photo to PDF with Notes App on iPhone
iPhone makes it possible for you to convert photos to a scanned PDF using the Notes App. It is easy to use the Notes App with its easy-to-use interface. With the Notes app, you can scan your picture and save it as a PDF. The sign and scan feature helps to store the files electronically. After you convert the scanned image to PDF you can then print from wherever you are, sign, and share them with others. Before you scan pic to PDF with the Notes App, you should capture your file as a new note. Here are steps on how to scan images to scanned PDF with the Notes App on your iPhone.
Step 1. Open the Notes App on your device. And then select a note, or you can create a new note. Click the Camera icon on the bottom menu.
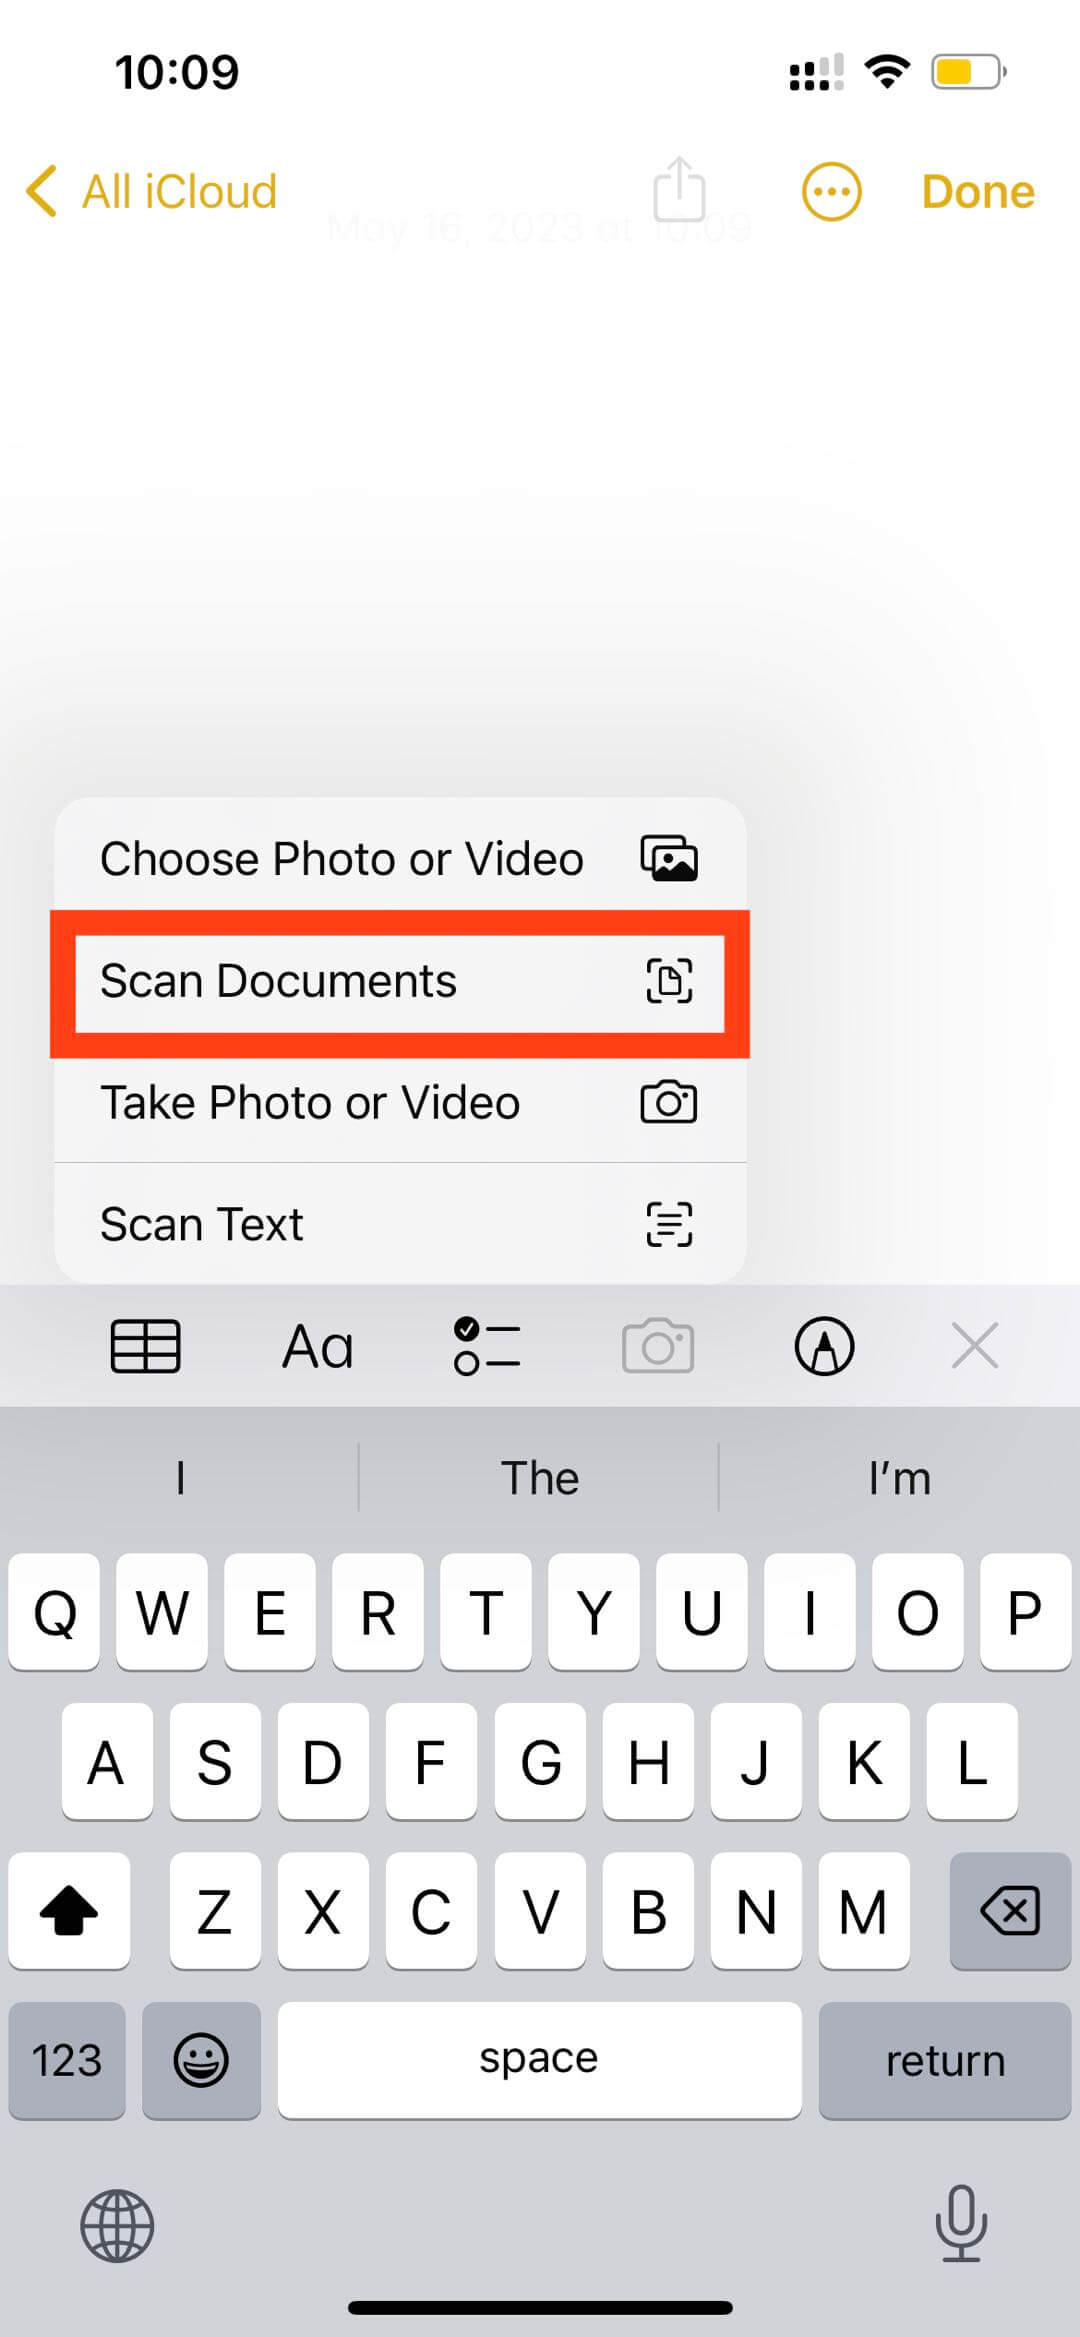
Step 2. In the submenus, select the "Scan Documents" option.
Step 3. Then you need to place your document in the view of the camera. And you can capture the document automatically or manually. You find a yellow rectangle over the file. If you hold your iPhone steady, it takes the picture automatically. You can also press the shutter button.
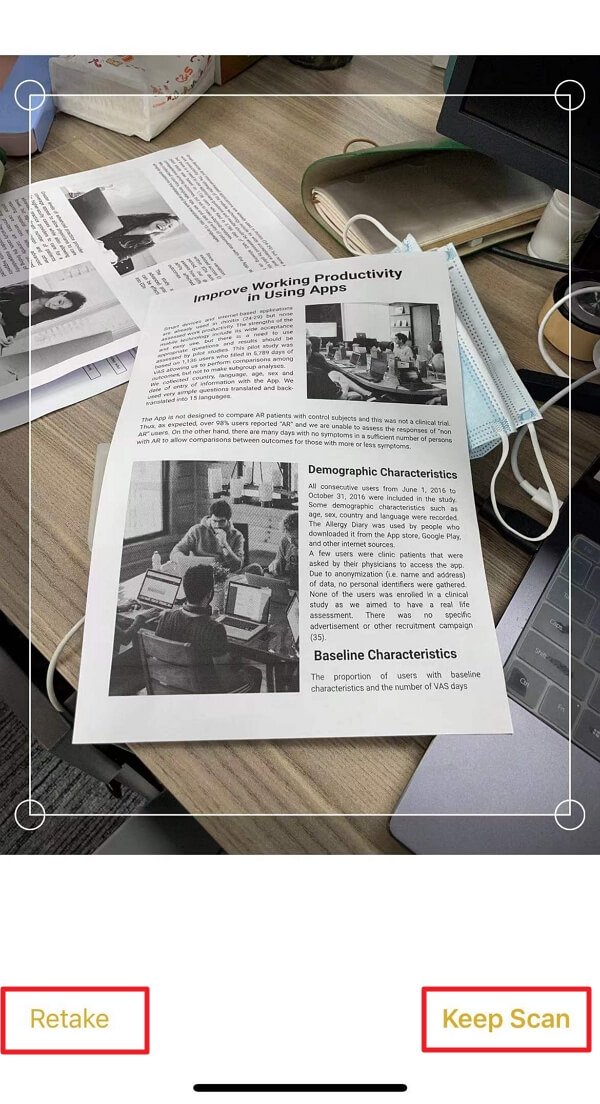
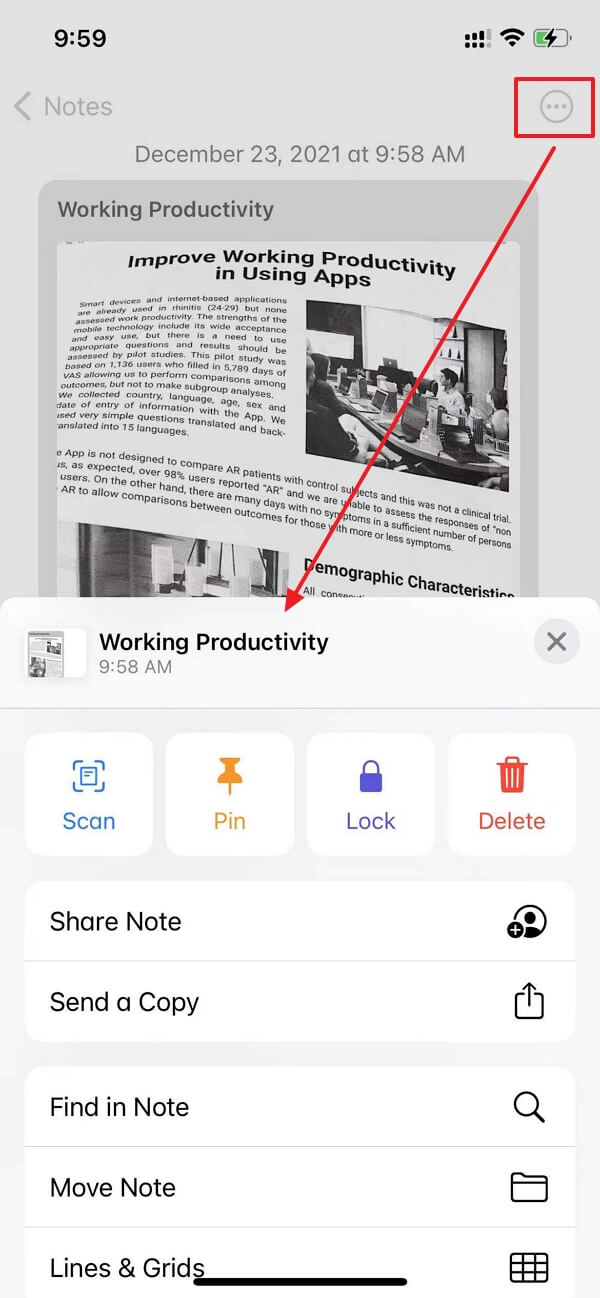
Step 4. The scan moves down to the lower left. You can click on it to find out how it came out and press "Retake" or "Keep Scan" at the bottom of your screen. To create one multi-single file, keep taking scans of the additional pages. After you finish, press the "Save" button located in the lower right. It shows you the number of pages you have scanned. By clicking "Save", it will generate a PDF file automatically. Then you can share the PDF with others by clicking the "…" icon on the top-right corner.
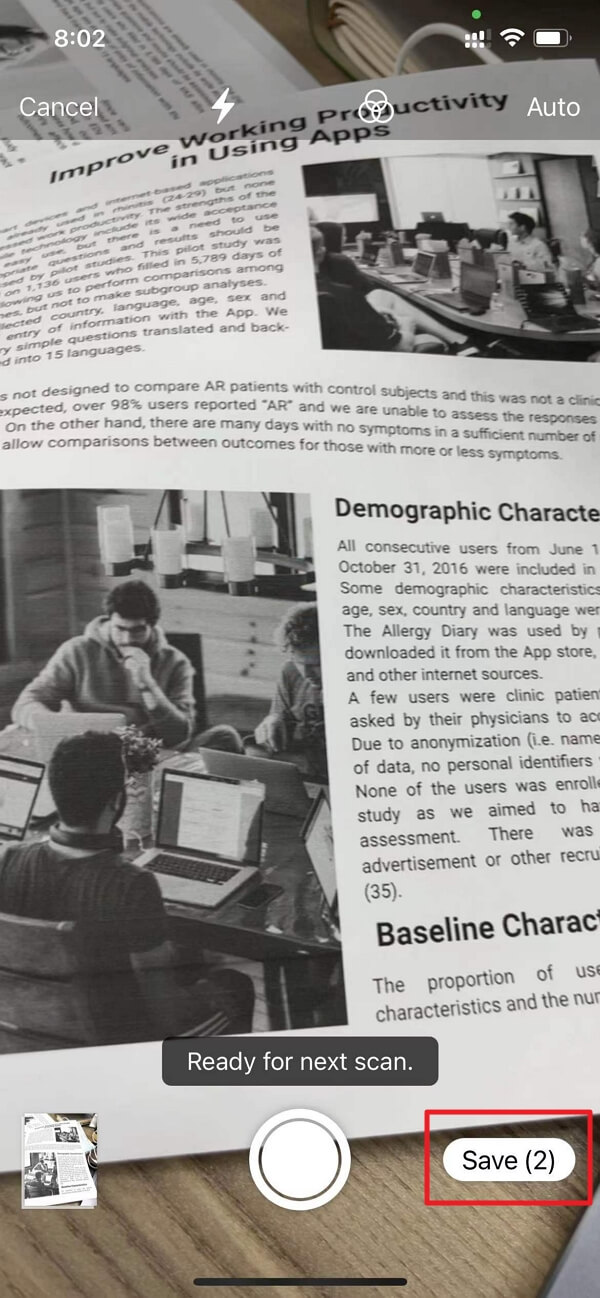
Step 5. Then you can share the PDF with others by clicking the "…" icon on the top-right corner.
Conclusion
In this article, you have learned the two proficient techniques of converting an image into a PDF file. While you have observed UPDF to be an exquisite solution, the provided solution is evident that the PDF editor provides the perfect platform for a user to manage different types of data. Follow the provided guidelines to configure the best environment for converting a scanned image to a PDF. Try UPDF today!
Windows • macOS • iOS • Android 100% secure


 Enid Brown
 Lizzy Lozano
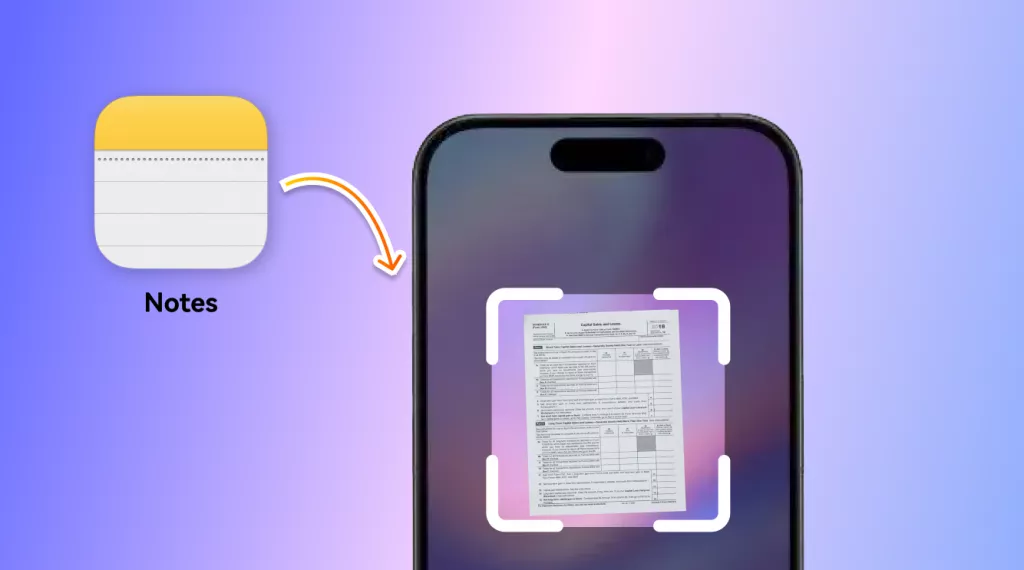
 Enola Davis
 Enola Miller
 Enya Moore