Do you have a PDF document that has some information you need to insert PDF into a Word document you are working on? Well, rather than have to copy all the content you need to add to the Word document, it would be much easier and more convenient to simply insert the PDF into a Word document.
Even though it may seem like a hard thing to do, inserting a PDF into a Word document can be done in several ways. Here, we will look at all these ways and you can choose one that suits the project you're working on.
Method 1. How to Insert PDF to Word after Converting (Combining Two Files)
If you would like to insert all the content in a PDF document into Word, the best thing to do is to convert the Word to PDF and then combine them into one file.
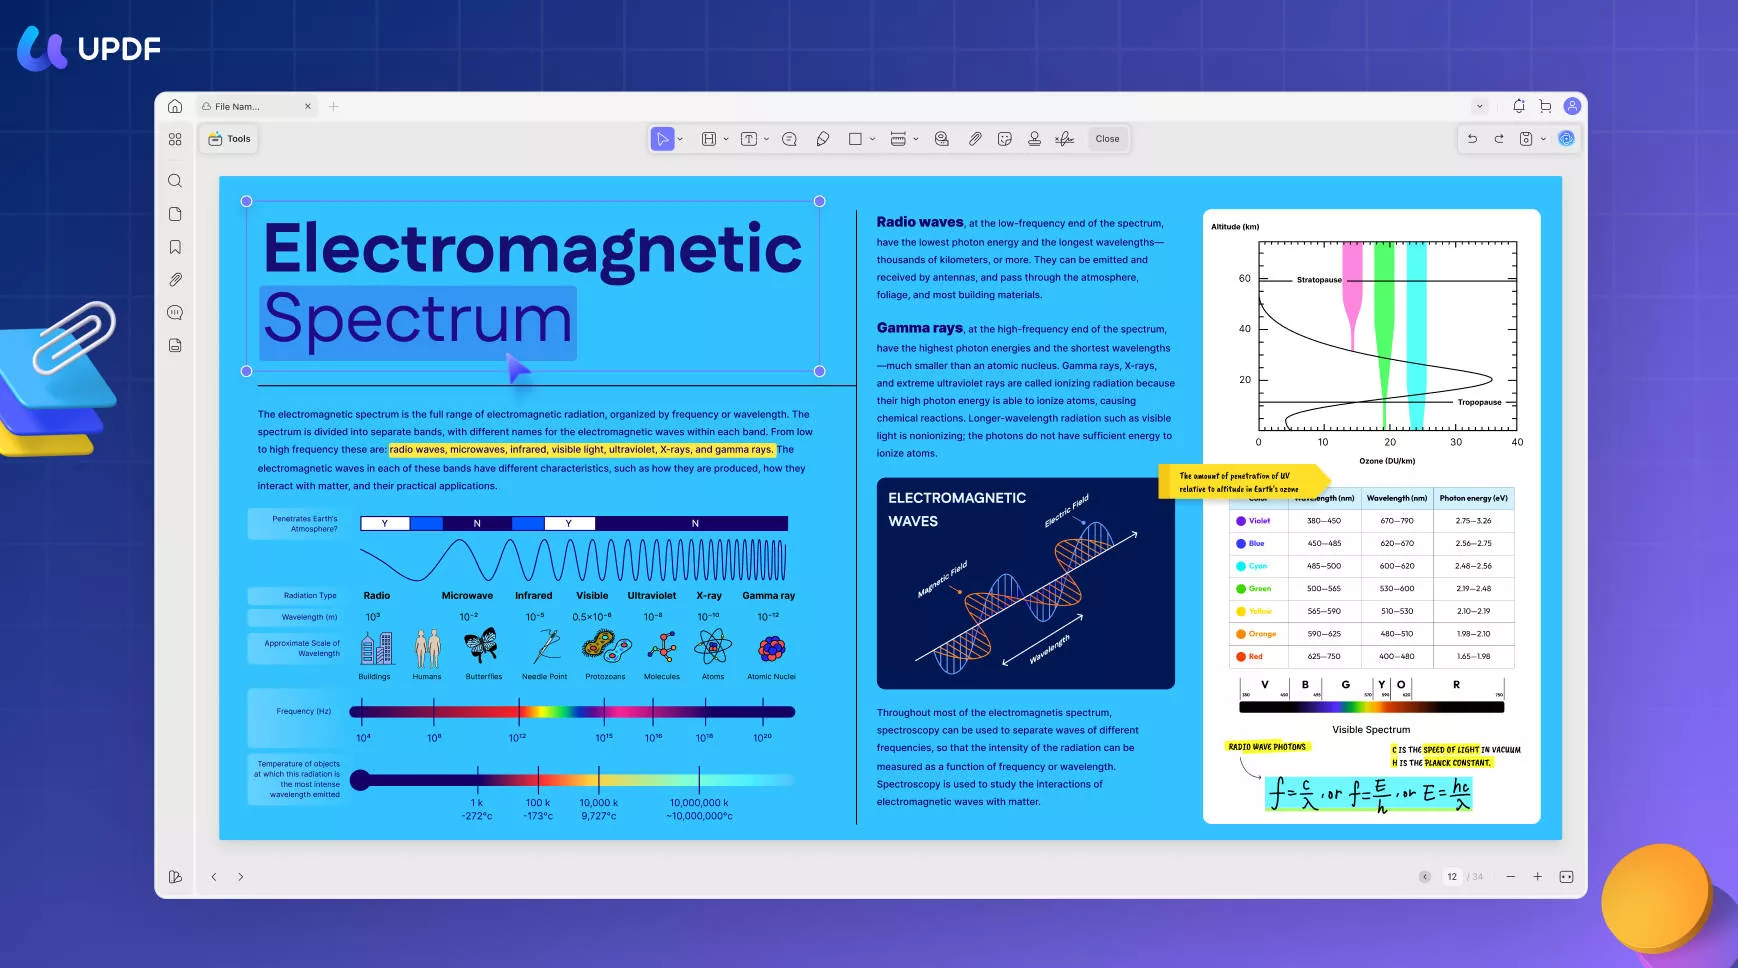
To convert a Word document to PDF without losing its formatting, you will need a tool that is designed for this purpose. Lucky for you, we have a solution that is as effective as it is easy to use. This is UPDF, a PDF conversion tool that will convert the Word to PDF in just a few seconds. The conversion process when you use UPDF is simple, effective, and accurate.
Windows • macOS • iOS • Android 100% secure
Here's how to use it to insert PDF to Word:
Step 1: Convert Word to PDF
After downloading and installing UPDF on your device, open UPDF on your computer and drag and drop the Word file to it. This will automatically create a PDF from that Word document.
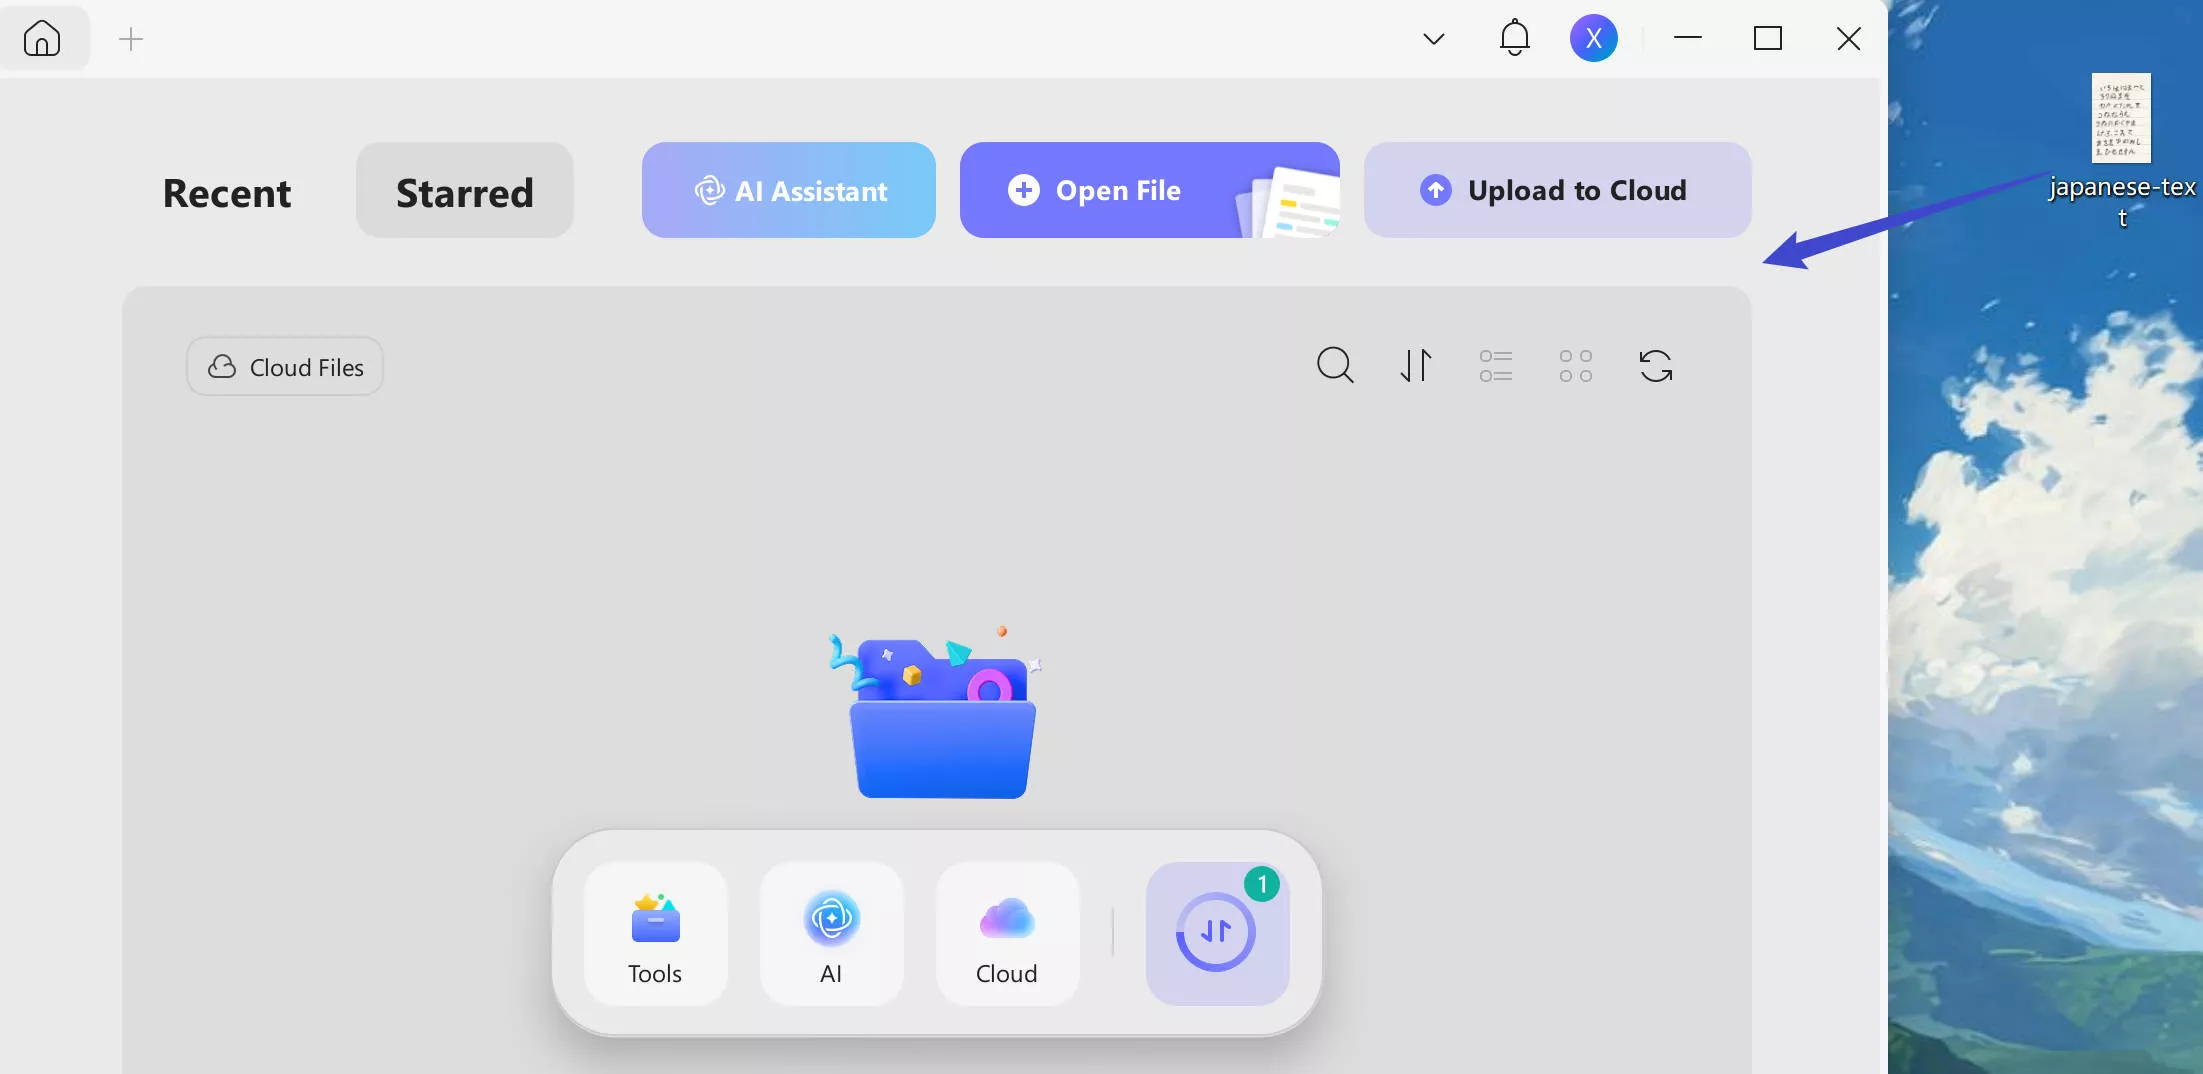
Select a location to save the converted PDF.
Step 2: Combine the Two PDF Files
Now, you'll have to combine the two PDFs into one.
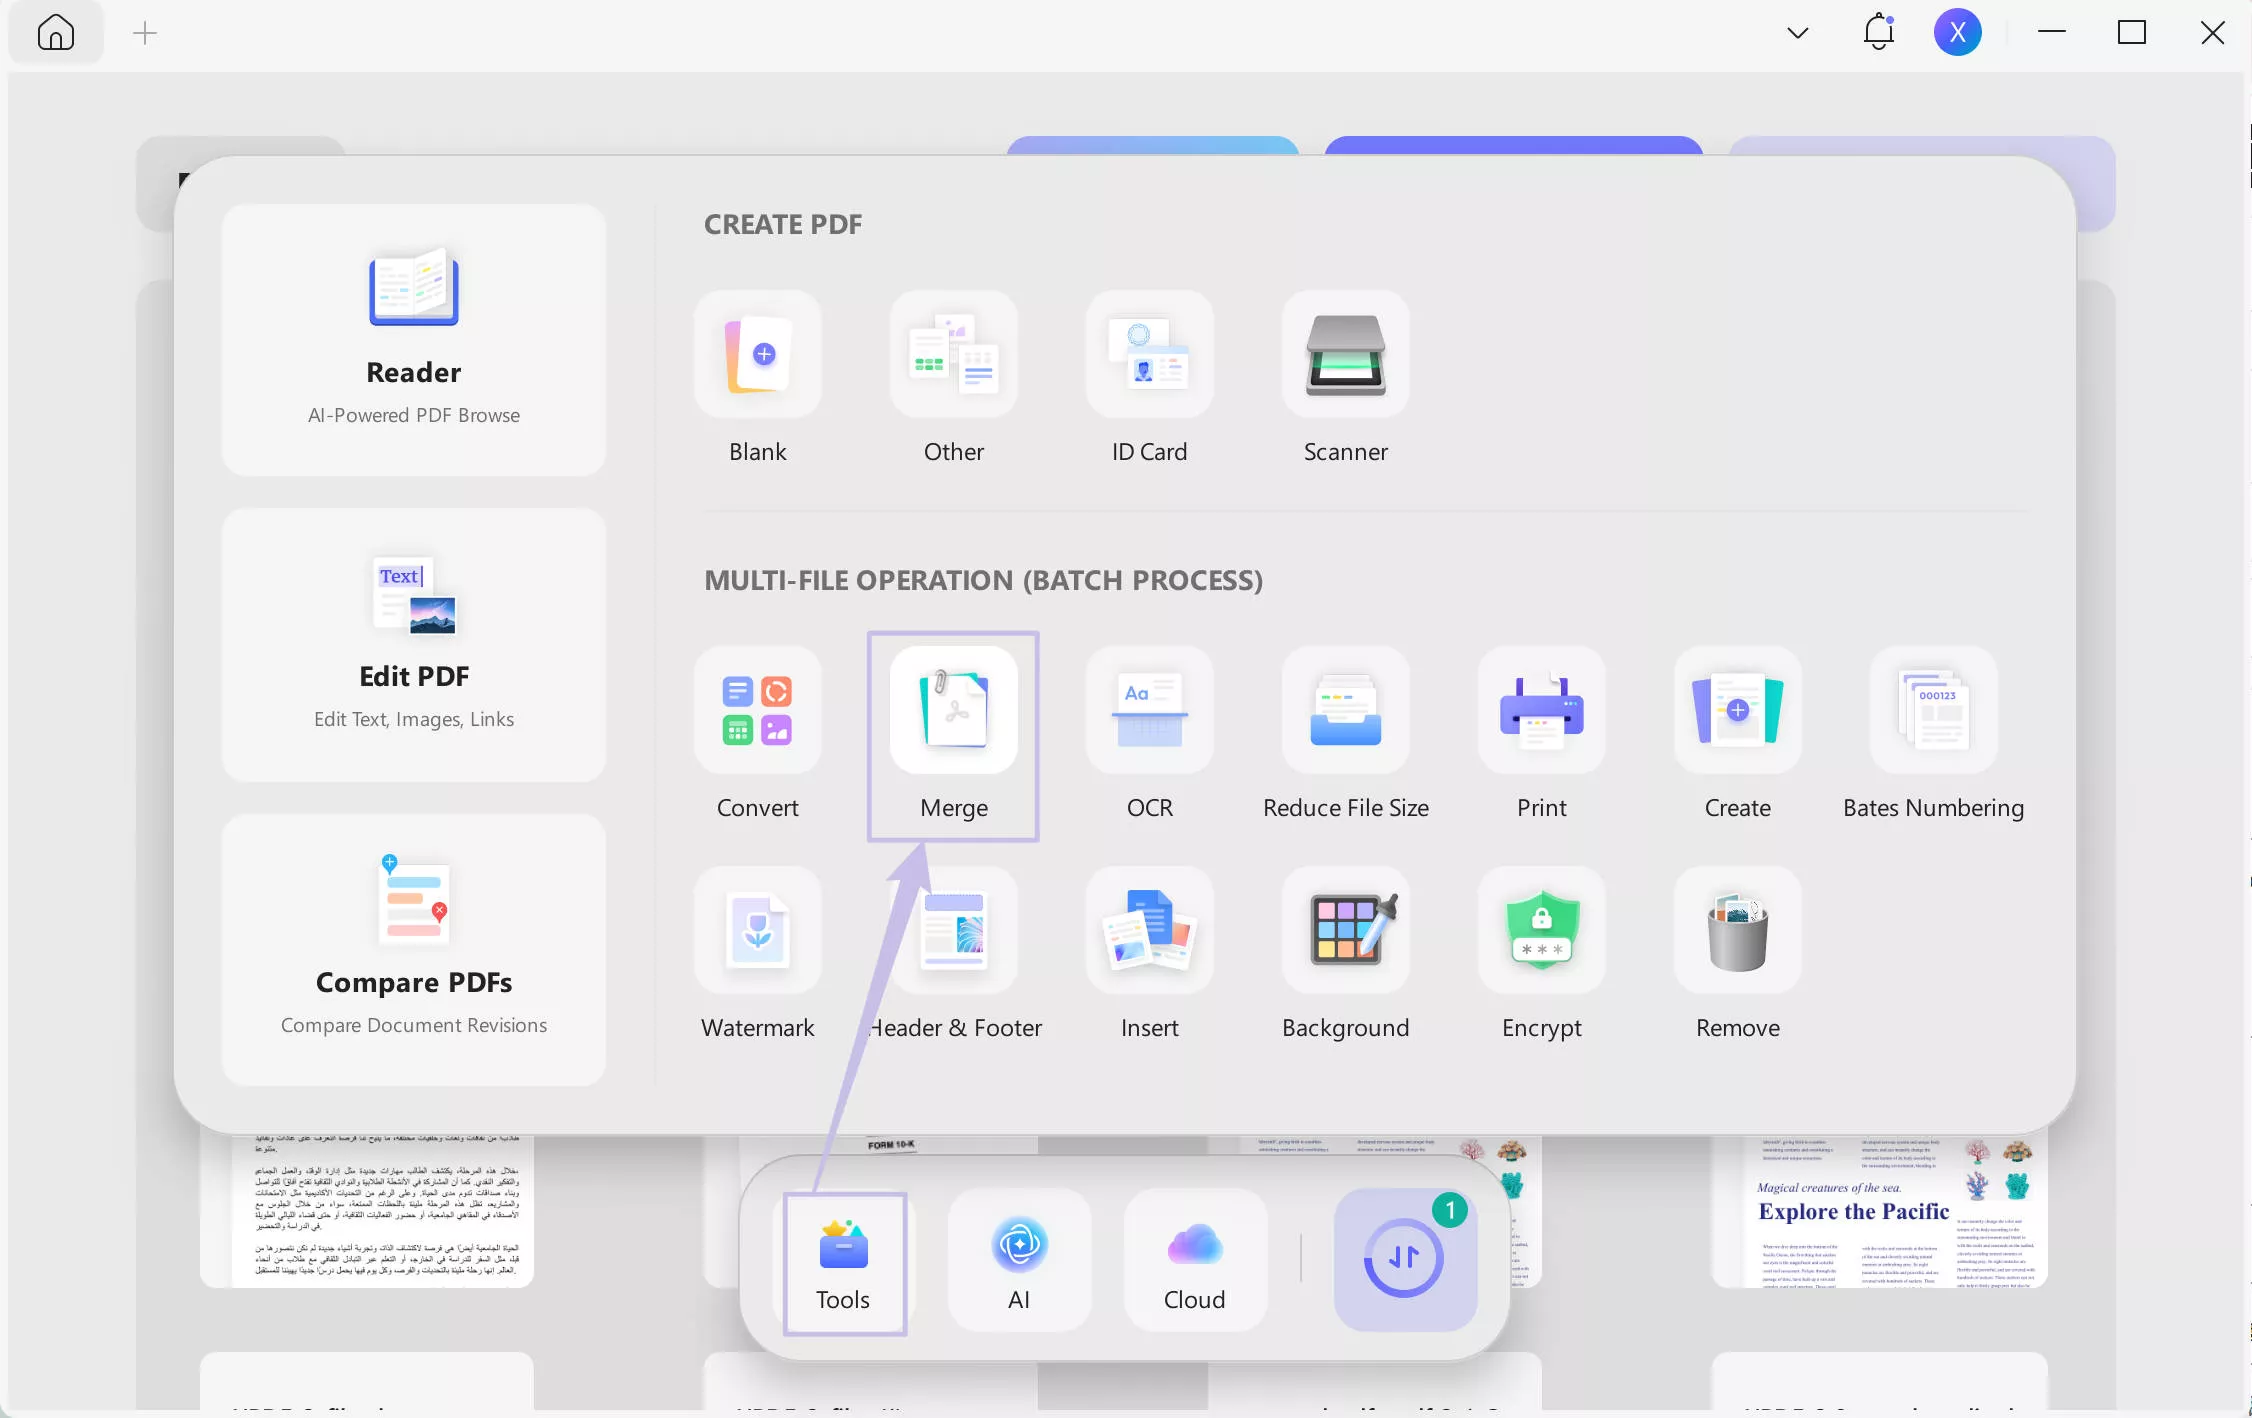
To do this, simply choose "Tools" option from the homepage of UPDF. Then, choose "Merge" from the given options.
Add the two PDF files and click "Apply". UPDF will automatically combine them into one PDF file.
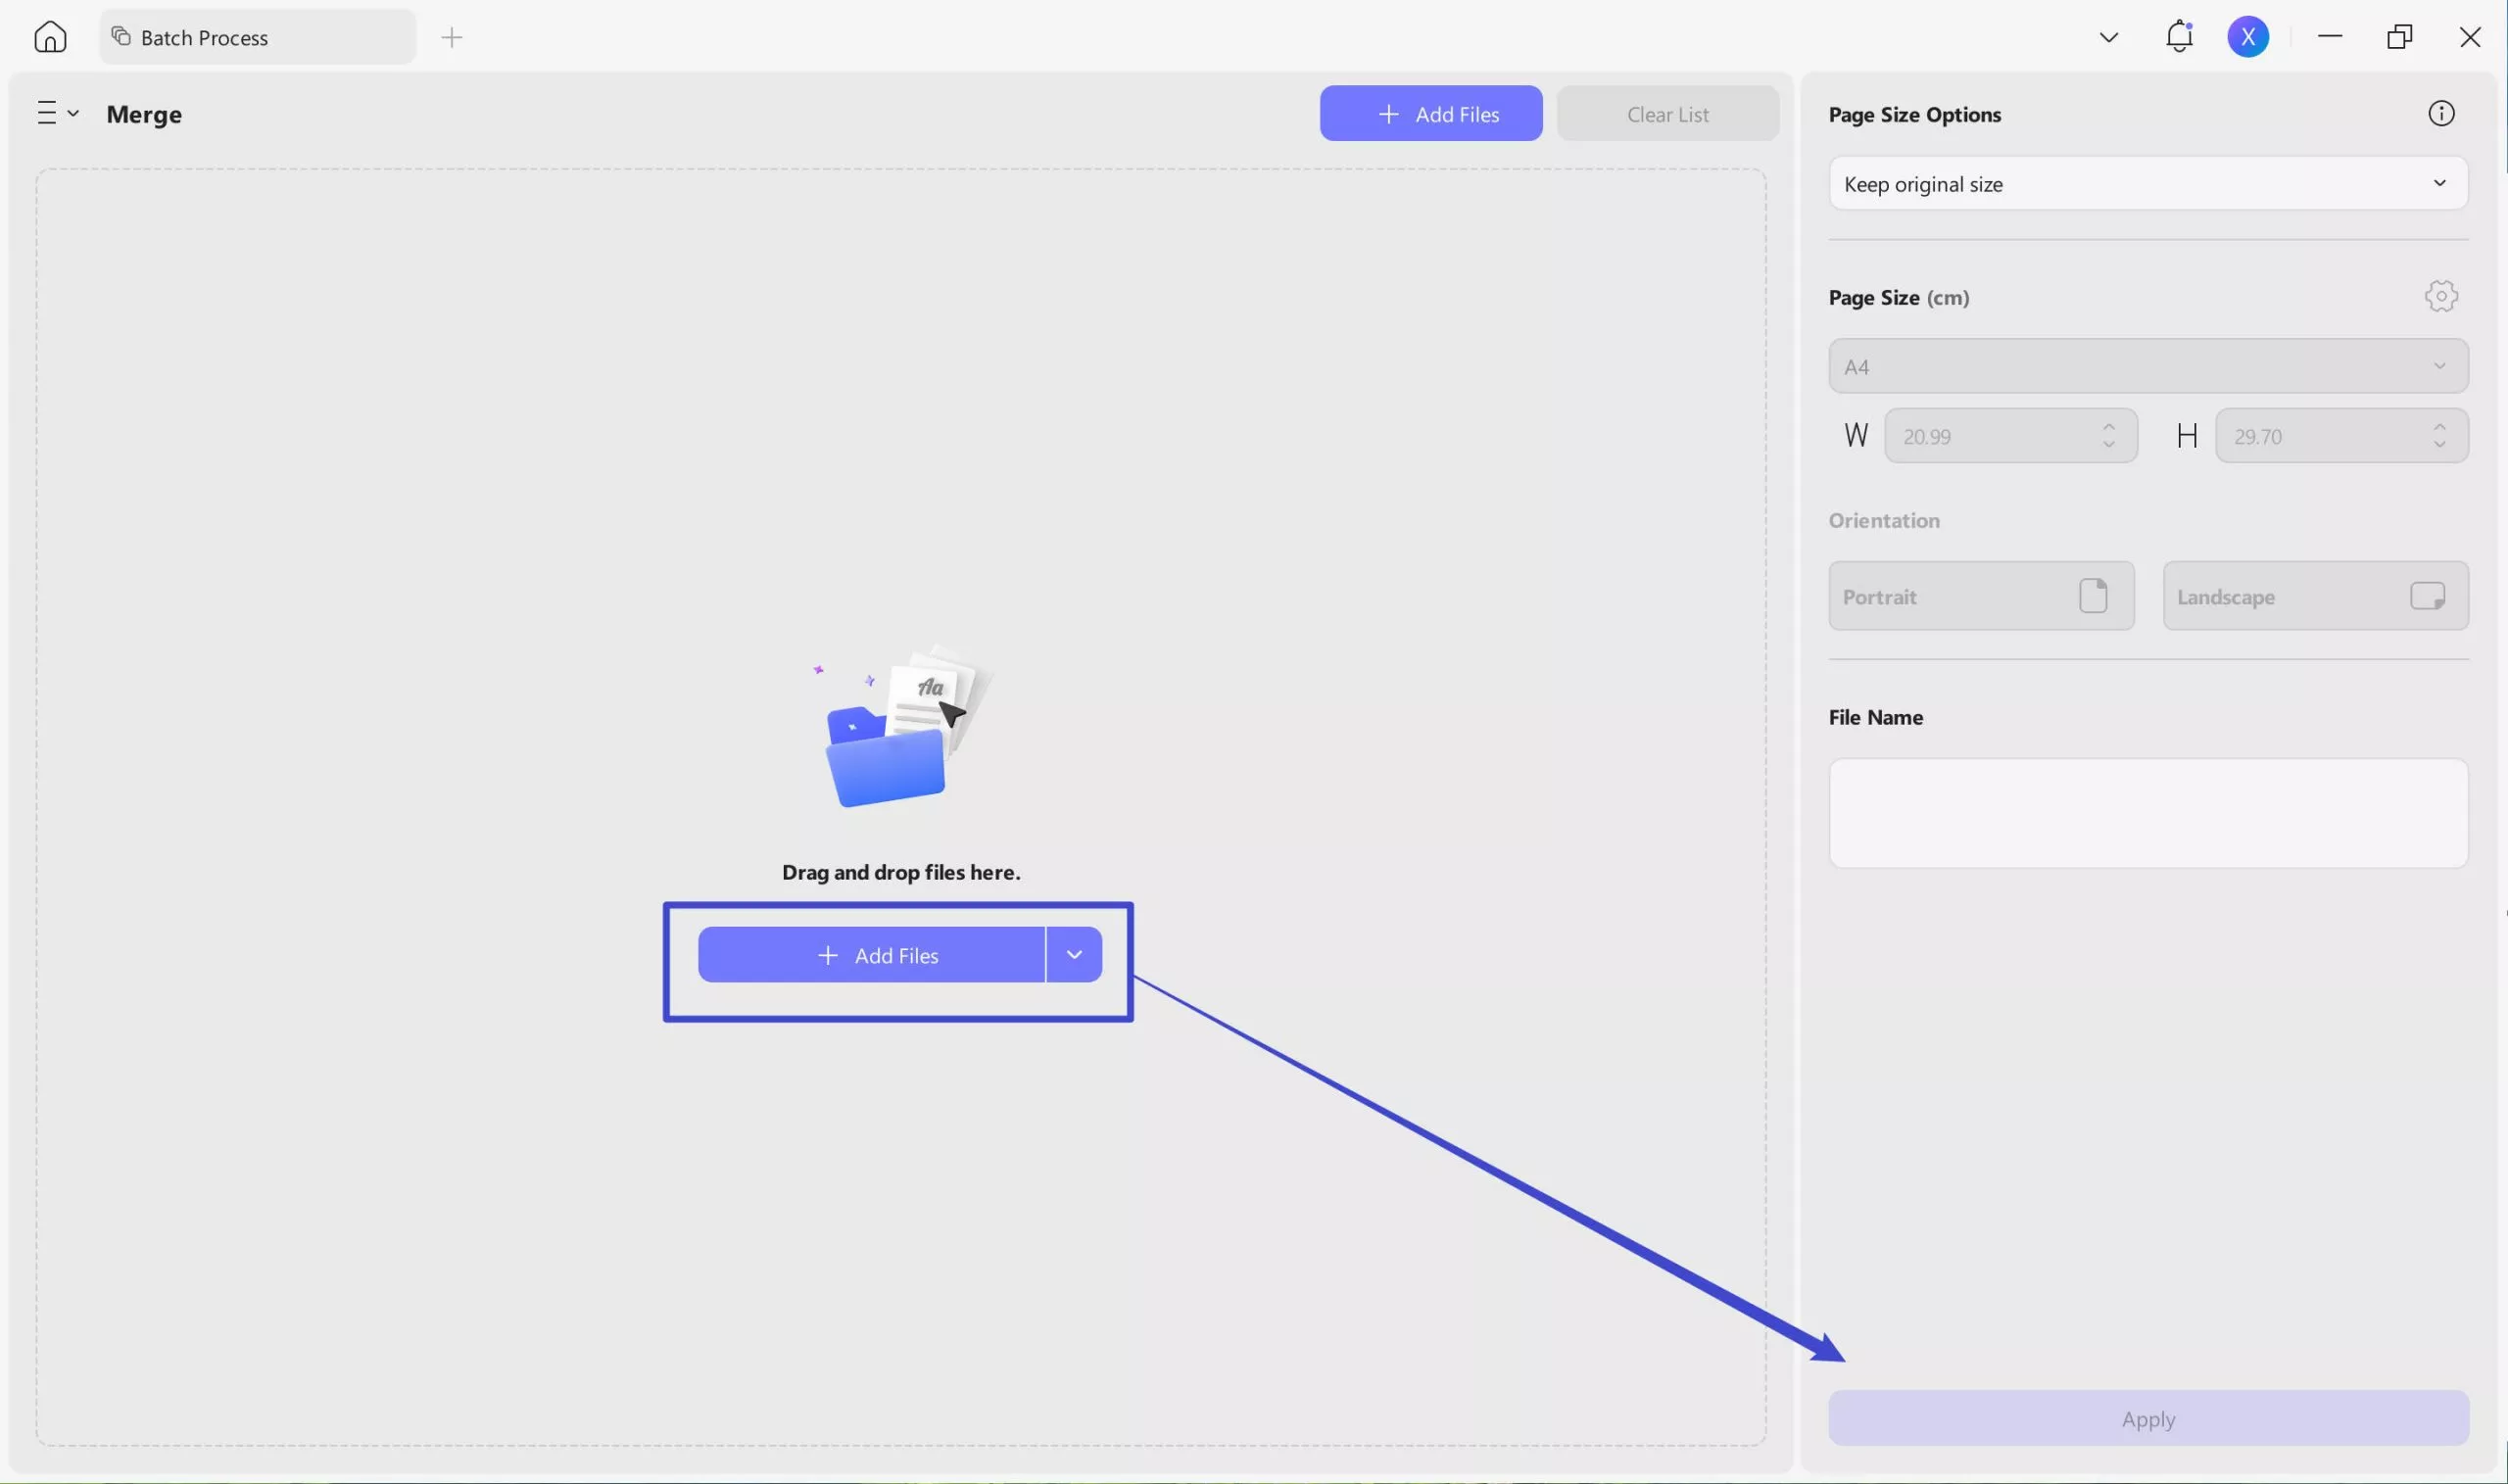
Choose a location to save the combined PDF.
Step 3: Convert the Combined PDF Back to Word
After getting the two PDF files combined, you can convert it back to a Word file by opening it in UPDF > click on the "Tools" feature > choose "Word" to export.
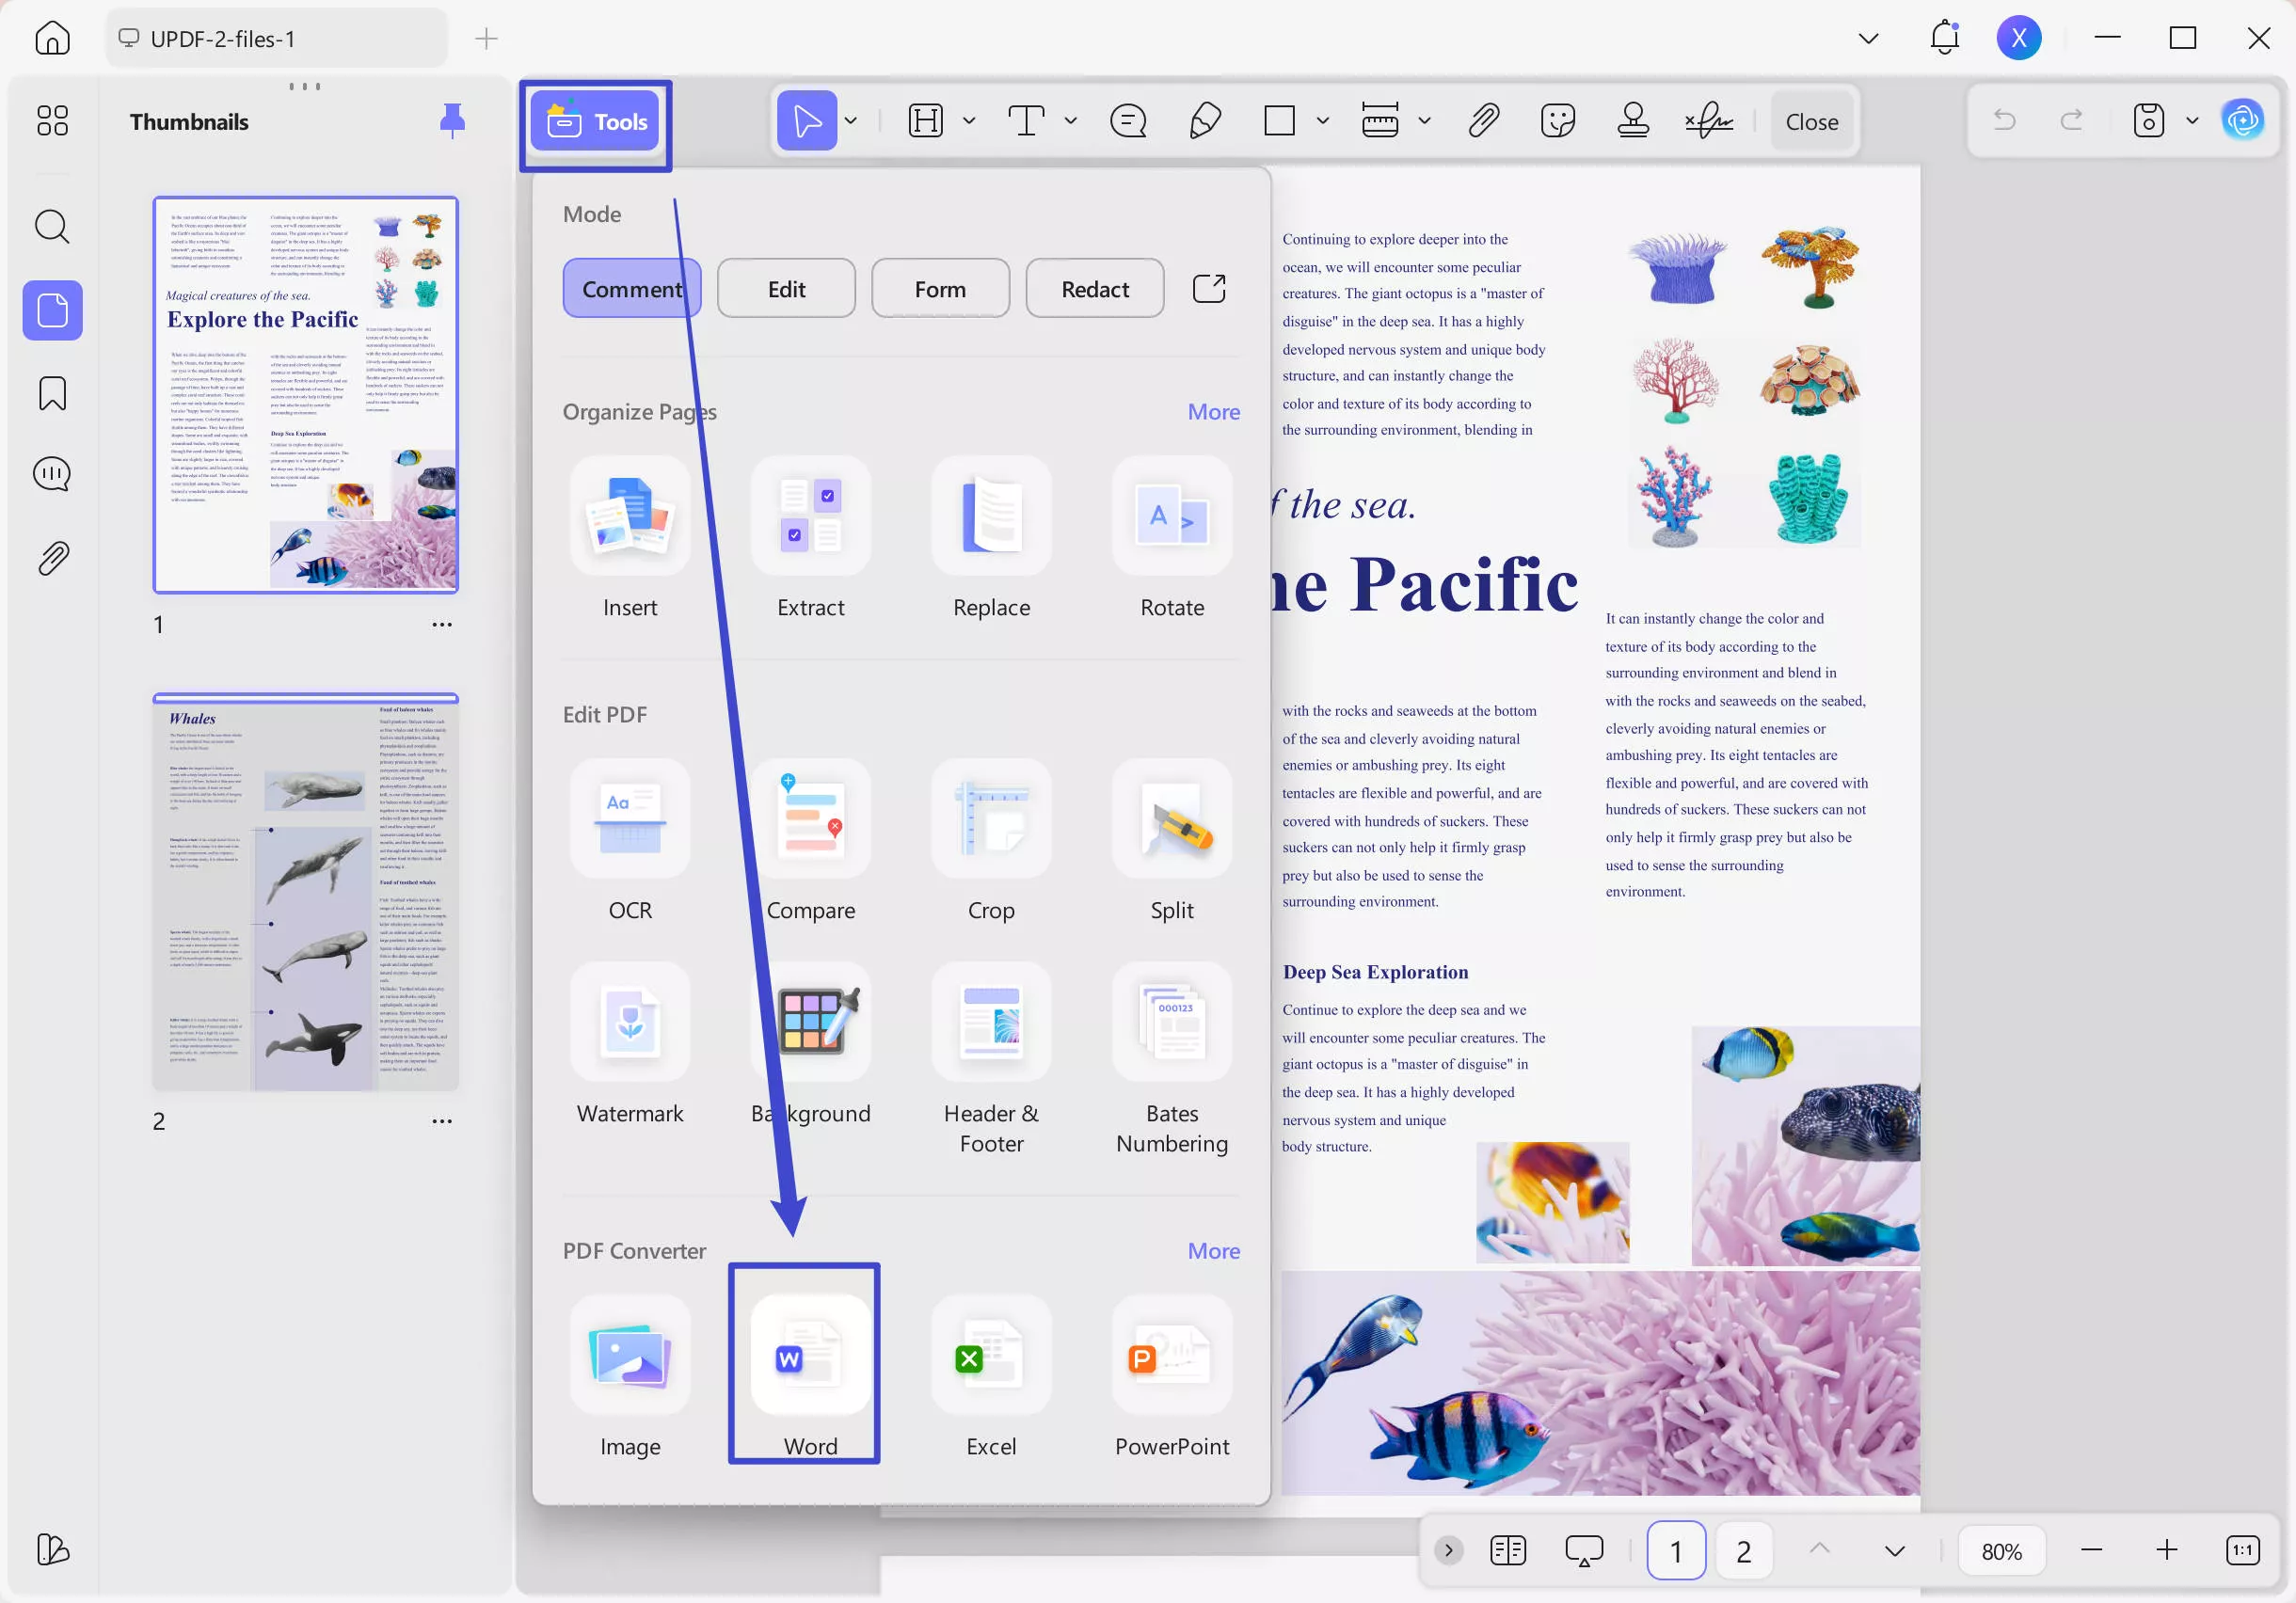
Alternatively, you can keep it in the PDF format and edit it within UPDF. UPDF is a one-stop solution for PDF files, it can help with editing, annotating, converting, and AI analyzing PDFs.
Windows • macOS • iOS • Android 100% secure
Method 2. How to Insert PDF into Word as an Object
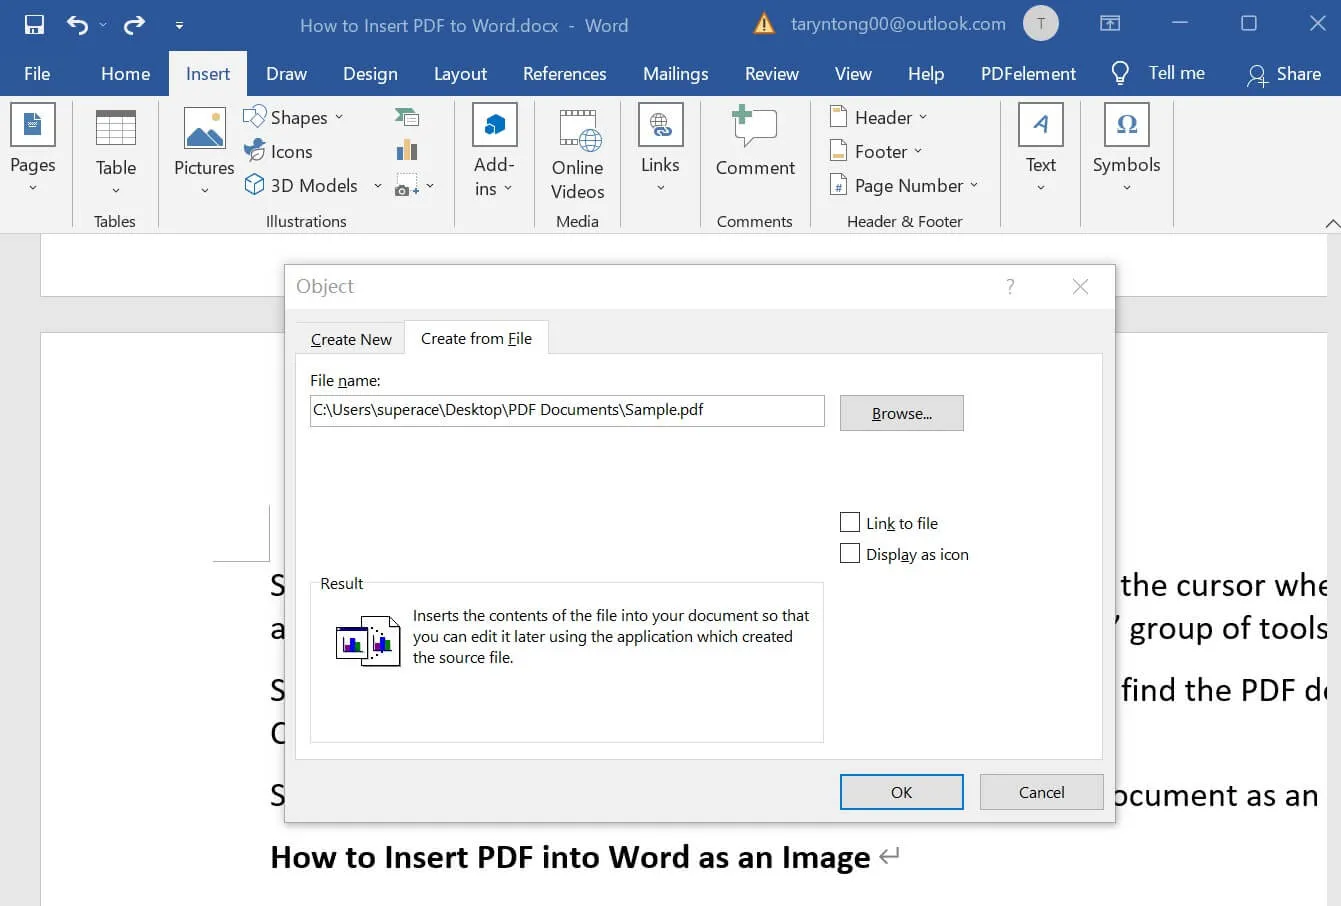
If you would like to insert a PDF document into your Word project for reference purposes, you can choose to insert the PDF into Word as an object. This process is very simple. Just use these steps:
- Step 1: Open the Word document you're working on, place the cursor where you would like the PDF to appear, and click "Insert". Click on "Object" from the "Text" group of tools.
- Step 2: Click on "Create from File" and click on "Browse" to find the PDF document you'd like to add. Click "Open" when you find the PDF.
- Step 3: Click "OK" and the PDF will be added to the Word document as an object.
Method 3. How to Insert PDF into Word as an Image
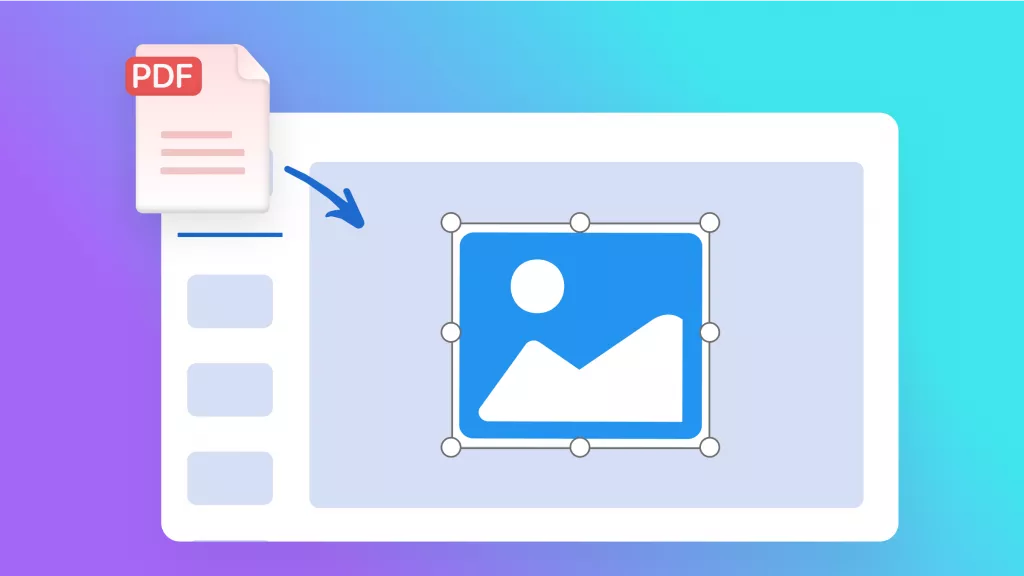
You can also convert the PDF into an image and then insert the image into the Word document as an image. This is an ideal solution if there is a section of the PDF that you would like to use as a reference point or to emphasize a point on your project.
UPDF can be very useful in this regard since you can use it to convert the PDF to an image before adding the image to Word. Here's how to do that;
Step 1: Convert PDF to Image with UPDF
Open UPDF on your computer and click on "Open File" to import the PDF file to the program. You can also just drag and drop the PDF document to the main window to add the file.
Click the "Tools" icon. From the output formats list, select "Image" and then choose the image format (PNG, JPEG, BMP, TIFF, GIF) that you would like to use.
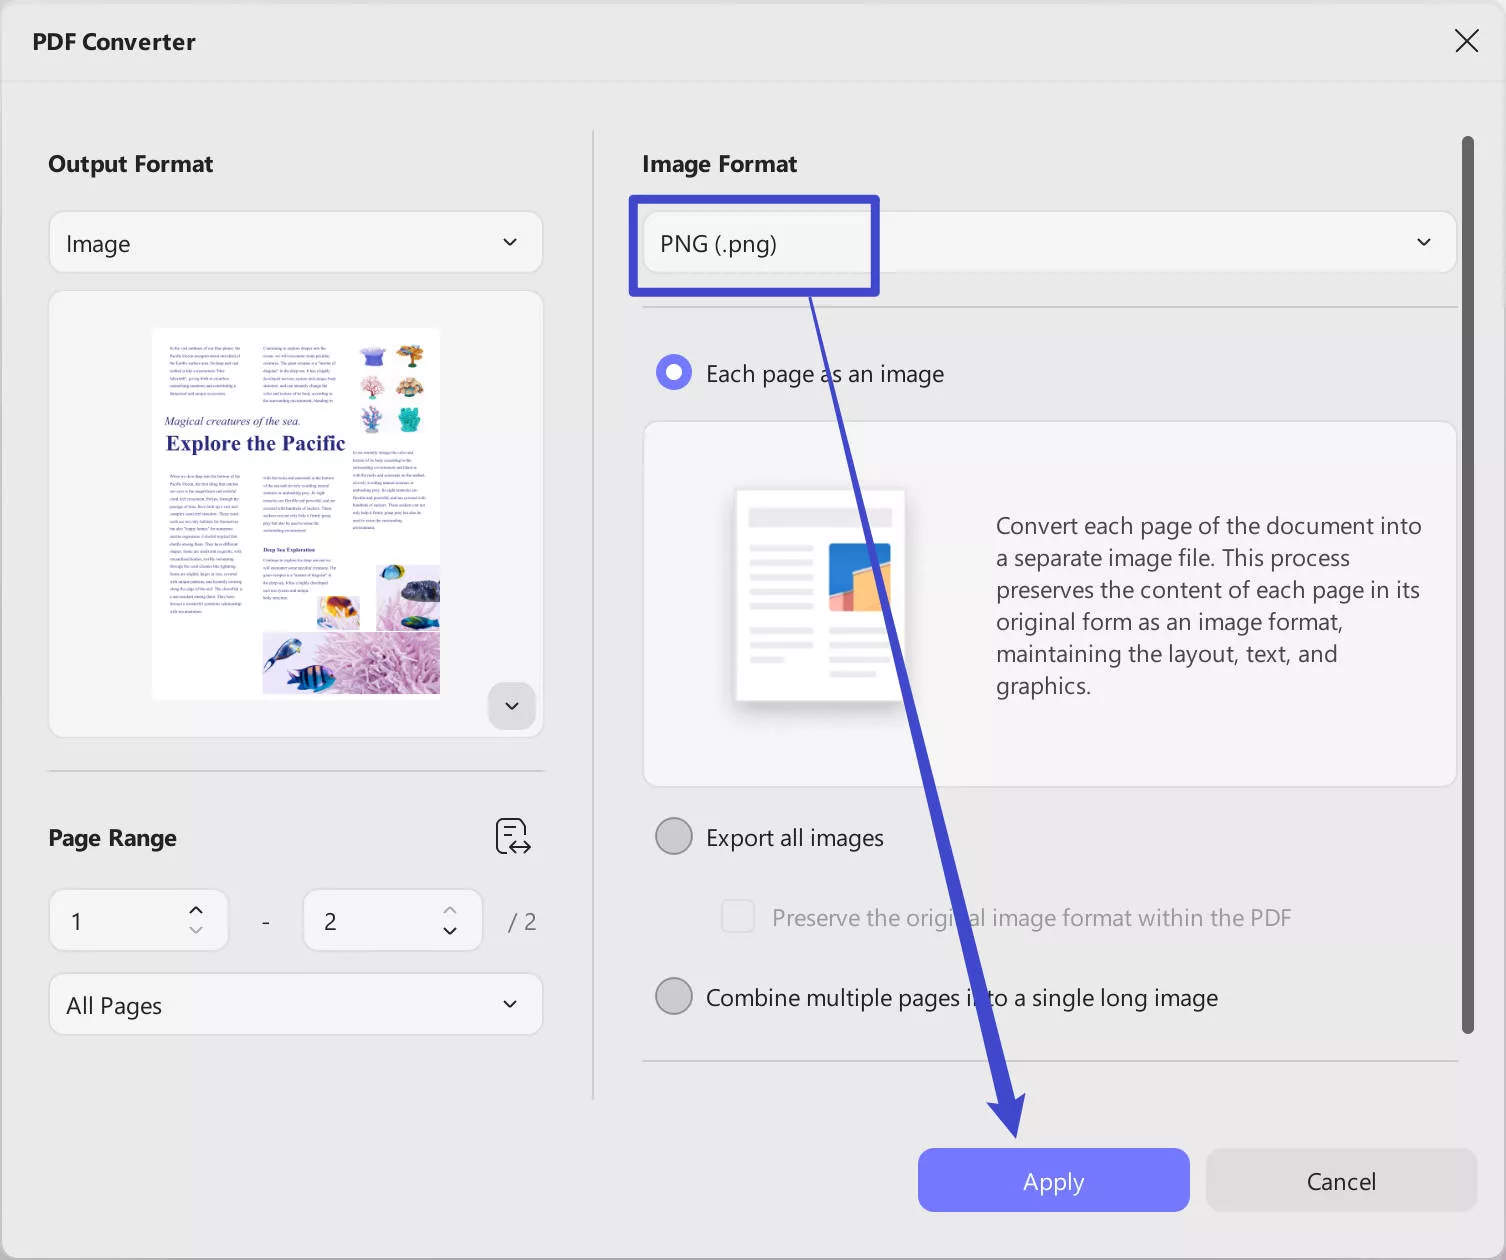
Click "Apply". This will begin the conversion process immediately and in a matter of seconds, you will have the PDF document in image format.
Step 2: Insert the PDF image into Word
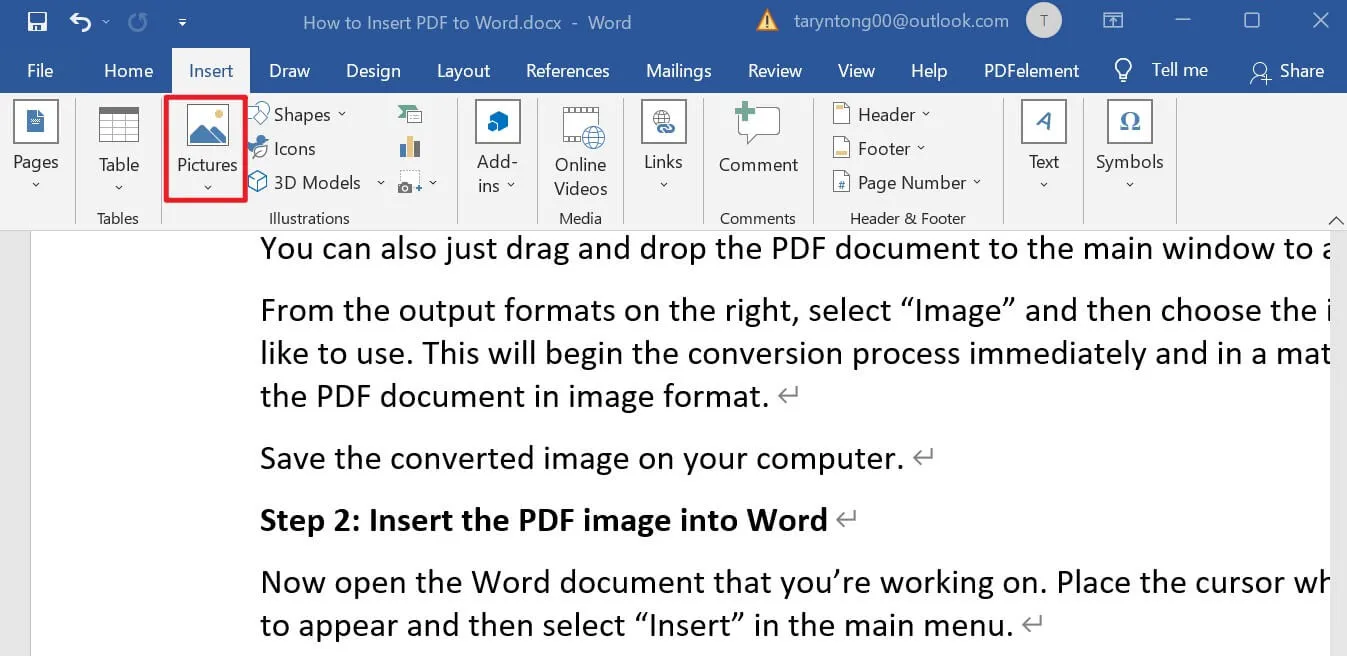
Now open the Word document that you're working on. Place the cursor where you would like the image to appear and then select "Insert" in the main menu.
Click on "Illustration" and choose "Picture". Browse your computer for the PDF image we converted in step one above and click "Open" to add it to the Word document.
Method 4. How to Insert PDF into Word with Google Drive
If you don't want to convert the PDF document to Word, but there are sections of the document that you would like to include in your Word project, you may want to copy and paste the PDF to Word. One of the best ways to do that is using Google Drive. The process is relatively simple; you add the document to your Google Drive, open it using Google Docs and then simply copy the content you need into a Word document.
Here's the process in easy steps to follow:
- Step 1: Start by adding the PDF to your Google Drive. To do that, go to Google Drive on any browser and click "New > File Upload" to browse your computer for the PDF you want.
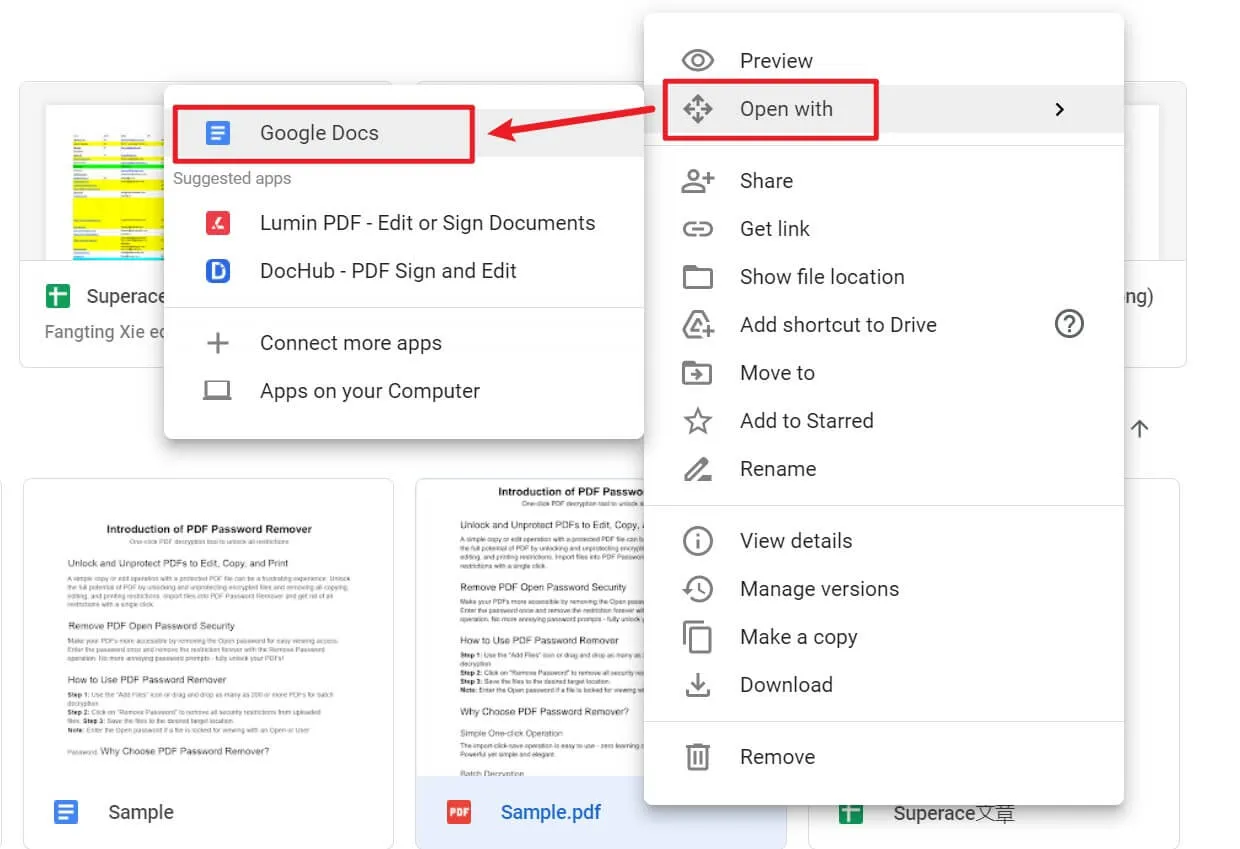
- Step 2: Once the document is added to Google Drive, click on it to preview it. Click on "Open With" at the top to choose "Google Docs." This will open the PDF document in a new tab.
- Step 3: Now all you have to do is scroll through the Google document and find the content you want to add to the Word document. Select the content and copy it to your clipboard (click "Edit > Copy").
- Step 4: Then open the Word document you're working on, place the cursor where you'd like the content to appear, and use the "Ctrl + V" shortcut to add the copied content to the document.
Conclusion
There are 4 methods mentioned above in inserting PDF into a Word. However, we recommend UPDF for you with its user-friendly interface and embedded rich features. Not only satisfies all your needs, but also surprises you with advanced functions, like OCR, signing electronic signatures, and adding stamps or watermarks according to your needs.
Windows • macOS • iOS • Android 100% secure
 UPDF
UPDF
 UPDF for Windows
 UPDF for Mac
 UPDF for iPhone/iPad
 UPDF for Android
 UPDF AI Online
 UPDF Sign
 Edit PDF
 Annotate PDF
 Create PDF
 PDF Form
 Edit links
 Convert PDF
 OCR
OCR PDF to Word
 PDF to Image
 PDF to Excel
 Organize PDF
 Merge PDF
 Split PDF
 Crop PDF
 Rotate PDF
 Protect PDF
 Sign PDF
 Redact PDF
 Sanitize PDF
 Remove Security
 Read PDF
 UPDF Cloud
 Compress PDF
 Print PDF
 Batch Process
 About UPDF AI
 UPDF AI Solutions
 AI User Guide
 FAQ about UPDF AI
 Summarize PDF
 Translate PDF
 Chat with PDF
 Chat with AI
 Chat with image
 PDF to Mind Map
 Explain PDF
 Scholar Research
 Paper Search
 AI Proofreader
 AI Writer
 AI Homework Helper
 AI Quiz Generator
 AI Math Solver
 PDF to Word
 PDF to Excel
 PDF to PowerPoint
 User Guide
 UPDF Tricks
 FAQs
FAQs UPDF Reviews
 Download Center
 Blog
Blog Newsroom
 Tech Spec
 Updates
 UPDF vs. Adobe Acrobat
 UPDF vs. Foxit
 UPDF vs. PDF Expert



 Enid Brown
 Enola Miller
 Enola Davis