UPDF for Windows
 UPDF for Mac
 UPDF for iPhone/iPad
 UPDF for Android
 UPDF AI Online
 UPDF Sign
 Read PDF
 Annotate PDF
 Edit PDF
 Convert PDF
 Create PDF
 Compress PDF
 Organize PDF
 Merge PDF
 Split PDF
 Crop PDF
 Delete PDF pages
 Rotate PDF
 Sign PDF
 PDF Form
 Compare PDFs
 Protect PDF
 Print PDF
 Batch Process
 OCR
OCR UPDF Cloud
 About UPDF AI
 UPDF AI Solutions
 AI User Guide
 FAQ about UPDF AI
 Summarize PDF
 Translate PDF
 Explain PDF
 Chat with PDF
 Chat with image
 PDF to Mind Map
 Chat with AI
 User Guide
 Tech Spec
 Updates
 FAQs
FAQs UPDF Tricks
 Blog
Blog Newsroom
 UPDF Reviews
 Download Center
 Contact Us
Adding a digital stamp to PDFs is essential for professionals looking to brand their documents or secure their content from unauthorized use. In such scenarios, the ability to apply a batch PDF watermark proves to be a game-changer for those who frequently handle multiple files. Whether adding your company's logos, a confidentiality notice, or a custom text, having an efficient tool to process numerous documents simultaneously saves time and effort.
If you are tired of manually editing watermarks for each file, this article is for you. We will explore how you can streamline the watermarking procedure with UPDF that offer flexibility in placement, opacity, and bulk file processing. Simply click the button below to start!
Windows • macOS • iOS • Android 100% secure
Part 1. Can I Watermark Multiple PDFs at Once?
You might be wondering if there's advanced software capable of watermarking multiple PDF files at once. The answer is yes! With powerful PDF editing solutions, you can efficiently batch watermark PDF files in a single operation. One such solution is UPDF, a comprehensive PDF editor with various editing features, including merging multiple files into one before applying a watermark.
With the help of this tool, you can apply a watermark in different forms, such as images, text, or PDF. Users get to adjust the opacity level of the added watermark so that it smoothly blends into the PDF. After the batch PDF watermark, you can later use the split feature to separate the merged files and use them individually as per your requirements.
Part 2. How to Add Watermarks to Multiple PDFs in Batch on Windows 10/11 & macOS
Moving on from UPDF's features allowing users to add batch watermarks, let's dive into how you can achieve this using UPDF on any of your Windows or macOS devices. Before getting started, make sure to download and install UPDF to access its powerful features.
Windows • macOS • iOS • Android 100% secure
Consequently, follow the steps below to understand the best way to batch PDF watermark Win 11 or Mac with UPDF:
Step 1. Install UPDF and Choose Batch Watermark
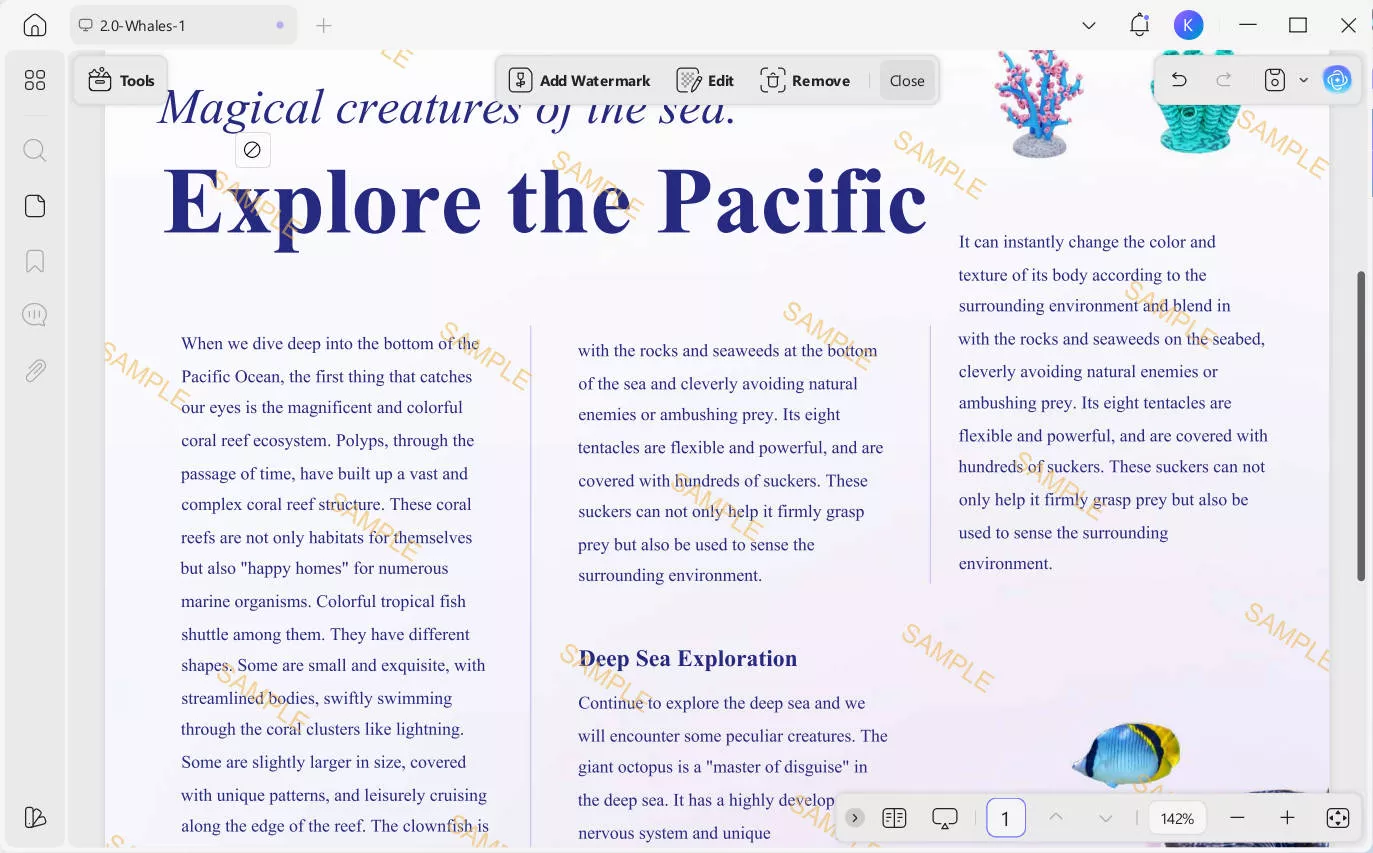
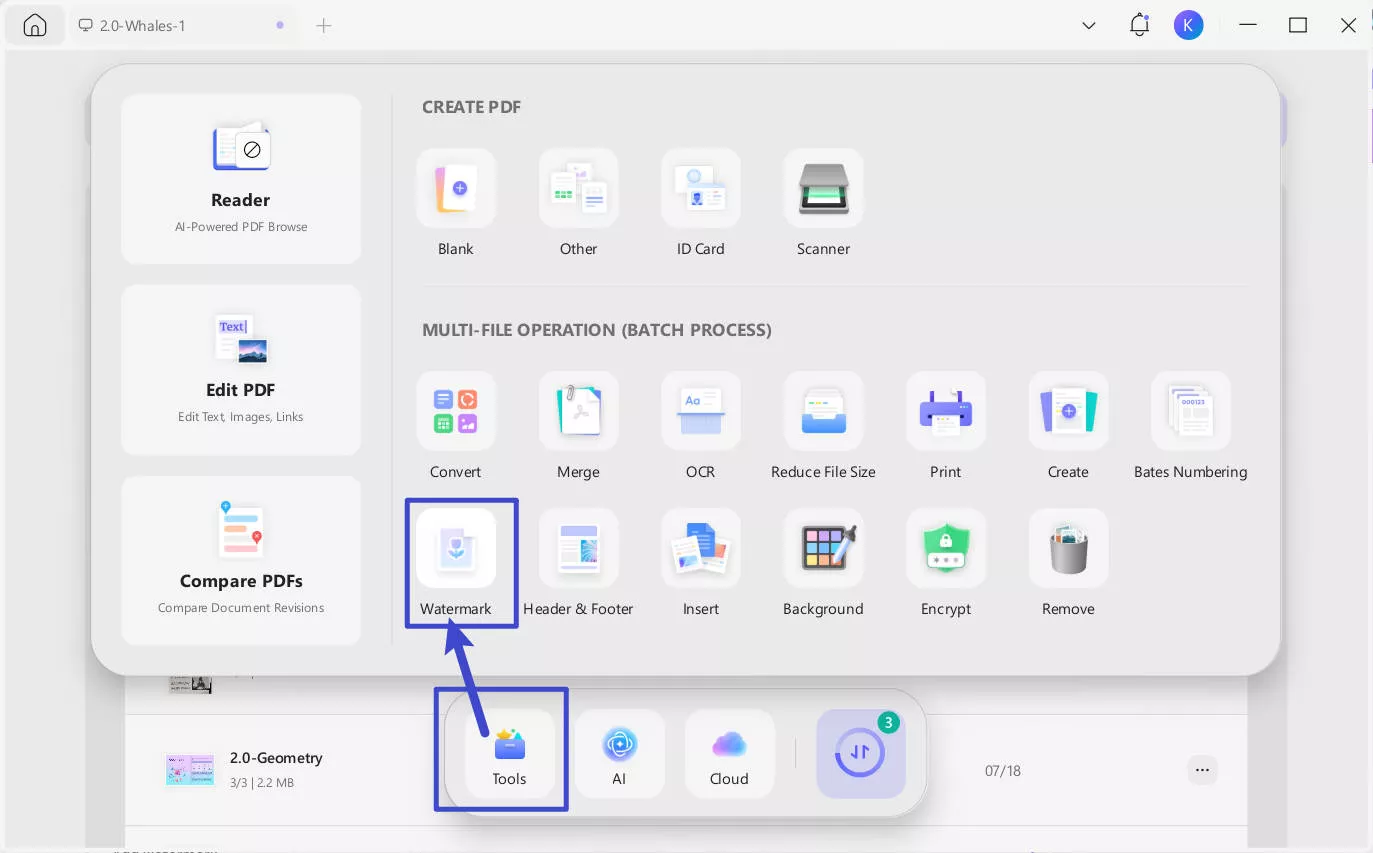
Start the procedure by installing and launching the UPDF watermark-adding tool on your desktop. Then, click the Tools to choose "Watermark". This will allow you to add watermarks for multiple PDFs simultaneously.
Step 2. Add Files for Batch Watermark
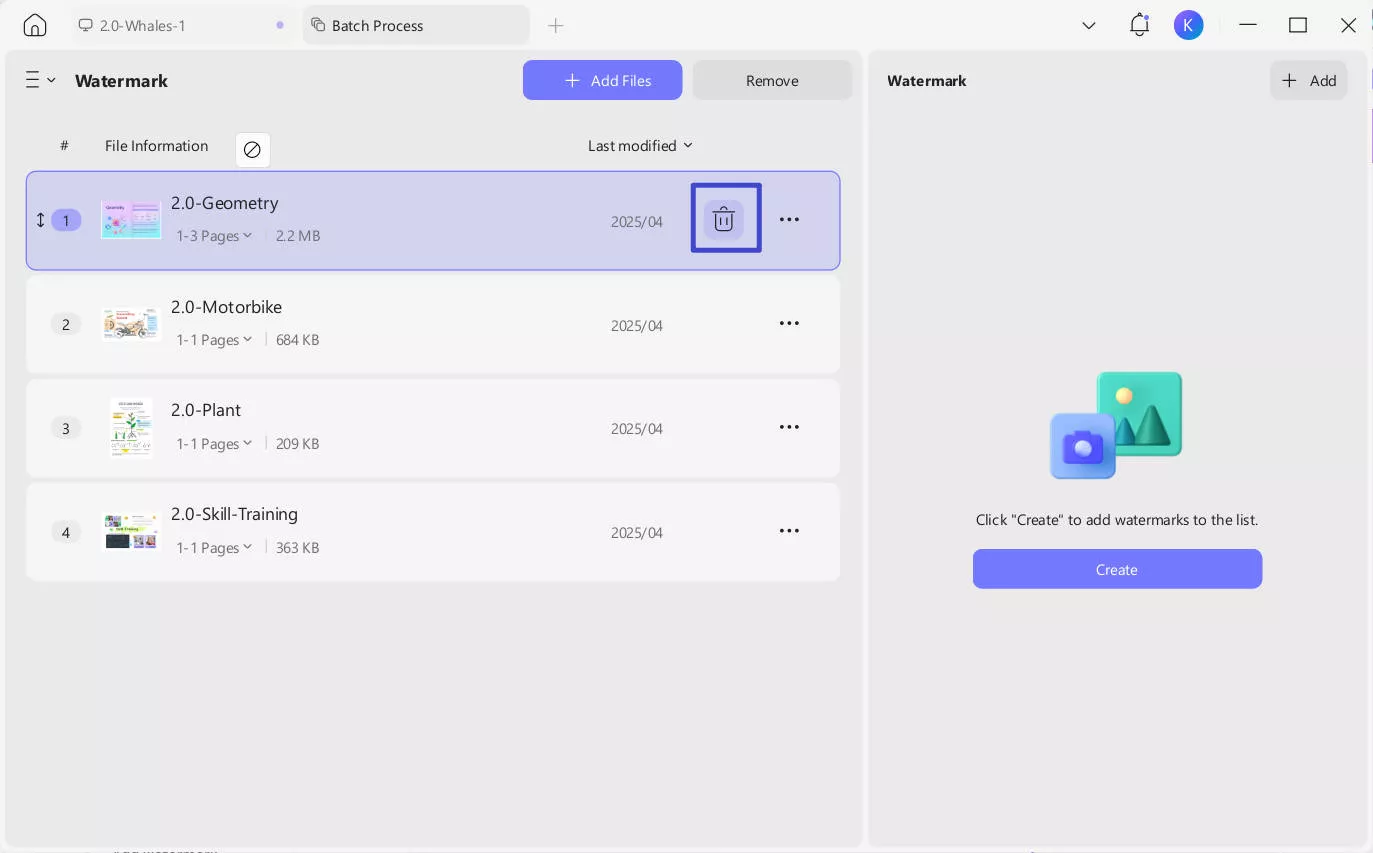
From the pop-up window, click on the "Add Files" button or drag and drop files to add PDFs from your system.
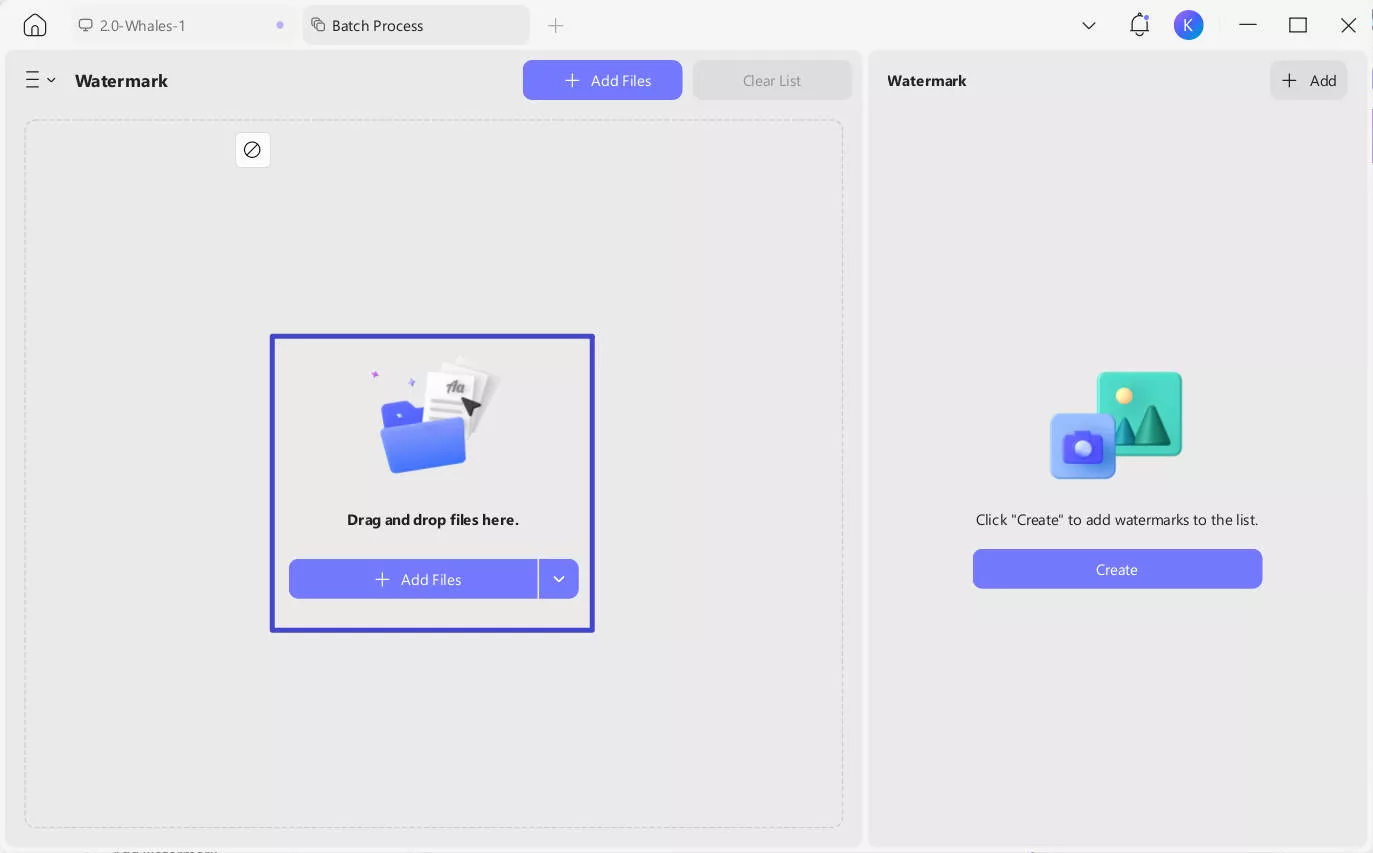
If you added a wrong PDF, you can hover your mouse over the corresponding file location, and a trash bin icon will appear. Click on it to remove the file. After successfully adding the PDFs you want, click "Create". You can add a "Text Watermark" or a "File Watermark (Image/PDF)".
Step 3. Create Watermark Template
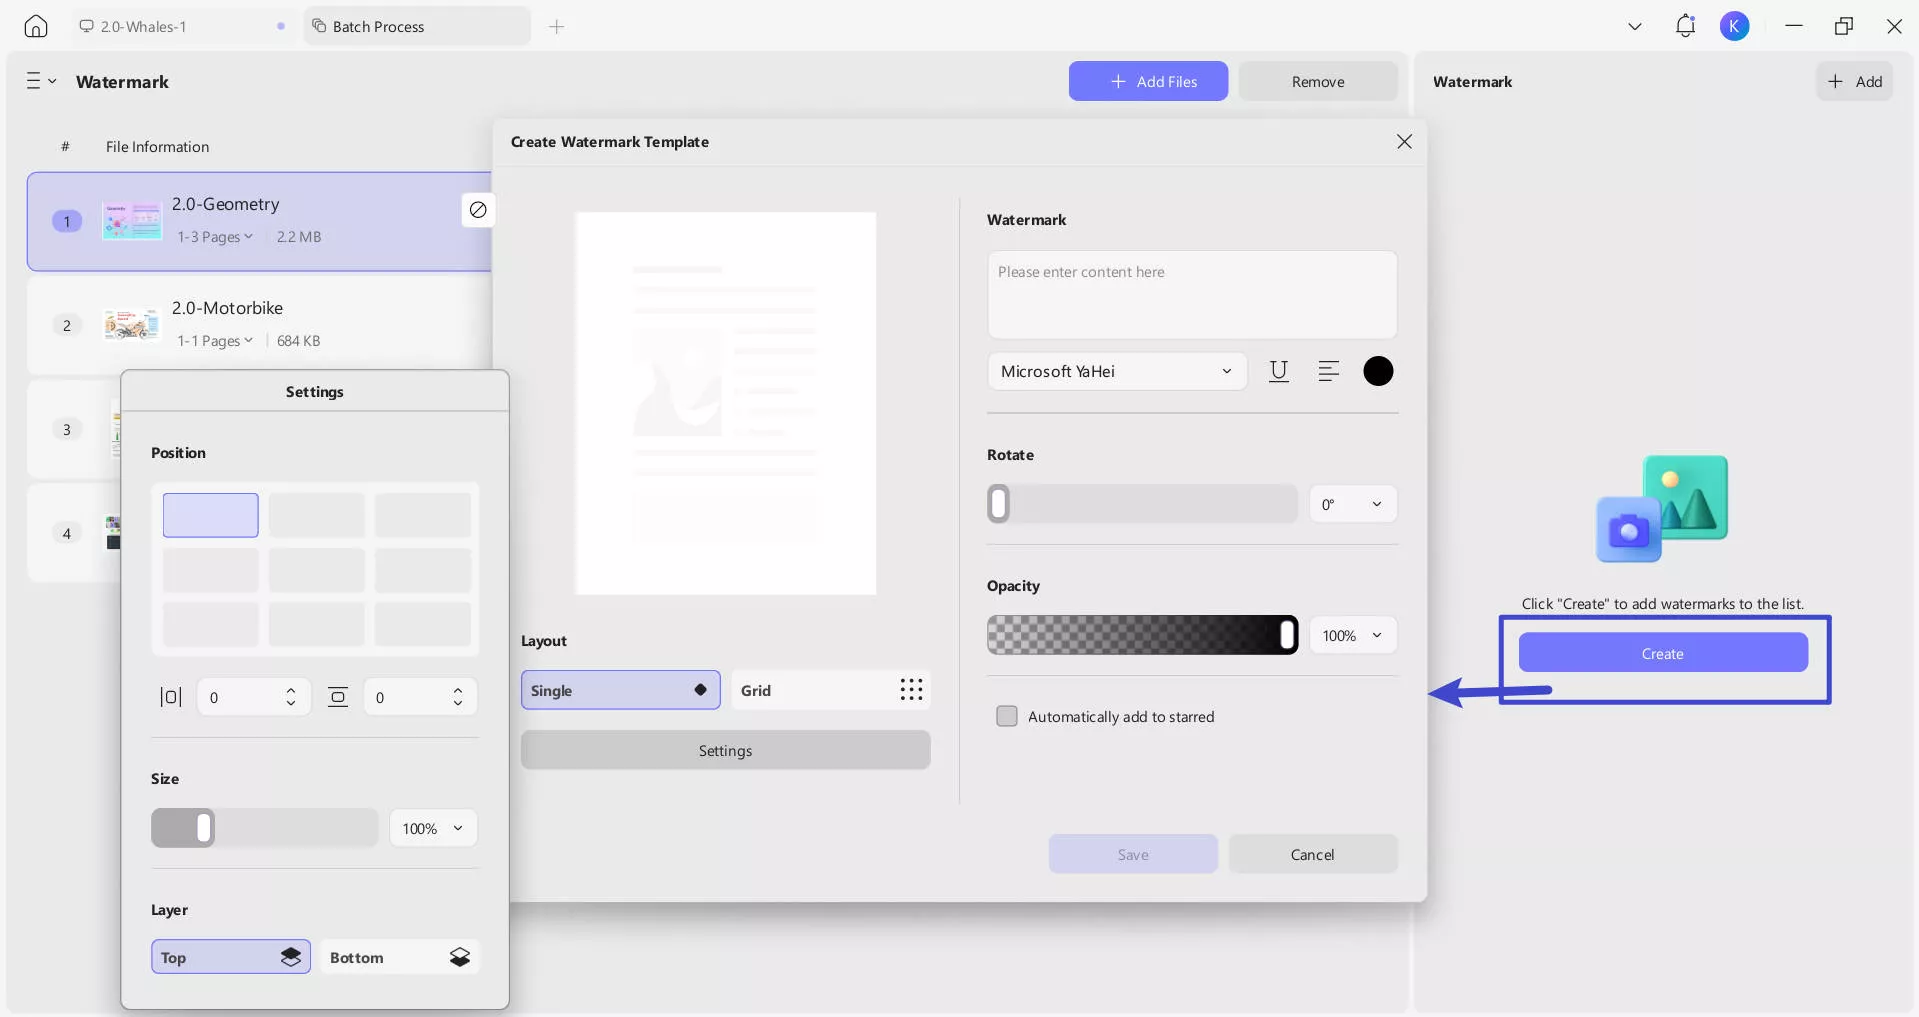
If you choose "Text Watermark," an pop-up window will appear where you need to customize the watermark settings. You can enter your text content of the watermark, customize the font, style and color, watermark's tiling type, adjust its ratio and opacity, choose if the watermark appears on Top (above the document content) or Bottom (below the document content), and more.
Step 4. Add a Watermark and Save to Apply the Changes
Once you are satisfied with how the document looks, hit the "Save" button to apply the changes made to all the pages of the document.
Part 3. Bonus Tip: How to Prevent Your PDF Watermarks from Being Removed
Managing thousands of PDF files, such as those for a sheet music publisher, often requires creating preview versions with watermarks. However, standard watermarks can be easily removed using editing tools that leave your files unauthorized. To ensure your batch PDF watermark remains intact, a more secure approach is essential.
With UPDF's PDF flatten feature, you can make your watermarks permanent by embedding them directly into the PDF content. Follow these simple steps to secure your watermarked PDFs and get complete control over your documents:
Step 1. Navigate to the Save as Flatten Feature of UPDF
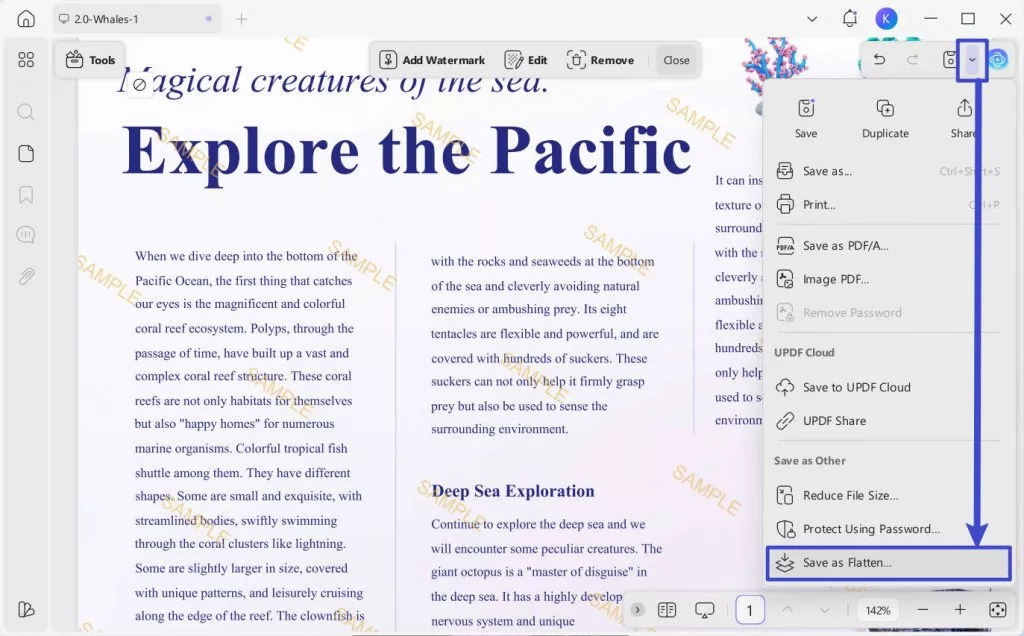
After you are done batch watermarking PDF files, click on the downward arrow next to the "Save" icon in the top right corner of the screen. From the drop-down menu, select the "Save as Flatten" option.
Step 2. Tick the Flatten Watermarks Option and Hit Save As
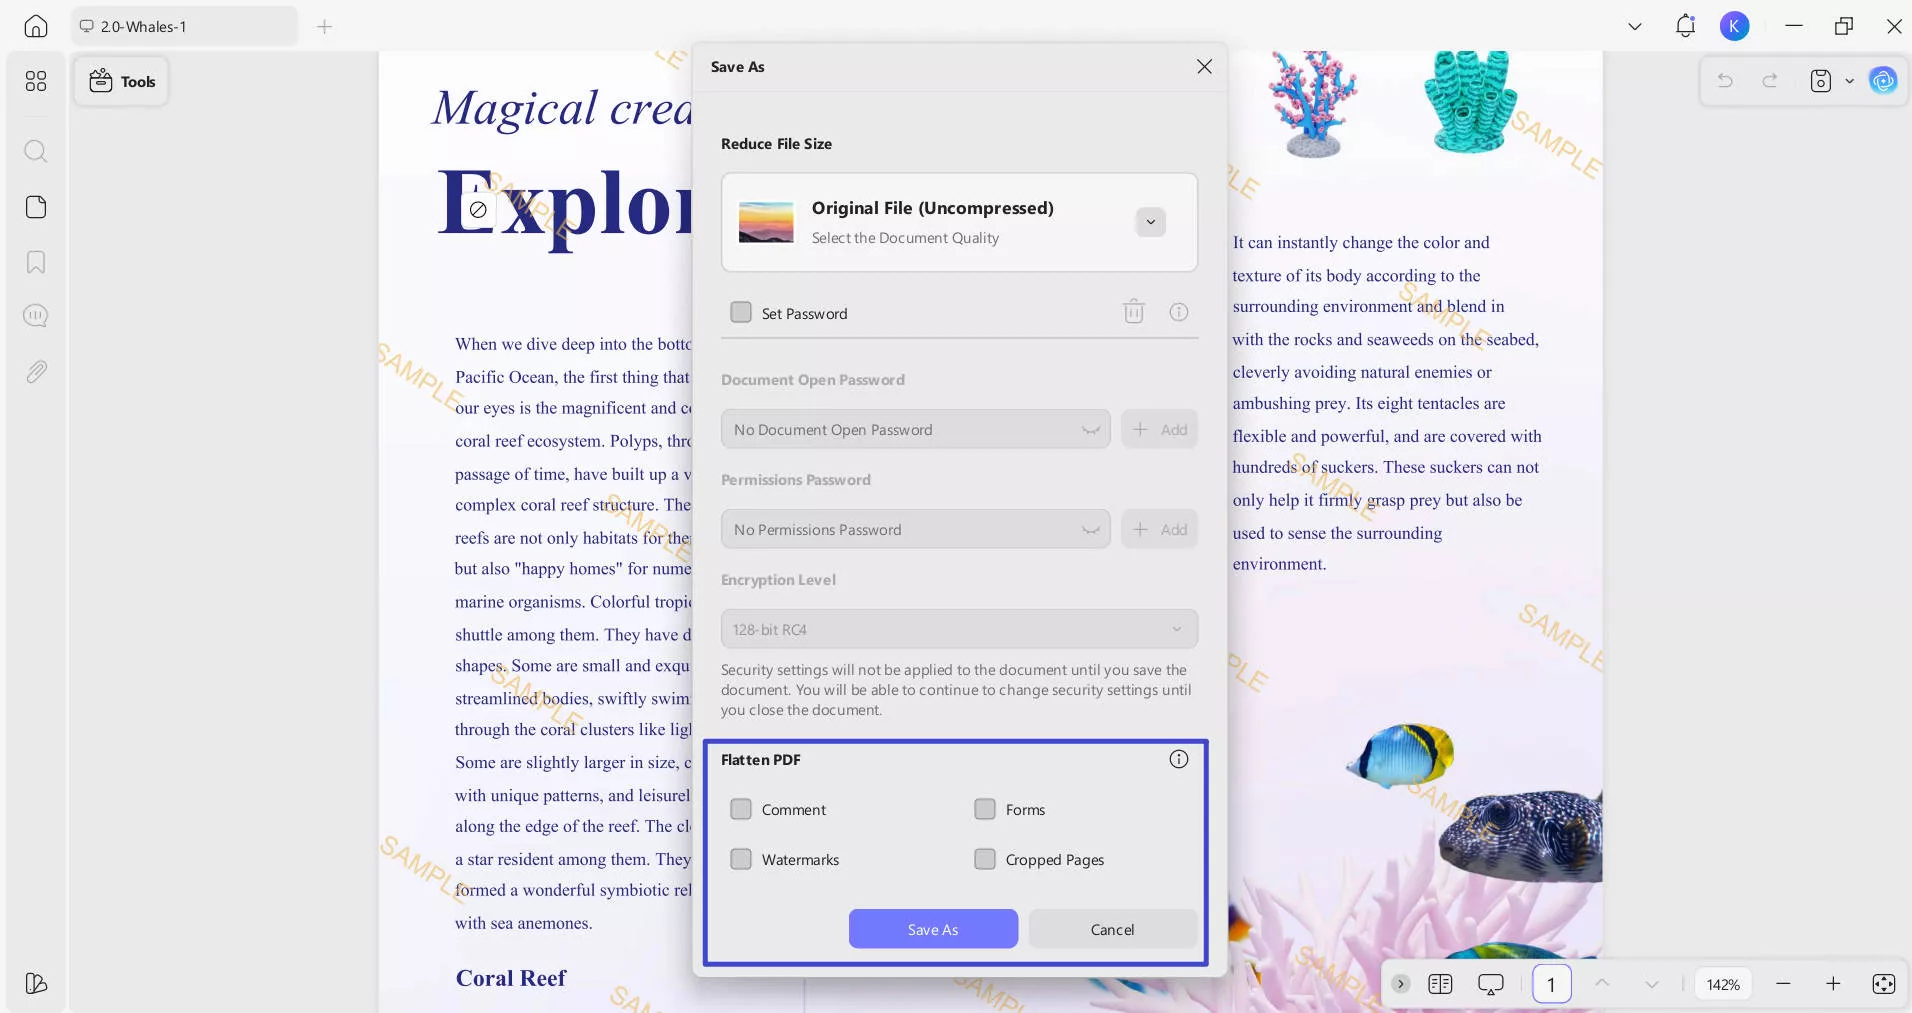
To conclude this process, tick the checkbox of the "Flatten PDF" in the pop-up dialog box. It provides four options for you to choose from: "Comment", "Forms", "Watermarks", and "Cropped Pages". When you select these checkboxes, the corresponding elements in the PDF, such as comments, form fields, watermarks, or cropped-page regions, will be flattened into the pages of the PDF, making them fixed parts that are no longer easily editable or removable. Then, hit the "Save As" button to save the flattened PDF to your desktop.
Check out this YouTube video that shows how to add watermark in PDF using UPDF.
Also read: How to Add Watermarks to PDF: A Complete Guide with UPDF
UPDF is not just a watermarking tool but an all-in-one PDF solution designed to streamline your workflow. The batch processing feature lets you handle multiple files, saving time on repetitive tasks. Its editing tools allow you to modify text and images with complex interfaces. Moreover, this tool even has annotation and AI features to improve your note-taking and comprehension abilities. Download UPDF today to start adding personalized watermarks and enhance your PDF editing experience.
Conclusion
In conclusion, watermarking multiple PDFs doesn't have to be time-consuming or complicated. With tools like UPDF, you can streamline your workflow while ensuring your documents remain secure and professional. With the above-discussed steps, you can easily navigate the software and figure out the best way to batch PDF watermarks on your Mac or Win devices. Download UPDF today and discover how it can simplify document management tasks and elevate productivity.
Windows • macOS • iOS • Android 100% secure


 Donnie Chavez