UPDF for Windows
 UPDF for Mac
 UPDF for iPhone/iPad
 UPDF for Android
 Nomostar
 UPDF AI Online
 UPDF Sign
 IvyCraft
 Edit PDF
 Annotate PDF
 Create PDF
 PDF Form
 Edit links
 Convert PDF
 OCR
OCR PDF to Word
 PDF to Image
 PDF to Excel
 Organize PDF
 Merge PDF
 Split PDF
 Crop PDF
 Rotate PDF
 Protect PDF
 Sign PDF
 Redact PDF
 Sanitize PDF
 Remove Security
 Read PDF
 UPDF Cloud
 Compress PDF
 Print PDF
 Batch Process
 About UPDF AI
 UPDF AI Solutions
 AI User Guide
 FAQ about UPDF AI
 Summarize PDF
 Translate PDF
 Chat with PDF
 Chat with AI
 Chat with image
 PDF to Mind Map
 Explain PDF
 PDF AI Tools
 Image AI Tools
 AI Chat Tools
 AI Writing Tools
 AI Study Tools
 AI Working Tools
 Other AI Tools
 AI Bookmark Generation
 AI Bookmark Summary
 AI Watermark Generation
 AI Background Generation
 AI Sticker Generation
 AI Stamp Generation
 AI Editing Suite
 UPDF Copilot
 AI Page Management
 AI Semantic Search
 PDF to Word
 PDF to Excel
 PDF to PowerPoint
 User Guide
 UPDF Tricks
 FAQs
FAQs UPDF Reviews
 Download Center
 Blog
Blog Newsroom
 Tech Spec
 Updates
 UPDF vs. Adobe Acrobat
 UPDF vs. Foxit
 UPDF vs. PDF Expert
If you are a Mac user looking for the right direction to edit PDFs with Preview, this article is a must-read. Preview is a PDF viewer dedicated to Mac users, which provides multiple features to manage PDFs. From viewing PDFs to annotating, organizing, and printing PDFs, it is possible with Preview. However, you cannot edit PDFs or perform OCR using this PDF platform. For this, you will be introduced to the best alternative to Preview for editing PDFs. Try it for free now and you will love it.
Windows • macOS • iOS • Android 100% secure
Can I Edit the Existing Content in PDF with the Preview App?
No, you cannot edit the existing content in the PDF document using Preview. With this built-in PDF viewer, you cannot even remove or edit the images that are already present in the files. However, it allows you to add new content to the PDF for editing purposes. Using this content addition feature, professionals will be able to make changes to the document.
If you want to make edits to the existing content in the document, you may require an advanced Mac PDF editing tool. UPDF comes in handy in such situations with its multi-purpose PDF management tool. Moreover, you can make changes to existing text, images, and even links with the help of this tool. In addition to editing, this PDF editor lets you carry out other PDF handling tasks, including annotation, organization, and document conversion.
Also Read: How to Insert Image into PDFs on Mac with Preview
The Best Alternative to Preview for Editing PDF on Mac
The best alternative to the Preview App when editing PDFs is the UPDF editor for Mac. This is an all-in-one editor to use to add texts to PDF and perform other edits on your document. With the tool, you can perform all the edits by adding and deleting texts on your PDF file. Besides, you can also make all the modifications to make your PDF document suit your preferences. With images on your PDF, no need to worry, you can crop, add, replace, extract, and remove images on your PDF document. UPDF editor allows you to edit PDF documents, unlike the Preview app where you cannot edit preexisting text.
Download UPDF and give it a try today!
Windows • macOS • iOS • Android 100% secure
To annotate your PDF files, the UPDF editor has features that allow you to underline, highlight, create notes, and do other annotations to your document. You also have the chance to organize your PDF pages if you have files with several pages. The tool allows you to replace, insert, extract, delete, and rotate pages. The tool also allows you to read and view your PDF files more clearly.
UPDF editor features an advanced OCR feature that makes it possible for you to convert scanned PDF files into easy-to-edit texts. This is a great feature you don't get in Preview Mac, thus making it impossible to edit scanned PDFs with Preview. To ensure that your files are not accessed by unauthorized parties, the UPDF editor allows you to create permissions and passwords making it a better tool than the Preview app on Mac.
Unlike in the Preview App where you have to create a signature in another document and then use the Mac Camera to place it on your PDF file, the UPDF editor allows you to create a signature directly. You can create a handwritten signature on your PDF files fast. The tool also allows you to convert your PDF to all other editable formats. What's more? It provides AI features to help you summarize PDF, translate PDF, and any any questions related to your PDF files.
Download the comprehensive PDF tool UPDF now and enjoy a seamless PDF editing/annotating/converting experience!
Windows • macOS • iOS • Android 100% secure
How to Use Preview App Alternative to Edit PDF
Here are steps to edit PDF with UPDF editor the best Preview alternative.
Step 1. Enter into the Editing Mode
After you download and install the app, click on the "Edit" button in "Tools" on the left toolbar to start editing your file.
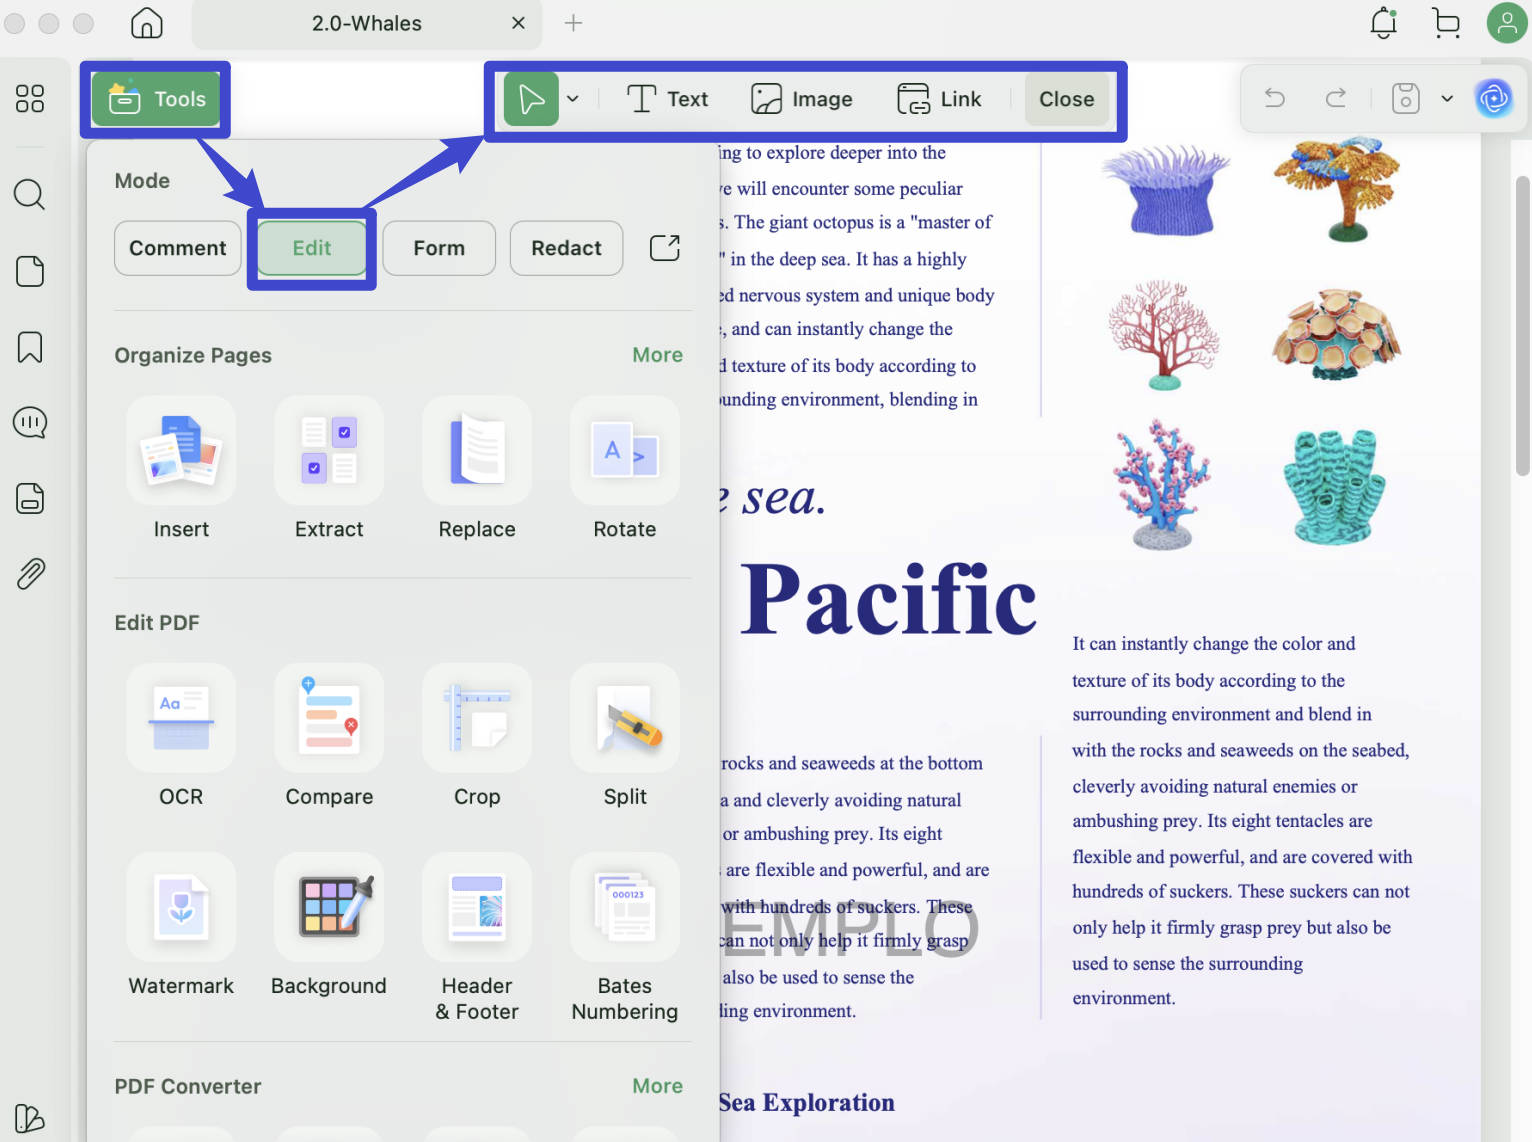
Step 2. Edit PDF Document
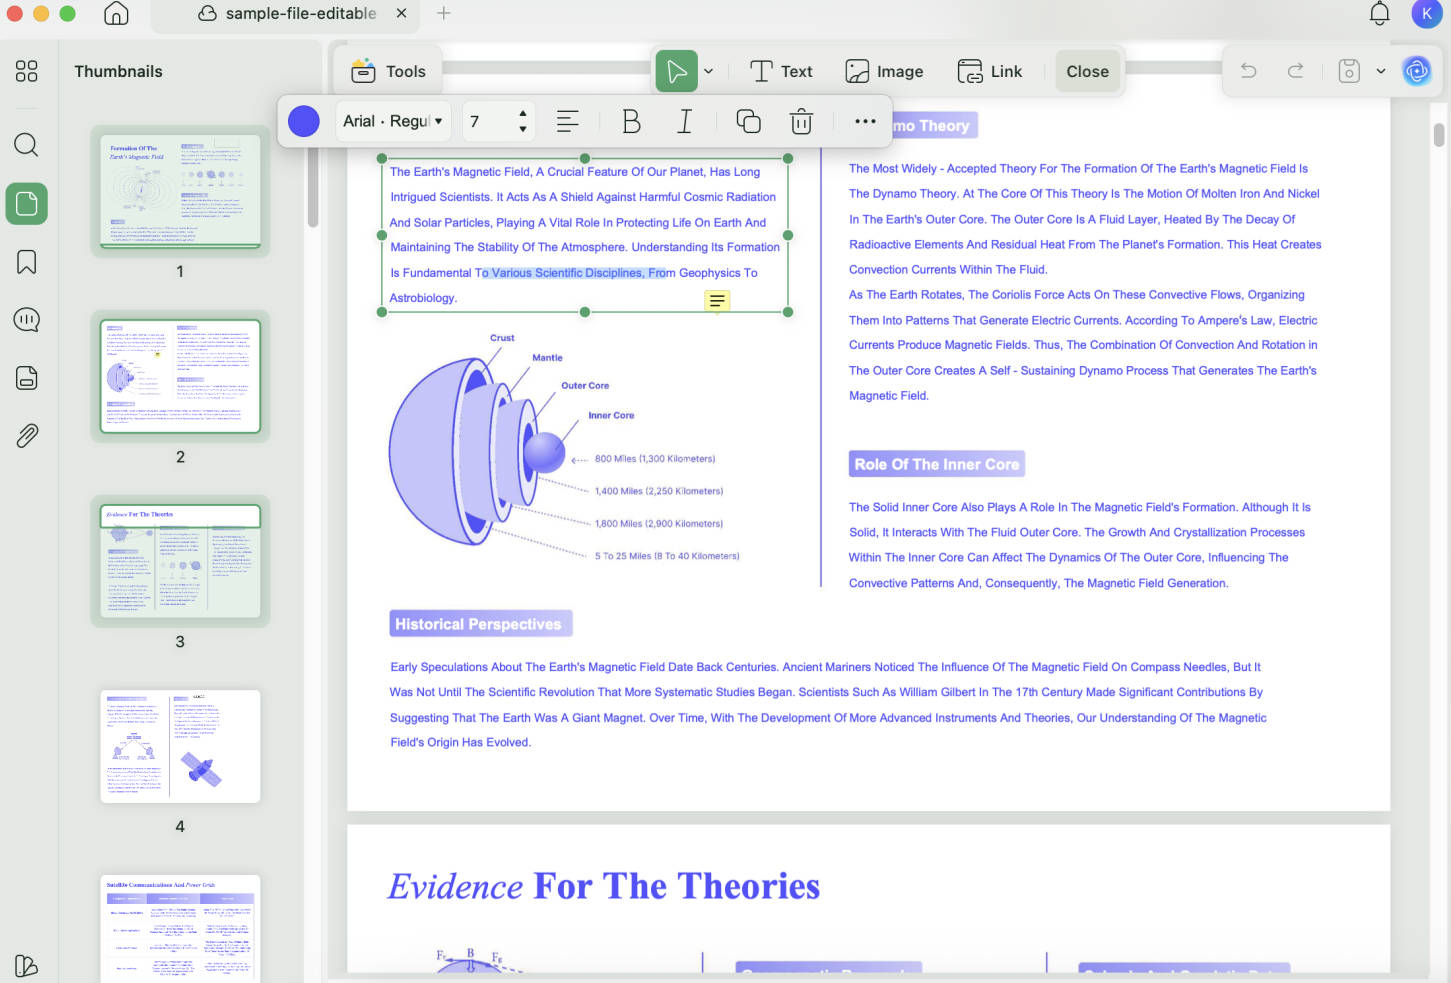
You can now edit the images, texts, and links on your file fast and easily by double-clicking it. Edit by deleting, modifying, and adding paragraphs and texts to your file. The tool allows you to change font size, type, color, italic, and bold just like the way you do on Word.
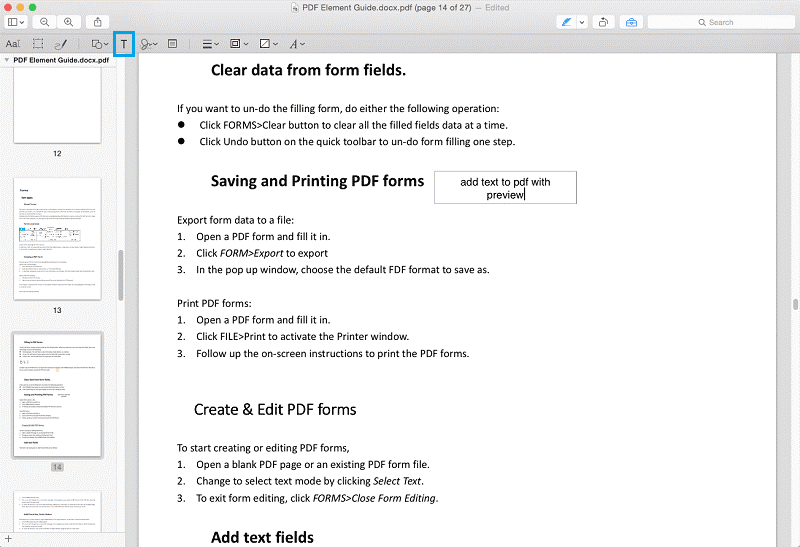
Step 3. Add Text, Images, or Links to PDF
Click the icon on the top to add text, images, or links to your PDF file. Now move your mouse to the part where you want to add to your PDF file.
If you're still confused about the editing steps in UPDF, please take a moment to watch the video below.
Now that everything is clear regarding editing PDFs with UPDF, go ahead and download it to give it a try!
Windows • macOS • iOS • Android 100% secure
Also Read: How to Edit a Downloaded PDF on Mac? (Step by Step)
How to Use Preview to Add Text to PDF
As we all know that you can't edit the existing text on PDF with Preview. You can only add new text and annotations to your PDF with Preview. Below are steps on how to add text to PDF on Preview Mac.
Step 1: Load your PDF File
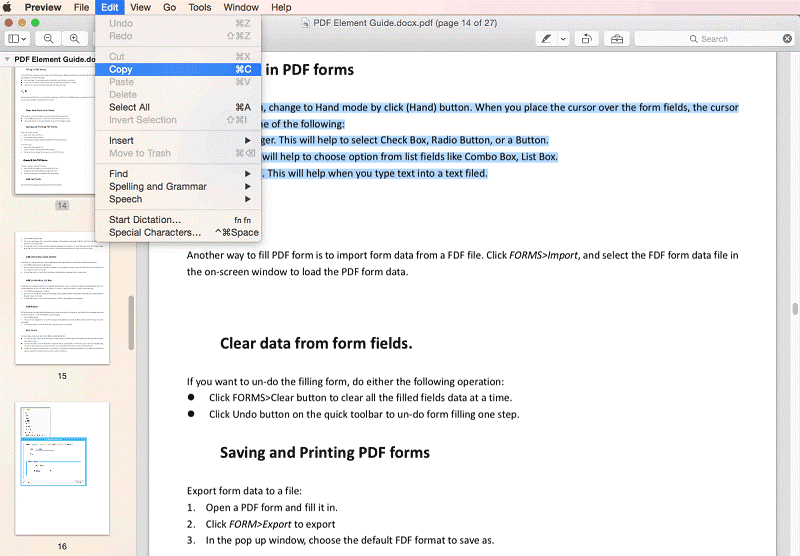
Locate the Preview, through the Finder or docking station. Tap the icon to add your PDF file by dragging and dropping it. Open the document using the app. After opening the file, you can complete the edits. To copy text, tap within your document and choose the text. Apply the "CTRL + Click" to copy and move the copied text to the clipboard. Another way is to copy the text and paste it into another file.
Step 2: Add text to your PDF
Preview has the "T" button that allows you to drag the pointer to the right location on your PDF file and create a text box. Choose the "A" button to enable the font options.
Step 3: Annotate or Sign PDF
To create annotations, you add notes by clicking the "Notes" button. Tap the part you want the notes to appear. Another way is to drag your mouse for creating the required annotation.
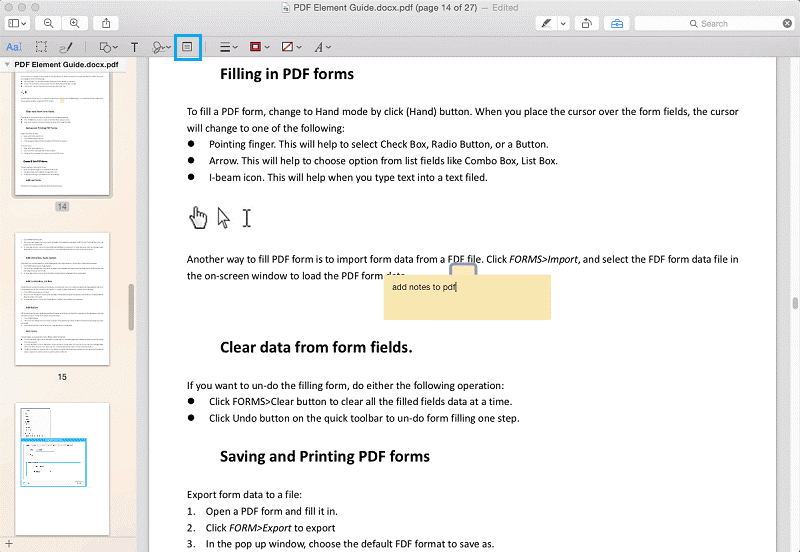
Tap the annotations to maximize them. To view the annotations you can click "View" within the Preview window.
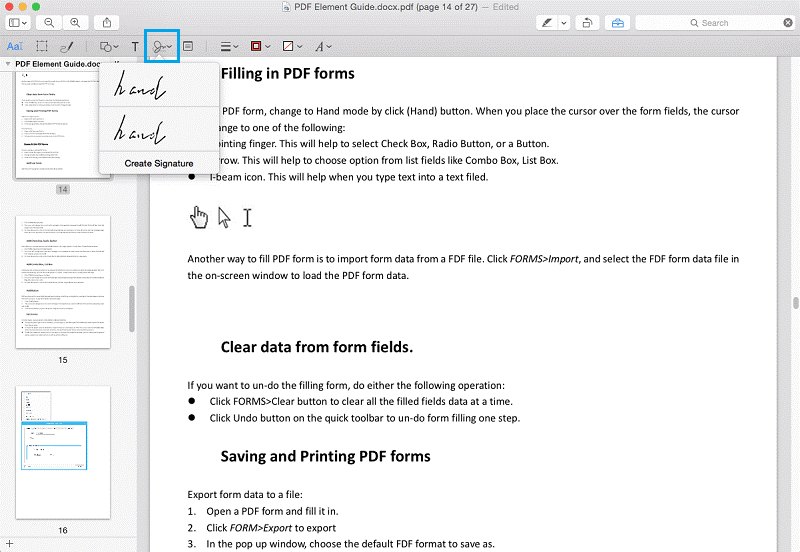
On the toolbar, tap on the "Signature" button and then choose "Create Signature". Create a signature on clear paper and place it in front of your Camera. Shift, until the signature, is at the right location on your screen, and then tap "Accept". Now you have created and saved the signature.
Step 4: Save
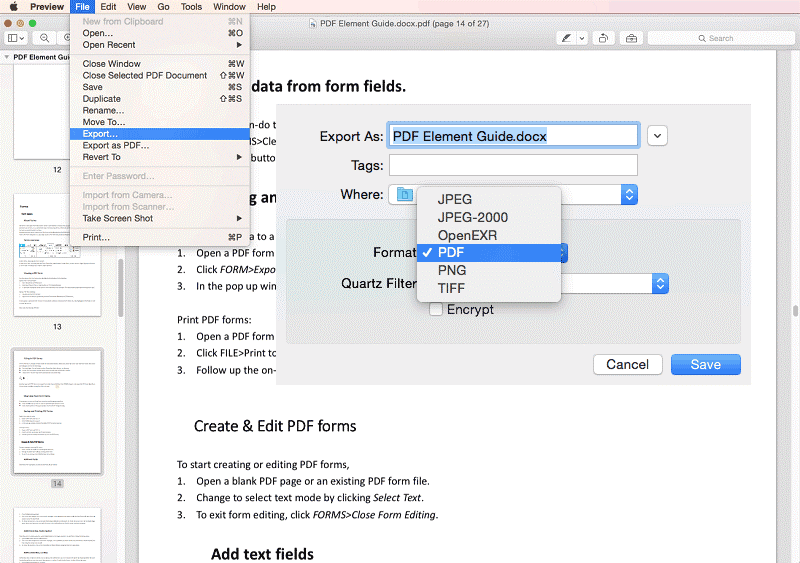
After the edits, choose "Export" to save your document in the desired format to your desired location.
Compare UPDF with Preview
To make it clear what Preview can do and why you need a Preview alternative, we also made this detailed comparison chart for you:
| UPDF | Preview | |
| Add Text to PDF | ||
| Add Notes to PDF | ||
| Edit Exiting Text in PDF | ||
| AI-integration | ||
| Digital Signature | ||
| OCR | ||
| Easy to Use | 4.9 | 4.2 |
FAQ about Editing PDFs in Preview on Mac
Q1. Why can't I edit a PDF with Preview?
You won't be able to edit PDFs with this built-in PDF viewer on Mac due to its limited capabilities. With this tool, you can only add new content to the PDF file. It is not possible for users to edit or remove pre-existing PDF content with the help of this tool.
Q2. How do I make text editable in Preview PDF?
Preview doesn't have editing or OCR technology to help users make PDF text editable. For this purpose, you have to find a better alternative with advanced editing and OCR features. One such alternative is the UPDF, which can make your scanned documents editable with its OCR technology. After making the text editable, you can use its editing features to make changes to the content of the document.
Q3. Is Preview free to edit PDF?
Yes, Preview is a free-to-use PDF viewer that is present on Mac devices to handle documents. However, this free tool will not allow you to edit pre-existing content in the PDF files. You can only add new content to the document with the help of this PDF management tool.
Conclusion
As discussed throughout the article, Preview is not a reliable tool for editing the content of your documents. It doesn't have the features to let users make changes to the already present text in the PDF files. For this purpose, you will need the help of advanced tools like the UPDF PDF editing tool. With its AI-powered file management capabilities, you will be able to optimize PDF content. So, hit the "Free Download" button below to get your hands on this PDF handler. To learn more about it, read the full UPDF review on 9to5mac.
Windows • macOS • iOS • Android 100% secure


 Enya Moore
 Enid Brown