UPDF for Windows
 UPDF for Mac
 UPDF for iPhone/iPad
 UPDF for Android
 UPDF AI Online
 UPDF Sign
 Read PDF
 Annotate PDF
 Edit PDF
 Convert PDF
 Create PDF
 Compress PDF
 Organize PDF
 Merge PDF
 Split PDF
 Crop PDF
 Delete PDF pages
 Rotate PDF
 Sign PDF
 PDF Form
 Compare PDFs
 Protect PDF
 Print PDF
 Batch Process
 OCR
OCR UPDF Cloud
 About UPDF AI
 UPDF AI Solutions
 FAQ about UPDF AI
 Summarize PDF
 Translate PDF
 Explain PDF
 Chat with PDF
 Chat with image
 PDF to Mind Map
 Chat with AI
 User Guide
 Tech Spec
 Updates
 FAQs
FAQs UPDF Tricks
 Blog
Blog Newsroom
 UPDF Reviews
 Download Center
 Contact Us
Upon adding borders to a Word document, you can significantly enhance the appearance and readability of the file. Borders can be used to highlight the critical sections of an article, which will give your Word document a polished and professional look. As you frame specific areas such as specialized pages, it will help users grab their reader's attention to key information.
For instance, in a formal report, you can add a border to keep the content organized. A clear and visible boundary around different pages can easily guide a reader through complicated and long articles. This article examines the various methods to help you learn how to add a border in Word documents. It discusses UPDF, the best PDF editor you can use to enhance the quality of your documents.
Part 1. All Effective Ways to Add Border in Word
Apart from learning the reason to add borders to your Word documents, let us dive into the top methods you need to apply when it comes to doing so. By following the procedures discussed in this section, you will be able to analyze which method best fits your requirements:
Method 1. Steps to Add a Plain Border
One way to add borders to your Word document is to use the plain-style page border provided by this tool. You can pick a plain look that will give your page a professional look. Other than that, users will be able to change the border's color so that it matches your report content. Users can also adjust the width according to how much they want the border to stand out.
Moreover, it lets you alter the page margin to ensure that the border does not obscure the content of the Word document. Users even have the option to choose whether they want the border applied to all pages or selected pages according to their preferences. Here are the steps on how to add a page border in a Word document with plain designs:
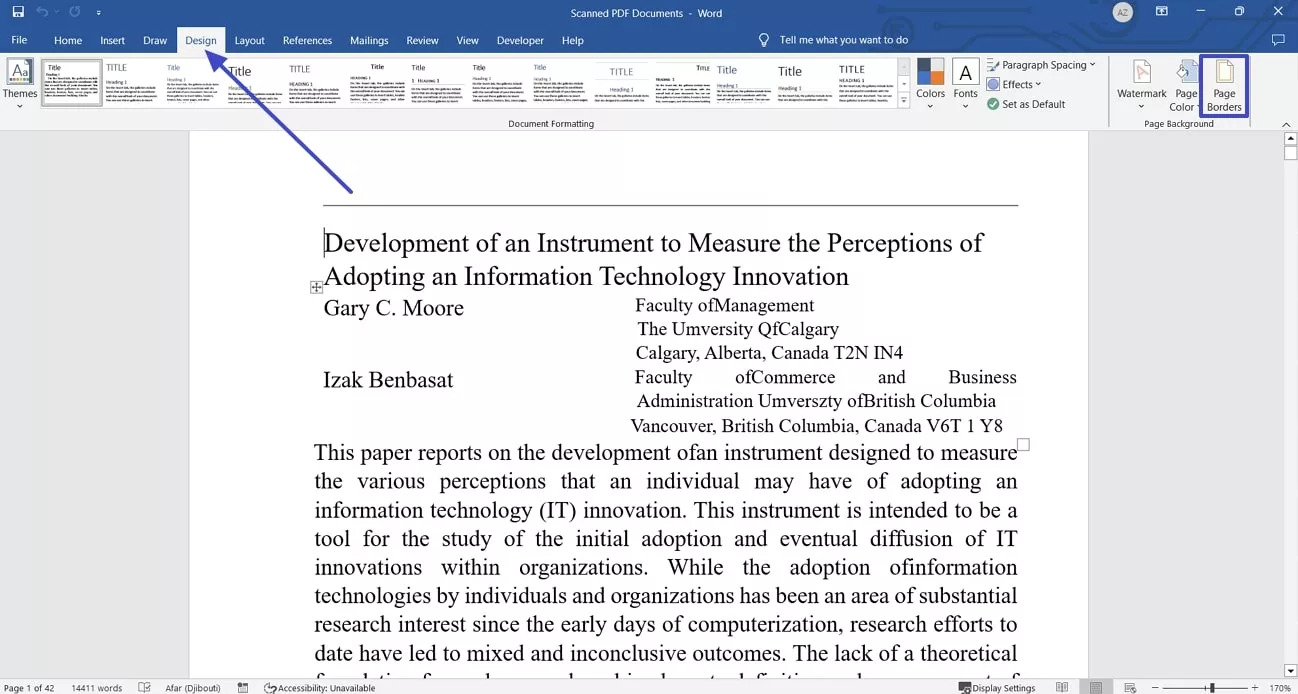
Step 1. To add border designs to your Word document, start by opening up the document on Word and navigating to the "Design" tab. From here, pick the "Page Borders" tool that is present within the "Page Background" section.
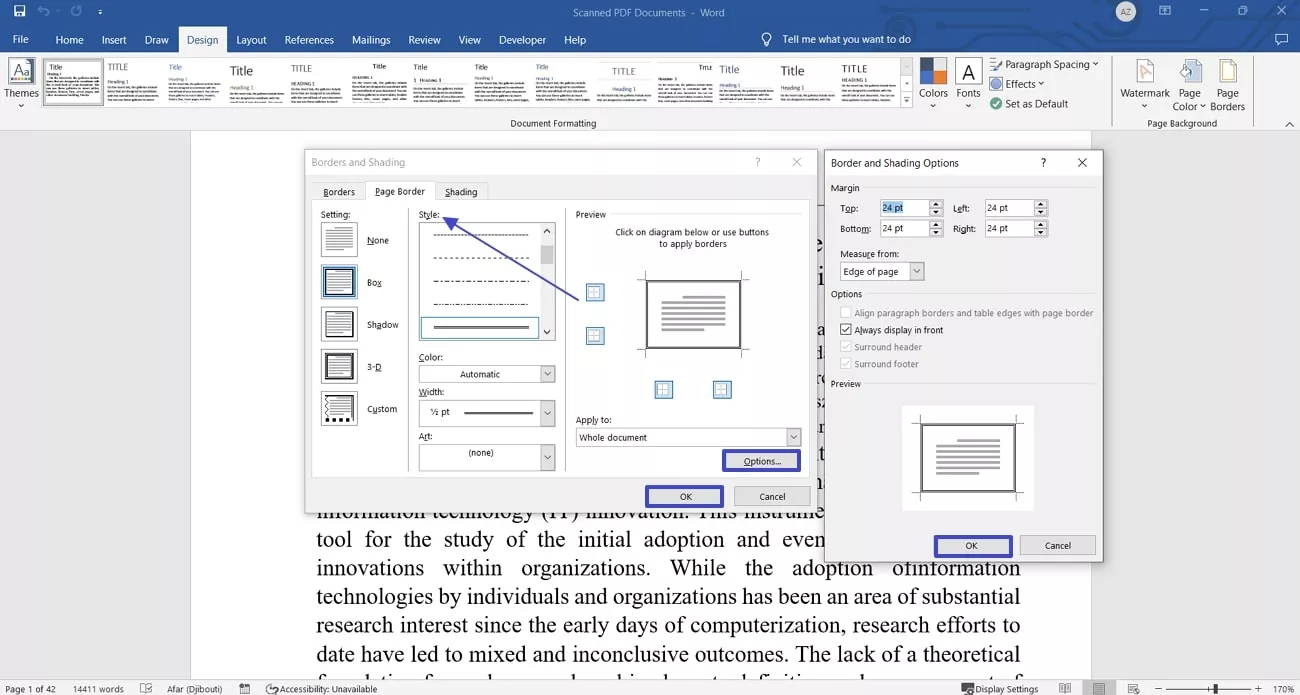
Step 2. Upon picking this feature, a small settings panel will open up. Choose the "Style" that best fits your requirements and make the adjustments according to the page. Afterward, click the "Options" button to open another settings panel for further changes, and click "OK" once done. To apply this border on selected pages, click on "OK" on the "Borders and Shading" panel.
Method 2. Steps to Add an Artistic Border
Another method for learning how to add a border in Word is to add an artistic design. Such borders give your articles a unique and colorful aspect, making them more visually appealing. Users can adjust the width of the border design according to the margins of the page. Moreover, they get control over which page in the document gets the borders. Follow the steps below for a clearer understanding of this process:
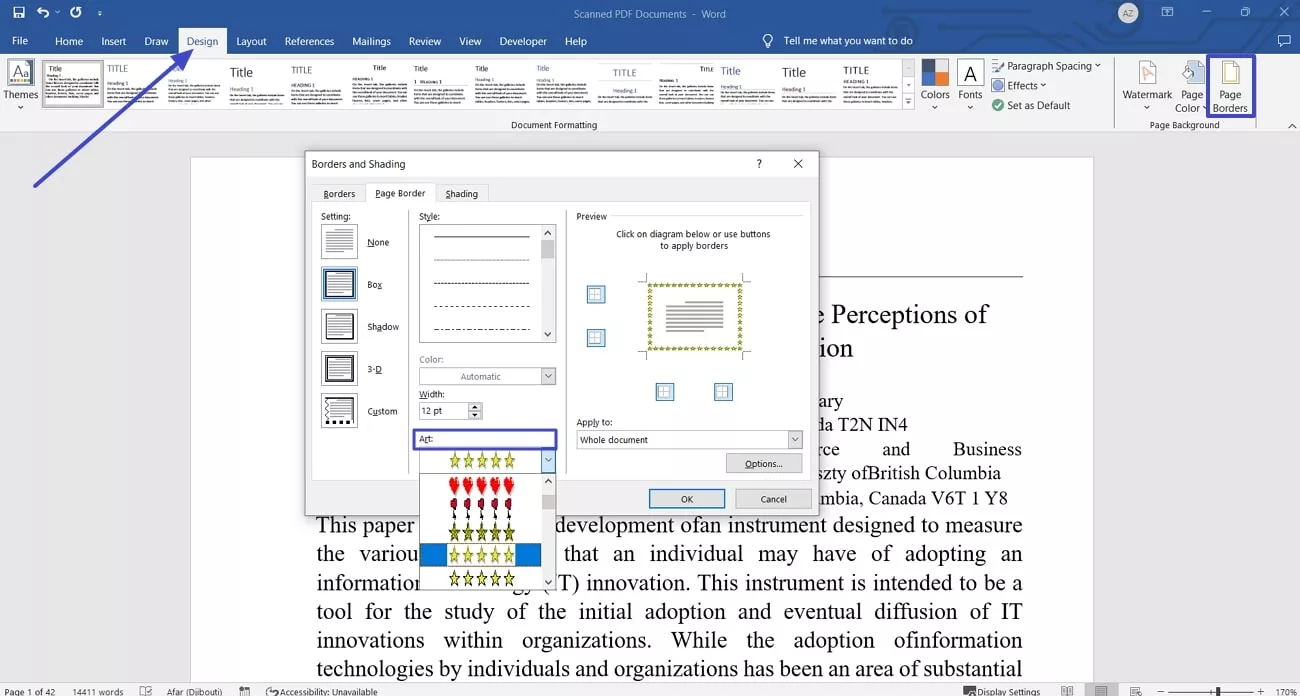
Step 1. Upon adding your file, navigate to the "Design" tab and choose the "Page Borders" tool. Afterward, you will access a pop-up menu for "Borders and Shading," where you have to pick the border that best fits you from the "Art" menu.
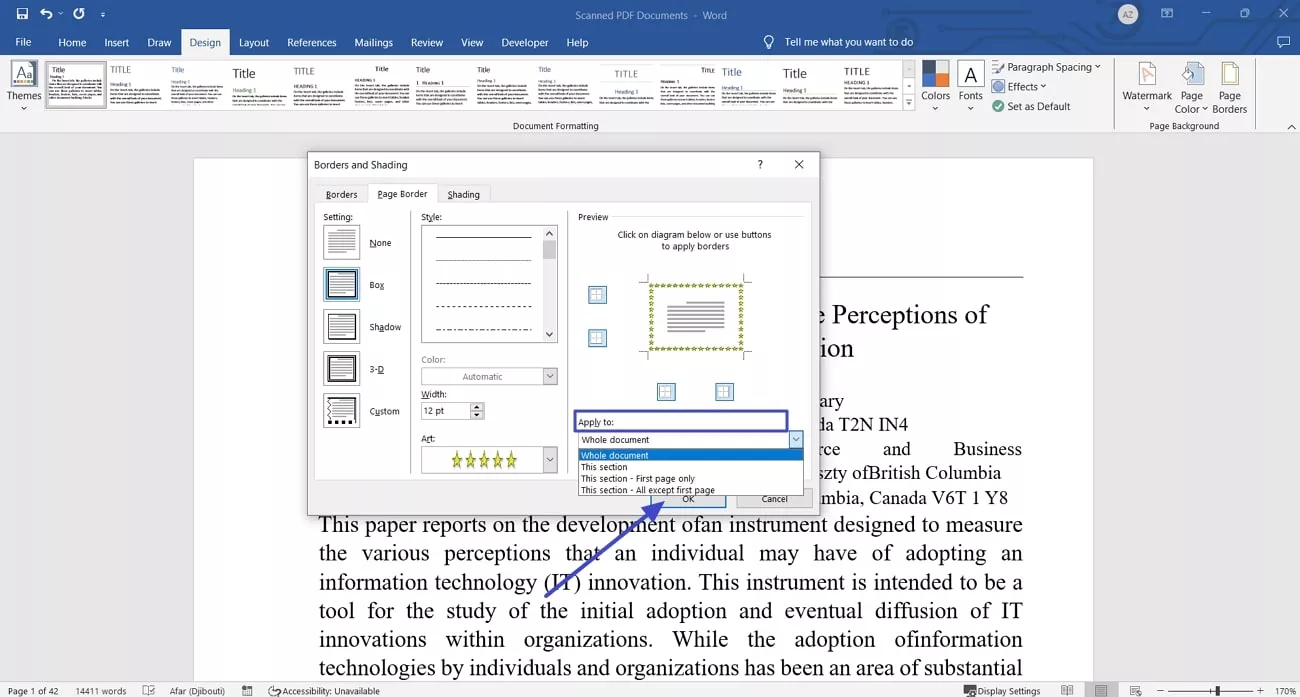
Step 2. Next, adjust which pages you want the border on by clicking on "Apply to" and hitting the "OK" button to finalize the settings.
Part 2. Understanding an Indirect Way to Add Border in Documents
In addition to the official method of using Microsoft Word, you can opt for an indirect method, which involves using UPDF. It does not provide a direct method to apply borders to your documents, but it does give us the ability to draw a border using the shapes tool. Afterward, you can adjust the colors of the border, which we manually pull on the PDF.
Moreover, users get the ability to adjust the opacity and thickness of the border according to how much they want the design to stand out in the document. If unsatisfied with the design, you can simply delete it with just one click. Apart from indirectly drawing borders, UPDF gives users the ability to edit the original text from their PDF files.
Step-by-Step Guide on How to Indirectly Add Borders on UPDF
Moving forward, instead of learning how to add page borders in Word, here are the steps you need to follow to add borders through UPDF:
Step 1. Install the Software on Your Device and Import Word File
Upon accessing UPDF, hit the "File" tab and choose the "PDF from File" option to import the Word file to which you want to add borders.
Windows • macOS • iOS • Android 100% secure
Step 2. Navigate to UPDF's Comment Tab
Upon adding the PDF file to the software, navigate to the "Comment" tab from the menu bar on the left corner of the screen.
Step 3. Select the Rectangle Shape and Adjust the Shading
Next, choose the "Rectangle" shape from the top toolbar and change the fill color to "No Fill" to set the border style. Moving forward, you get to optimize the opacity and thickness of the border.

Step 4. Draw Across the Page and Save the Document to Your Device
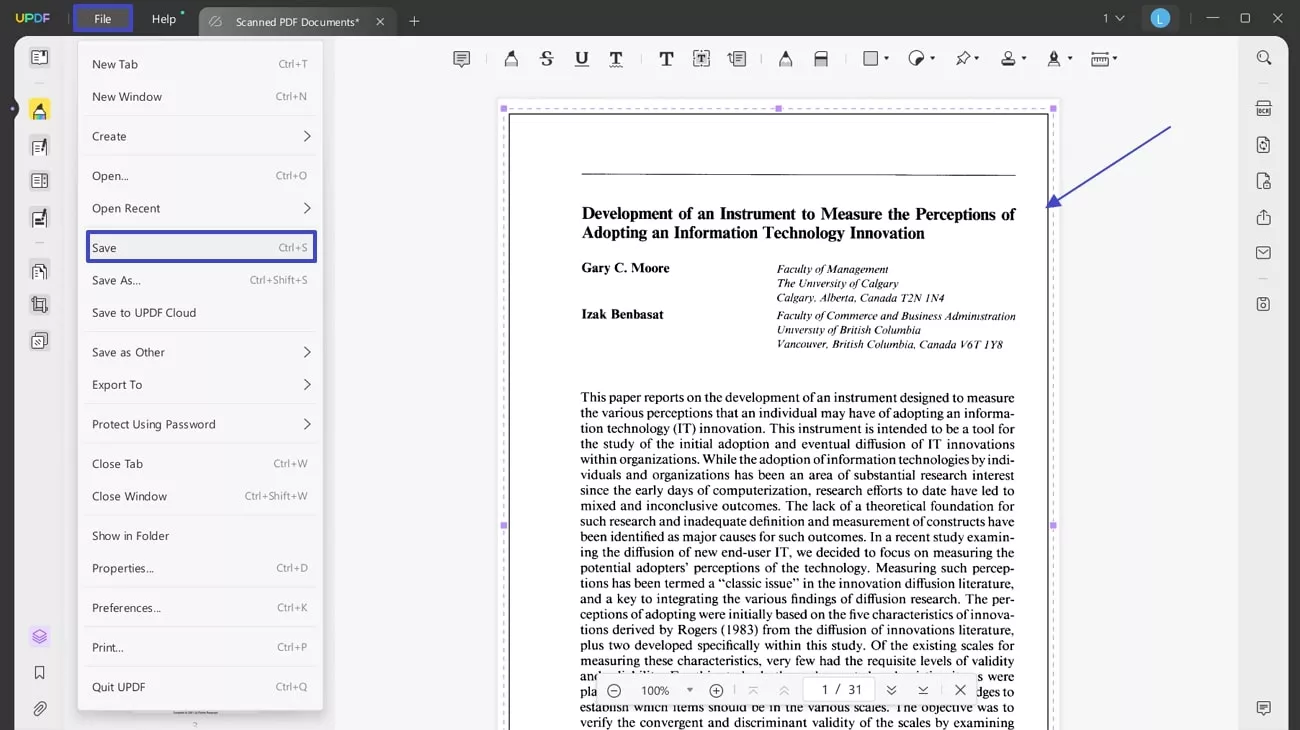
After you set the border style, drag the cursor across the page to draw it manually. Once you are satisfied with the changes, click on the "File" tab and select the "Save" button to save the PDF file with borders to your device.
Other Key Features of UPDF
- Edit PDF Documents: Starting with text editing, UPDF comes with diverse elements that can be edited. Whether it is the images in your document or links, you can improve them by editing PDFs.
- Annotate PDF Documents: UPDF ensures users working with team members can collaborate easily with various annotation features, such as comments, highlights, strikethrough, and more.
- AI Assistant: The comprehensive AI assistant of UPDF provides the ability to summarize or translate PDFs and non-PDF related content. You can chat with your PDF documents or images using the Ask AI feature of UPDF.
- Read Documents With Ease: To improve your reading experience in UPDF, there are several viewing options available for its users. Users can add bookmarks to their lengthy documents so that they can continue the workflow after a while as well.
- Organize Pages: With the help of UPDF, organize and set your pages accordingly to give them a polished look. It also allows users to extract data or insert new content within PDFs without damaging the existing formatting.
- Protect Confidential Information: You can hide and redact information from your personal documents to prevent confidential information from being leaked. It can also be protected using open and permission passwords, enhancing your PDF’s security.
- Batch PDF: UPDF offers a batch processing feature to its users, allowing them to print, create, combine, or encrypt multiple files. This turns out to be a time-saving operation, helping users manage multiple documents in shorter periods.
- Compress PDF: If the file size exceeds the emailing limit, you can easily compress it using UPDF’s compression system. By selecting an appropriate compression level, decrease the overall file size without compromising PDF quality.
- Convert Into Other Formats: Find options to convert PDFs into different file formats according to your requirements. Providing support of 14 different formats, UPDF ensures to protect the format of the PDF during conversion.
- Fill and Sign Important PDFs: UPDF also comes with the system of preparing complete PDF forms, which makes it very easy to manage detailed questionnaire or public forms. Providing unique form elements, you can also create PDF forms from scratch.
- Use UPDF Cloud: When it comes to protecting the integrity of PDF documents, you can also save it across the cloud service offered by UPDF. This helps you in accessing the PDFs from any device, increasing user utility.
- Adopting OCR Operations: You can recognize scanned PDF documents using the OCR functionality of UPDF. It converts non-editable PDFs into editable documents which can be edited with ease. Providing 38 different language recognition options, OCR in UPDF is seamless and accurate.
Part 3. FAQs on Adding Borders in Word Documents
1. How do I remove a border from a document?
If you are unsatisfied with the border you have added to the pages on Word, follow the steps mentioned ahead. Move to the "Design" feature and click on the "Page Borders" tool to hit the "None" button in the borders and shading editing panel. This will remove the border from the document or the section where it was applied.
2. How can I create a custom border shape in Word?
Word does not have a direct feature for custom border shapes. You can also use the "Shapes" tool from the "Insert" tab to manually draw custom borders around text or images.
3. Can I add decorative or artistic borders in UPDF?
UPDF doesn't support adding artistic borders like Word, but you can manually create custom borders by combining lines and shapes from the annotation tools.
Conclusion
In conclusion, this article discusses the top two methods you can use to learn how to add a border in Word. Moreover, we looked into an indirect yet effective method of adding borders using UPDF. If you are looking for an effective PDF editor, UPDF is the best-fit tool to fulfill your requirements. Download the UPDF software on your devices today and enhance the quality of your content and overall PDF.
Windows • macOS • iOS • Android 100% secure


 Bertha Tate
  Lizzy Lozano