Have you ever found yourself in a situation where a document on your iPhone or iPad had to be signed and sent back? Well, things can prove to be a little tricky, especially if you have no idea of any free document signing app for your device that otherwise doesn't let you do so.
We understand how things can be in stressful situations where you're unaware of what to do. Luckily, for your convenience and awareness, we've put together information that will guide you on how to sign documents on iPhone and iPad.
How to Sign a Document on iPhone and iPad using UPDF App
Having to sign a document on devices like iPhones and iPads can get a little too tricky for some because of the lack of information and options available to users. However, we can assure you that there are certain apps and tricks that you can follow in order to sign a document on an iPhone or iPad.
If you're looking forward to a quick and free answer to your question 'how to e-sign a document on iPhone 15/16?', we suggest something reliable, like the UPDF app. Touted as the best free document signing app, it is something you can put your trust in. The app's interface is friendly and intuitive. It won't take you more than a few seconds to get used to it.
Windows • macOS • iOS • Android 100% secure
Way 1. Sign a Document with a Handwritten/Scanned Signature
UPDF offers two methods to sign a document on iPhone and iPad. In this section, we'll cover the first method: signing a document with a handwritten or scanned signature. This creates an electronic signature. Users seeking a legally compliant option, like a digital signature, can use the second method.
#1 - Tap on The File That Needs To Be Signed
First, you need to open the documents requiring signatures in the UPDF application. You can simply do that by tapping on the file's name or icon shown on the screen. This will open up the PDF file that requires the signature.
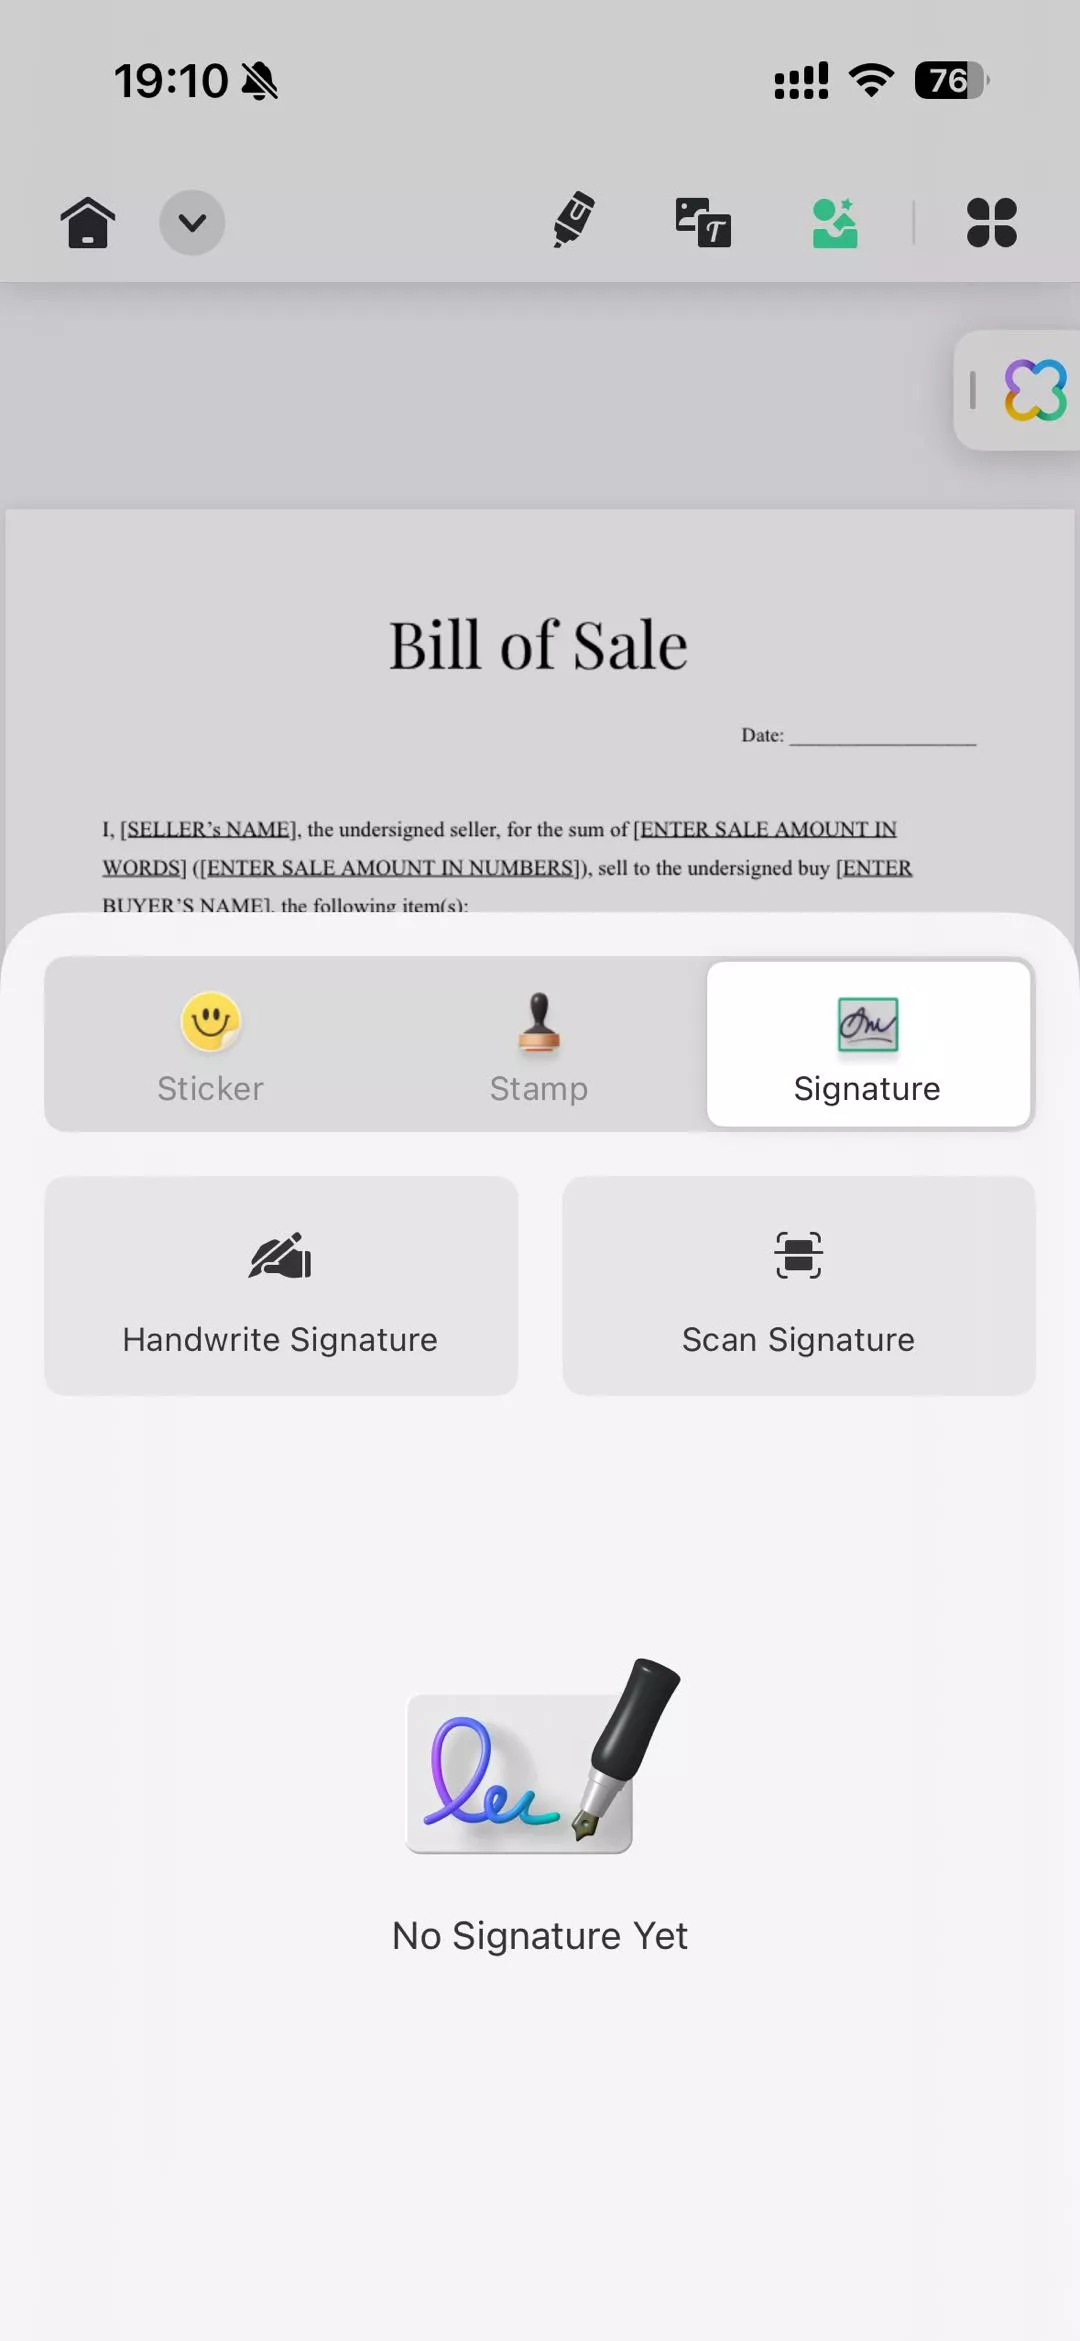
#2 - Tap the Signature Icon
Once the file is open, you'll see the tools on the top right of your device's screen. Tap the third icon, then select the "Signature" symbol displayed. There are two options: Handwritten Signature and Scanned Signature. With the first option, you can draw a signature and adjust its color and thickness. The second option allows you to scan a real handwritten signature from paper and apply it to your digital document.
#3 - Add Your Signature
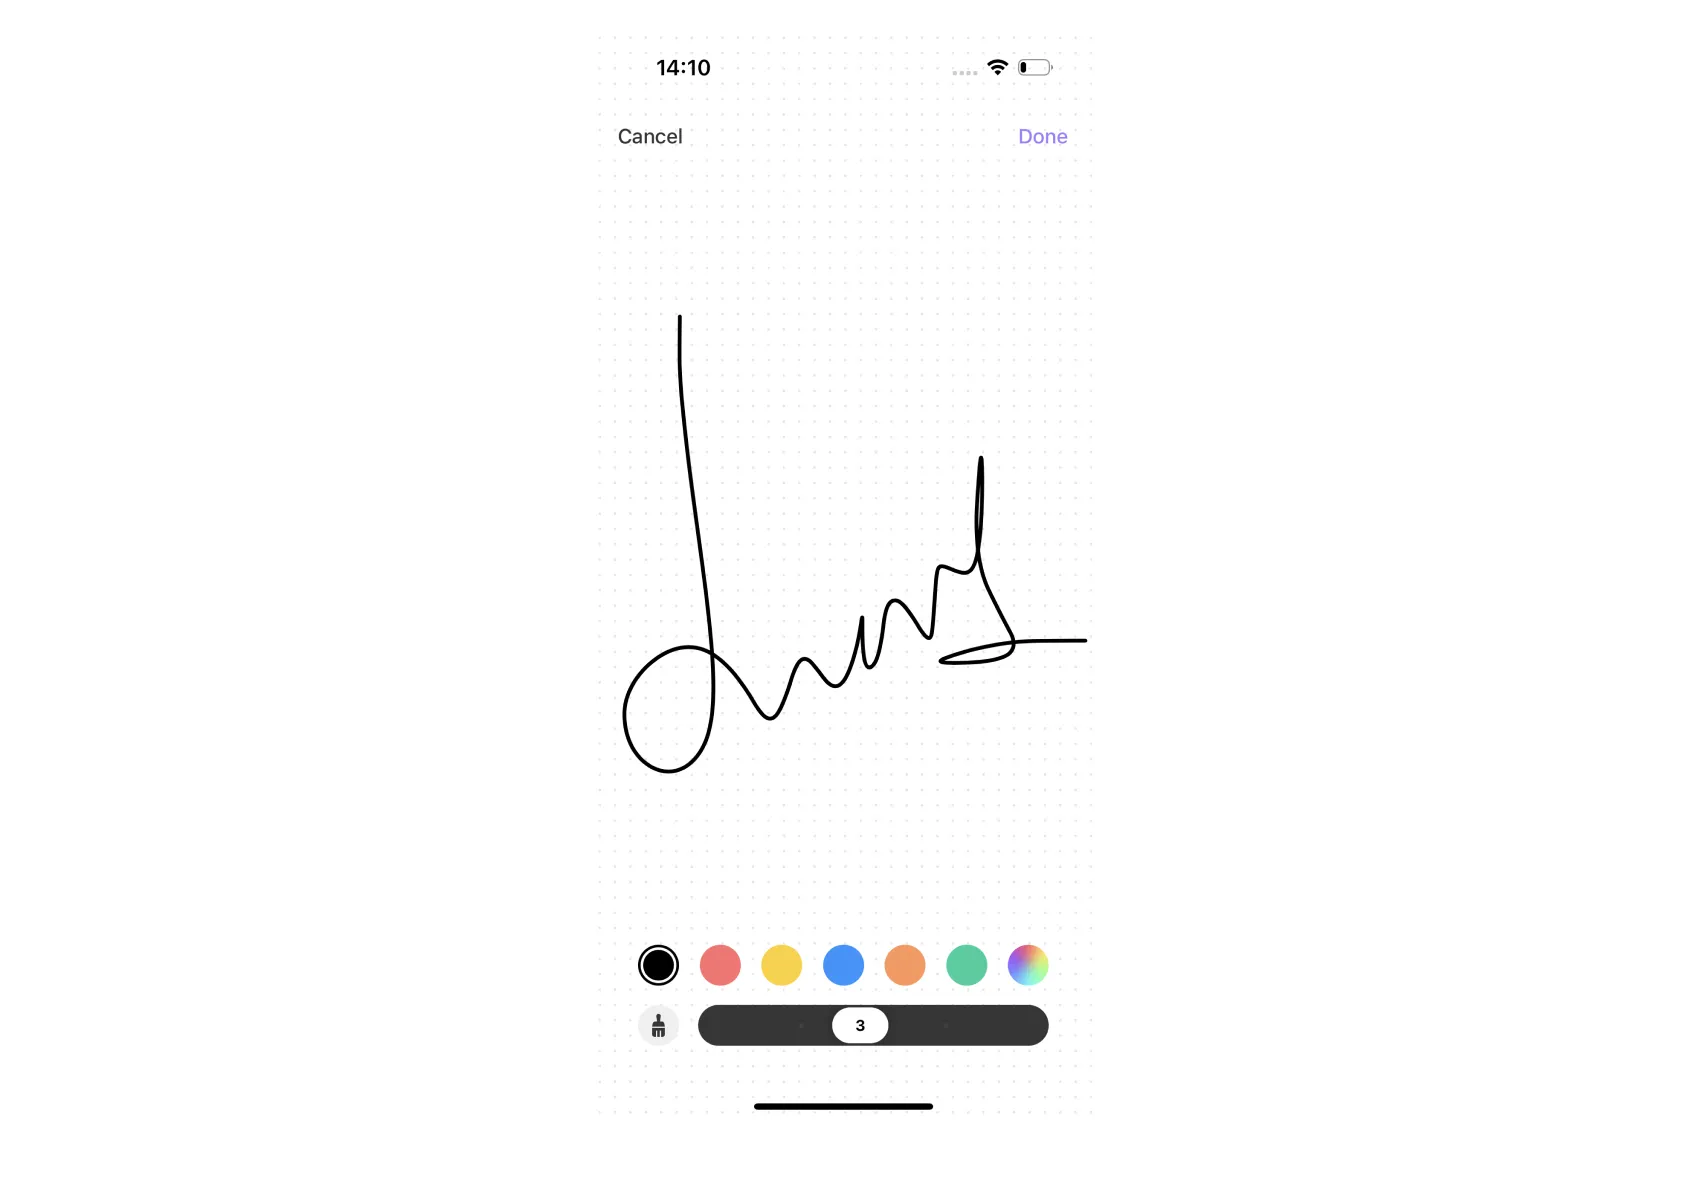
Assuming you choose the Handwritten Signature option, you can draw your signature on the screen using your finger, slowly moving it across. Once you're satisfied with how it looks, tap the "Done" option.
#4 - Drag and Position Your Signature
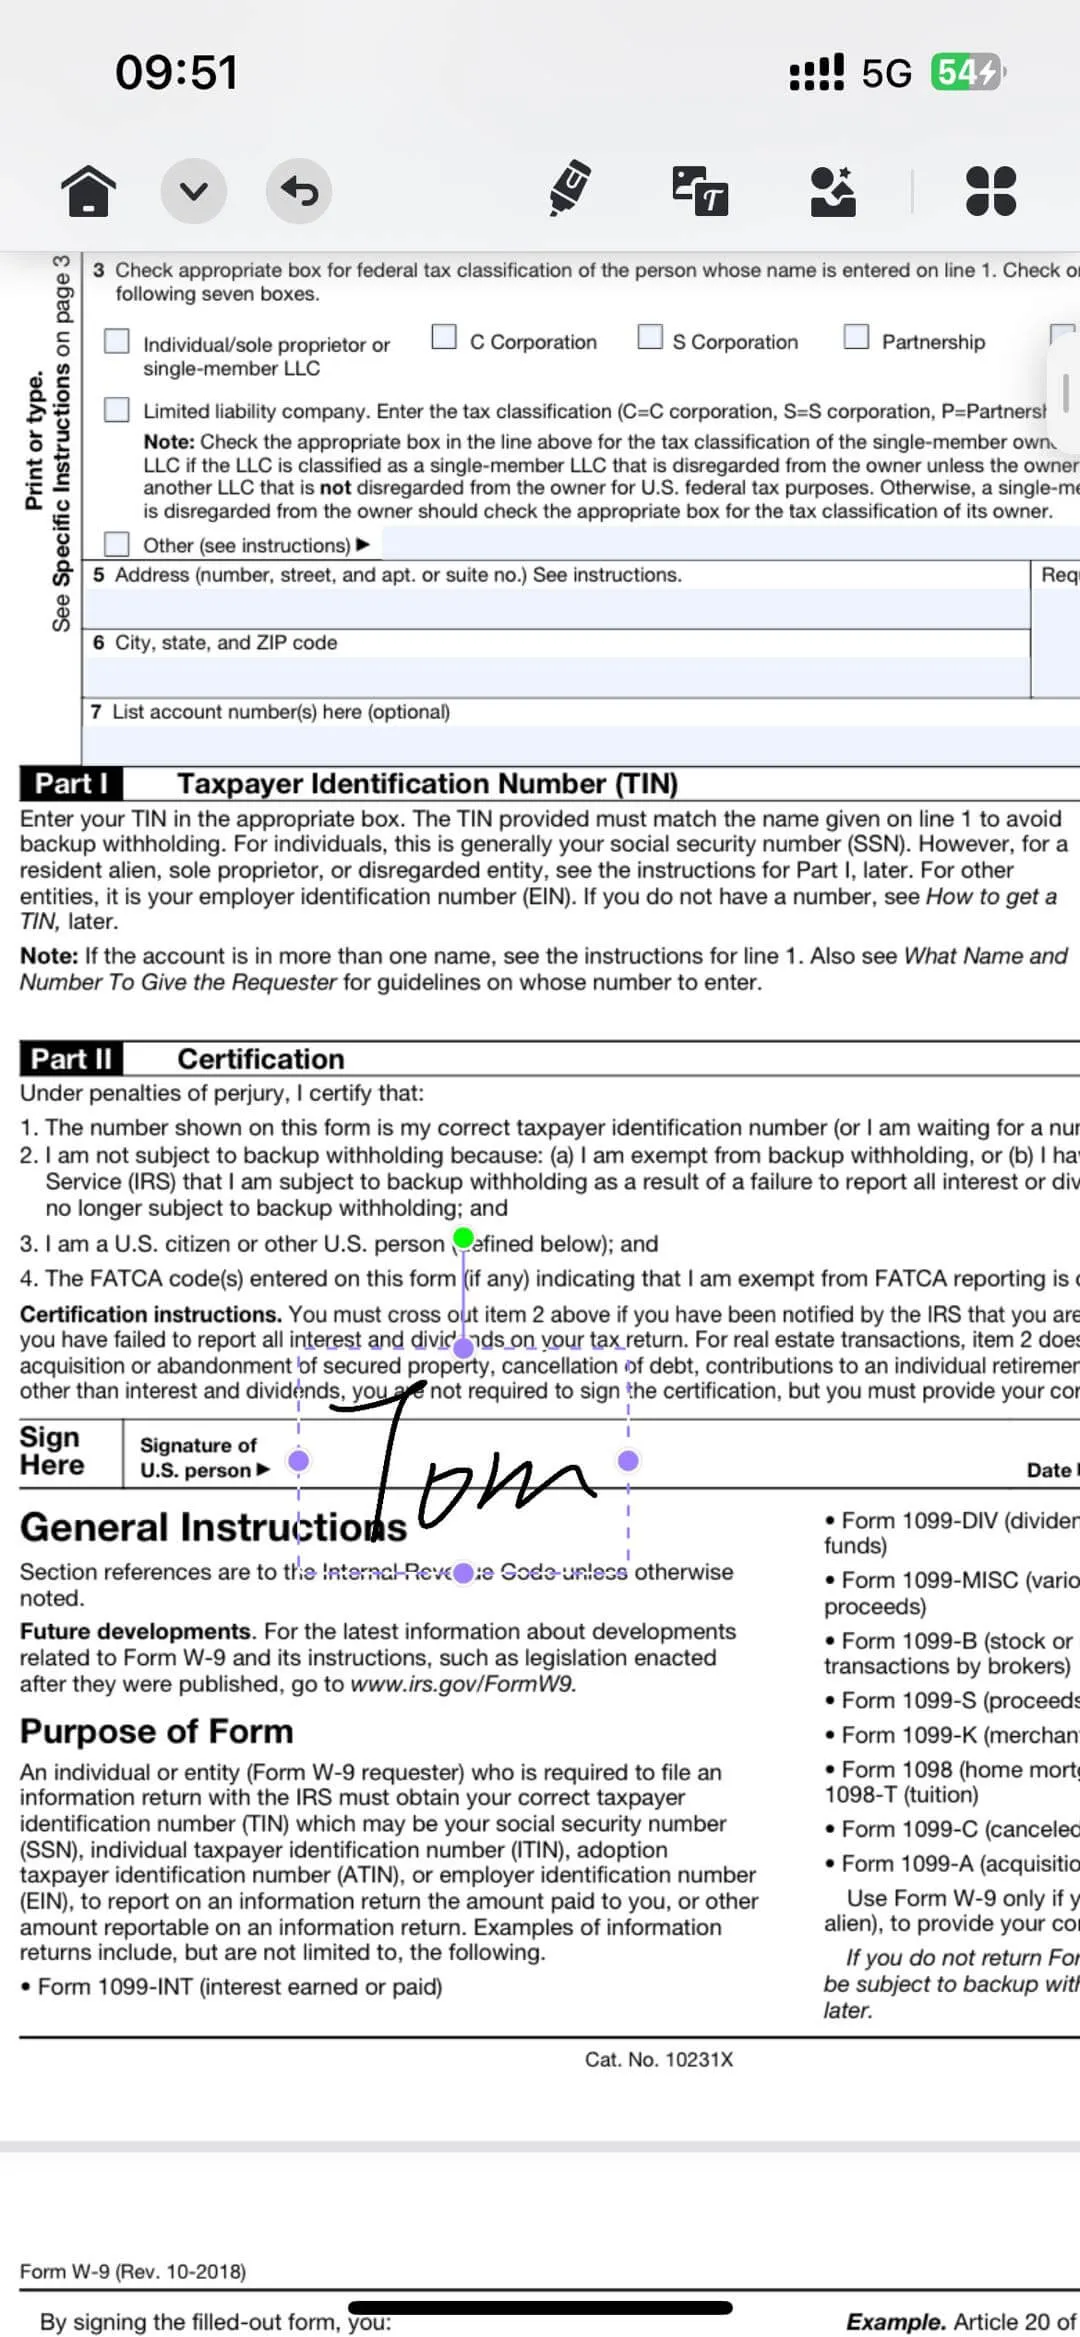
Now, your signature will be there on the PDF document. Simply drag it across the screen and adjust its size to make it look natural on the PDF. Using the purple borders, you can size it as you want it to appear on the document and place it in the position of your choice. That's it, and you're done signing your document.
This was easy, wasn't it?
Way 2. Sign a Document with a Digital Signature
As we've mentioned earlier, the UPDF app also supports adding digital signatures to PDFs. Note that you first need to add a digital signature field to your PDF using UPDF for Windows or Mac. Here's how to proceed:
Step 1: Make sure you've installed UPDF on your iPhone or iPad. Then, open the PDF with a digital signature field in UPDF.
Windows • macOS • iOS • Android 100% secure
Step 2: Tap on the digital signature field.
Step 3: A window will appear with options to "+ Configure New Digital ID" or "Continue."
Step 3a: To create a new digital ID, tap on "+ Configure New Digital ID." Enter your name, email, and optional organization details.
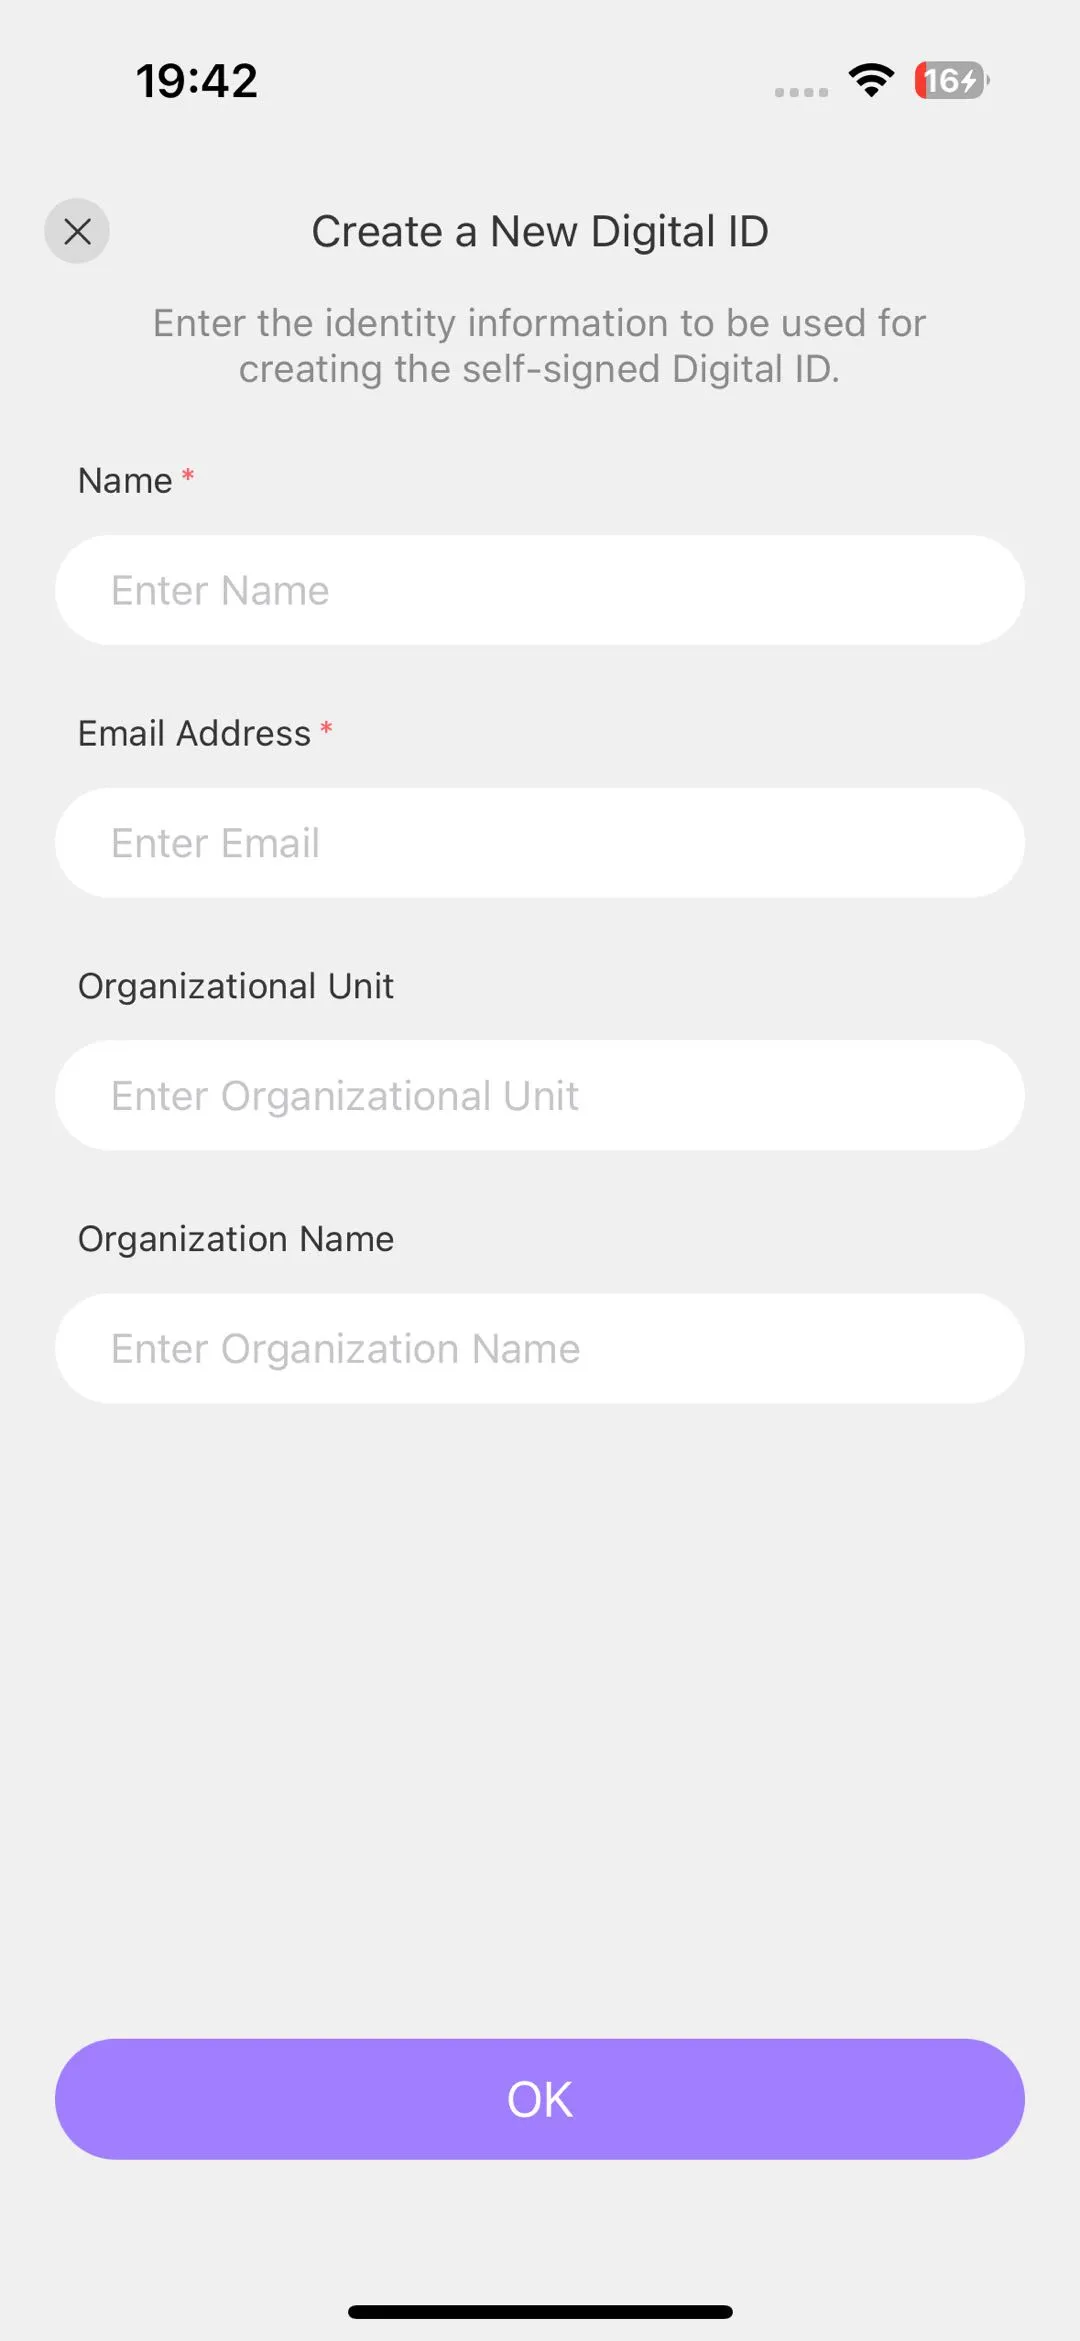
Step 3b: To use an existing digital ID, select it from the list. You can view its details before tapping "Continue." Then, choose how you'd like the signature to appear: either as Standard Text or with the Creation Date.
For more customization, tap "Create" to access additional options:
- Change the appearance or upload an image for your signature.
- Choose what to include in the signature (Name, Date, Location, Reason, Logo, Labels, Distinguished Name).
- Adjust the text alignment (left, right, or auto).
- Optionally, enter your Present Name.
- To discard changes, click "None" or hit "Save" to confirm your customizations.
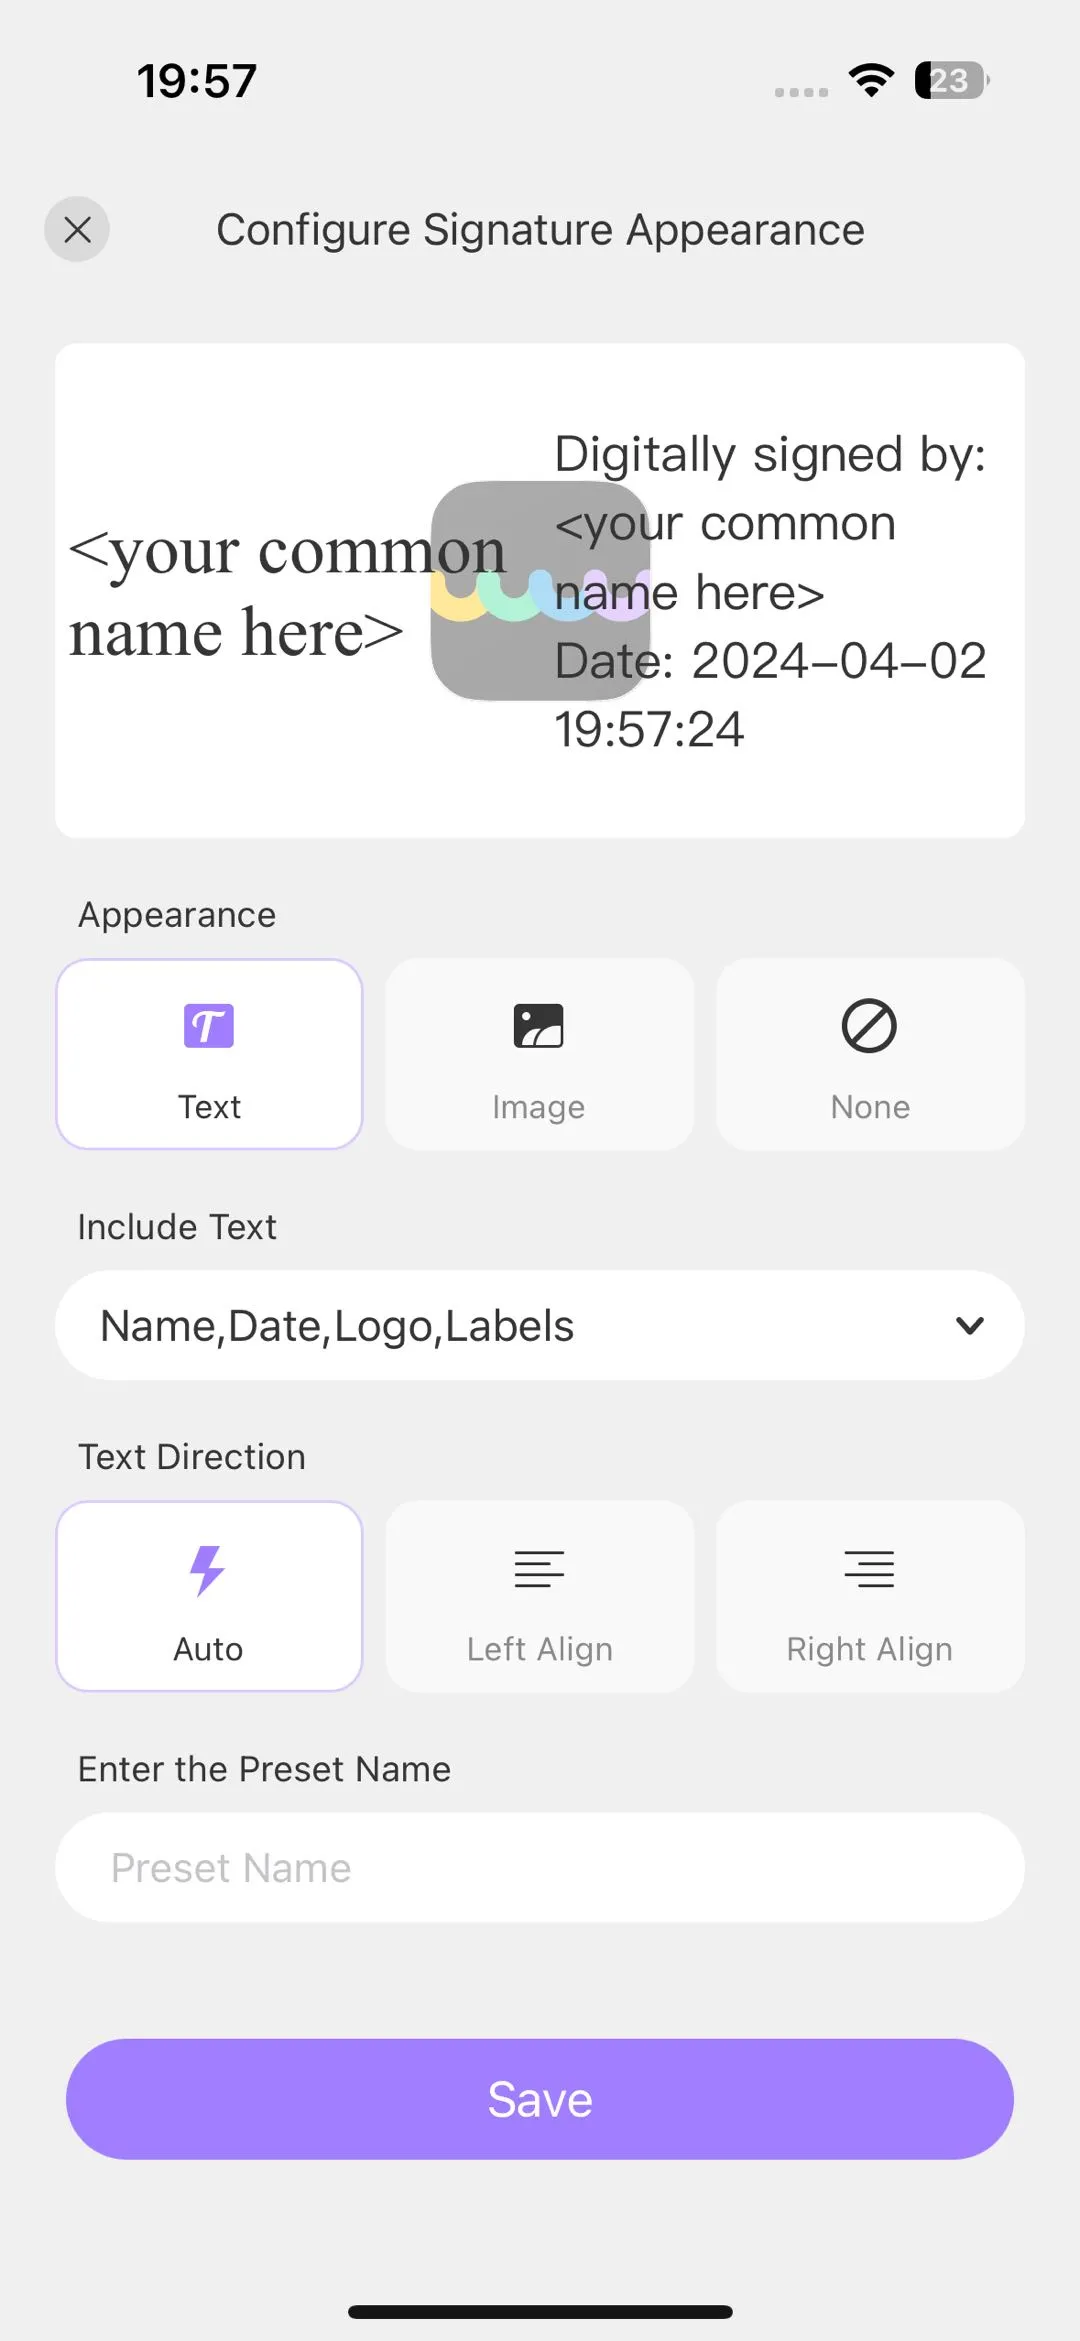
Step 4: After choosing your preferred digital ID and settings, UPDF will prompt you to save the signed PDF to your device. Select the location and save the file.
As we initially mentioned, UPDF is one of the free document signing apps for iPhone and iPad that allows users to sign their documents electronically with just a finger touch. So, if you're in need of such an app for your upcoming project or task, UPDF is the way to go.
Windows • macOS • iOS • Android 100% secure
Bonus Tip
Bonus Tip: Send Document for Digital Signature on iPhone/iPad using UPDF Sign Platform
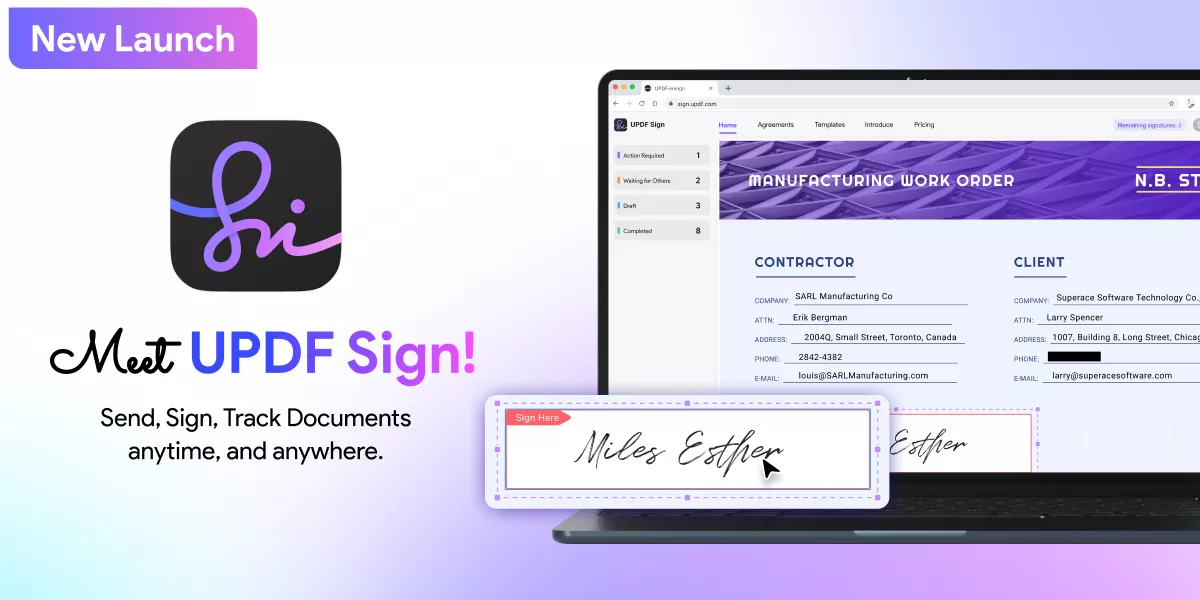
For users who want to send a document to multiple recipients for digital signatures, UPDF Sign is the ideal solution. Developed by the same company, UPDF Sign is an online e-signing platform that enables users to send documents for legally compliant digital signatures. Additionally, it allows users to track the signing status and sign the document anytime, anywhere. Integrated with UPDF, it requires no separate registration. Users who have already registered for UPDF can log in to UPDF Sign directly and enjoy a free trial with no limitations.
Final Thoughts
In conclusion, UPDF stands out as the top choice for signing documents on iPhone and iPad, offering a seamless, user-friendly experience with versatile options for electronic and digital signatures. Whether you need a quick handwritten signature or a legally compliant digital signature, UPDF has you covered. Best of all, it keeps your workflow smooth and paperless. Ready to experience the convenience of signing documents on your mobile device? Download UPDF today and enjoy a free trial with no limitations!
Windows • macOS • iOS • Android 100% secure
 UPDF
UPDF
 UPDF for Windows
 UPDF for Mac
 UPDF for iPhone/iPad
 UPDF for Android
 UPDF AI Online
 UPDF Sign
 Edit PDF
 Annotate PDF
 Create PDF
 PDF Form
 Edit links
 Convert PDF
 OCR
OCR PDF to Word
 PDF to Image
 PDF to Excel
 Organize PDF
 Merge PDF
 Split PDF
 Crop PDF
 Rotate PDF
 Protect PDF
 Sign PDF
 Redact PDF
 Sanitize PDF
 Remove Security
 Read PDF
 UPDF Cloud
 Compress PDF
 Print PDF
 Batch Process
 About UPDF AI
 UPDF AI Solutions
 AI User Guide
 FAQ about UPDF AI
 Summarize PDF
 Translate PDF
 Chat with PDF
 Chat with AI
 Chat with image
 PDF to Mind Map
 Explain PDF
 Scholar Research
 Paper Search
 AI Proofreader
 AI Writer
 AI Homework Helper
 AI Quiz Generator
 AI Math Solver
 PDF to Word
 PDF to Excel
 PDF to PowerPoint
 User Guide
 UPDF Tricks
 FAQs
FAQs UPDF Reviews
 Download Center
 Blog
Blog Newsroom
 Tech Spec
 Updates
 UPDF vs. Adobe Acrobat
 UPDF vs. Foxit
 UPDF vs. PDF Expert





 Enola Miller
 Delia Meyer