 UPDF
UPDF
 UPDF for Windows
 UPDF for Mac
 UPDF for iPhone/iPad
 UPDF for Android
 Nomostar
 UPDF AI Online
 UPDF Sign
 IvyCraft
 Edit PDF
 Annotate PDF
 Create PDF
 PDF Form
 Edit links
 Convert PDF
 OCR
OCR PDF to Word
 PDF to Image
 PDF to Excel
 Organize PDF
 Merge PDF
 Split PDF
 Crop PDF
 Rotate PDF
 Protect PDF
 Sign PDF
 Redact PDF
 Sanitize PDF
 Remove Security
 Read PDF
 UPDF Cloud
 Compress PDF
 Print PDF
 Batch Process
 About UPDF AI
 UPDF AI Solutions
 AI User Guide
 FAQ about UPDF AI
 Summarize PDF
 Translate PDF
 Chat with PDF
 Chat with AI
 Chat with image
 PDF to Mind Map
 Explain PDF
 PDF AI Tools
 Image AI Tools
 AI Chat Tools
 AI Writing Tools
 AI Study Tools
 AI Working Tools
 Other AI Tools
 AI Bookmark Generation
 AI Bookmark Summary
 AI Watermark Generation
 AI Background Generation
 AI Sticker Generation
 AI Stamp Generation
 AI Editing Suite
 UPDF Copilot
 AI Page Management
 AI Semantic Search
 PDF to Word
 PDF to Excel
 PDF to PowerPoint
 Enterprise Solution
 Enterprise Sign
 Enterprise AI
 Enterprise Plan
 Enterprise User Guide
 Enterprise Webinar
 IT
IT Education
 Construction
 Financial Service
 Healthcare
 Insurance
 Legal
Legal Manufacturing
 Government
 Researchers & PhDs
 Solopreneurs & Freelancers
 Lawyers & Legal Professionals
 Real Estate Agents & Brokers
 Education Solution
 Customer Stories
 User Guide
 UPDF Tricks
 FAQs
FAQs UPDF Reviews
 Download Center
 Blog
Blog Newsroom
 Tech Spec
 Updates
 UPDF vs. Adobe Acrobat
 UPDF vs. Foxit
 UPDF vs. PDF Expert

Quick answer:
Canva is a layout tool, not a form editor: it has no checkbox, text field, or dropdown widget a reader can click and type into. What it draws are pictures of form elements, not interactive fields. So the reliable path is two steps — build the look in Canva, then turn that static PDF into a fillable one in a PDF form editor like UPDF.
That split trips people up most on checkbox rows and tables: they look perfectly aligned in Canva, but because they're graphics rather than fields, tabbing between them or ticking a box does nothing until you lay actual form fields on top. Part 3 covers exactly where that goes wrong and how to fix it.
Part 1. Can You Make a Fillable PDF in Canva?
No — not a truly fillable one. Canva lets you design and lay out a form beautifully, but it has no tools to add interactive form fields: no clickable checkboxes, no typeable text fields, no dropdowns or radio buttons. A "form" exported straight from Canva is a flat PDF; anyone who opens it can look at it but can't type into it, and printing to fill by hand is the only option.
This isn't a bug you can work around inside Canva — the feature simply doesn't exist there. Canva's strength is the visual layer: fonts, spacing, colors, logos, and structure. To make the exported PDF interactive, you pair it with a PDF editor that adds the field layer. The rest of this guide covers both halves: designing the layout in Canva, then making it fillable in UPDF on Windows and Mac.
Part 2. How to Design Your Form Layout in Canva
This is the visual step. You're building what the form looks like — the interactive fields come later in Part 3. There are two ways to start: from a blank page or from a template.
Option A: Build the layout from scratch
Step 1. Go to canva.com and sign in.
Step 2. Click Create and choose the A4 portrait format (the standard shape for most printable forms).
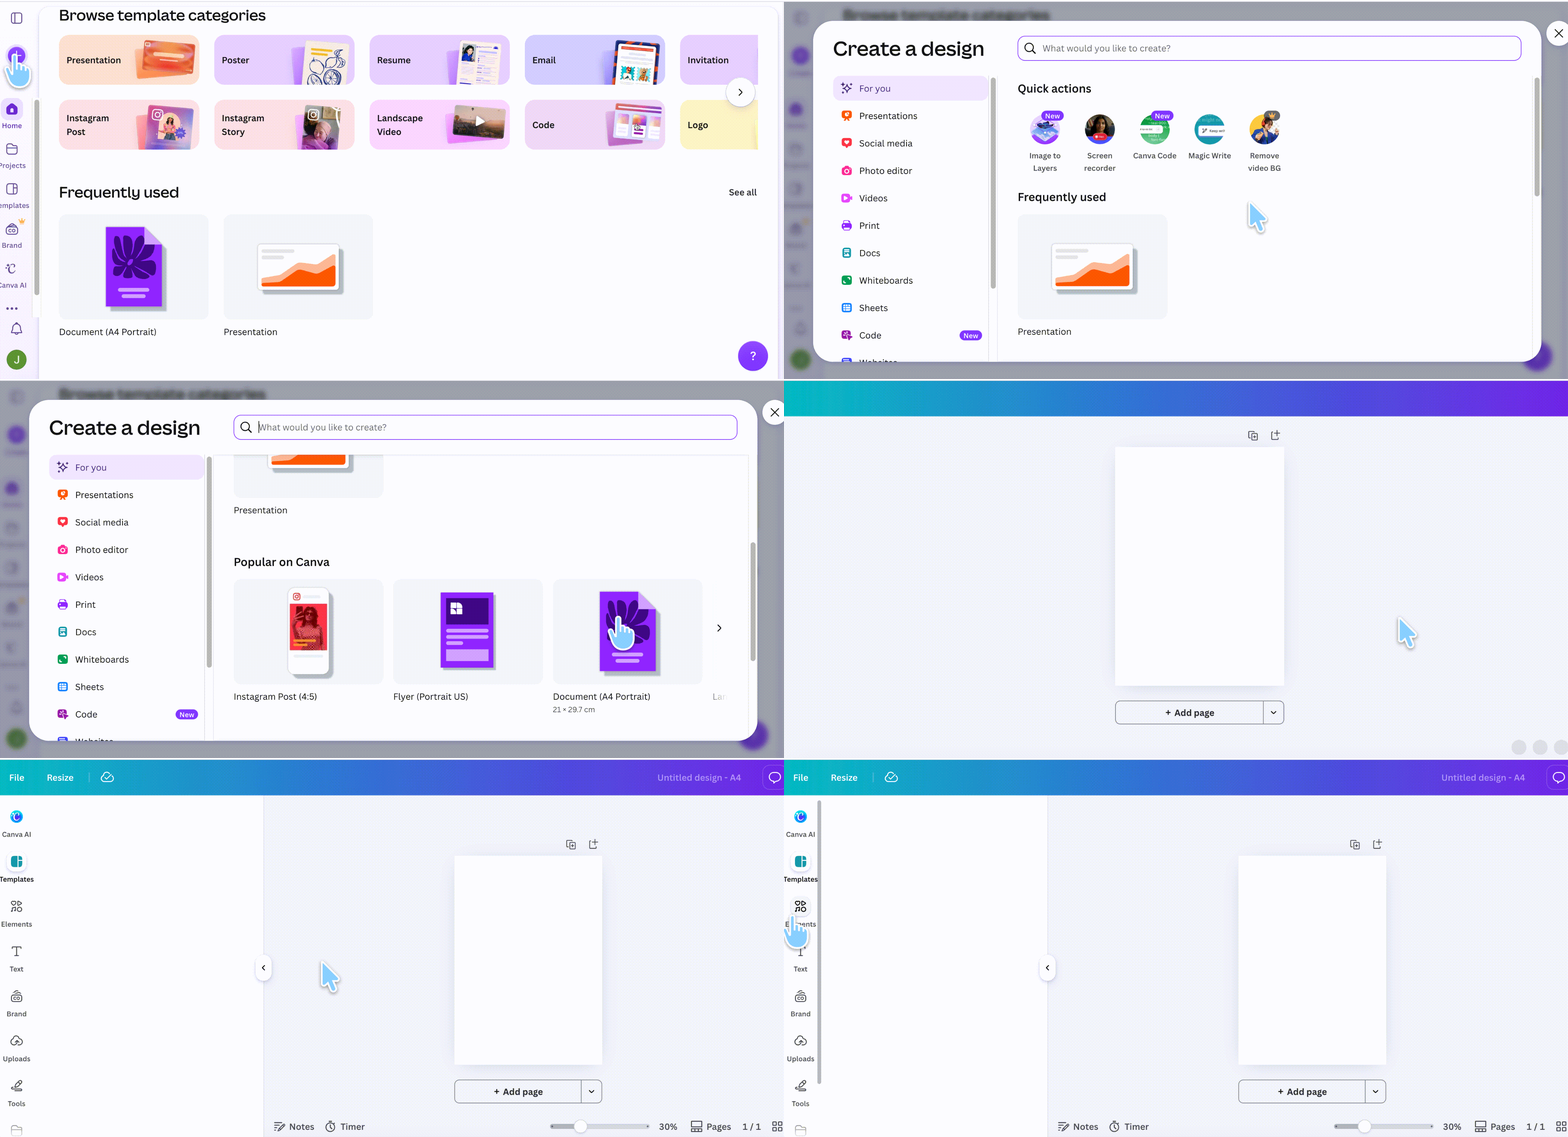
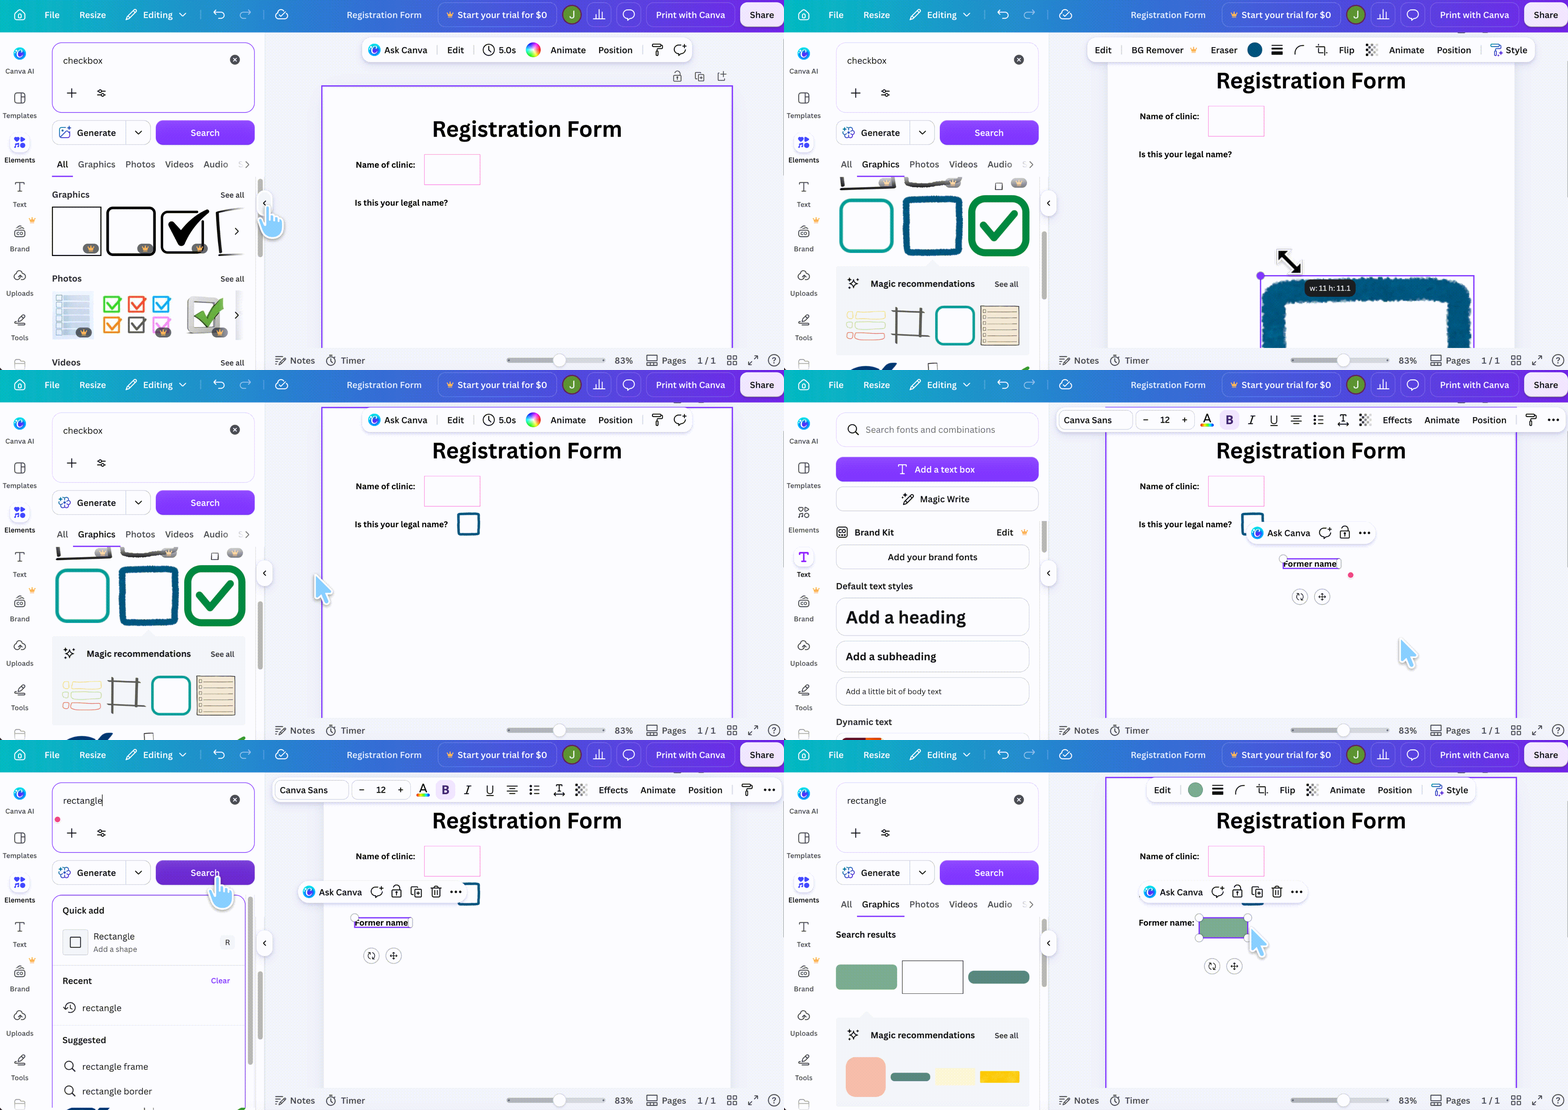
Step 3. Open the Elements panel to find building blocks — rectangles, lines, checkboxes, and more. Type what you need in the search bar (for example, "text box" or "line") and click an item to place it on the page.
Step 4. Click any element to move, resize, or restyle it from the top menu. Line up your labels, input rows, and checkbox boxes the way you want the finished form to read.
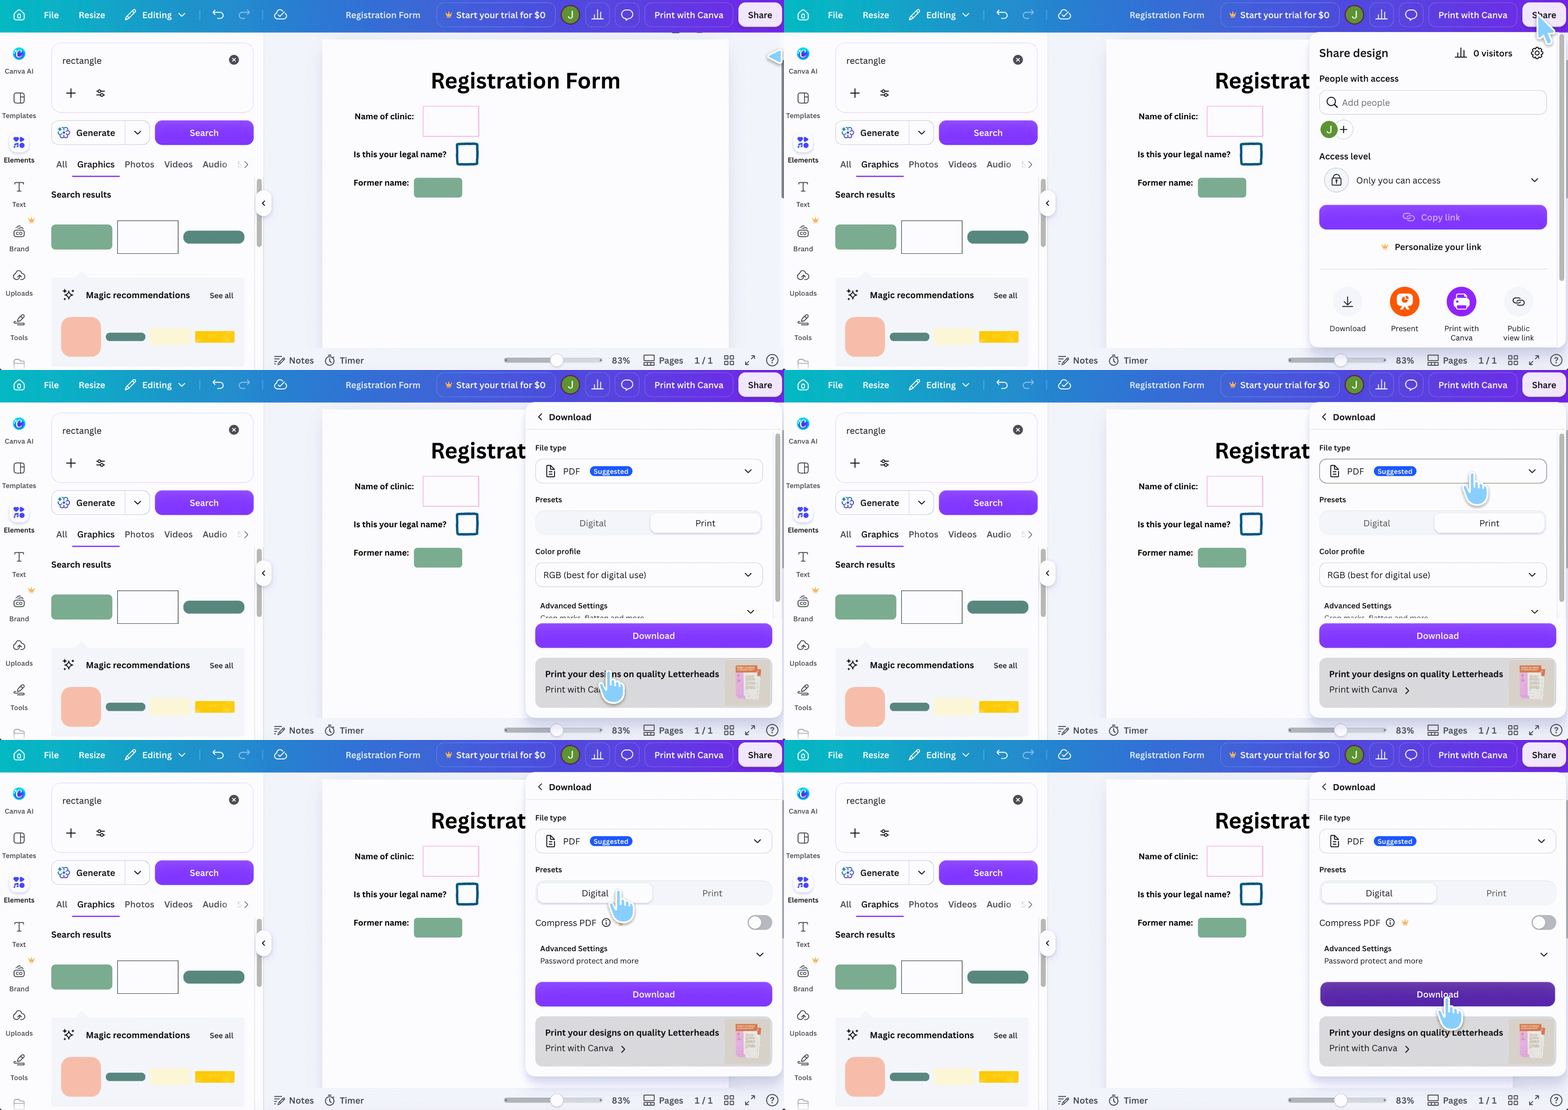
Step 5. When the layout is done, click Share in the top-right corner, then Download. Choose PDF as the file type (choose either Digital for digital sharing and smaller files, or Print for higher-quality printing) and click Download to save it as a PDF from Canva.
Ensure the Flatten PDF toggle is turned off so a PDF editor can recognize and add interactive fields.
Option B: Start from a Canva template
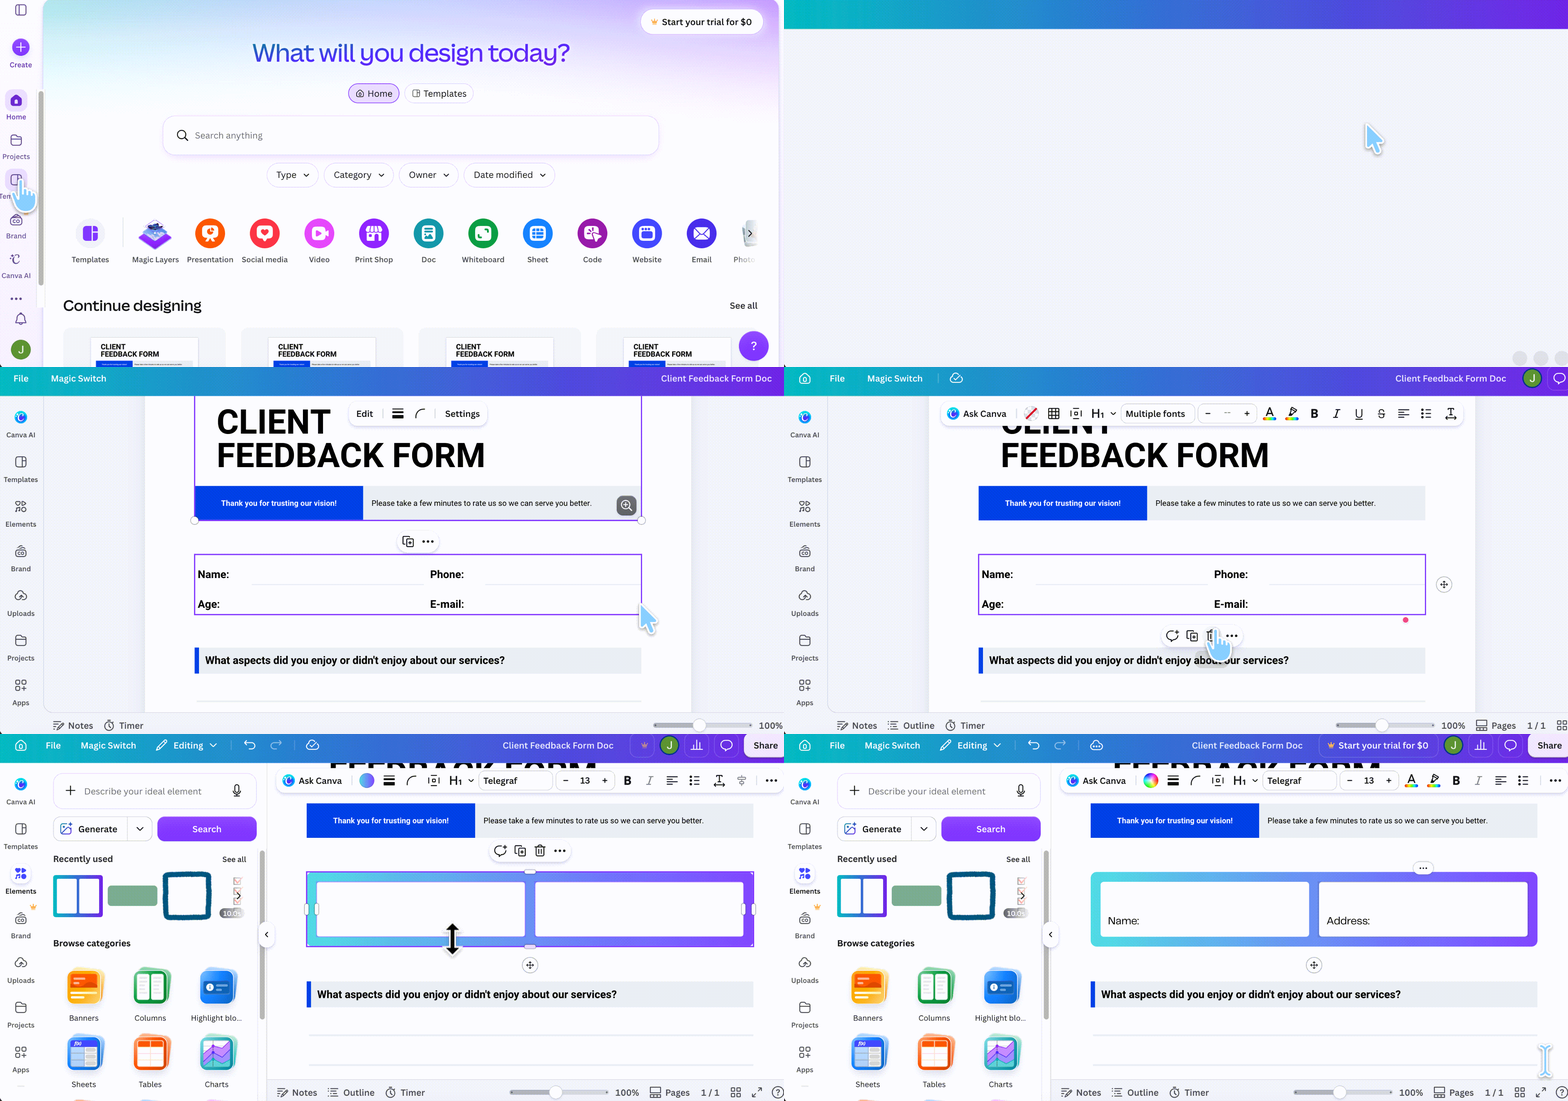
Step 1. Open Canva, go to the Templates page and search for a form template — for example, type "fillable form" and pick one you like. (Note: "fillable" here refers to the visual layout, not interactive fields — the template is still static.)
Step 2. Choose a template you like and click Customize this template. The template drops onto your page. Adjust colors, fonts, and text, and reposition elements as needed by clicking them and using the top menu.
Step 3. Download the result as a PDF file, the same way as in Option A.
Also read: How to Edit a PDF in Canva
At this point you have a good-looking PDF — but it's still flat. The next part turns it into a form people can actually fill in.
Part 3. How to Make the Canva PDF Fillable in UPDF
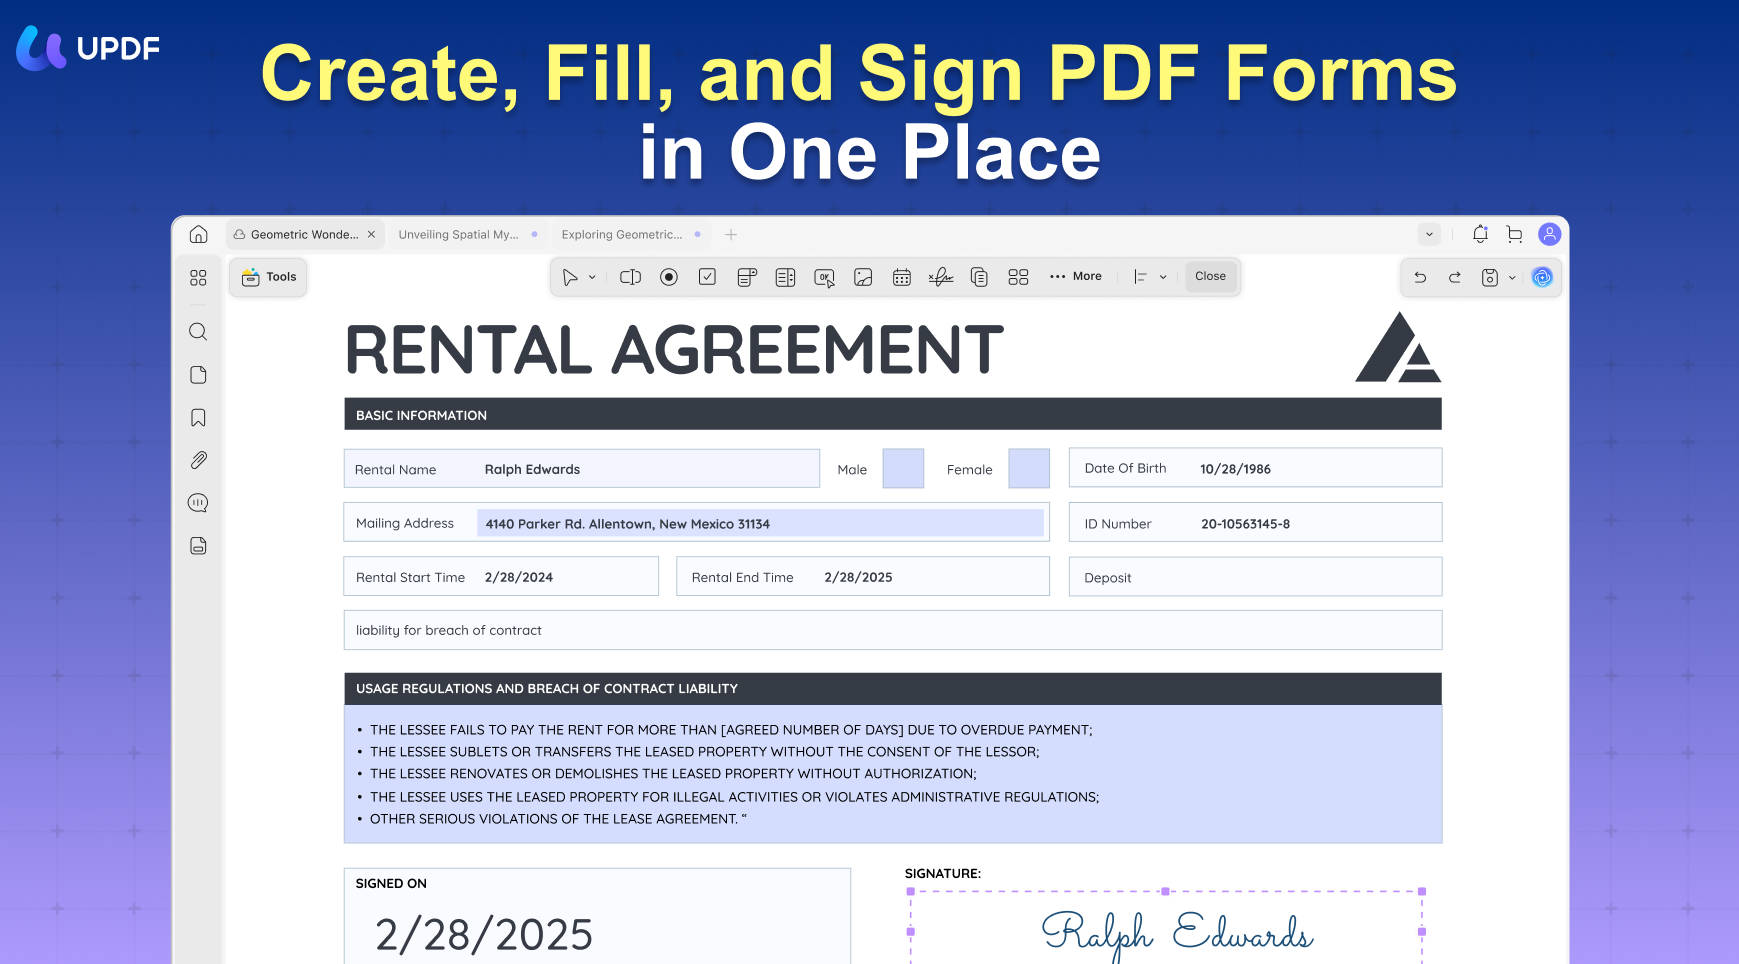
This is the step Canva can't do. UPDF adds the interactive field layer — checkboxes that tick, text fields that accept typing, dropdowns that open — directly onto the layout you designed. It runs on Windows and Mac, and the free version lets you add and test fields before deciding on anything (exported files carry a trial watermark until you upgrade).
If you don't have it yet, download UPDF for free and install it in under a minute, then open your Canva PDF.
Windows • macOS • iOS • Android 100% secure
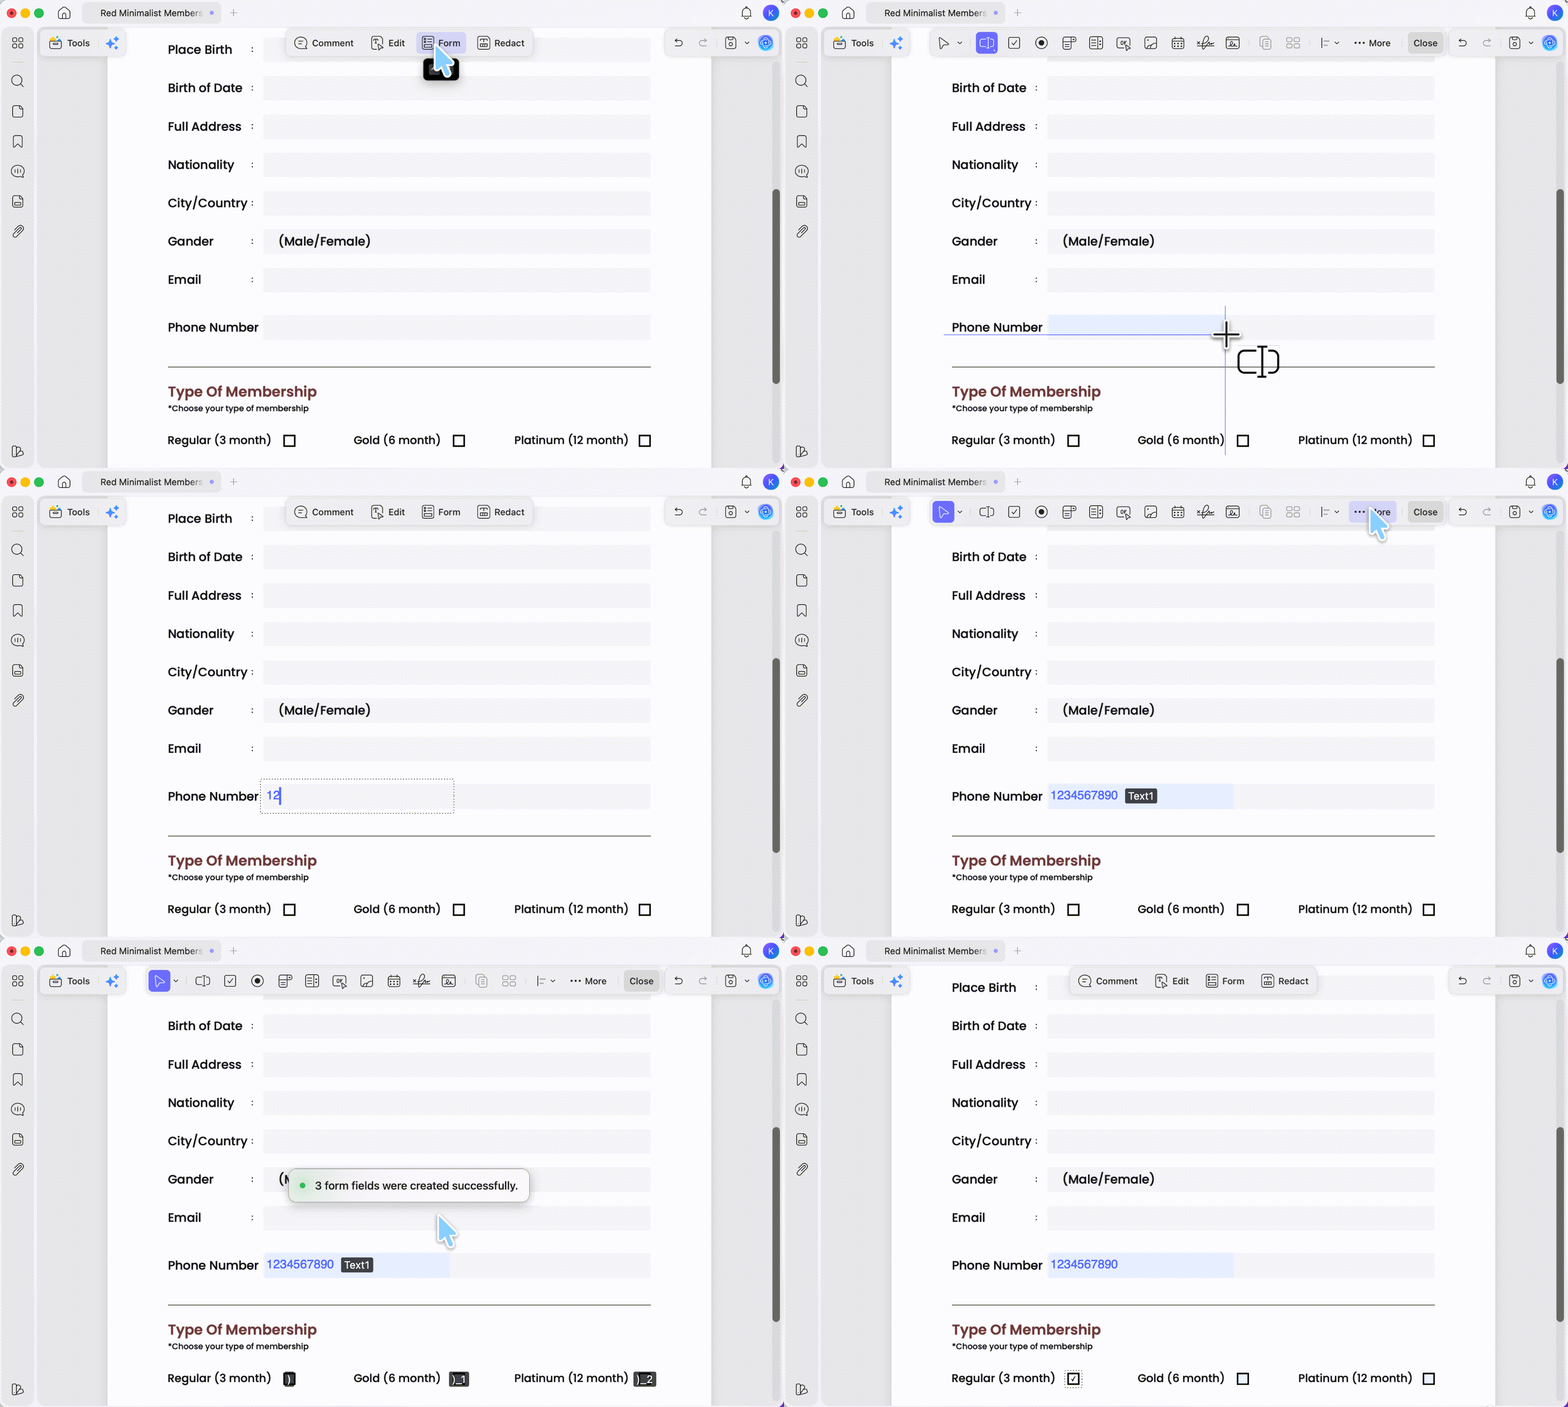
Step 1. Open your Canva-exported PDF in UPDF, then select Form from the top toolbar.
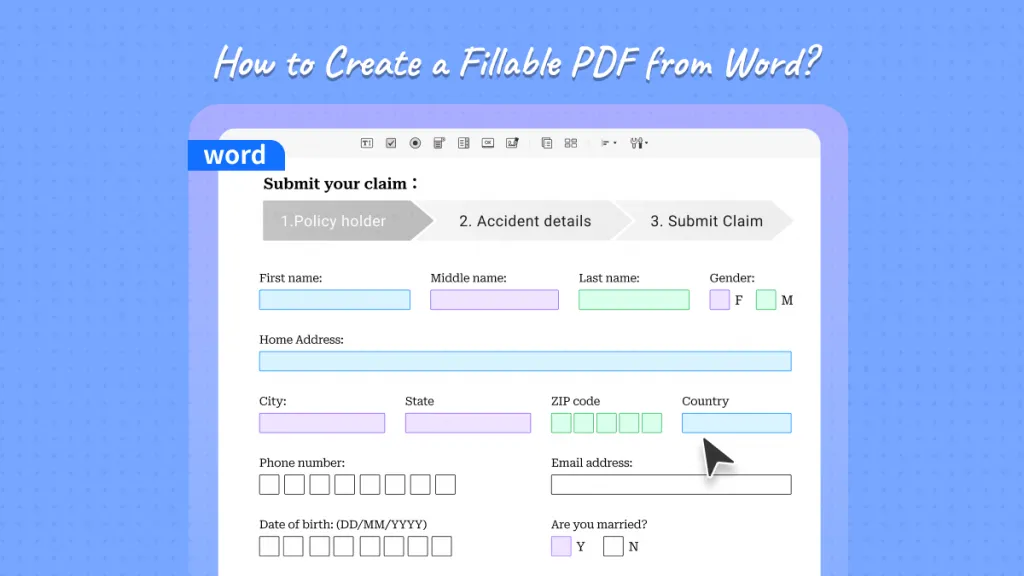
Step 2. Use the field tools in the top toolbar to place interactive fields over your design. For checkboxes, select the Check Box tool and drop one on top of each checkbox graphic you drew in Canva. Do the same with Text Field, Radio Button, or Dropdown where they belong.
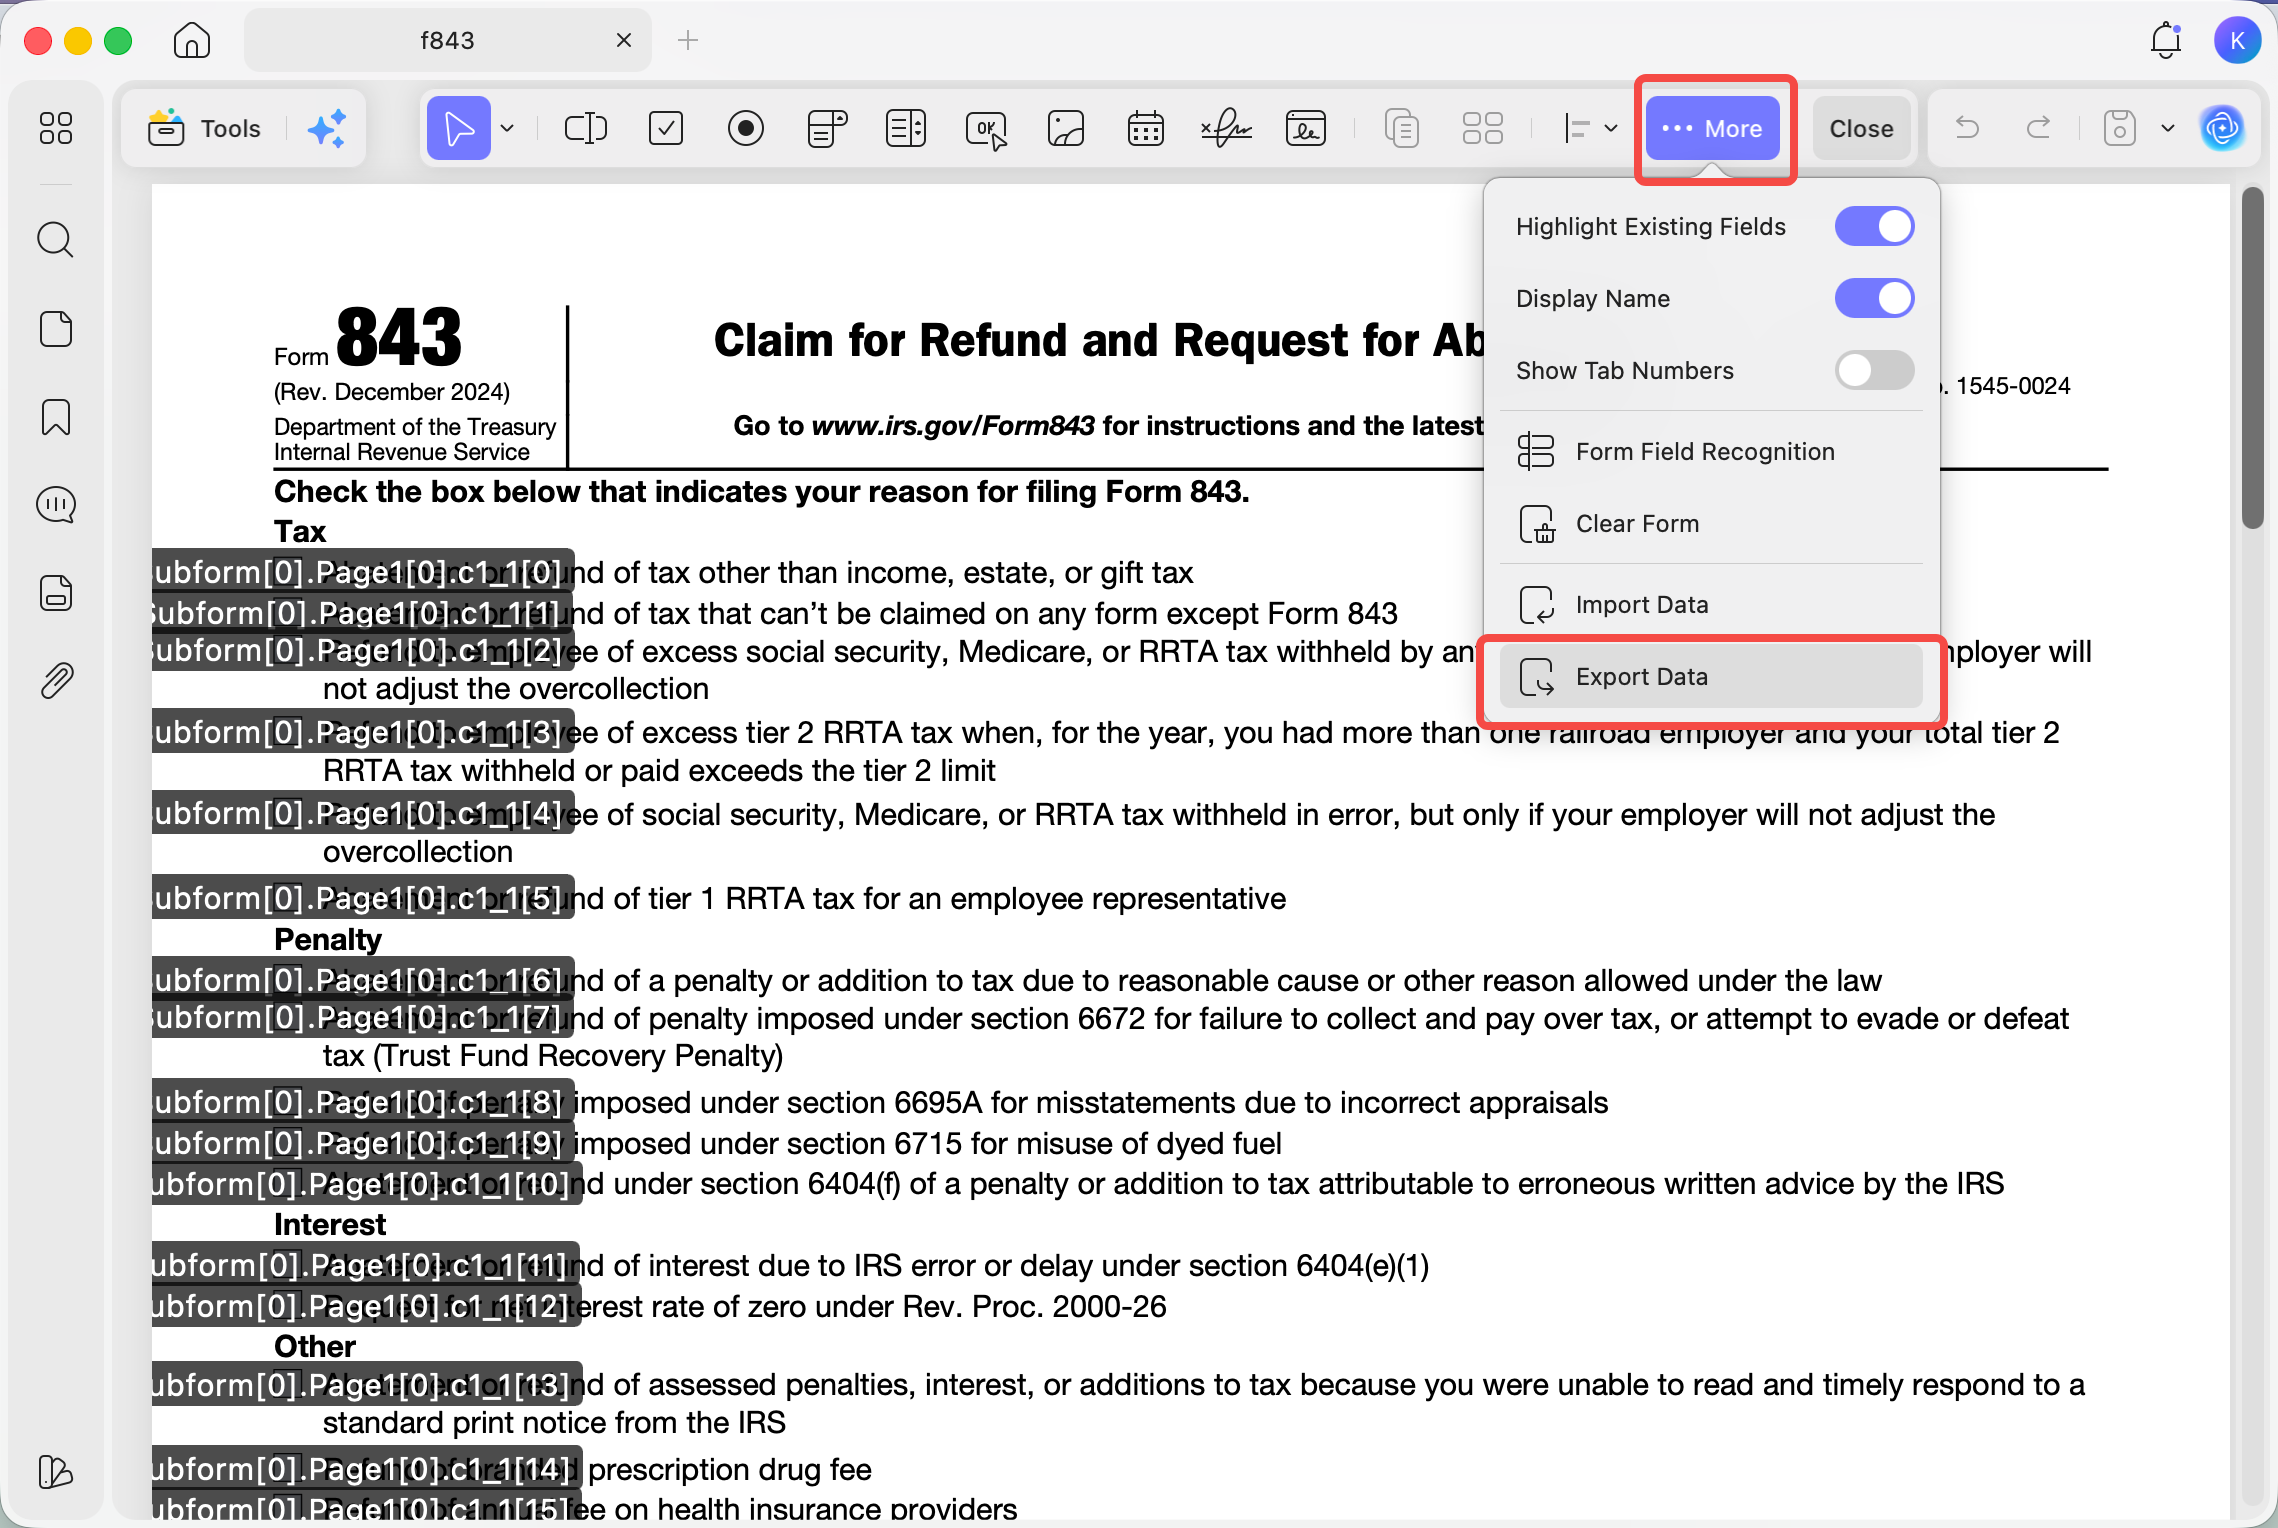
Step 3. To convert an existing static layout in bulk, open the More (···) menu and choose Form Field Recognition. UPDF scans the page and turns detected boxes and lines into fillable fields automatically — useful when your Canva form has many rows.
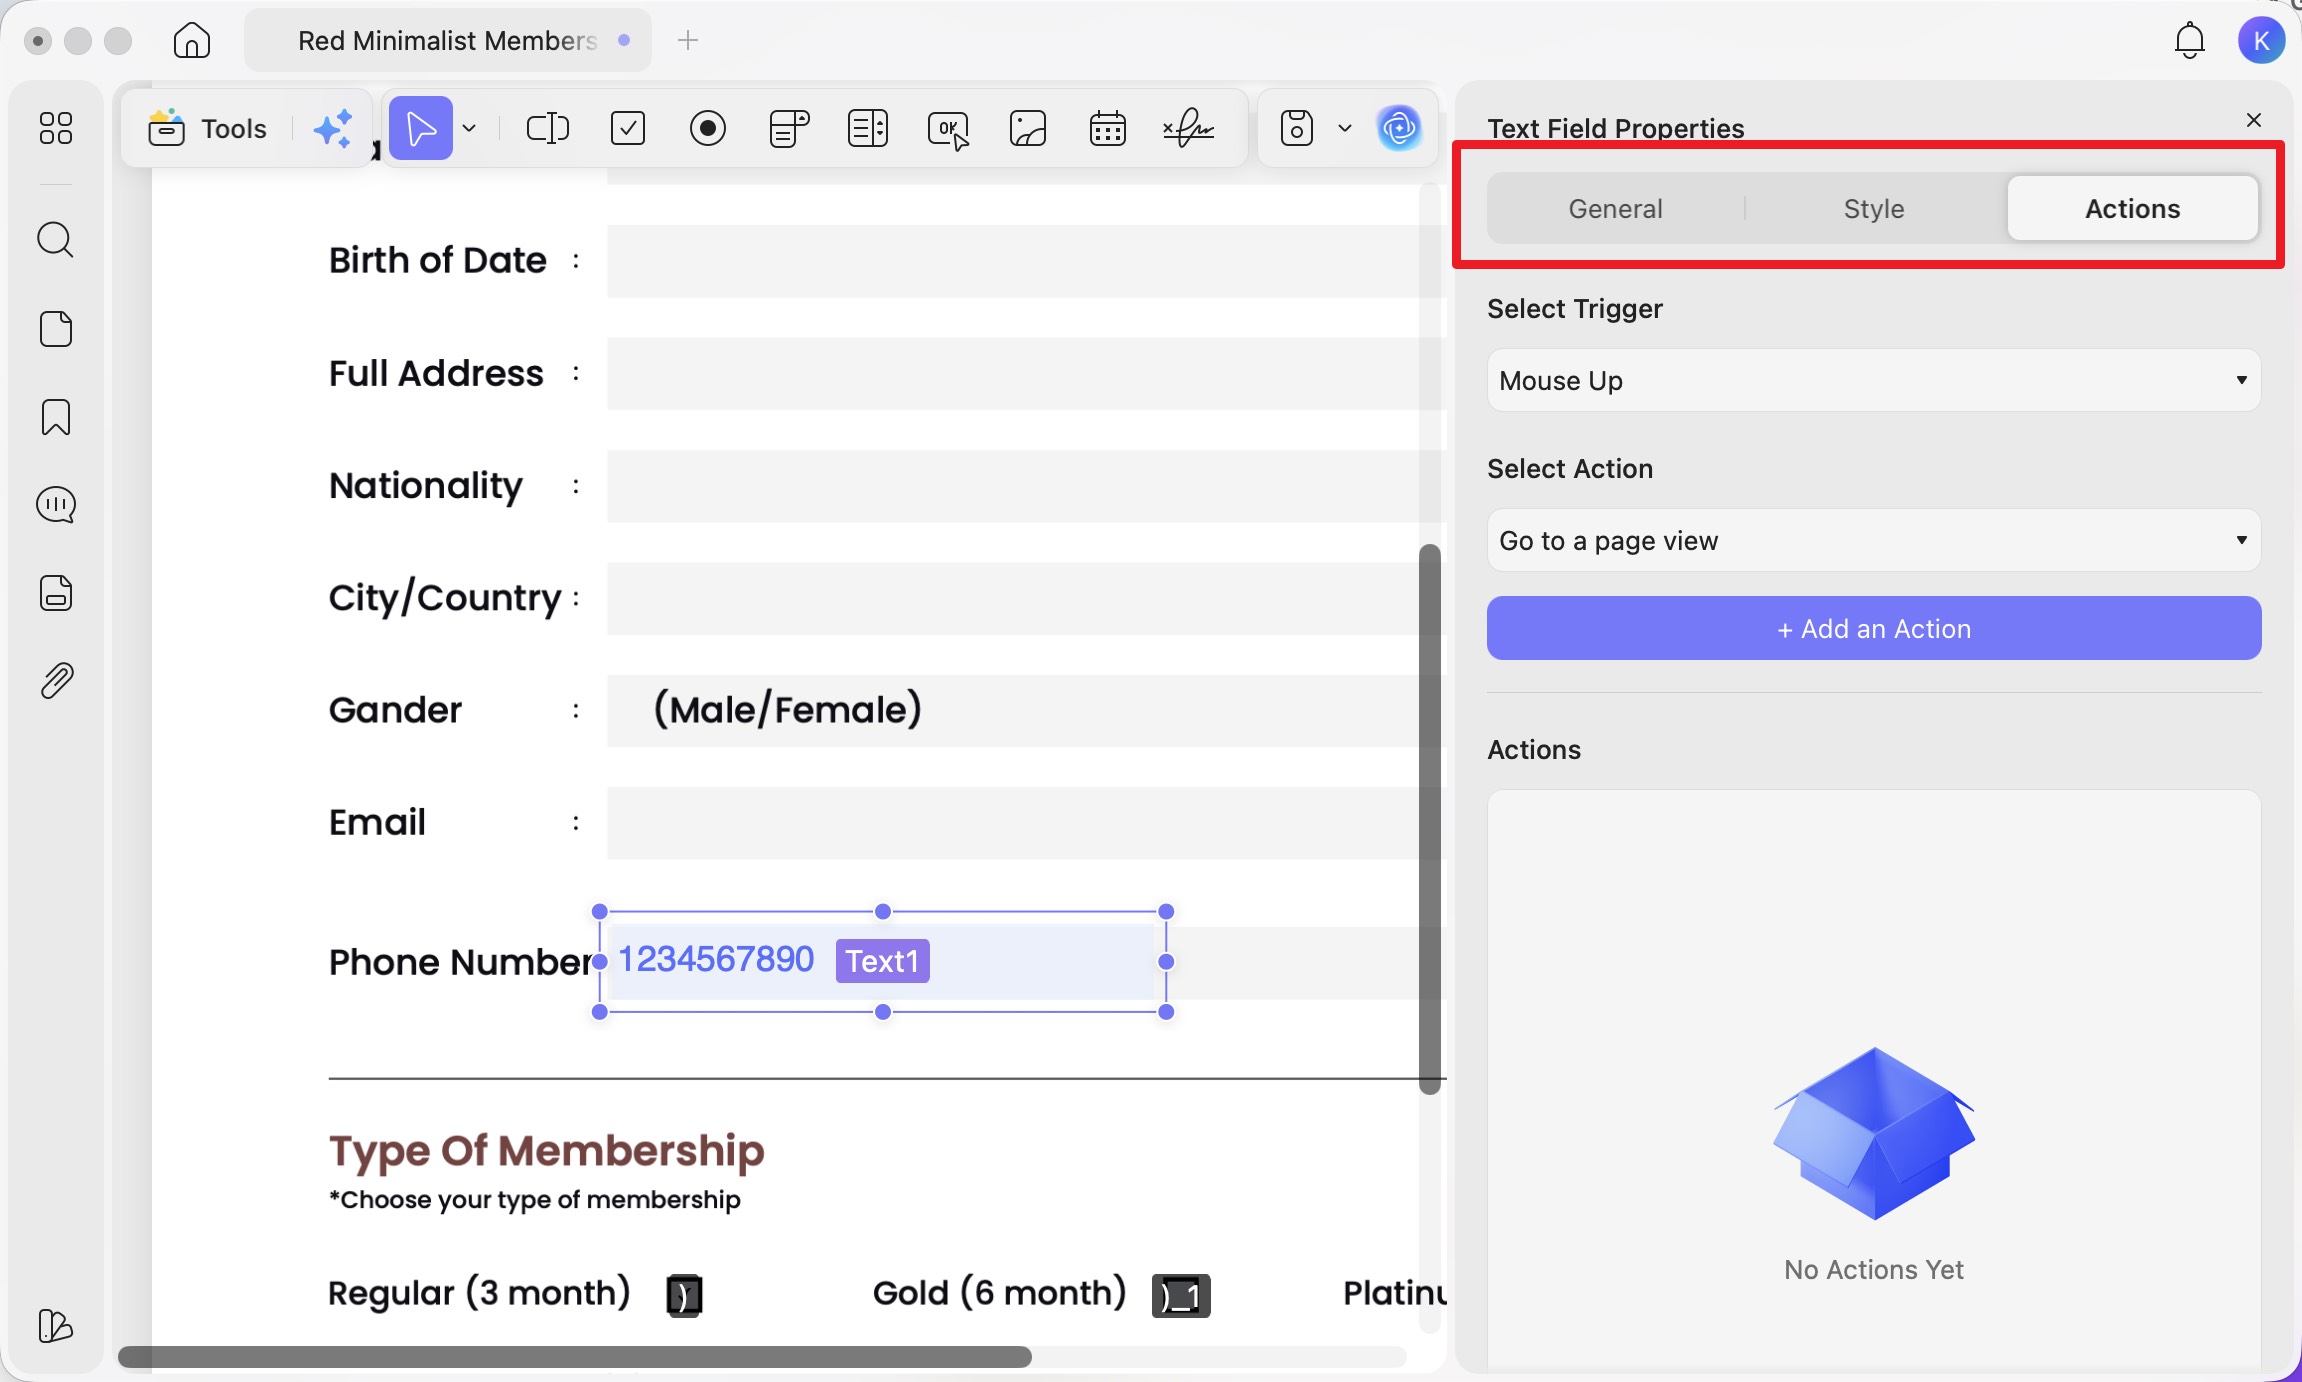
Step 4. Double-click any field to fine-tune it. The General tab sets the field name and lets you lock its position; the Style tab controls font and color; the Actions tab handles triggers.
Step 5. Save the finished form (Ctrl + S on Windows, Cmd + S on Mac). Your Canva design is now a working fillable PDF.
For a fuller walkthrough of form creation, this video covers building and filling forms end to end:
Download UPDF for free to try adding fillable fields to your Canva PDF — installation is free, and Pro features are available when you need watermark-free export or advanced tools.
Windows • macOS • iOS • Android 100% secure
Part 4. Static Layout vs. Fillable Form vs. Flat Print — What's the Difference?
These three get confused constantly, which is why so many "Canva forms" don't work as expected:
- Static layout → the form looks complete but has no interactive fields. This is what Canva exports.
- Fillable form → the same look, with clickable fields a reader can type into and save. This is what UPDF adds.
- Flat print → a fillable form that's been printed or "flattened," locking the entered text into the page so it can't be changed.
Think of the static layout as a printed worksheet under a sheet of glass: you can see every line, but your pen can't touch the paper. A fillable form is the worksheet itself. Flat print is the finished worksheet sealed in laminate. Canva stops at the glass; UPDF gives you the worksheet.
Part 5. Why Canva Alone Falls Short for Forms
The two-tool workflow exists because of concrete gaps, not preference:
No interactive fields. Canva has no way to add checkboxes, text fields, dropdowns, or radio buttons that a reader can actually use. Everything is a graphic, so the exported PDF is view-only.
Alignment drifts between tools. When you move a Canva layout into a form editor to add fields, the boxes and lines you drew don't always sit where the new fields land, so you spend time nudging fields into place. Designing the layout with fields in mind — or using Form Field Recognition to snap fields onto existing shapes — reduces this.
No saved data. Even if a reader could type on a flat Canva PDF using a basic viewer's markup tools, that text isn't stored as form data. A real fillable form keeps each entry tied to a named field, so the information can be saved, reopened, exported, or collected later.
Doing the whole job in one form-capable tool avoids all three. If you'd rather skip Canva entirely, UPDF can also build a fillable PDF from scratch — blank page, fields, and all — without a separate design step.
Windows • macOS • iOS • Android 100% secure
Part 6. Edge Cases and Fixes
Real situations where the standard steps stall:
- "I ticked a checkbox in the exported PDF but nothing happens." The checkbox is still a Canva graphic, not a field. Open the PDF in UPDF, go to Form, and place an actual Check Box field on top of it.
- "Form Field Recognition missed half my rows." Recognition works best on clear boxes and underlines. For rows it skipped, add the fields manually with the Text Field or Check Box tool — you can copy one field and paste it down a column to keep sizing consistent.
- "My fillable PDF looks empty when I reopen it in a browser." Some basic browser viewers don't render form fields fully. Open it in a dedicated PDF reader to confirm the fields are there; the data is intact even when a lightweight viewer doesn't show it.
- "I need people to fill this on their phones." The fillable fields you add in UPDF work in its iOS app too, so recipients can tap and type on iPhone or iPad. (See the FAQ on mobile below.)
- "I flattened the form and now no one can edit it." Flattening is permanent — always keep an unflattened master copy before you flatten a version for distribution.
Part 7. FAQs
1. Can I make a Canva PDF fillable on a phone?
Fields are easiest to create on Windows or Mac. On mobile, UPDF for iOS supports Fill & Sign field placement; the Android app can fill existing forms but does not create form fields, so build the form on desktop first.
2. Will the fonts I chose in Canva stay intact after adding form fields?
The static text and design from Canva stay exactly as exported — adding form fields on top doesn't touch them. Only the text a reader types into a field uses the field's own font, which you set in the Font tab.
3. Can I collect the responses after people fill in my form?
Yes. Because each answer is stored in a named field, UPDF can export the entered data (for example, to a spreadsheet) rather than leaving you to read replies off each PDF by hand — the reason a real fillable form beats a flat one for anything you send out.
Conclusion
Canva is an excellent place to design how a form looks, but it can't make that form interactive — the fillable field layer has to come from a PDF form editor. The two-step workflow (design in Canva, add fields in UPDF with Form and Form Field Recognition) gets you a clean-looking form people can actually type into and save. If you'd rather do it all in one place, UPDF can build the form from a blank page too.
Choosing a tool rather than a method? See our roundup of the best PDF form fillers. Prefer to skip design software entirely? Here's how to make a fillable PDF form without Acrobat.
Download UPDF for free to turn your Canva design into a fillable form — installation is free, and Pro features are available when you need watermark-free export or advanced tools.
Windows • macOS • iOS • Android 100% secure






 Enid Brown
 Enya Moore
 Enola Davis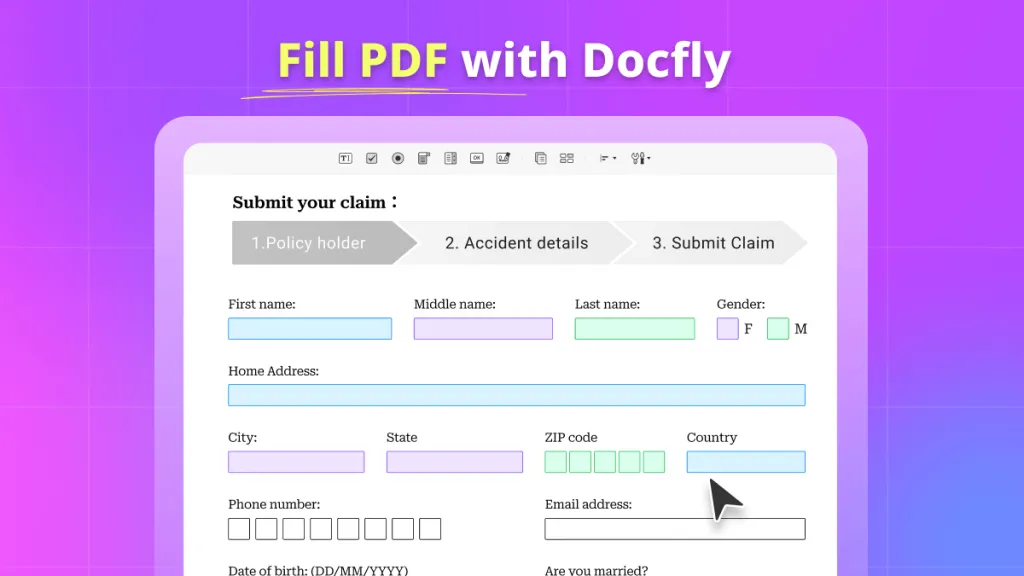
 Lizzy Lozano