 UPDF for Windows
 UPDF for Mac
 UPDF for iPhone/iPad
 UPDF for Android
 Nomostar
 UPDF AI Online
 UPDF Sign
 IvyCraft
 Edit PDF
 Annotate PDF
 Create PDF
 PDF Form
 Edit links
 Convert PDF
 OCR
OCR PDF to Word
 PDF to Image
 PDF to Excel
 Organize PDF
 Merge PDF
 Split PDF
 Crop PDF
 Rotate PDF
 Protect PDF
 Sign PDF
 Redact PDF
 Sanitize PDF
 Remove Security
 Read PDF
 UPDF Cloud
 Compress PDF
 Print PDF
 Batch Process
 About UPDF AI
 UPDF AI Solutions
 AI User Guide
 FAQ about UPDF AI
 Summarize PDF
 Translate PDF
 Chat with PDF
 Chat with AI
 Chat with image
 PDF to Mind Map
 Explain PDF
 PDF AI Tools
 Image AI Tools
 AI Chat Tools
 AI Writing Tools
 AI Study Tools
 AI Working Tools
 Other AI Tools
 AI Bookmark Generation
 AI Bookmark Summary
 AI Watermark Generation
 AI Background Generation
 AI Sticker Generation
 AI Stamp Generation
 AI Editing Suite
 UPDF Copilot
 AI Page Management
 AI Semantic Search
 PDF to Word
 PDF to Excel
 PDF to PowerPoint
 User Guide
 UPDF Tricks
 FAQs
FAQs UPDF Reviews
 Download Center
 Blog
Blog Newsroom
 Tech Spec
 Updates
 UPDF vs. Adobe Acrobat
 UPDF vs. Foxit
 UPDF vs. PDF Expert
Sign PDF Documents on Windows
Signatures are a great way to display affirmation on a specific document. While this particular element is considered a necessity in task execution, UPDF has made it easy to sign documents without flying to different places. This guide provides an overview of how to add the perfect signatures on documents using UPDF.
Important Note: UPDF supports both digital signatures and electronic signatures. Users can add any type of signature by switching to the corresponding mode: 'Annotate' and 'Prepare Form'.
Click the button below to download UPDF and sign PDF with it by following the below guides now.
Windows • macOS • iOS • Android 100% secure
In the following section, we'll guide you through how to sign PDFs with UPDF.
Bonus Tip
1. How to Add an Electronic Signature
With UPDF on Windows, you can add electronic signatures. For the creation process, follow the stepwise tutorial given:
- Just click on the “Tools” > “Comment” > “Signature” icon.
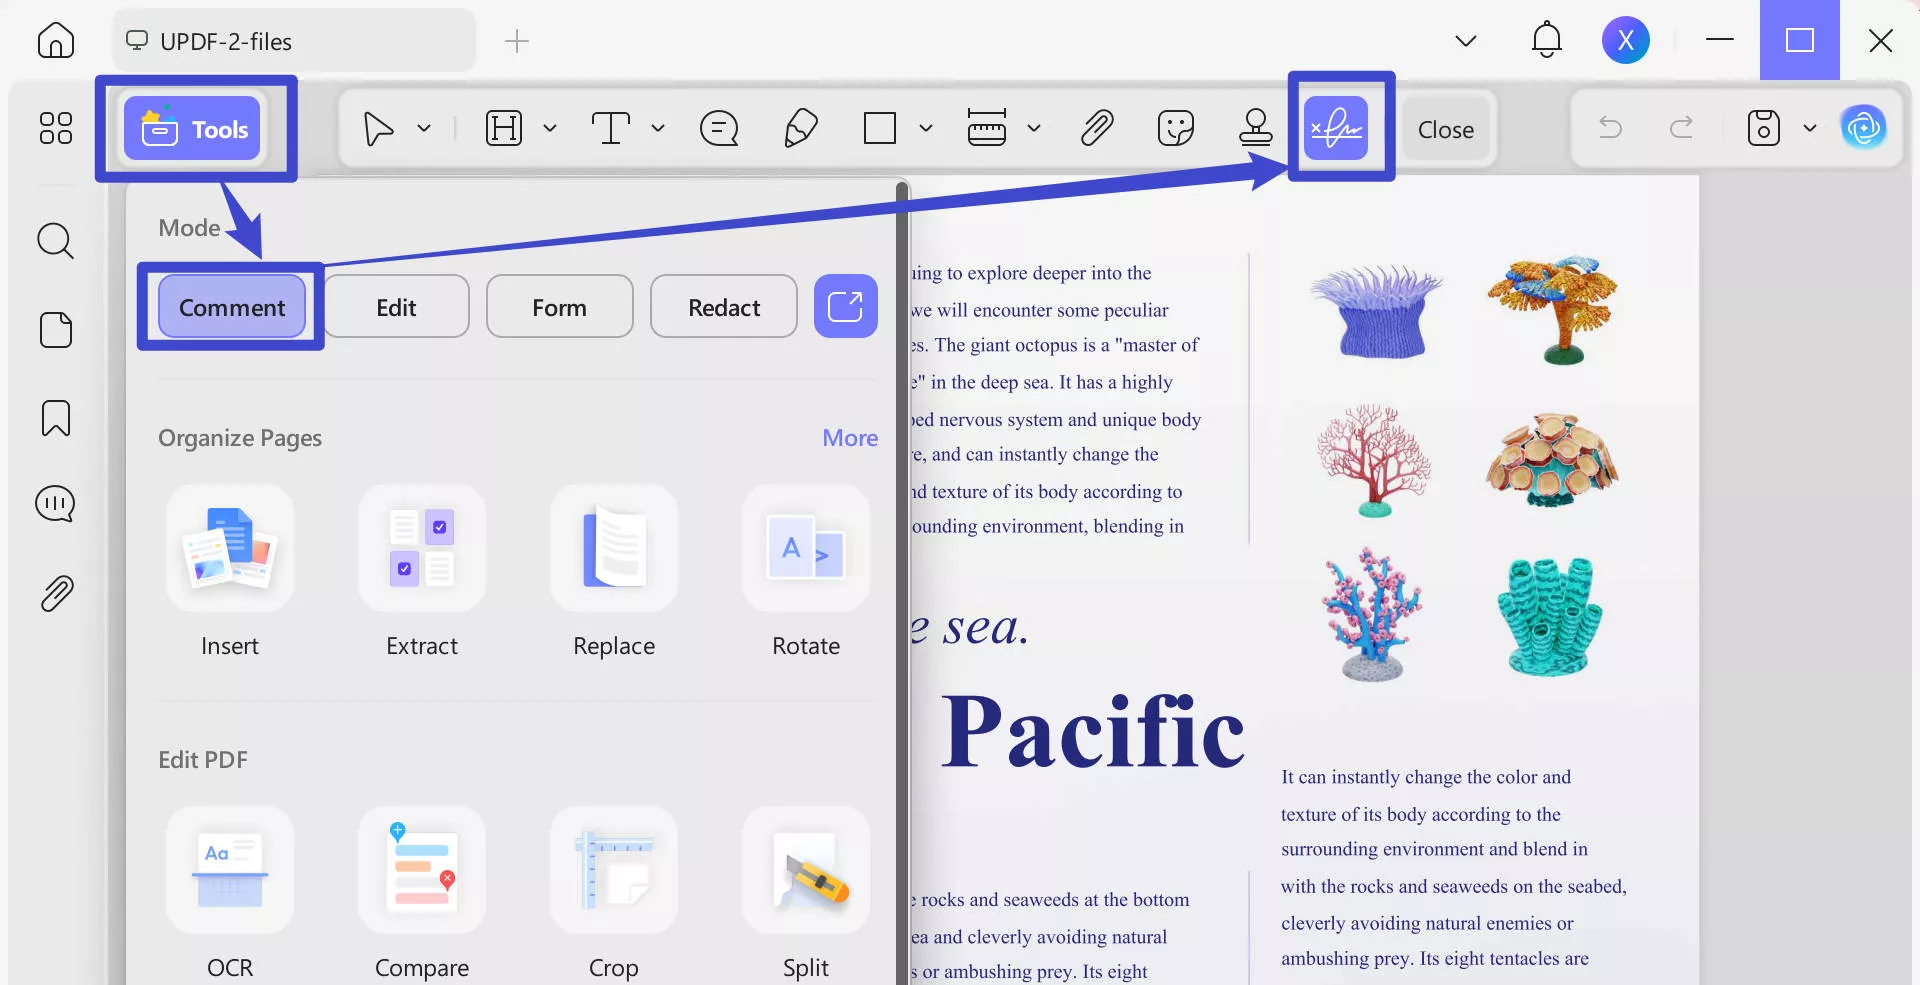
- It provides three further options: Mouse, Keyboard, and Image after clicking on the “Signature” icon
- For Mouse: In the Please Sign Here box, you can draw a signature using your mouse with the option of increasing its thickness through the slider. Besides this, change the color of your signature. Plus, the Clear icon removes the entire created signature.
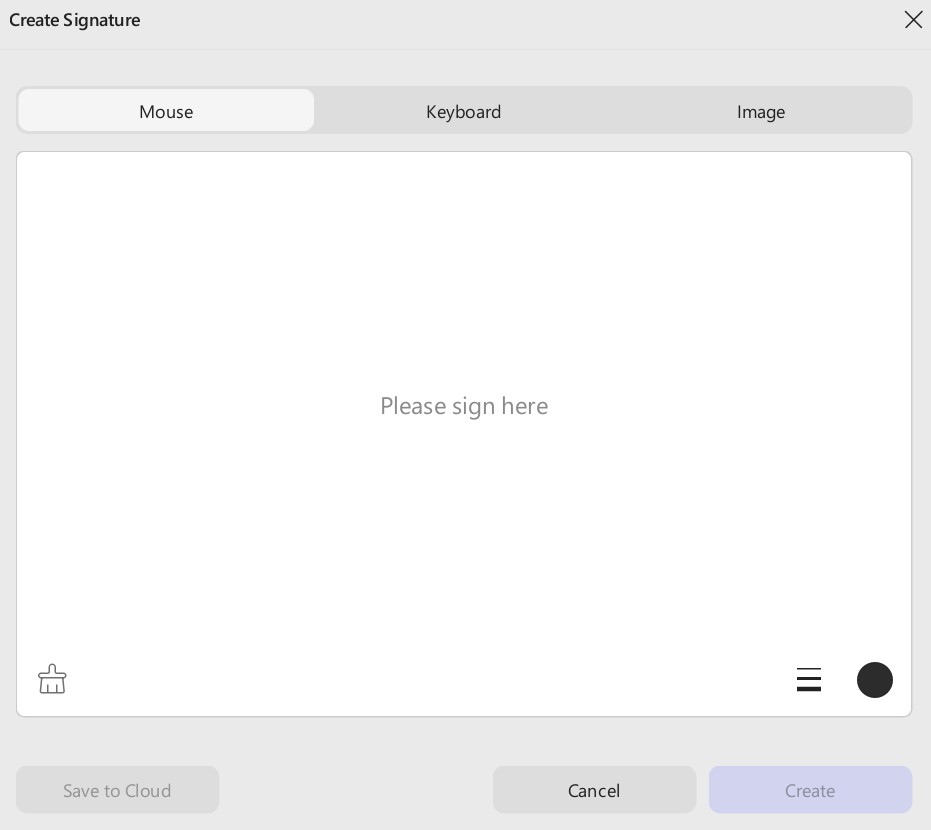
- For Keyboard: With the help of a keyboard, you can type your signature in the given space. Modifying it provides functions similar to the mouse.
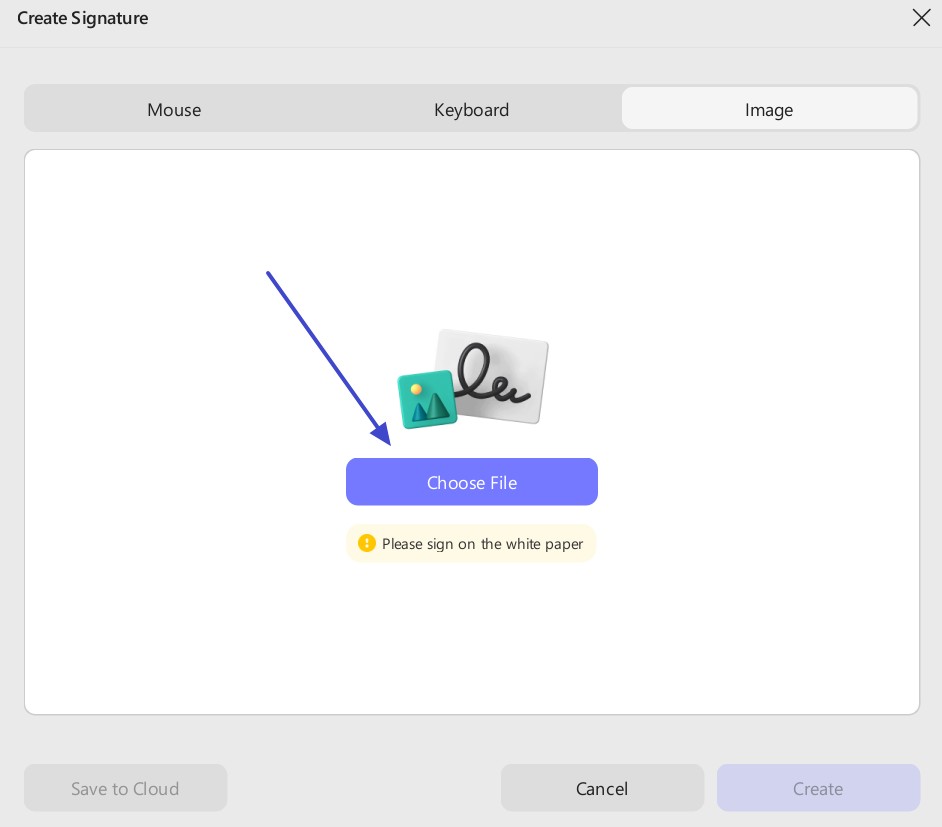
- For Image: This function enables one to upload an image for a signature through the Choose File button. This image will be converted into a signature.
2. How to Add a Digital Signature
In some cases, such as filling out professional PDF forms, you may want to add a digital signature to authenticate the document. In UPDF, creating, adding, and editing a digital signature is relatively easy. Let's discuss how you can add digital signatures to your documents.
Option 1. Create and Add a Digital Signature
There are two options offered by UPDF for adding a digital signature to your PDF. In this discussion, we will explore the first option: manually creating and adding a signature to your PDF.
Step 1. Adding the Signature Box
- In the PDF document you opened in UPDF, navigate to the Tools option and select the Form option from the menu.
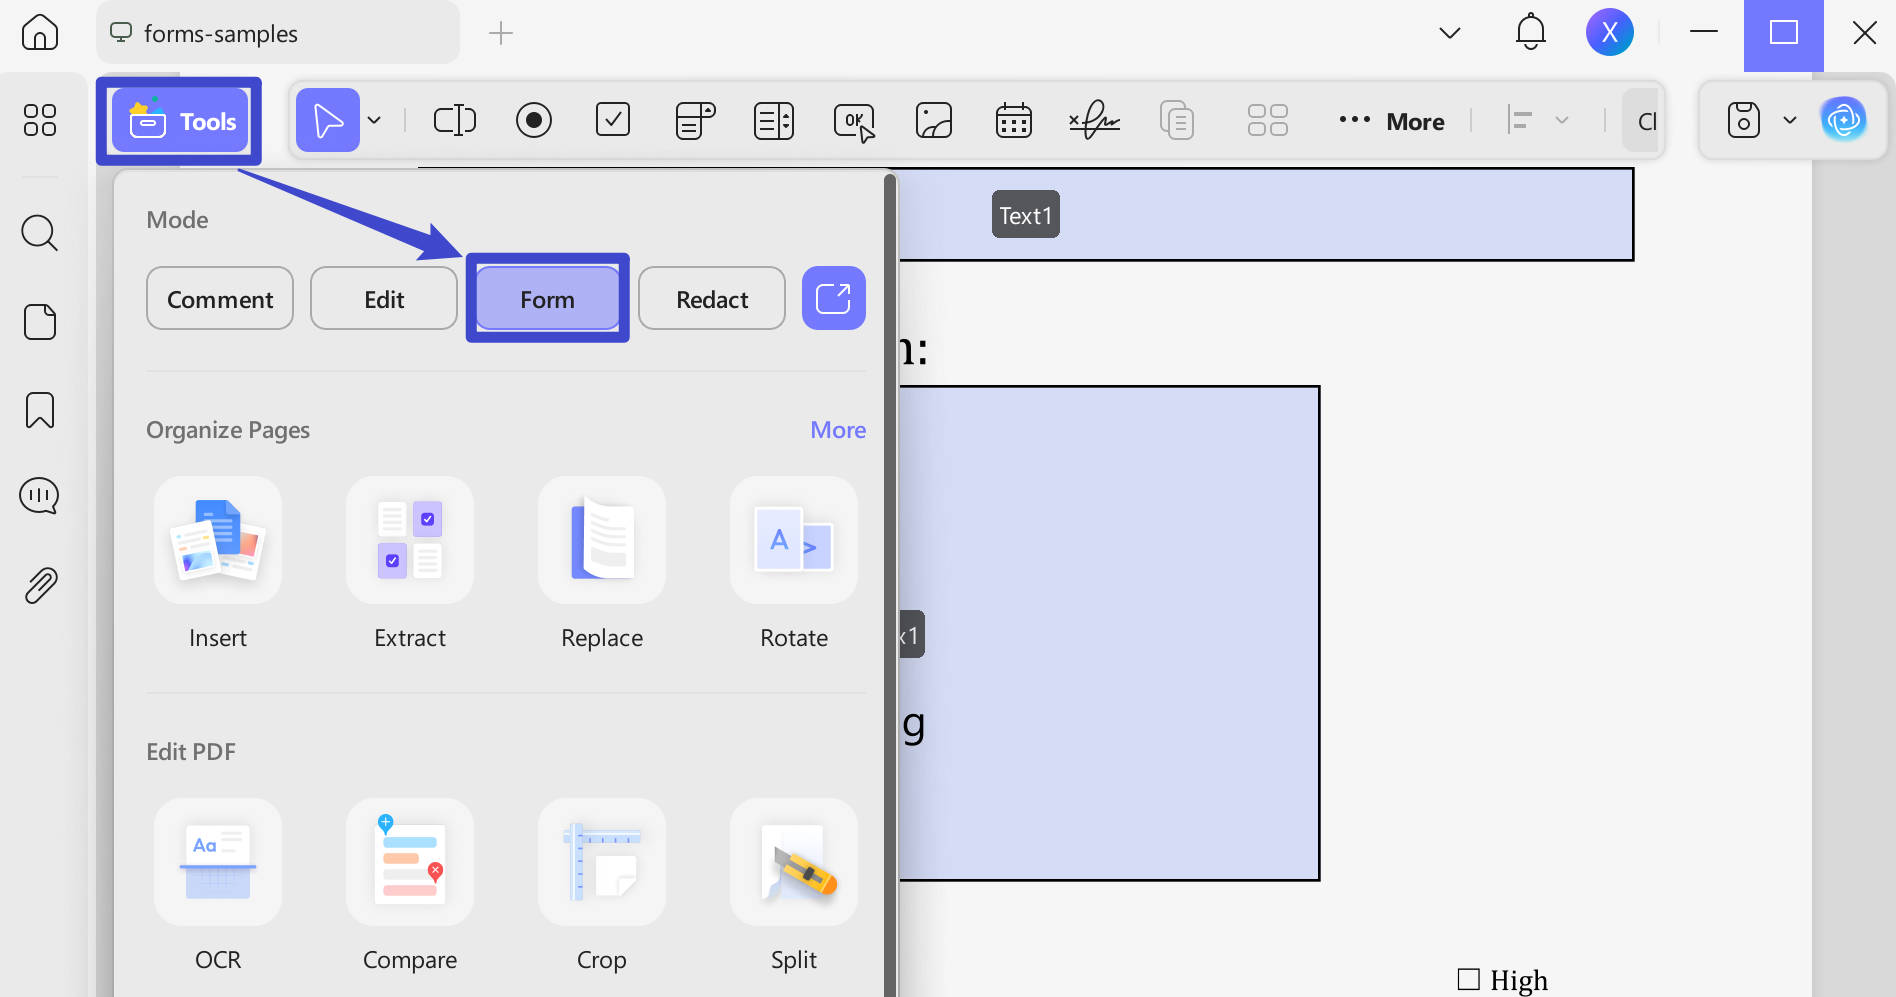
- From the top bar menu, select the Digital Signature Menu and click it to open a select-and-drop action.
- Now, draw a box wherever you want. You can drag and place it at any location.
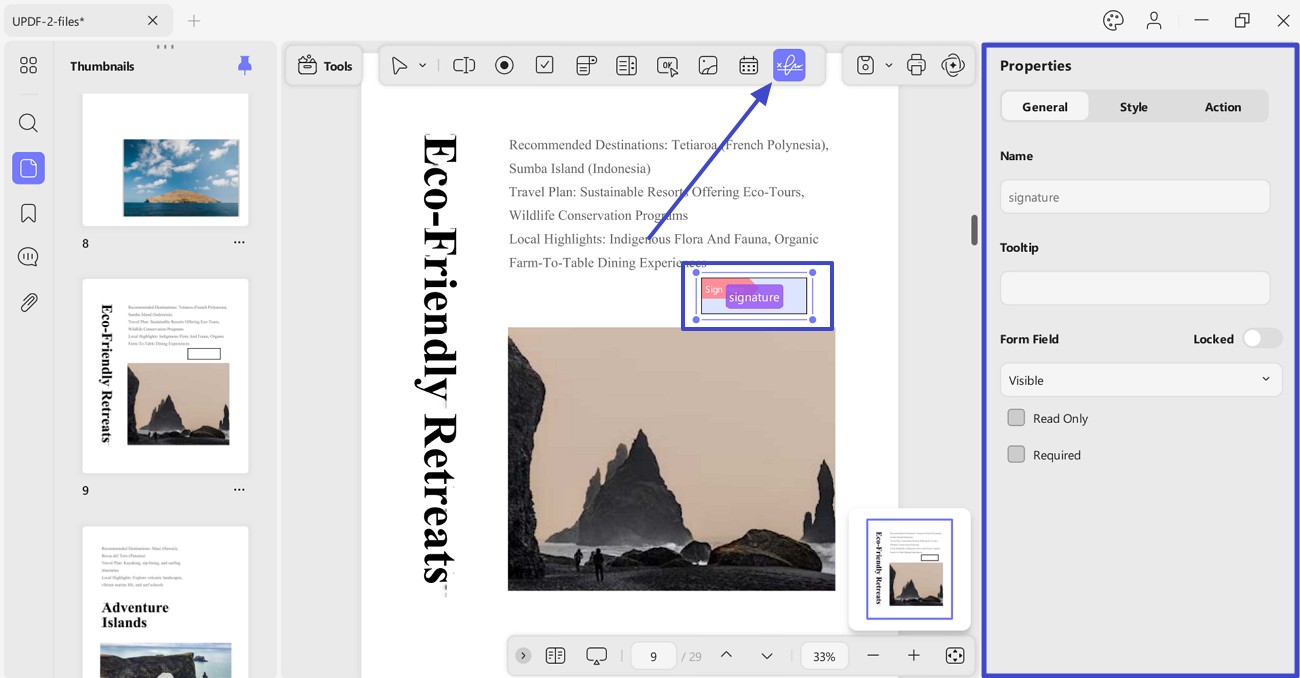
- Double-click on it, and you can customize the properties of it.
- General Settings: You can customize the signature name, add a tooltip, lock or unlock the signature field, adjust its visibility, make it read-only, or enable the "Required" option to highlight the signature field.
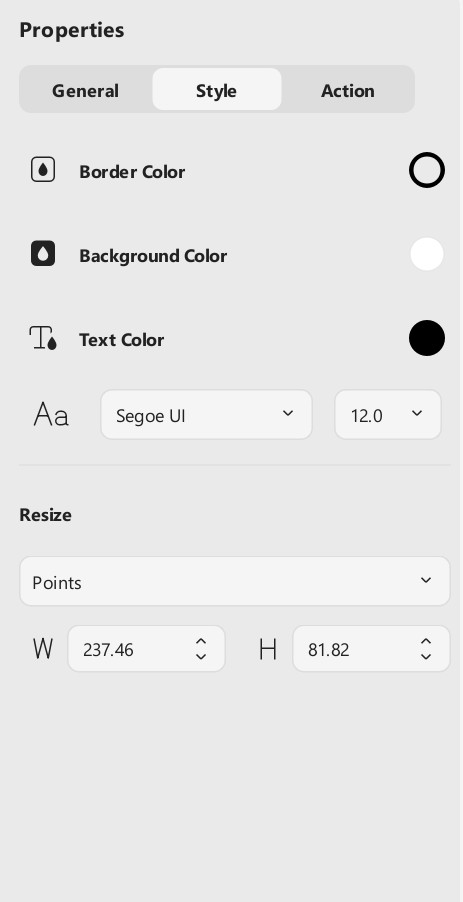
- Style Settings: You can personalize the border, fill, and text colors, change the font and font size, and manually set the dimensions of the signature field.
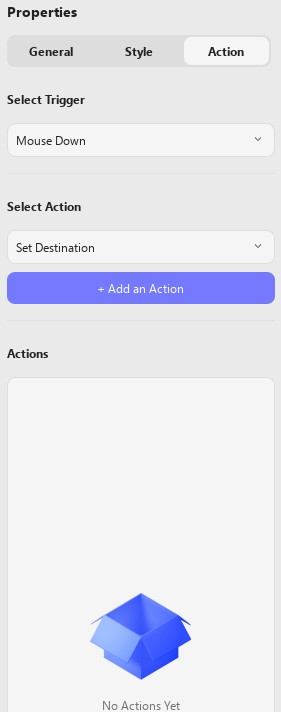
- Action Settings: UPDF also allows you to add actions associated with the signature, as shown in the screenshot below.
- Once you've finished the customization and successfully added the digital signature field, you can save the document, allow others to fill out the form, and leave a digital signature at the end.
Step 2. Creating a Digital Signature
You can add any created or saved signature to any document.
- Go to the Comment mode in Tools and click on the signature box.
- You can either create or import your digital signature.
- To create your digital signature, hit the Create button.
- Enter the details in the figure below in the following menu and hit OK to continue.
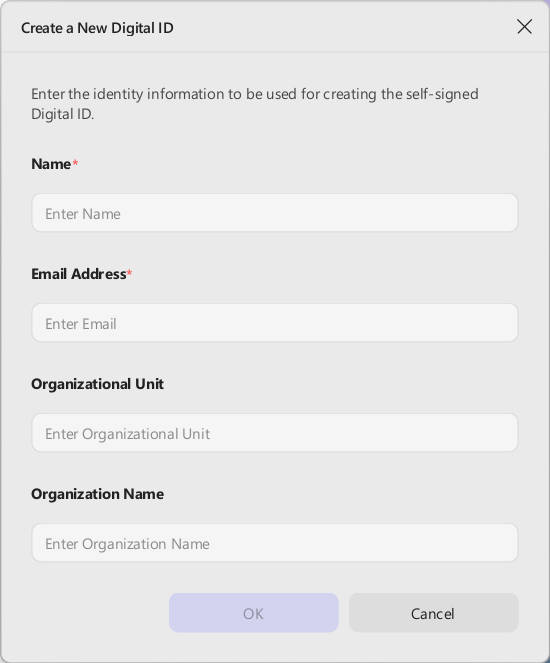
- Once your digital ID is created, you must insert at least a six-character password to protect your ID.
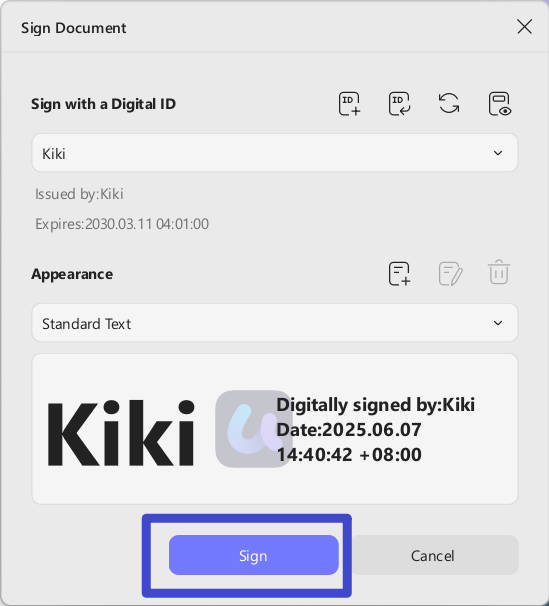
- Now, hit the Sign button to add a digital signature to your PDF file.
- UPDF will ask you to select the storage destination for your digitally signed file. Do so, and you are done!
- You can click on the signature to view its properties and the certificate.

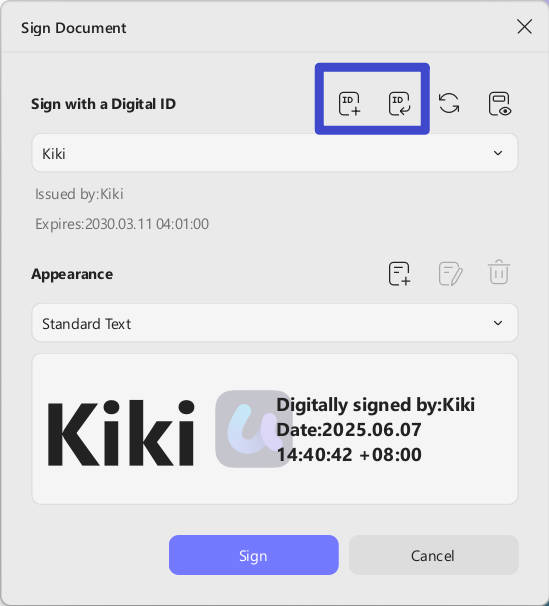
Option 2. Import and Add a Digital Signature
An alternative way is to import the signature by clicking the import button instead of the Create.
- You can import an existing digital ID by browsing your device.
- Follow up by entering the Digital ID password, as you can't access a digital ID if you don't know its password.
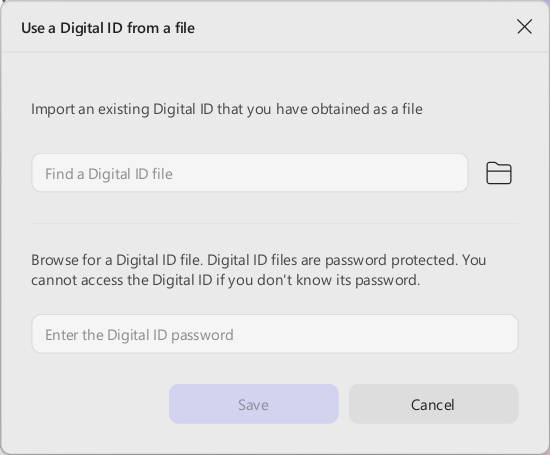
- After that, hit Save.
- Click on the signature, select your imported digital ID from the drop-down menu, and click Sign.
UPDF provides so cool features. Do not hesitate to upgrade to the pro version now.