 UPDF for Windows
 UPDF for Mac
 UPDF for iPhone/iPad
 UPDF for Android
 Nomostar
 UPDF AI Online
 UPDF Sign
 IvyCraft
 Edit PDF
 Annotate PDF
 Create PDF
 PDF Form
 Edit links
 Convert PDF
 OCR
OCR PDF to Word
 PDF to Image
 PDF to Excel
 Organize PDF
 Merge PDF
 Split PDF
 Crop PDF
 Rotate PDF
 Protect PDF
 Sign PDF
 Redact PDF
 Sanitize PDF
 Remove Security
 Read PDF
 UPDF Cloud
 Compress PDF
 Print PDF
 Batch Process
 About UPDF AI
 UPDF AI Solutions
 AI User Guide
 FAQ about UPDF AI
 Summarize PDF
 Translate PDF
 Chat with PDF
 Chat with AI
 Chat with image
 PDF to Mind Map
 Explain PDF
 PDF AI Tools
 Image AI Tools
 AI Chat Tools
 AI Writing Tools
 AI Study Tools
 AI Working Tools
 Other AI Tools
 AI Bookmark Generation
 AI Bookmark Summary
 AI Watermark Generation
 AI Background Generation
 AI Sticker Generation
 AI Stamp Generation
 AI Editing Suite
 UPDF Copilot
 AI Page Management
 AI Semantic Search
 PDF to Word
 PDF to Excel
 PDF to PowerPoint
 User Guide
 UPDF Tricks
 FAQs
FAQs UPDF Reviews
 Download Center
 Blog
Blog Newsroom
 Tech Spec
 Updates
 UPDF vs. Adobe Acrobat
 UPDF vs. Foxit
 UPDF vs. PDF Expert
Add or Edit Images in PDF with UPDF for Windows
UPDF is a powerful PDF editor that allows you to edit text, images, links, and other elements within a PDF. In this guide, we will show you how to add, modify, replace, extract, and crop images, among other tasks.
1. Edit Images in PDF
To edit images in your PDF document, first enter the editing mode by clicking the Tools option on the top left side of your screen. Select Edit from the provided list.
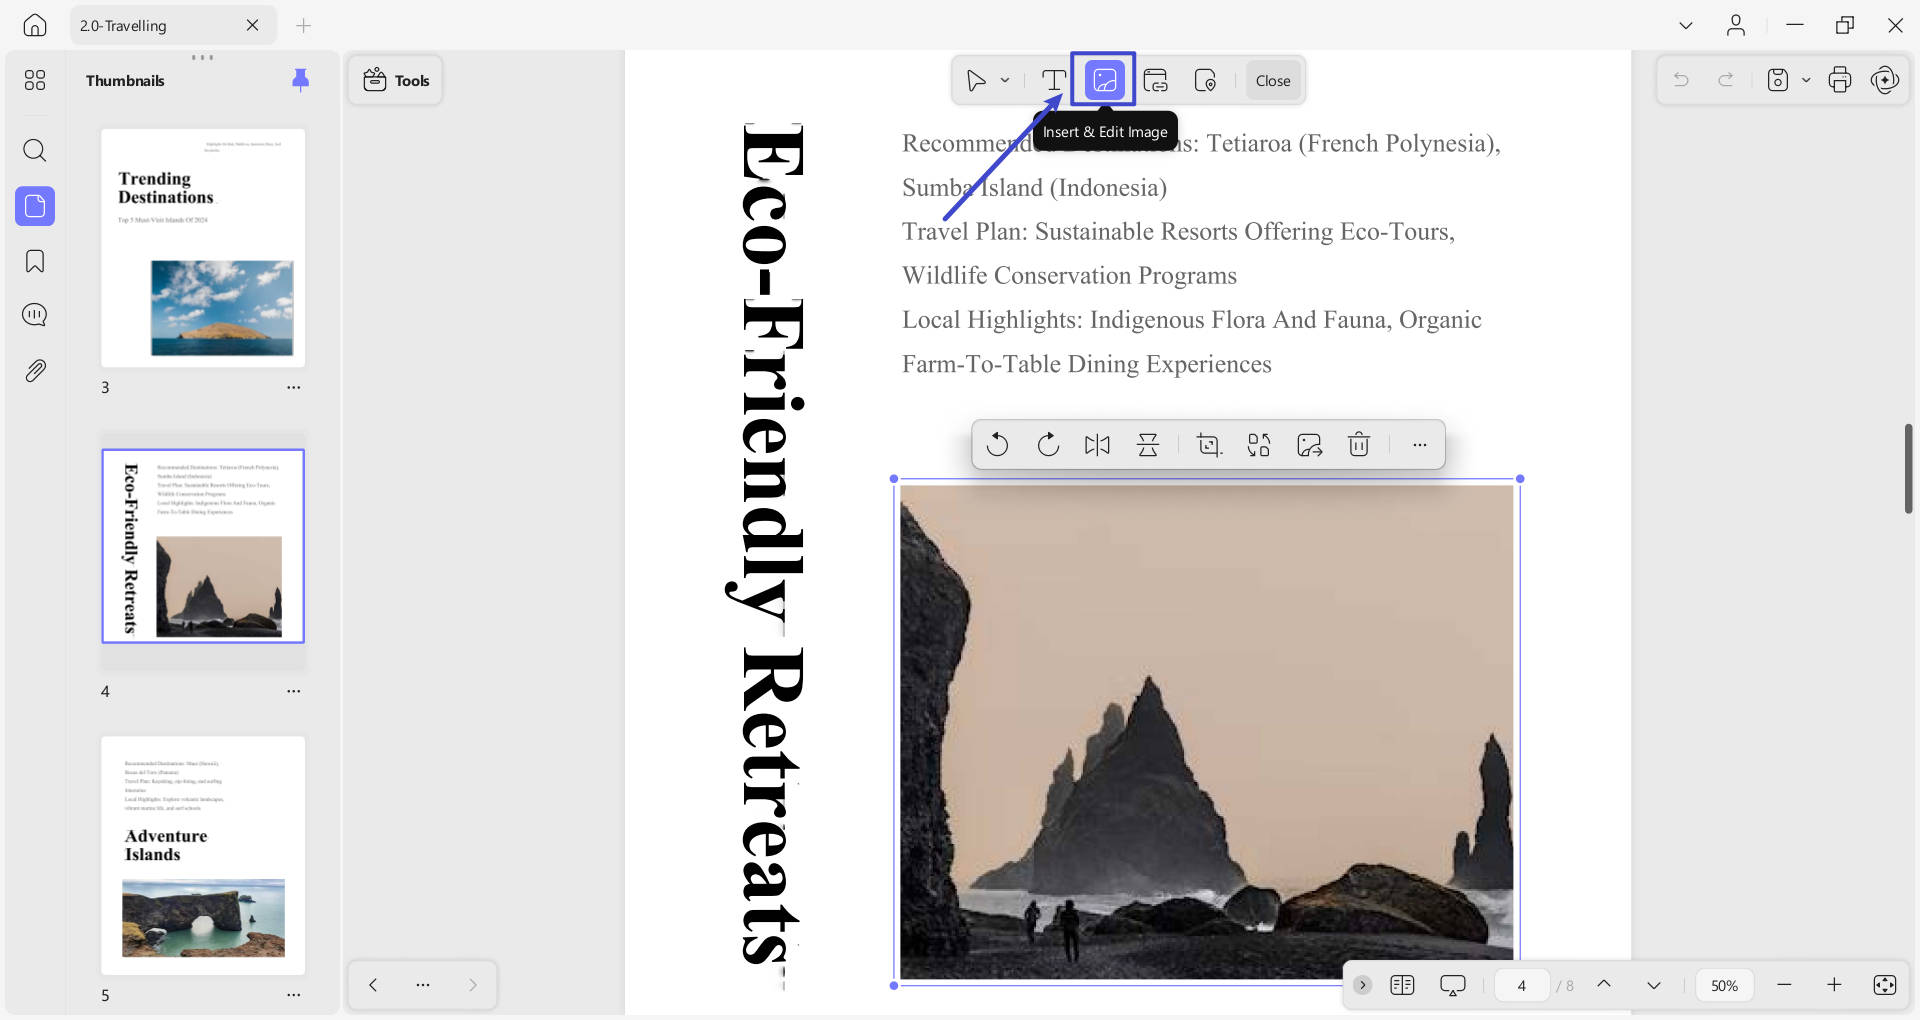
- After this, press the Insert & Edit Image option from the top toolbar. Click on the image you want to edit.
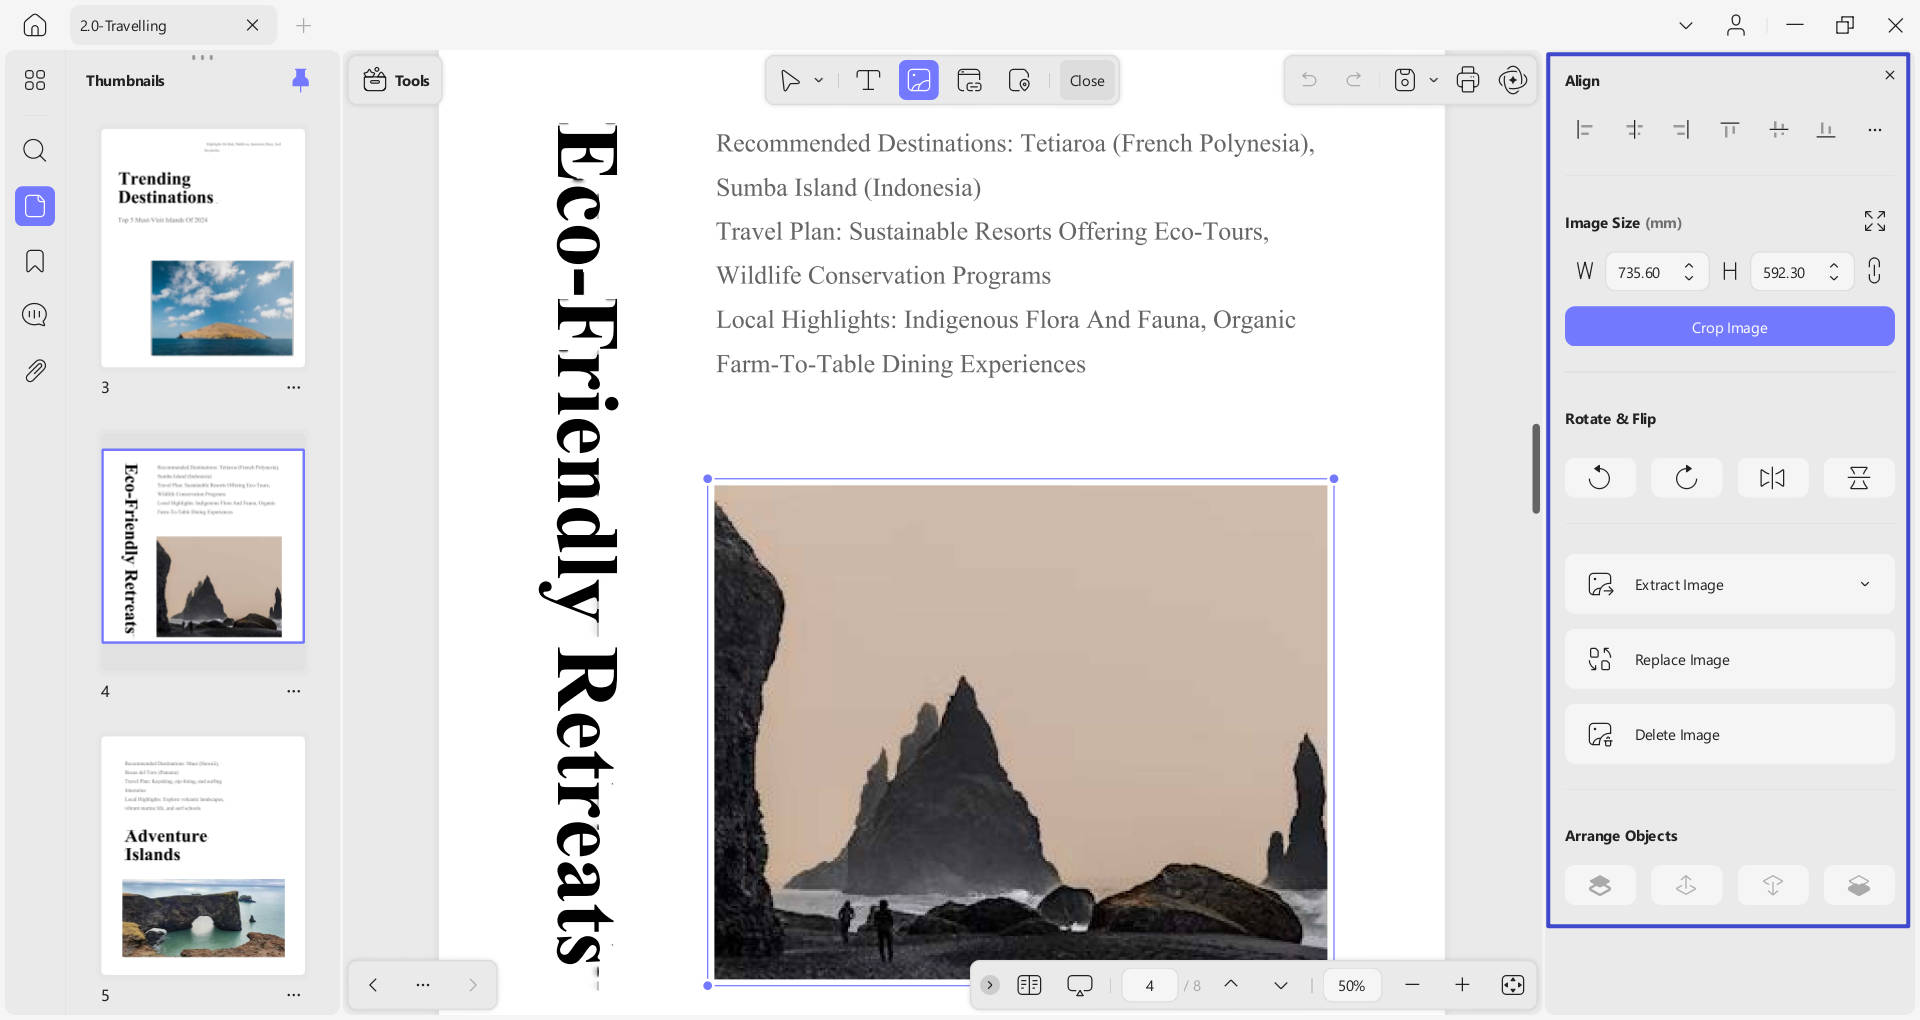
- A toolbar will appear, allowing you to Rotate Counterclockwise, Rotate Clockwise, Flip Horizontal, Flip Vertical, Crop, Replace, and Extract Image.
- Besides this, you also Delete the image, as per preference.
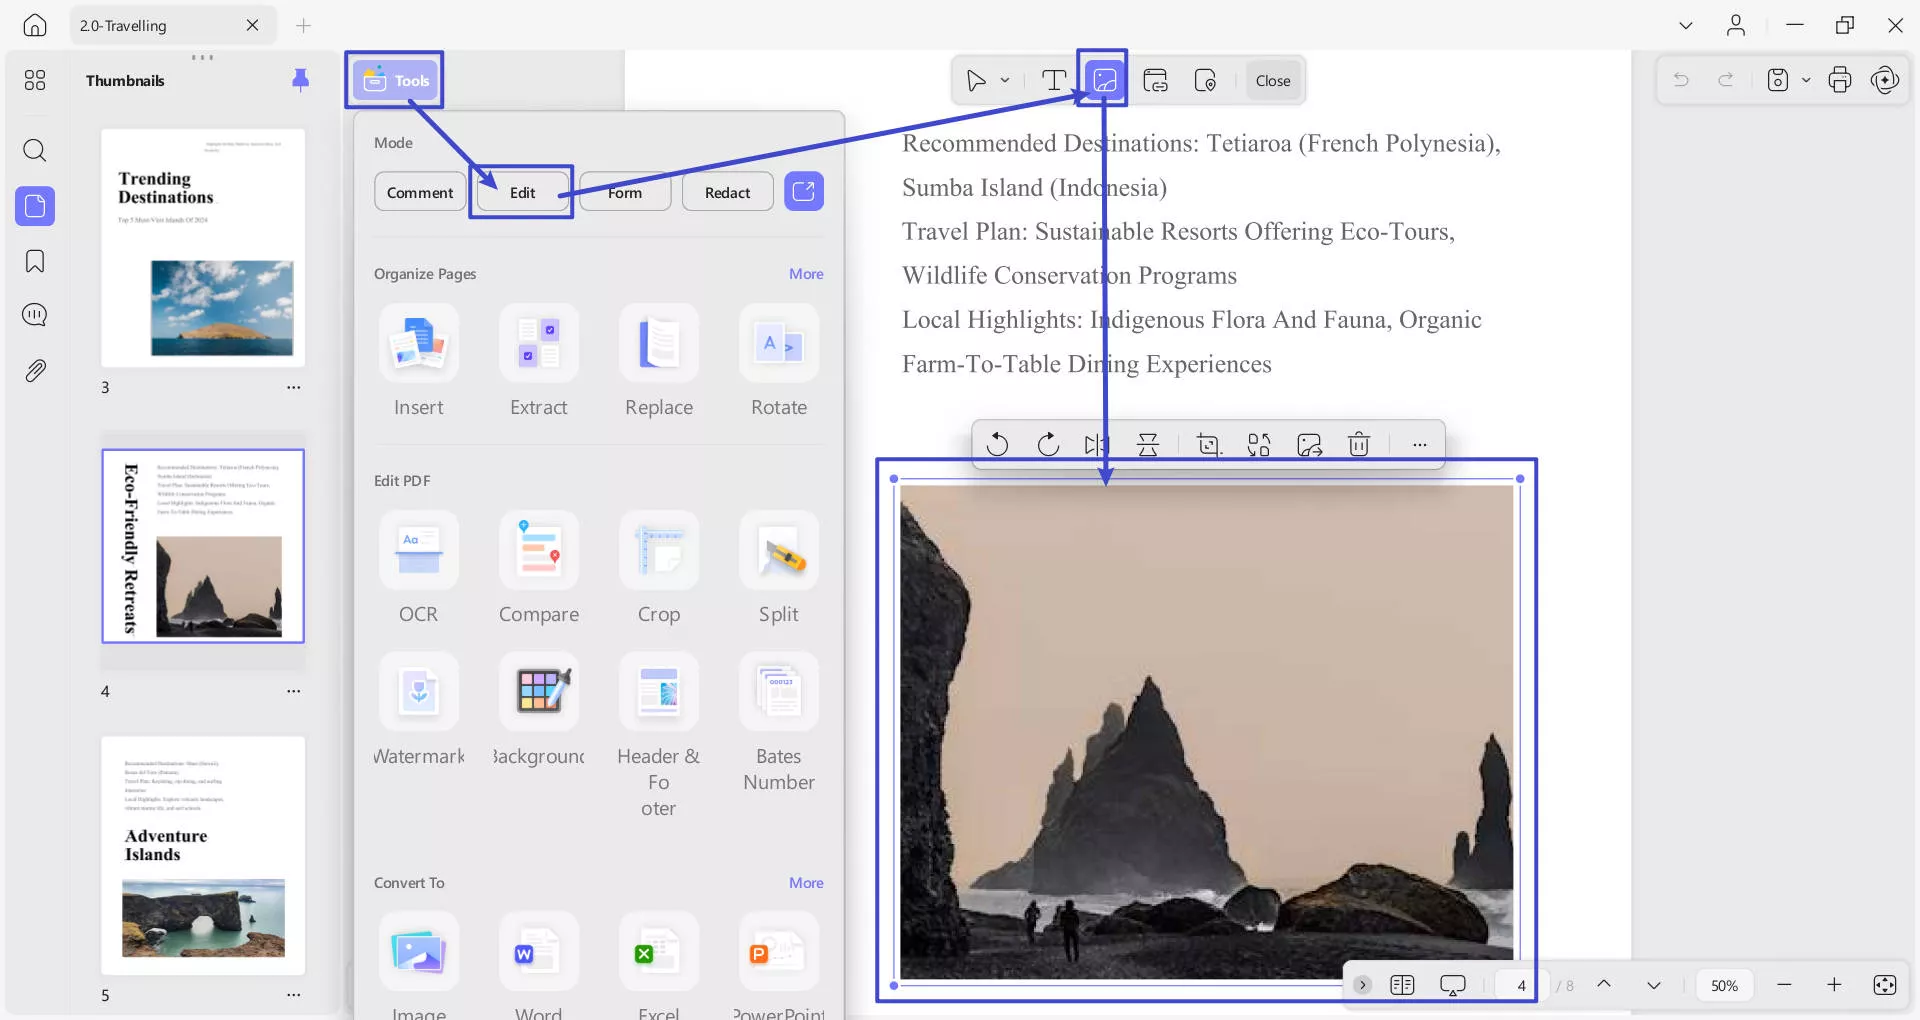
- You can also resize the image by dragging its corners or entering the desired width and height manually (through Three Dots option for more).
- The Three Dots option for More reveals further image editing options, as shown in the screenshot below:
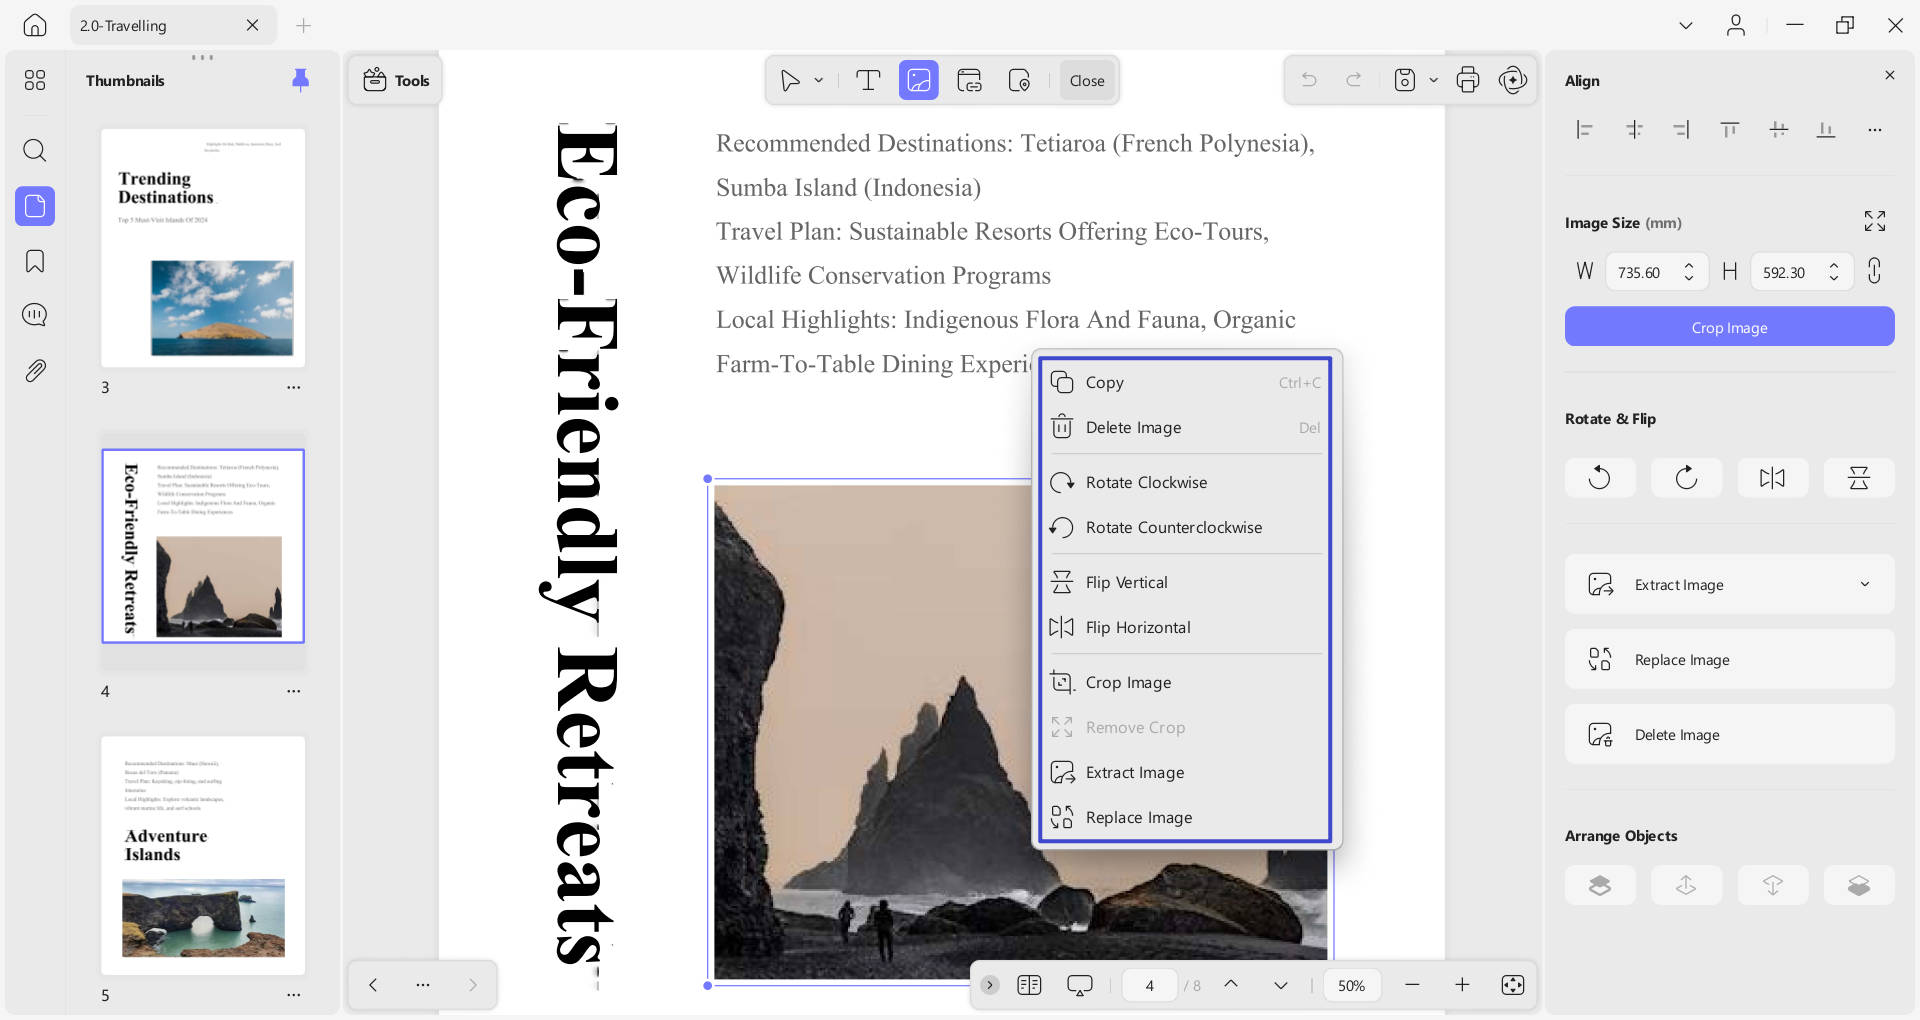
Alternatively, right-click the image to reveal the tools for editing images: copy, rotate counterclockwise, rotate clockwise, extract, crop, remove, replace, and delete image.
2. Add an Image
Adding images to a PDF using UPDF is simple. To do this, you need to access the Tools option on the top left side. Select Edit from the provided list.
- After this, access the Insert & Edit Image from the top toolbar to add an image.
- Now, double-click on the area where you want to add an image.
- Following this, you’ll be prompted to File Explorer to choose and upload an image to your PDF.
- Choose an image from your device and click Open to insert it into the PDF.
- You can then click on the image to adjust its position and size as needed.
Bonus:
Windows • macOS • iOS • Android 100% secure