UPDF for Windows
 UPDF for Mac
 UPDF for iPhone/iPad
 UPDF for Android
 UPDF AI Online
 UPDF Sign
 Edit PDF
 Annotate PDF
 Create PDF
 PDF Form
 Edit links
 Convert PDF
 OCR
OCR PDF to Word
 PDF to Image
 PDF to Excel
 Organize PDF
 Merge PDF
 Split PDF
 Crop PDF
 Rotate PDF
 Protect PDF
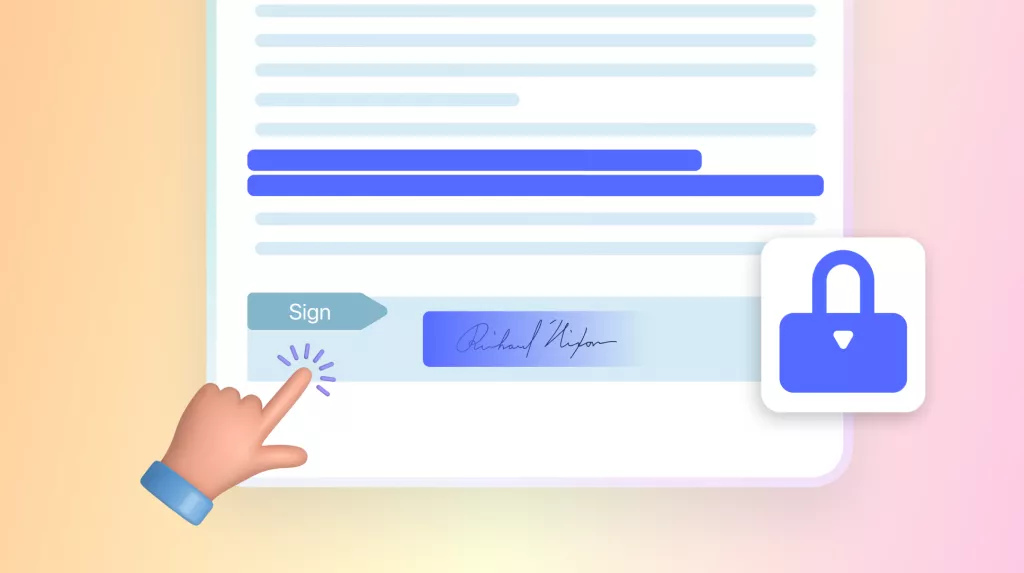
 Sign PDF
 Redact PDF
 Sanitize PDF
 Remove Security
 Read PDF
 UPDF Cloud
 Compress PDF
 Print PDF
 Batch Process
 About UPDF AI
 UPDF AI Solutions
 AI User Guide
 FAQ about UPDF AI
 Summarize PDF
 Translate PDF
 Chat with PDF
 Chat with AI
 Chat with image
 PDF to Mind Map
 Explain PDF
 PDF AI Tools
 Image AI Tools
 AI Chat Tools
 AI Writing Tools
 AI Study Tools
 AI Working Tools
 Other AI Tools
 PDF to Word
 PDF to Excel
 PDF to PowerPoint
 User Guide
 UPDF Tricks
 FAQs
FAQs UPDF Reviews
 Download Center
 Blog
Blog Newsroom
 Tech Spec
 Updates
 UPDF vs. Adobe Acrobat
 UPDF vs. Foxit
 UPDF vs. PDF Expert
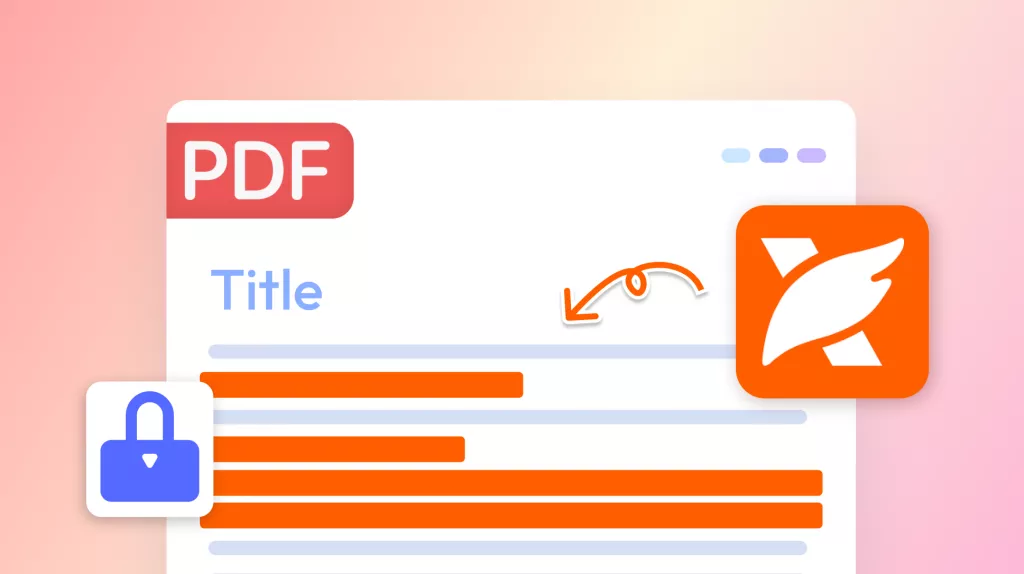
PDF files are used for sharing important data, but security settings play an important role in controlling access and modifications. It adds password protection and restricts editing to protect sensitive information. However, there are times when you want to remove restrictions, update passwords, or enable specific permissions. That's where you need to understand how to change security settings on PDF to ensure it remains protected while allowing flexibility.
Some documents may be locked against printing or editing, while others might require a password to open. Thus, checking these settings is important, especially when dealing with business contracts or confidential reports. This article covers everything you need to know about managing PDF security settings.
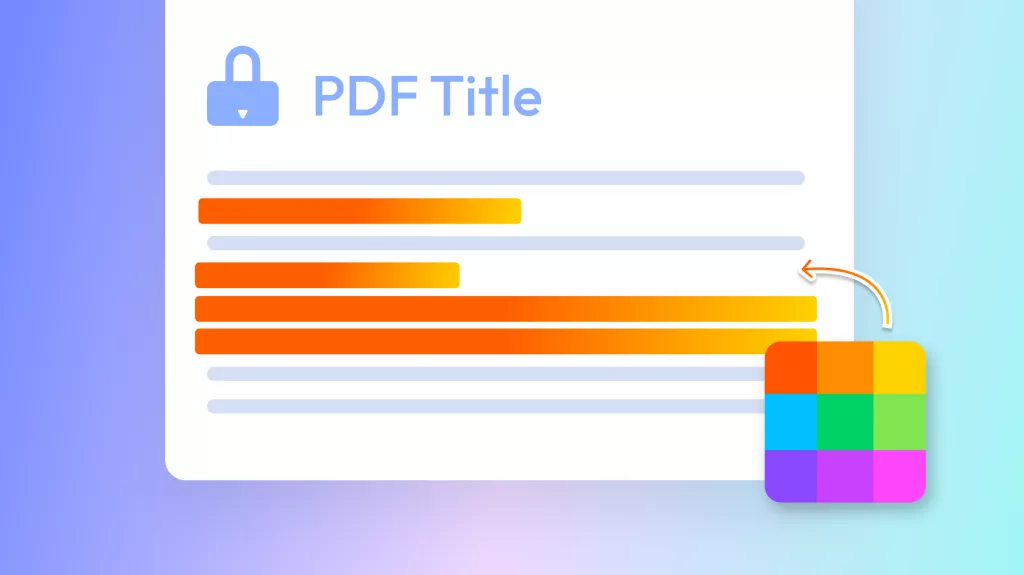
Part 1. What is the Security Settings of a PDF?
As discussed earlier, PDF security settings determine how a document can be accessed, viewed, or modified. If you are wondering, "how do I change PDF opening settings?" it is important to understand the different security options available. PDF security is mainly divided into the "Open Document Password" and "Owner-Level PDF Permissions" categories.
Open Document Password requires a password before granting access to the document. On the other hand, Owner-Level PDF Permissions do not block access but restrict actions within the document. "Printing Security" prevents users from producing physical copies of the file and reduces the risk of distribution. Plus, "Content Editing Security" ensures the document remains unchanged and makes it useful for signed contracts and official reports.
Part 2. How to Check the Security Settings on a PDF
When you need to change the document security settings in PDF, the first step is to check its current security status. For this purpose, UPDF is a highly recommended tool to check and modify PDF security settings. With its intuitive interface, you can quickly see if a PDF has an open document password, editing restrictions, or printing limitations.
It provides seamless options to unlock, modify, or enhance security settings based on your needs. In the following section, we will explore 2 methods of using UPDF to open a document and check its security settings.
Method 1. Try to Open PDF with UPDF
Using UPDF, you just need to open the document, and it will instantly indicate if the file has restrictions, such as password protection. Let's dive below to learn how to open a document using this tool.
Step 1. Access the Tool To Open PDF
To initiate, download, and launch this dedicated tool on your preferred desktop.
Windows • macOS • iOS • Android 100% secure
Upon accessing the main display of UPDF, click on the "Open File" option to import the PDF and check its security settings.
Step 2. Try to Open the Document in UPDF
When you import the password-protected document, it will show a dialogue box to enter the password. If you know the password, enter it in the designated area and press the "Unlock" button to open a PDF.

If you don't know the password, you can use PDF unlocking tools like aJoysoft to access the file.

Method 2. Check PDF Security Settings in UPDF
If a PDF document is protected by a permission password, preventing editing, printing, or other actions, you can easily review its security settings using UPDF. Upon opening the file, UPDF will indicate whether content copying or printing is restricted. Follow the steps below for a complete overview of the document's security settings.
Step 1. Open PDF and Access File Tab
When you successfully open a PDF in the tool, click on the "File" tab at the top-right corner of your screen.
Step 2. Navigate to Properties of Your File
Upon seeing a drop-down menu, select the "Properties" option to view all the properties detailed in this PDF file.
Step 3. Check the Security Settings of the File
Moving forward, you will access a dialogue box where you need to go to the "Security" tab. Here, you can check all the security details of the document.

To change the permissions of a PDF, you can use UPDF's permission control feature. However, you must first enter the permission password.
Part 3. Bonus Tips About PDF Security Settings
After checking a PDF's security settings, UPDF also lets you add some additional settings to enhance protection. You can use its permission password and open password features to protect your PDFs from unauthorized access and modifications. The open password restricts access to only authorized users, which requires a passcode to open the file.
Meanwhile, the permission password allows you to control editing and copying permissions by ensuring that your document remains secure and unaltered. When considering how to change security settings on PDF, always choose strong passwords and update them periodically to prevent unauthorized access. Without wasting any time, follow the guidelines below to explore how to use UPDF for additional document security settings:
Step 1. Open the PDF to Add Security Settings
Upon importing the document in UPDF, you need to click on the "Protect Using Password" icon. Then, you will access a popup menu where you have to press the "Document Open" feature.

Step 2. Enter a Passcode to Protect Your PDF
Afterward, a small dialogue box will appear where you need to enter the password under the "Document Open Password." Then, reenter the password and press the "Apply" button to save changes.
Step 3. Add Permission Password to the Document
Following this, navigate to the "Permissions" tab and again input a strong password so that no one can alter your PDF without your permission. When added, click on the "More Options" drop-down to apply more security settings.
Step 4. Apply Some Permissions to the PDF File
Afterward, you need to set some permissions for your document, such as "Printing Allowed," "Changes Allowed," and "Encryption Level." Once you add it according to your preference, hit the "Apply" button to implement all these security settings on your file. Users who want to learn more about this feature and its applications can read this article.

Steps to Remove Password from PDF Using UPDF
After adding the passwords, you might need to remove them to change document security settings PDF, especially when sharing or archiving documents. Follow the instructions below to remove all the security settings from your PDF with one tap:
Step 1. Tap on the Remove Security Feature
To remove a password, open the protected PDF in UPDF and enter the required passcode when prompted. After unlocking the document, navigate to the "Protect Using Password" option and select the "Remove Security" option.

Step 2. Confirm the Password Removal Task
Afterward, you will access a small dialogue box where you have to press the "Remove" button. Now, UPDF will eliminate the password and allow unrestricted access to the file.
After exploring all its dedicated features and capabilities to protect documents, you should download and try UPDF today and enjoy your PDF management experiment. Along with that, you can watch this video tutorial to understand better and protect your PDFs from data leaks.
Conclusion
To sum up, managing PDF security settings is important for protecting sensitive documents from unauthorized access and modifications. Whether you need to add password protection, restrict editing, or adjust printing permissions, understanding how to change security settings on PDF ensures your files remain secure.
With tools like UPDF, you can efficiently review, modify, and enhance document security based on your specific requirements. So, download UPDF today and take full control of your PDF documents.
Windows • macOS • iOS • Android 100% secure


 Enola Miller
 Lizzy Lozano
 Enola Davis
 Enrica Taylor