UPDF for Windows
 UPDF for Mac
 UPDF for iPhone/iPad
 UPDF for Android
 Nomostar
 UPDF AI Online
 UPDF Sign
 IvyCraft
 Edit PDF
 Annotate PDF
 Create PDF
 PDF Form
 Edit links
 Convert PDF
 OCR
OCR PDF to Word
 PDF to Image
 PDF to Excel
 Organize PDF
 Merge PDF
 Split PDF
 Crop PDF
 Rotate PDF
 Protect PDF
 Sign PDF
 Redact PDF
 Sanitize PDF
 Remove Security
 Read PDF
 UPDF Cloud
 Compress PDF
 Print PDF
 Batch Process
 About UPDF AI
 UPDF AI Solutions
 AI User Guide
 FAQ about UPDF AI
 Summarize PDF
 Translate PDF
 Chat with PDF
 Chat with AI
 Chat with image
 PDF to Mind Map
 Explain PDF
 PDF AI Tools
 Image AI Tools
 AI Chat Tools
 AI Writing Tools
 AI Study Tools
 AI Working Tools
 Other AI Tools
 AI Bookmark Generation
 AI Bookmark Summary
 AI Watermark Generation
 AI Background Generation
 AI Sticker Generation
 AI Stamp Generation
 AI Editing Suite
 UPDF Copilot
 AI Page Management
 AI Semantic Search
 PDF to Word
 PDF to Excel
 PDF to PowerPoint
 User Guide
 UPDF Tricks
 FAQs
FAQs UPDF Reviews
 Download Center
 Blog
Blog Newsroom
 Tech Spec
 Updates
 UPDF vs. Adobe Acrobat
 UPDF vs. Foxit
 UPDF vs. PDF Expert
Protect PDF
Your Documents, Your Control
Encrypt PDF documents by adding password, redacting, with security space, and adding watermark feature.
Support: Windows · macOS · iOS · Android
Make PDF Protected in 5 Reliable Options
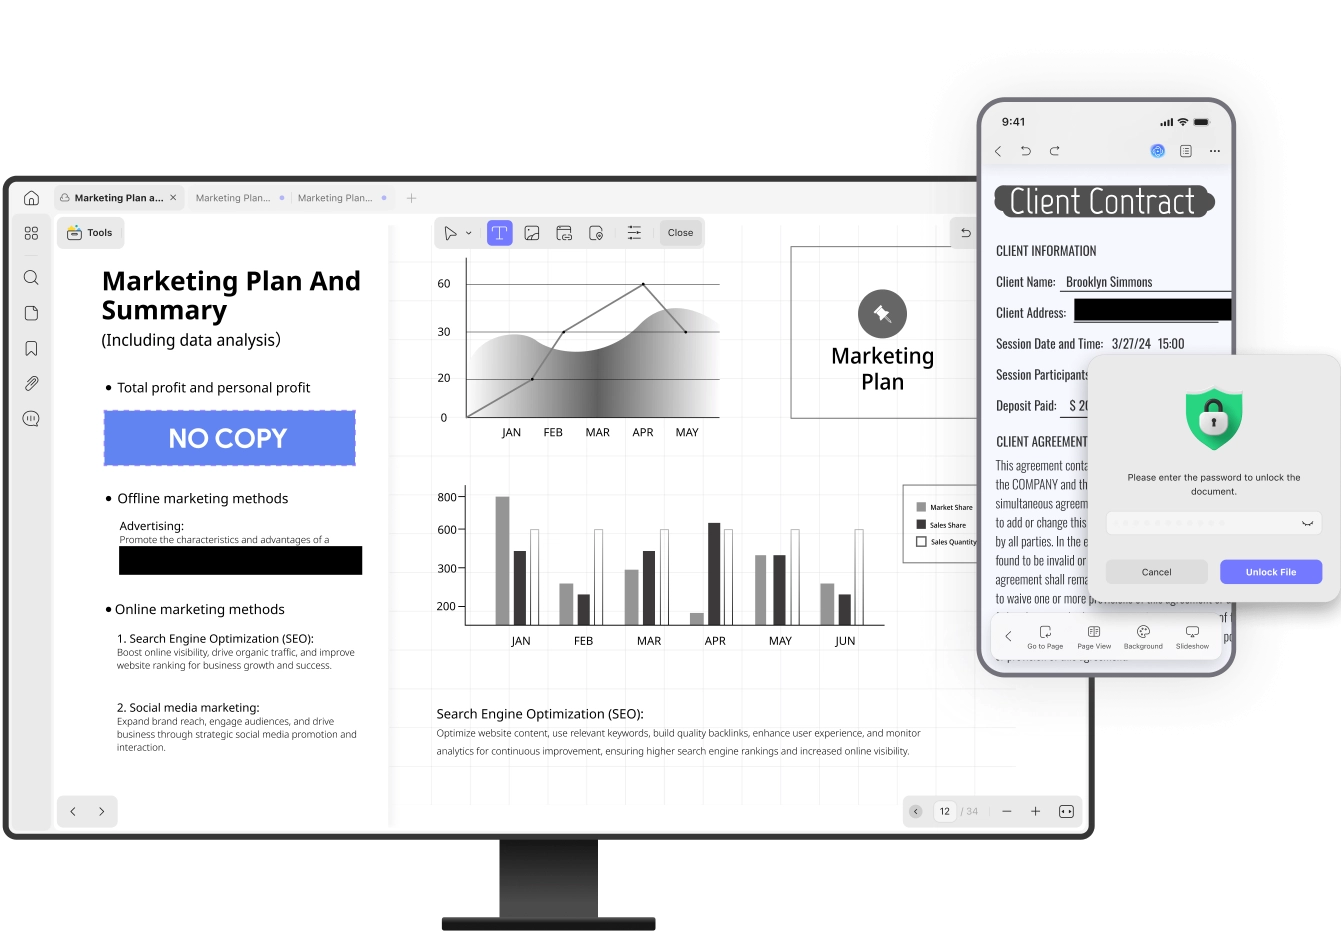
Password Protect Your
PDFs from Opening
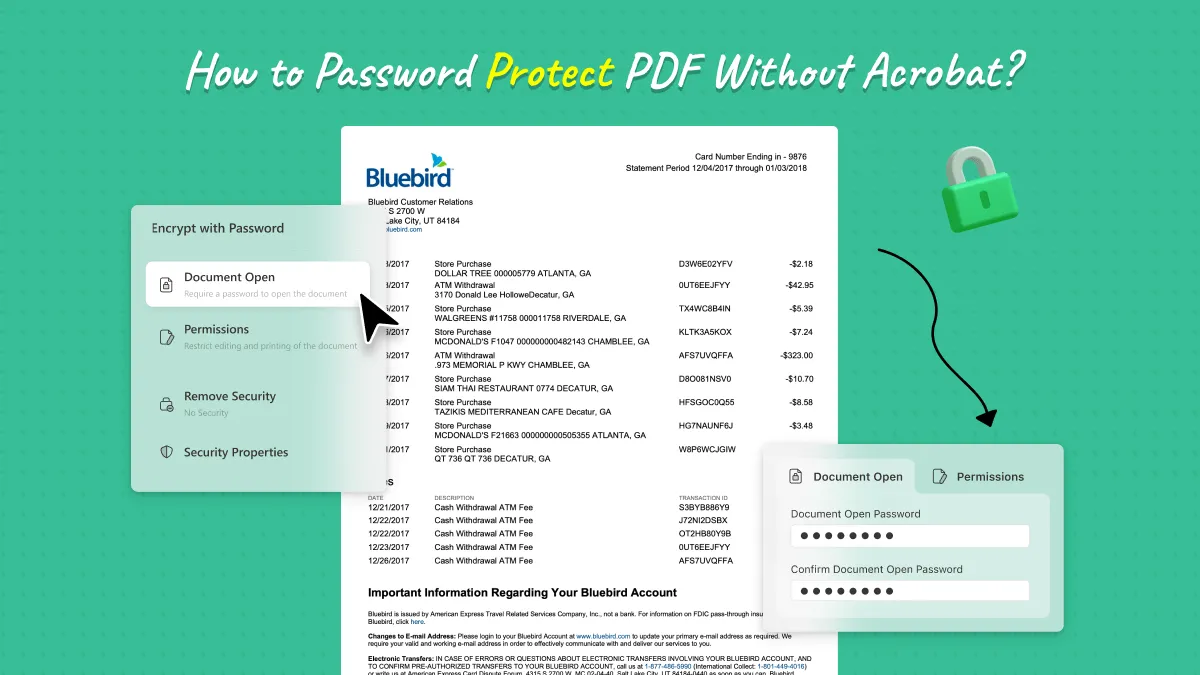
Set open password to protect your documents against unauthorized access.
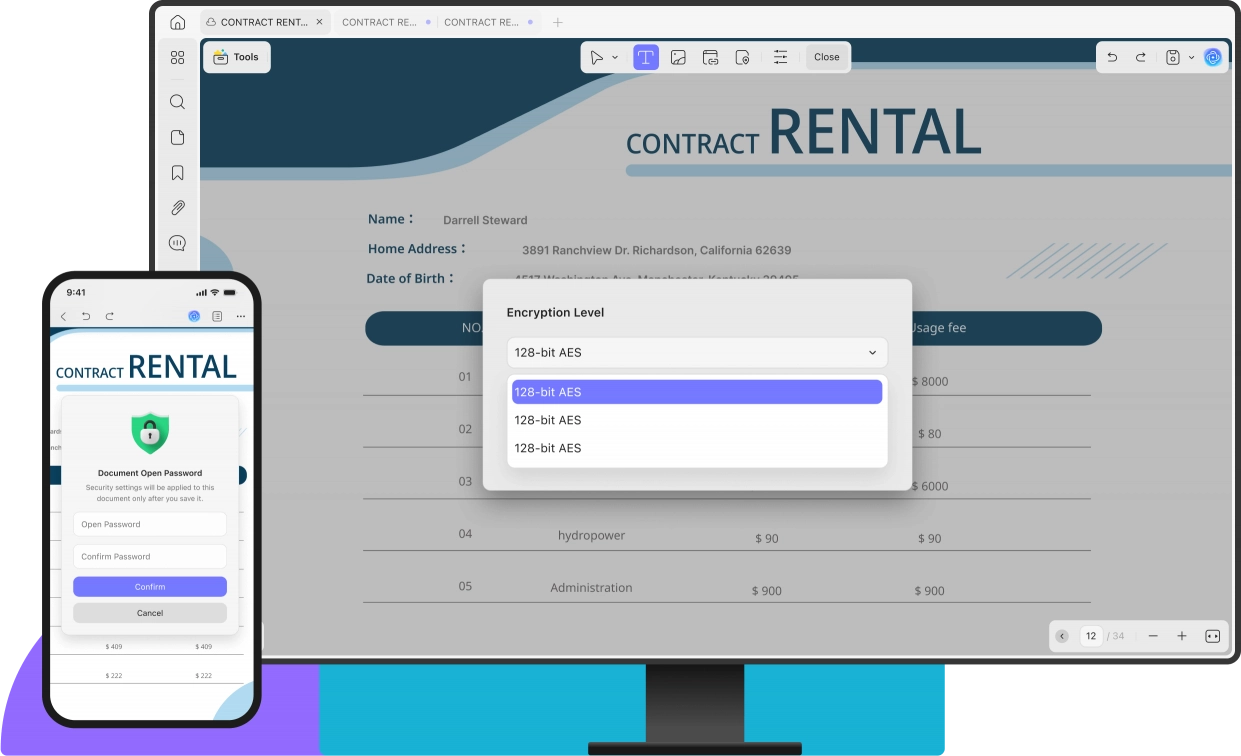
How to Lock PDFs from Opening-
2 Encryption Ciphers
AES | RC4
-
3 Encryption Levels
128-bit RC4 | 128-bit AES | 256-bit AES


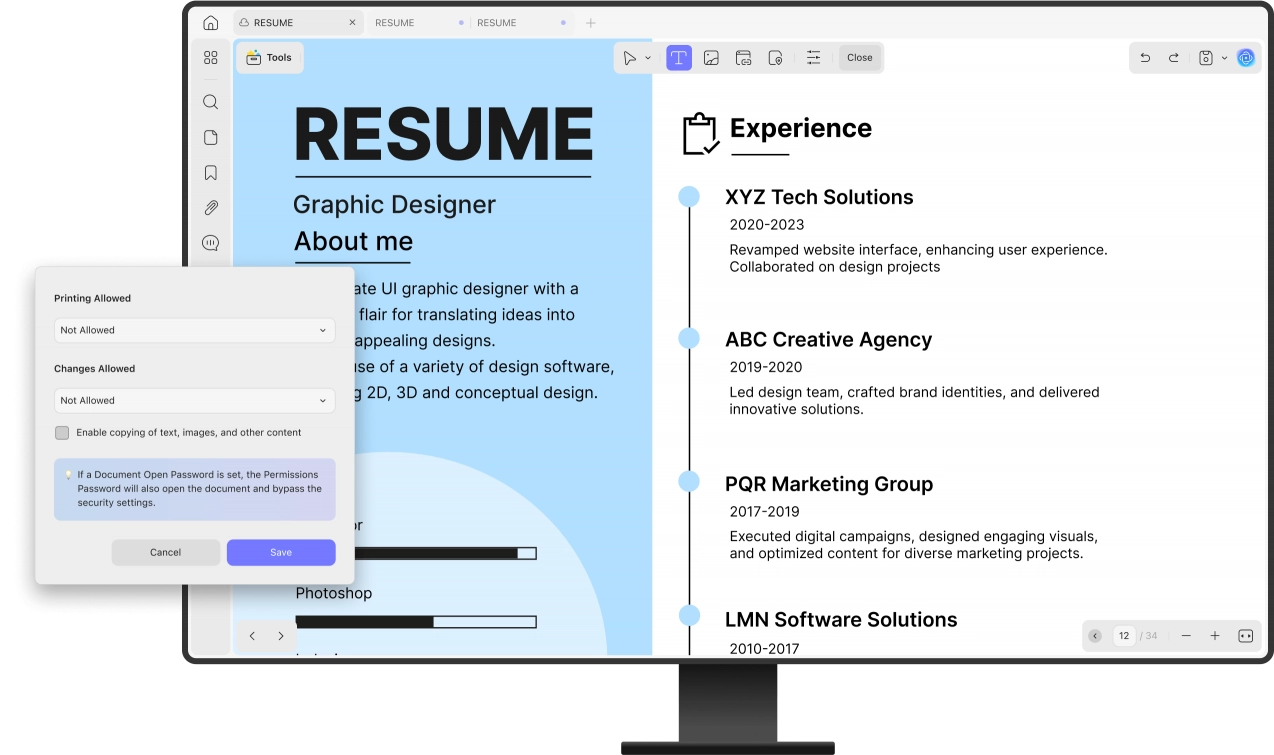
Password Protect PDF from
Copying, Editing, Printing
Define permissions to limit others from editing, printing, commenting on your documents, and more.
How to Add Editing Permission to a PDF-
3 Printing Permissions
Printing disallowed, low-RES, high-RES
-
6 Editing Permissions
Deny edits, page management, copying, form-filling, signing, etc.

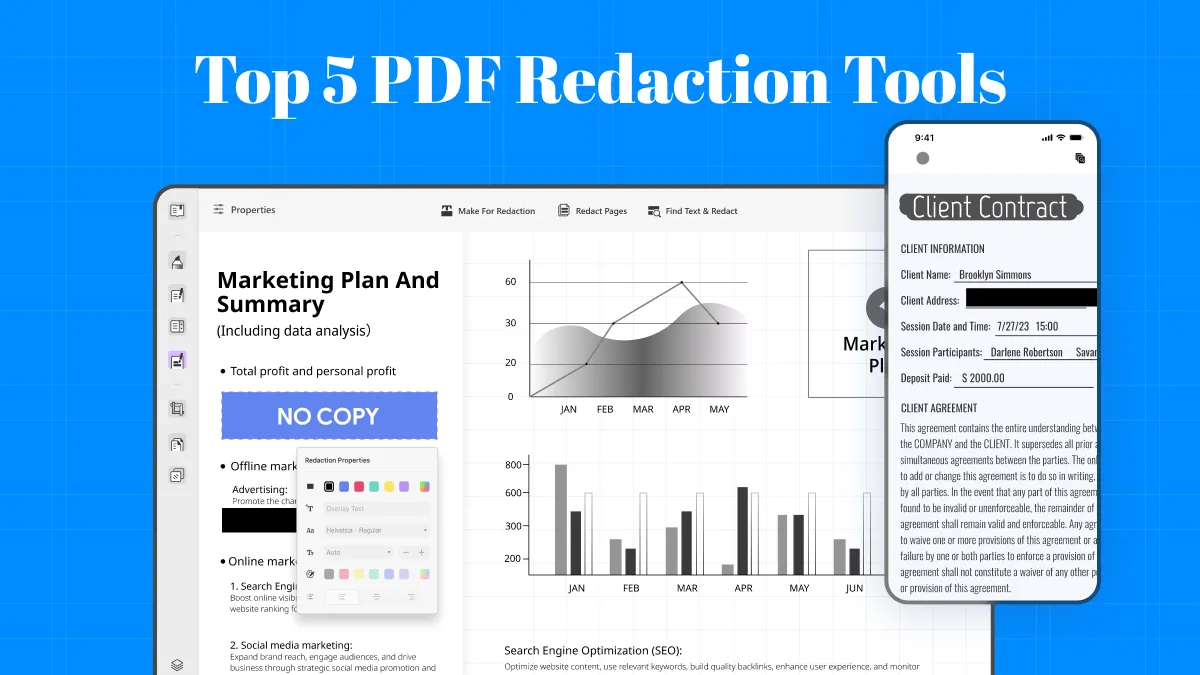
Redact PDF for Protecting
Sensitive Information
Permanently black out or white out pages or key phrases in PDF to protect sensitive information.
How to Redact a PDF Buy Now

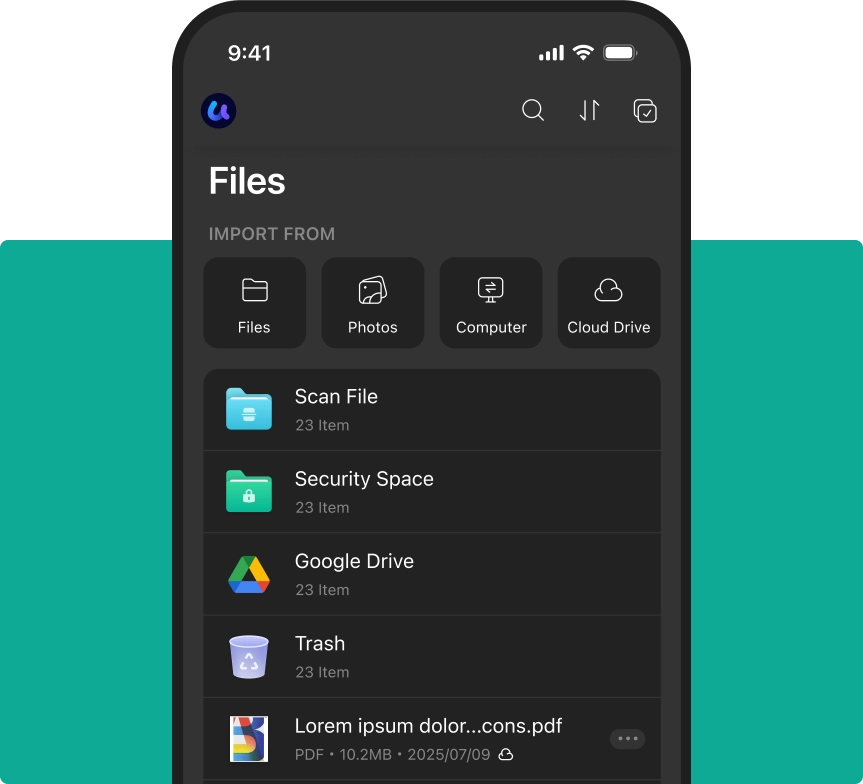
Keep Files Hidden and Secure on iPhone and iPad
Secure private files in UPDF's security space with password or Face ID on iPhone or iPad.
How to Add Files to Security Space-
All Files Accepted
Documents, audios, videos, images, etc.
-
3 Encryption Options
Password & Face ID & touch ID
Protect PDF with Watermarks
Watermark PDFs for copyright protection, status marking, and prevention of unlawful use.
How to Add Watermarks to a PDF-
3 Watermark Types
Add text, image or PDF as watermark
-
8 Tiled Options
Adjust tile spacing and angle as needed
-
∞Watermark Possibilities
Design custom watermarks instantly with AI
Tips and Tricks for How to Read PDF Files Explore More
Other Features of UPDF
UPDF is an all-in-one PDF solution - here are some other great features: