 UPDF for Windows
 UPDF for Mac
 UPDF for iPhone/iPad
 UPDF for Android
 Nomostar
 UPDF AI Online
 UPDF Sign
 IvyCraft
 Edit PDF
 Annotate PDF
 Create PDF
 PDF Form
 Edit links
 Convert PDF
 OCR
OCR PDF to Word
 PDF to Image
 PDF to Excel
 Organize PDF
 Merge PDF
 Split PDF
 Crop PDF
 Rotate PDF
 Protect PDF
 Sign PDF
 Redact PDF
 Sanitize PDF
 Remove Security
 Read PDF
 UPDF Cloud
 Compress PDF
 Print PDF
 Batch Process
 About UPDF AI
 UPDF AI Solutions
 AI User Guide
 FAQ about UPDF AI
 Summarize PDF
 Translate PDF
 Chat with PDF
 Chat with AI
 Chat with image
 PDF to Mind Map
 Explain PDF
 PDF AI Tools
 Image AI Tools
 AI Chat Tools
 AI Writing Tools
 AI Study Tools
 AI Working Tools
 Other AI Tools
 AI Bookmark Generation
 AI Bookmark Summary
 AI Watermark Generation
 AI Background Generation
 AI Sticker Generation
 AI Stamp Generation
 AI Editing Suite
 UPDF Copilot
 AI Page Management
 AI Semantic Search
 PDF to Word
 PDF to Excel
 PDF to PowerPoint
 User Guide
 UPDF Tricks
 FAQs
FAQs UPDF Reviews
 Download Center
 Blog
Blog Newsroom
 Tech Spec
 Updates
 UPDF vs. Adobe Acrobat
 UPDF vs. Foxit
 UPDF vs. PDF Expert
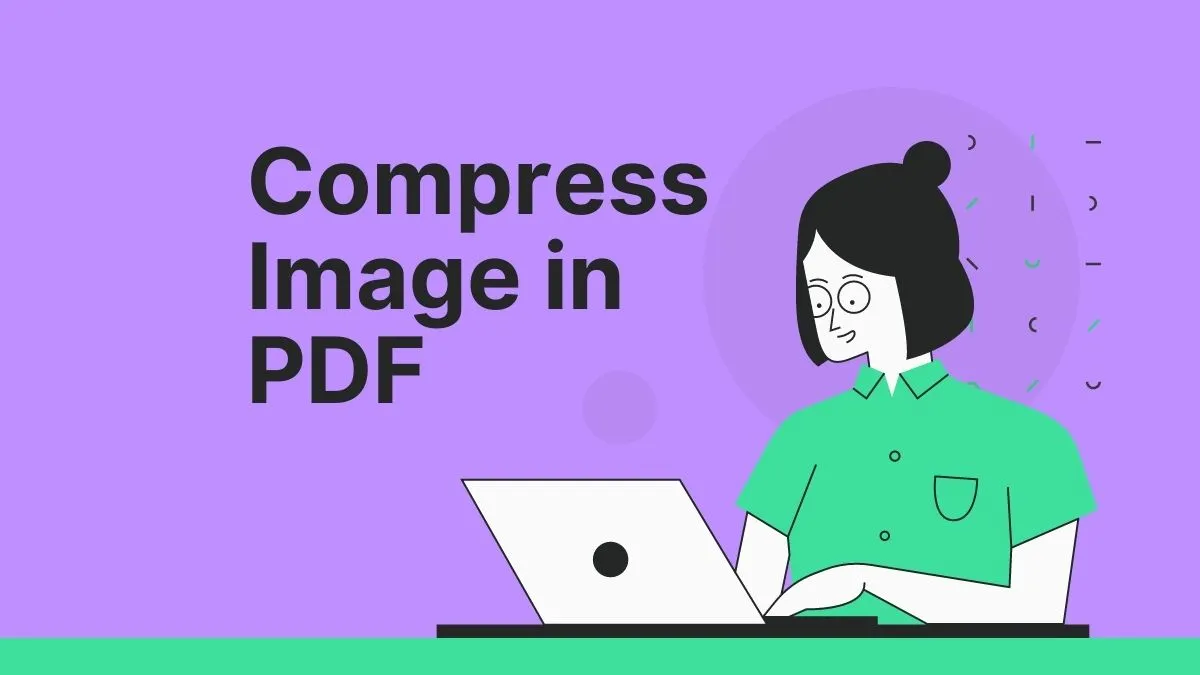
Compress PDF Effortlessly Smaller Size, Zero Quality Loss
Reduce your large PDF file size with just one click to make sharing a breeze.
Support: Windows · macOS · iOS · Android

Lighter, Faster, Better - Decrease PDF Size
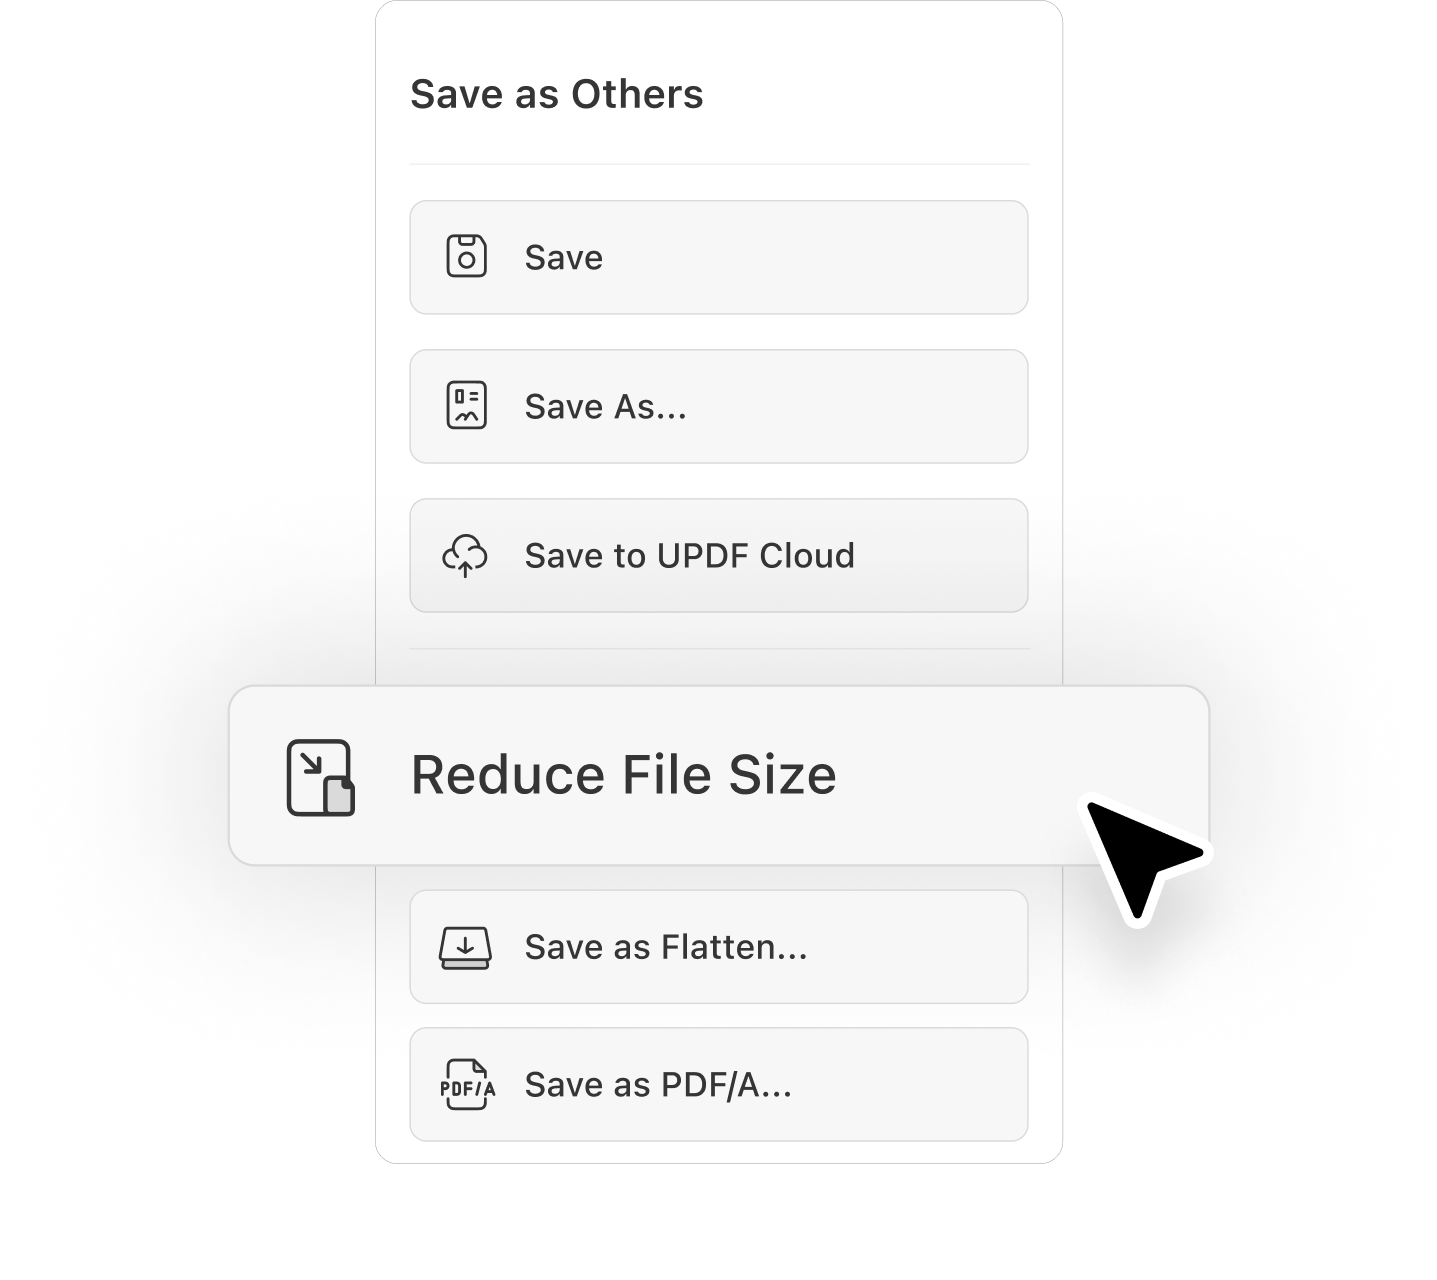
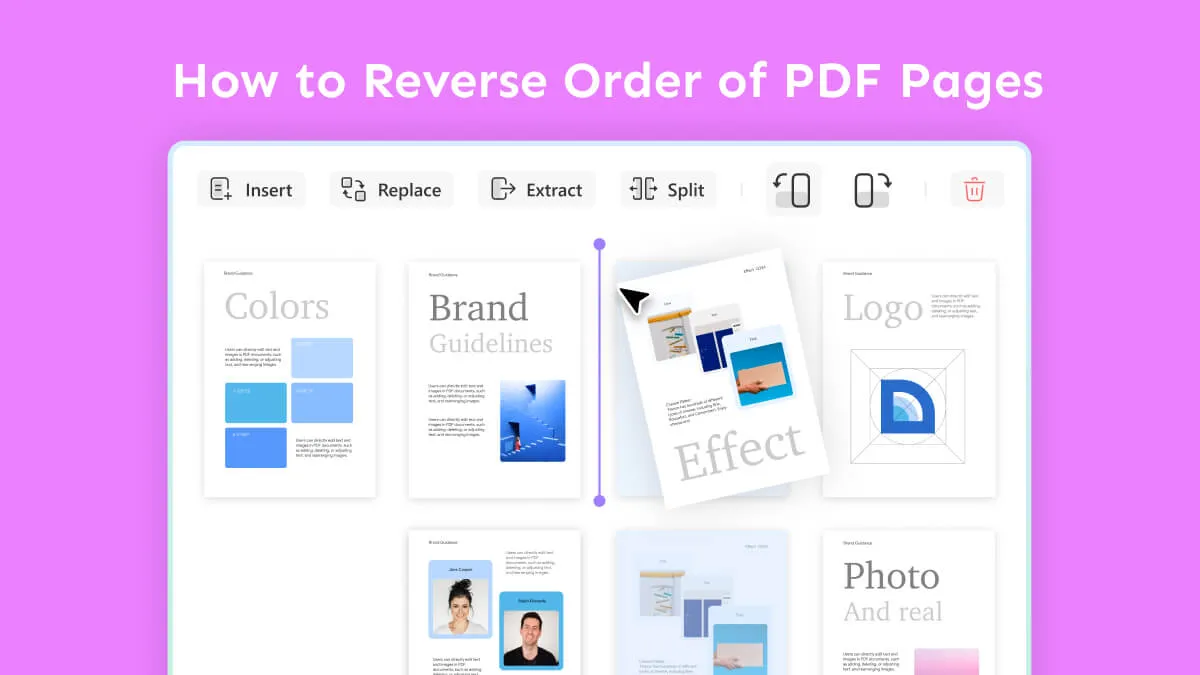
Compress PDF Document in Your Way
Use lossless or lossy compression to help you optimize your PDF. Choose the highest quality or the maximum compression.
How to Compress PDFs Free Download
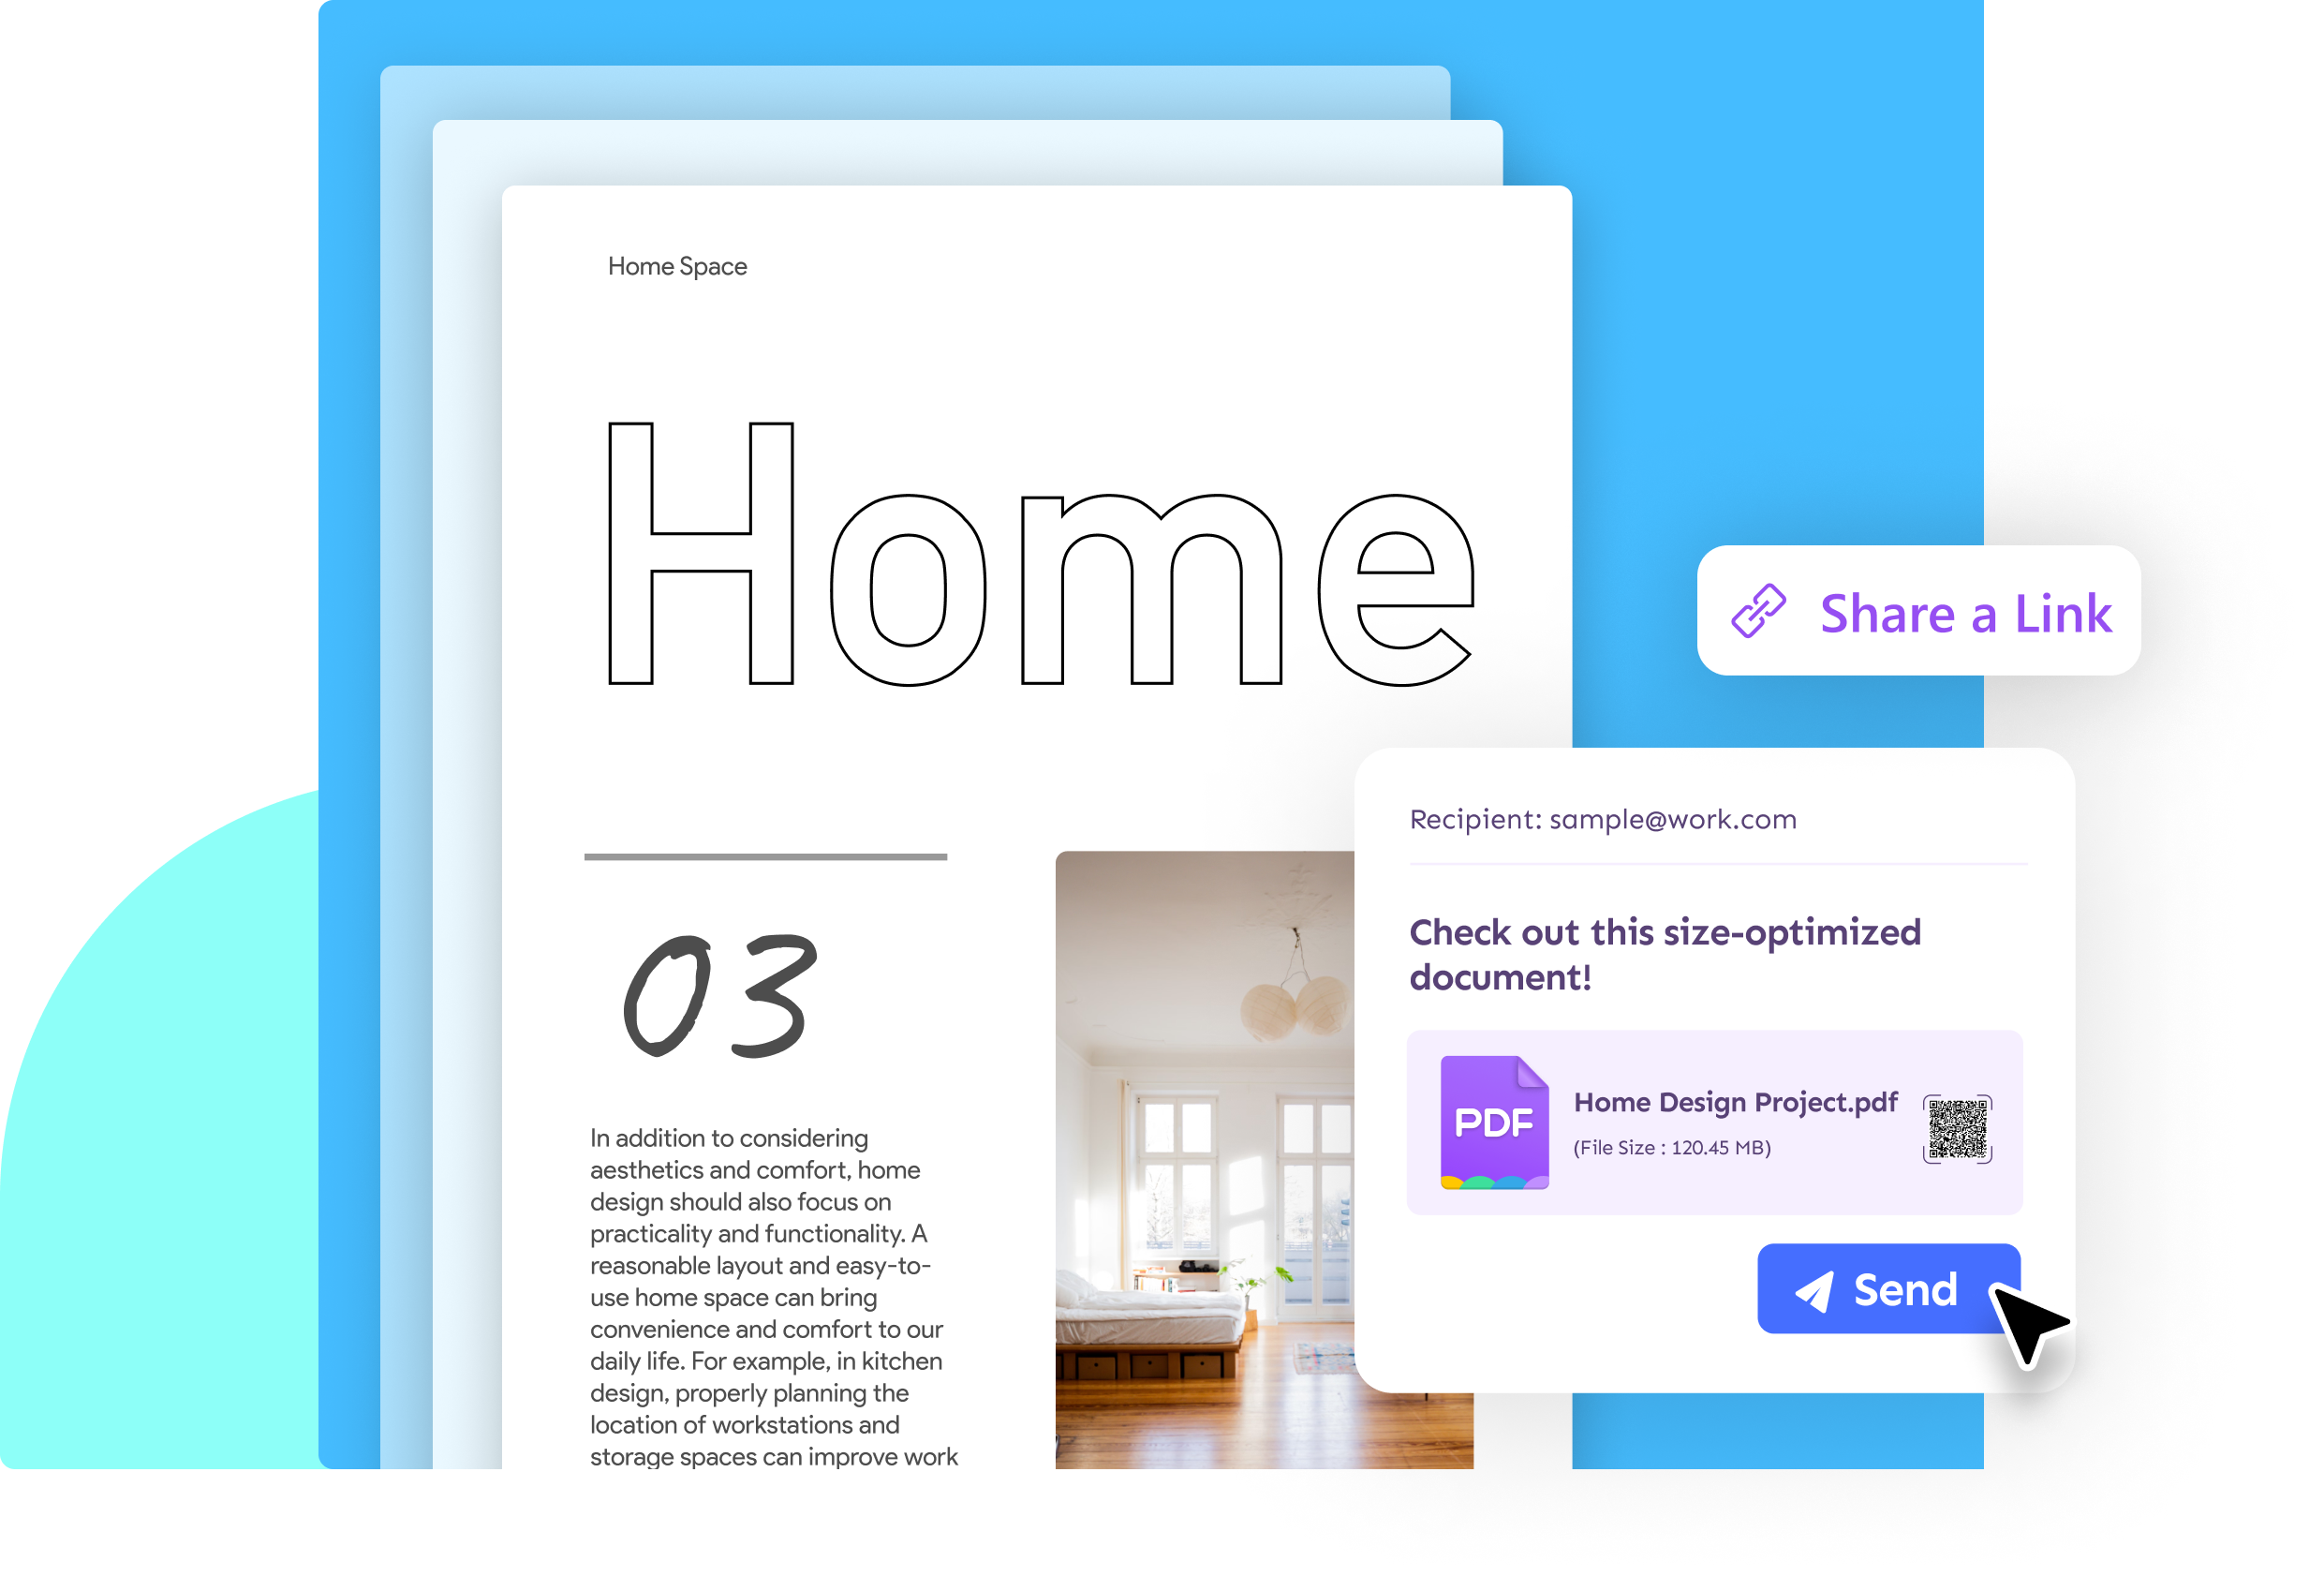
Sharing Compressed PDF without a Size Limit
Make large PDFs smaller and send them directly with UPDF for maximum portability.
How to Share a PDF Buy Now
Tips and Tricks for How to Compress PDFs Explore More

Other Features of UPDF
UPDF is an all-in-one PDF solution - here are some other great features:


Products and Plans
/ one-time fee
Number of users
{{ companyUPDFSelectedNumber }} user
{{ companyUPDFSelectedNumber > 30 ? '>30' : companyUPDFSelectedNumber }} users
- {{ item.label }}
Access to all PDF tools for editing, converting, annotating PDFs.
Free trial/ Year
Number of users
{{ companyAISelectedNumber }} user
{{ companyAISelectedNumber > 30 ? '>30' : companyAISelectedNumber }} users
- {{ item.label }}
Unlimited usage of AI to summarize, translate, convert PDF to mind maps etc.
Free trial/ Year
Number of users
{{ companySignSelectedNumber }} user
{{ companySignSelectedNumber > 30 ? '>30' : companySignSelectedNumber }} users
- {{ item.label }}
unlimited signature requests per year.
Free trial*The pricing and available features are based on the specific plans you decide on.