 UPDF for Windows
 UPDF for Mac
 UPDF for iPhone/iPad
 UPDF for Android
 Nomostar
 UPDF AI Online
 UPDF Sign
 IvyCraft
 Edit PDF
 Annotate PDF
 Create PDF
 PDF Form
 Edit links
 Convert PDF
 OCR
OCR PDF to Word
 PDF to Image
 PDF to Excel
 Organize PDF
 Merge PDF
 Split PDF
 Crop PDF
 Rotate PDF
 Protect PDF
 Sign PDF
 Redact PDF
 Sanitize PDF
 Remove Security
 Read PDF
 UPDF Cloud
 Compress PDF
 Print PDF
 Batch Process
 About UPDF AI
 UPDF AI Solutions
 AI User Guide
 FAQ about UPDF AI
 Summarize PDF
 Translate PDF
 Chat with PDF
 Chat with AI
 Chat with image
 PDF to Mind Map
 Explain PDF
 PDF AI Tools
 Image AI Tools
 AI Chat Tools
 AI Writing Tools
 AI Study Tools
 AI Working Tools
 Other AI Tools
 AI Bookmark Generation
 AI Bookmark Summary
 AI Watermark Generation
 AI Background Generation
 AI Sticker Generation
 AI Stamp Generation
 AI Editing Suite
 UPDF Copilot
 AI Page Management
 AI Semantic Search
 PDF to Word
 PDF to Excel
 PDF to PowerPoint
 User Guide
 UPDF Tricks
 FAQs
FAQs UPDF Reviews
 Download Center
 Blog
Blog Newsroom
 Tech Spec
 Updates
 UPDF vs. Adobe Acrobat
 UPDF vs. Foxit
 UPDF vs. PDF Expert
When a PDF file is too large, it can prevent emails from being sent or uploaded, and increase loading times and storage usage, significantly impacting work efficiency and user experience.
Fortunately, a good PDF compressor can shrink your files without sacrificing quality. By reducing PDF size, sharing becomes simpler whether via mobile, email, or web uploads, and at the same time saves precious storage space.
Today, we’ll introduce you to the top 10 premium PDF-size compressors available both online and offline. These tools are designed to deliver fast, effective results and make file management effortless. Stick around until the end, where we’ll present a comparison chart to help you choose the best PDF compressor that fits your needs. Let’s dive in and explore your options!
Top 5 PDF Compressor Tools for Offline Use
1. UPDF (Rating: 4.9/5) -The Best AI-enhanced PDF Compressor for Windows and Mac
UPDF is part of the new wave of desktop PDF compressors for Mac and Windows that is quickly gaining market share. Download it and enjoy a hassle-free PDF compressing experience now!
Windows • macOS • iOS • Android 100% secure
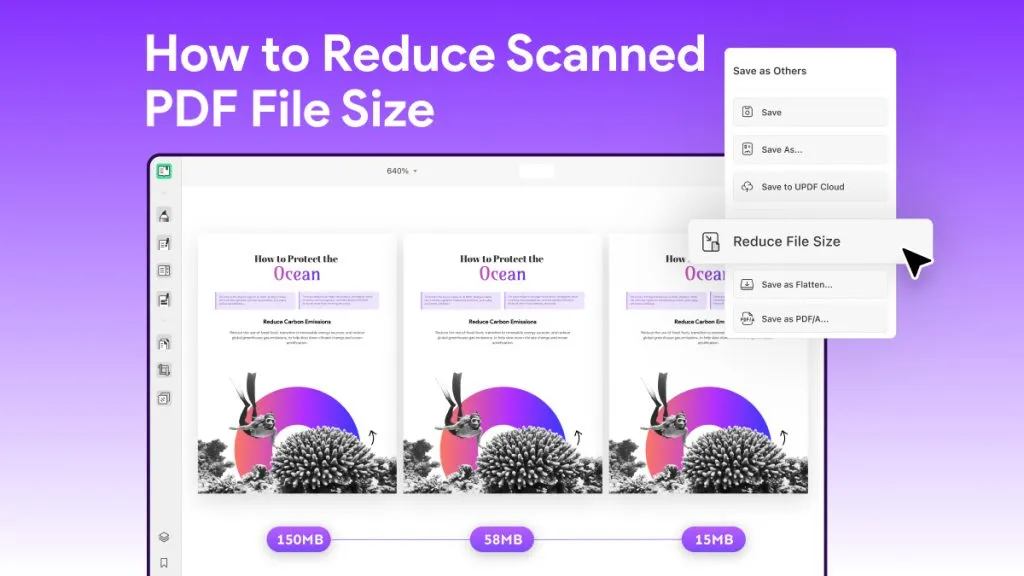
To easily compress a PDF file, you need to use UPDF's compress feature. It can allow you to compress PDFs to four different qualities, which means you can choose lossless or lossy compression freely. These four document qualities decide the output document quality from the highest to the lowest.

If you do not want to sacrifice any quality of your PDF, you can also use the split feature of UPDF to split the PDF by number of pages and by size per your requirement to downsize the PDF. Or you can use the delete page and image feature to delete some unwanted content to reduce the PDF file size.
Need to compress multiple files and finding it troublesome? Don’t worry! UPDF Compressor offers a batch compress feature that lets you quickly compress multiple PDF files at the same time, making your PDF handling more effortless and efficient!
Moreover, UPDF is GPT-5 Powered which means that you can use UPDF to summarize PDF, translate PDF, explain PDF, chat, etc.
Except that, UPDF is an all-in-one PDF editor with all the PDF handling features you need like editing PDF and PDF forms, converting PDF, creating PDF and PDF forms, password protecting PDF, etc.
Key Features of UPDF PDF Compressor:
UPDF is a complete PDF utility that currently offers compressing, annotating, editing, annotations, converting, OCR, encryption, and page management. If offers various advanced features include:
- Compress large PDFs in minutes without losing quality.
- Send or share the compressed PDFs more conveniently via email or link without a size limit.
- Add and edit the texts, images, links, watermarks, backgrounds, header, and footer in your PDF documents.
- AI-powered OCR feature to help you convert scanned PDF to editable PDF.
- Organize the pages in PDF documents easily: rotate, rearrange, crop, split, replace, extract, insert, remove, etc.
- Convert PDF to other file formats, such as Word, Excel, PowerPoint, etc.
- Add a password to your PDF document to protect it.
- It provides various tools to make annotations, add notes, and draw shapes on PDF documents.
- AI features to help you ask for PDFs and ask for anything.
Want to know how to compress PDF? You can watch and follow the video below.
After learning the powerful PDF compressing feature of UPDF, why not download and try it out now?
Windows • macOS • iOS • Android 100% secure
UPDF is a cost-effective PDF editor with a one-time price of USD 69.99, offering lifetime updates at no extra cost — an affordable choice for those avoiding expensive subscriptions. You can check the price and upgrade here.
2. Adobe Windows and MacPDF Compressor (Rating: 4.8/5)

Adobe Acrobat DC is a well-known free PDF file compressor with excellent output results. Acrobat uses complex compression algorithms and sophisticated backend tech to reduce PDF size. You can even try and retain the quality of images to the maximum extent possible, and this is important when you're sharing the PDF physically in print because you can't compromise too much on quality just to get a smaller print size.
Features
Aside from PDF compression, Acrobat can handle a range of functions that include editing, annotations, PDF security, file comparisons, form creation and management, optical character recognition or OCR, electronic and digital signatures, and a whole lot more. Acrobat is more of a holistic PDF and document management platform than a simple PDF compressor, but it can certainly get the job done right the first time!
3. Foxit PDF Reducer (Rating: 4.5/5)

Formerly known as Phantom, the Foxit PDF Editor is yet another great PDF compressor download. This PDF compressor app for Windows also has a Mac version, but the Advanced Windows version doesn't have a matching version for macOS. Nevertheless, they're part of a diverse family of PDF applications that include cloud integration and other great features.
Features
Speaking of which, Foxit packs a mean punch on the feature-richness scale. Extensive features to handle your PDF document workflows include editing, conversion, security, forms, and, of course, PDF compressor functionality. Foxit is also famous for its Windows-centric interface that makes it easy for Windows users to get the feel of this PDF compressor app quickly and painlessly.
4. Free PDF Compressor (Rating: 4/5)

This freeware utility unfortunately cannot be used for commercial purposes but if you need it for yourself, it's absolutely free to use. However, it only does what the name Free PDF Compressor suggests - compress PDFs! No other functionality is integrated, so this is one of those rare dedicated tools for a very niche purpose. Nevertheless, this niche is quite huge because everyone needs to compress PDFs at some point in their personal life - those bulky tax forms, legal papers, medical records, and so on.
Features
As mentioned, this is the only feature of this free PDF compressor; however, it does offer multiple compression levels, which is certainly a welcome addition to an otherwise stark PDF compressor app. You can choose from pre-press quality all the way down to screen quality, which is a jump from 300 dpi down to about 72 dpi. It also has a 'general purpose' option that's simply called - Default. No points for creativity there!
5. PDFescape for Desktop PDF Compressor (Rating: 4/5)

The desktop avatar of this hugely famous online PDF tool is equally capable. It still has that 'basic-ish' feel about it because it lacks advanced tools like OCR, but as for all other tasks, PDFescape is as good as the rest of the bunch. The software lets you choose compression level so you can control the output size by deciding to prioritize size over quality and vice versa. The highest compression level is usually suitable for bulky documents with lots of text and images but also where the images are only meant for online viewing rather than for physical prints. For physical prints, a lower compression level is recommended.
Features
Other features of PDFescape include editing, annotations, creating digital signatures, and so on. If you look at the online version, you'll see much of the same functionality but a highly simplified version of it. It does have some very useful tools for creating forms and so on, but no other advanced capabilities can be used to compare it to Acrobat and other PDF editors in that class.
Top 5 PDF Compressor Online Free
6. iLovePDF File Size Reducer (Rating: 4.2/5)

iLovePDF will be familiar to users who have used its sister product iLoveIMG. It's essentially a set of online tools to help manage PDF workflows, and it includes PDF compression as one of the more important features that this platform offers. The PDF compressor has a dedicated URL where you just need to drop your files for compression. You can choose the compression level during the conversion process and then download your output files, which will be smaller than the originals.
Features
The simplicity of iLovePDF is clear from its menu. Neatly categorized tools offer a range of abilities such as conversion to and from PDF, security tools, page and file management options, and more. What it lacks in OCR and other advanced tools is made up for by the slick interface and easy usability - just like iLoveIMG is a beloved tool of millions of photo enthusiasts, designers, and other professionals.
7. Smallpdf PDF Compressor (Rating: 4.1/5)

As far as online PDF compressor utilities are concerned, Smallpdf is among the best. Although it doesn't offer high compression on a free basis, the Basic level of compression is pretty good for print use and other non-electronic viewing purposes. As such, it's a great platform that brings a whole family of PDF management tools with it. If you're a business user, a Pro subscription is recommended because several other tools such as OCR are locked behind the paywall as well. Nevertheless, the free compressor function is good enough for most use cases.
Features
Smallpdf offers a full suite of PDF tools including conversion, editing, file and page management, electronic signatures, security features, and more. The menu is quite clean and uncluttered, and most of the important and frequently used tools have their own tabs at the top of the web interface. Luckily, that includes the PDF compressor online tool as well.
8. PDF2Go PDF File Reducer (Rating: 4/5)

PDF2Go is quite an interesting PDF compressor in that a lot of the features are deliberately overlapped with each other to make it convenient for a user to get to their goal in different ways. For instance, if you need PDF to Word conversion, there's a dedicated tool for that; on the other hand, if you just want a generic file conversion option and you go to the PDF conversion tool, you'll see that PDF to Word is an option there as well. This flexibility appeals to users and has made this a very popular PDF compressor online for free.
Features
As we mentioned, there are multiple dedicated pages as well as generic modules for converting files to and from PDF. You'll also find useful tools such as PDF security, page management, PDF repair, and more. The PDF compressor quality is pretty good as well, and there are several settings options to choose your compression level. You can choose Basic or Strong Compression, and there are also several presets ranging from Prepress to Insane, which goes from 300 dpi all the way down to an unbelievable 20 dpi for very high compression.
9. PDF Compressor (Rating: 4/5)

A simple name for a simple tool, but don't be fooled by the name because this is quite a powerhouse PDF compressor, and it comes with other features to handle PDFs as well. The compression quality is as good as you can expect from a free tool but it won't change the resolution of the document (the dpi). It compresses your file in other ways. Incidentally, this is one of the few tools where the batch PDF compressor can be used for free, for up to 20 PDF files.
Features
Aside from being a PDF compressor, this is also a conversion tool and a great utility for minor tasks such as cropping, unlocking, rotating PDFs, and combining them. Conversion options include PDF to DOC, JPG, and PNG - and vice versa. The features are available in a convenient tabbed menu that's easy to access, and all features support batch processing.
10. SodaPDF Online Compressor (Rating: 3.9/5)

Online SodaPDF is an editing tool but there's a free trial version that you can use for a limited time. The online version is fairly robust, with a ton of features nested in the main All Tools menu. This is more or less the pattern that most PDF compressors online free and paid tools follow. Frequently used or popular features get a tab of their own, while other utilities are placed inside the All Tools menu. This makes it easy to access common tools as well as less used ones.
Features
Standard PDF features are available apart from the PDF compressor module, and these include file splitting and merging, file conversion, PDF editing, file and page management, security, image conversion tools, and so on. As mentioned, the product can be used for free during the free trial period, after which you will need to upgrade to a paid subscription. You can also opt for a desktop license to take advantage of even more advanced features, but SodaPDF online can handle most PDF tasks on its own.
Compare with 10 PDF compressor
| Tool | Price | Work on systems | Compress PDF | Edit PDF | Convert PDF | Compress quality |
| UPDF | US$39.99/year US$69.99/perpetual (partially free) Check its pricing plan in detail >> | Windows, Mac, iOS, and Android | Super High | |||
| Adobe Acrobat | US$239.88/year | Windows, Mac, iOS, and Android | High | |||
| Foxit PDF Editor | US$149/year | One license only Windows or only Mac | High | |||
| Free PDF Compressor | Free | Online | Low | |||
| PDFescape for Desktop | US$35.88/premium US$71.88/Ultimate | Windows | High | |||
| iLovePDF | US$48/year | Windows, Mac, iOS, and Android | Normal | |||
| Smallpdf | US$108/year | Online, Windows, iOS, and Android | Normal | |||
| PDF2Go | US$78/year | Online | Low | |||
| PDF Compressor | Free | Online | Low | |||
| SodaPDF Online | US$35.88/year | Online | Normal |
Conclusion
Now that we've seen so many online and offline PDF compressor utilities and services, which do you think is the best one? Among the considerations for choosing the right PDF compressor tool are cost, usability, simplicity, quality of conversion, and speed. Keeping those factors in mind, it's easy to see that UPDF is by far the best tool that you can use on Mac and Windows. It's a powerful PDF compressor to work with, and the features are bound to excite new users because they're all essentially great. Download it for free trial now!
Windows • macOS • iOS • Android 100% secure

 Enola Davis
 Engelbert White
  Lizzy Lozano
 Enid Brown