If you know how to create stamp online for PDF free, you can easily add any protection, markup or authentication to your PDF documents. Since not all online PDF tools provide this feature, knowing which tool will be the most effective one is very important. So, in this article, we will explore 3 proven online ways to add stamps to your PDF documents with a detailed step-by-step guide. So, by the end of this article, you can add stamps to your PDF documents online with ease.
Part 1. Add Stamp to PDF Online with PDFForge
PDFForge is an online tool that contains a stamp-adding feature. Apart from adding stamps, it brings many other features like PDF conversions, editing, and organizing features, but we will focus on the stamp-adding features here. When you go to add a stamp, it allows you to customize the opacity, font, size, rotation, and color of the stamp. So, the stamp looks exactly how you want it to be.
Anyway, you can open PDFForge and follow the steps below to add stamps to your PDF documents:
1. Open PDFForge online and select your PDF document
You need to open the PDFForge online website on a browser and click the “Select File” button. This button will help you select a file from your offline storage, or you can paste the link of your file.
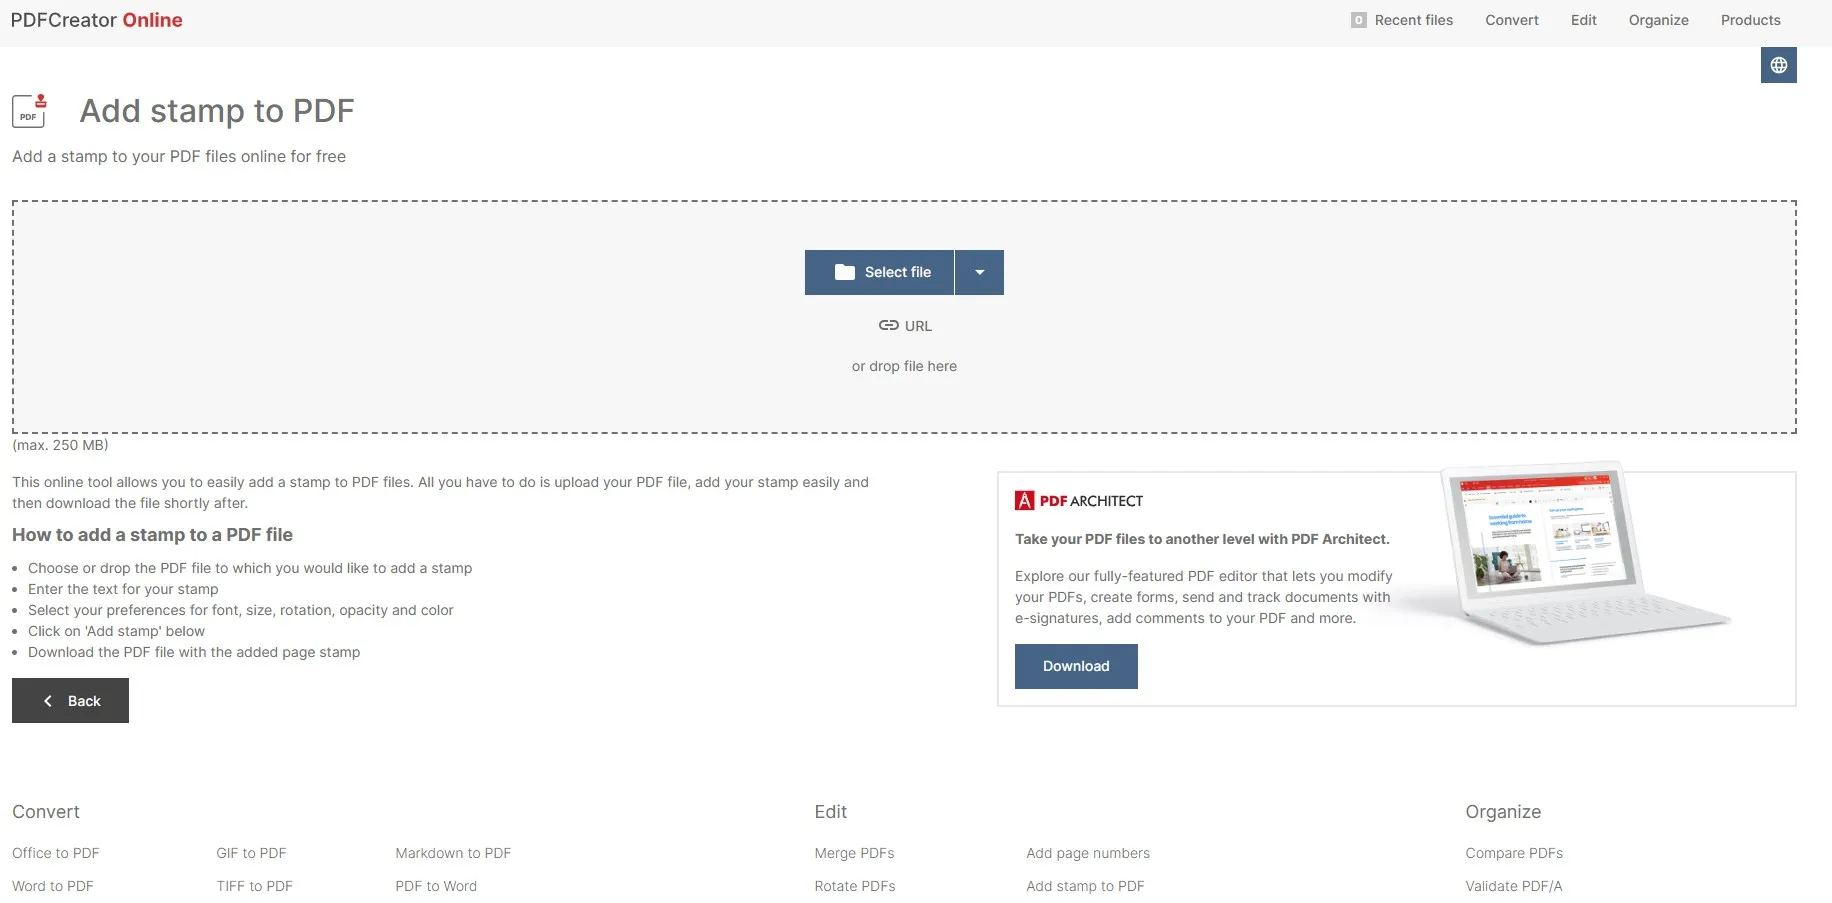
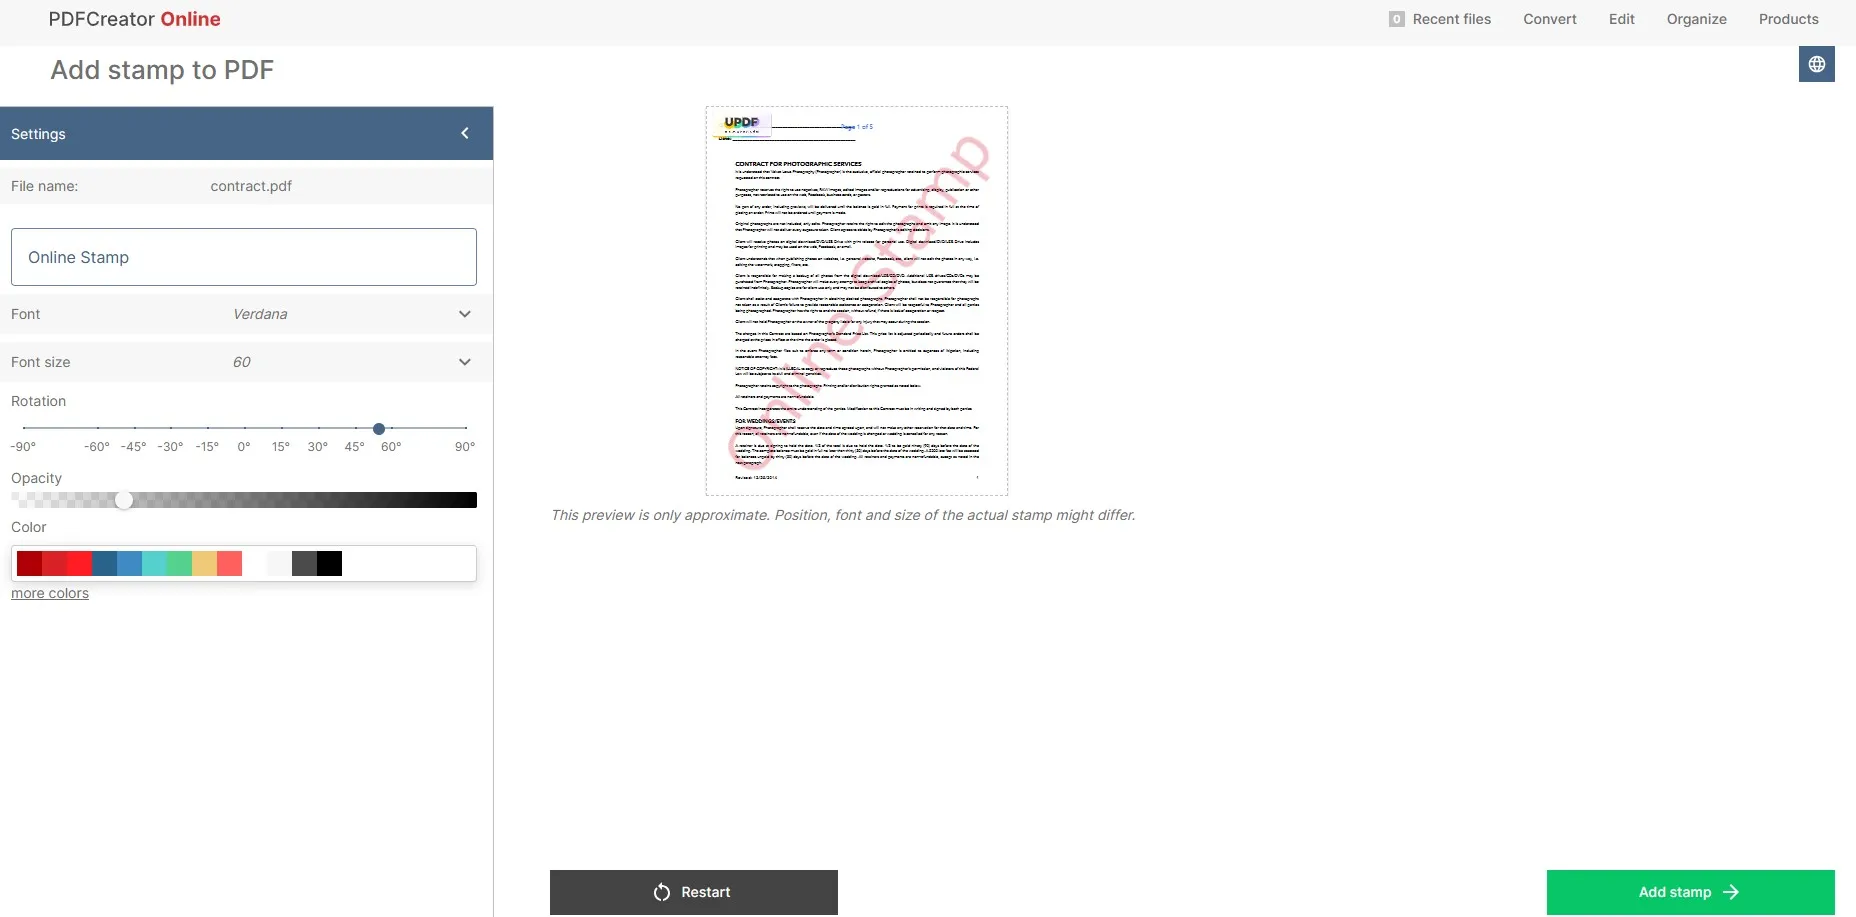
2. Customize how you want your stamp to be and click Add Stamp
Now, you will see the options to customize your stamp. First, you will insert the text for your stamp and then customize the following properties:
- Font
- Font size
- Rotation
- Opacity
- Colors
Once you are satisfied with how your stamp looks, you may click the "Add Stamp” button from the bottom right of its interface.
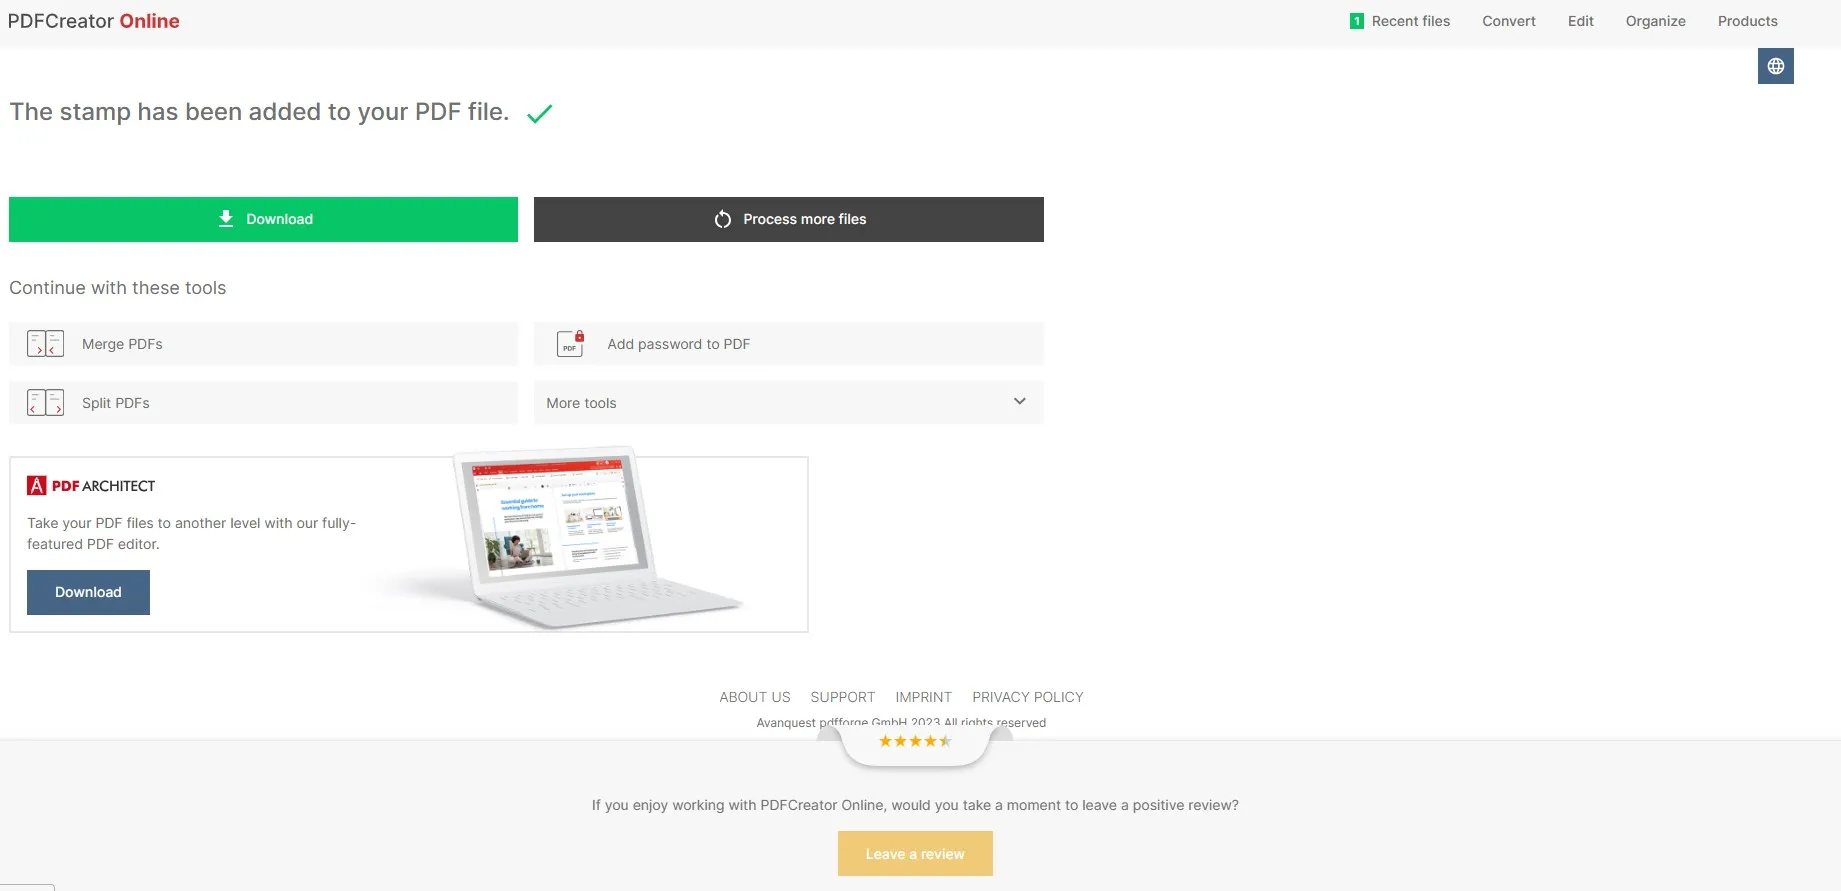
3. Download the PDF file with the stamp added.
Now, PDFForge will quickly process your PDF document by adding the stamp to it. Once the screen shows a success message along with the download button, you must click “Download" and save the PDF document with the stamp added to it to your offline storage.
Also Read: How to Create a Stamp in Adobe Acrobat (In Easy Steps)
Part 2. Put Stamp on PDF Online with DocHub
DocHub is one of the emerging online PDF editing tools that supports lots of features to edit PDF documents. The functionality that we will be focusing on today is adding stamps to PDF, and although it does not support adding stamps to PDF documents, you can use the watermark feature to create your stamps in PDF documents.
While you are adding stamps via a watermark, you can customize everything from the text, size, font, and opacity to the page range, but there is no option to change the location of the stamp, which can be a huge downside if you want a complete customization experience. To add a stamp to your PDF documents with DocHub, you may follow the steps below:
1. Open DocHub online and select your PDF
Open a browser on your PC and head to the DocHub online website. Once there, you need to click the "Select a Document” button to upload your PDF document to DocHub to add a stamp to it.
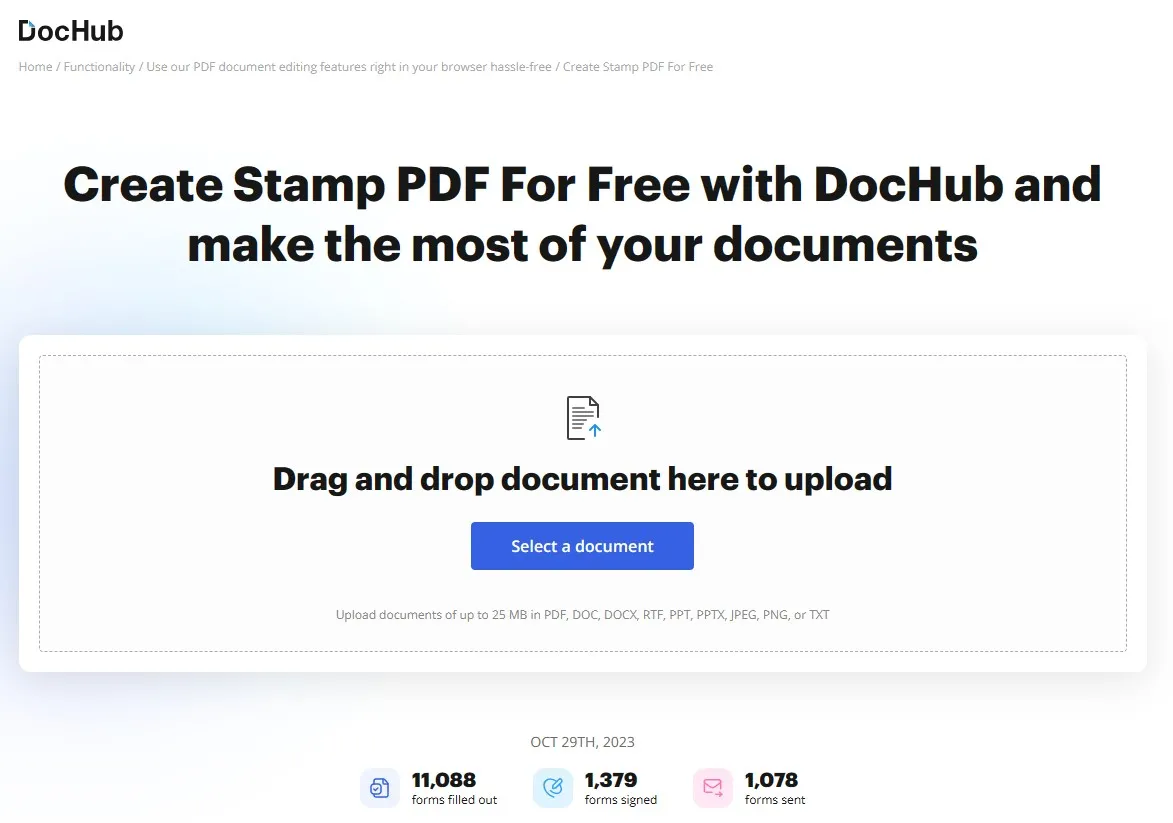
2. Click Add Watermark stamp to PDF.
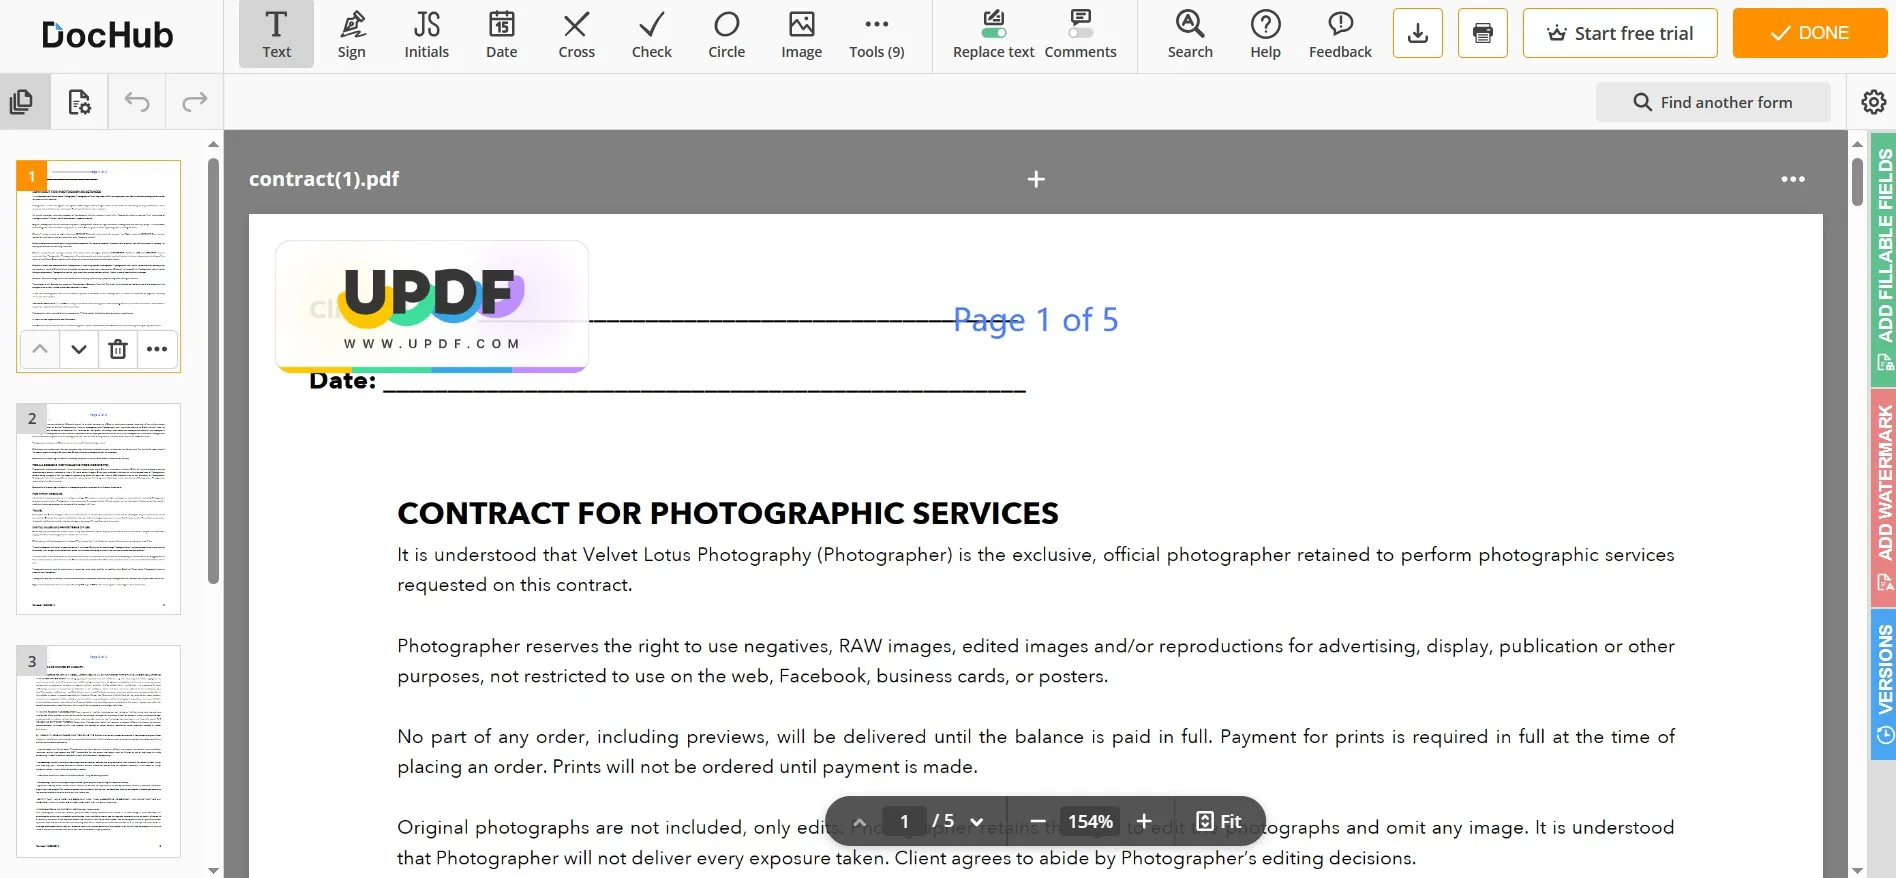
Your document will open with all the tools and buttons present on the top side of your screen. Here, you need to click the "Add Watermark” button from the right-side menu. It will take you to the watermark-adding screen, where you can add and customize your stamp on the PDF document.
3. Select Watermark and customize all options.
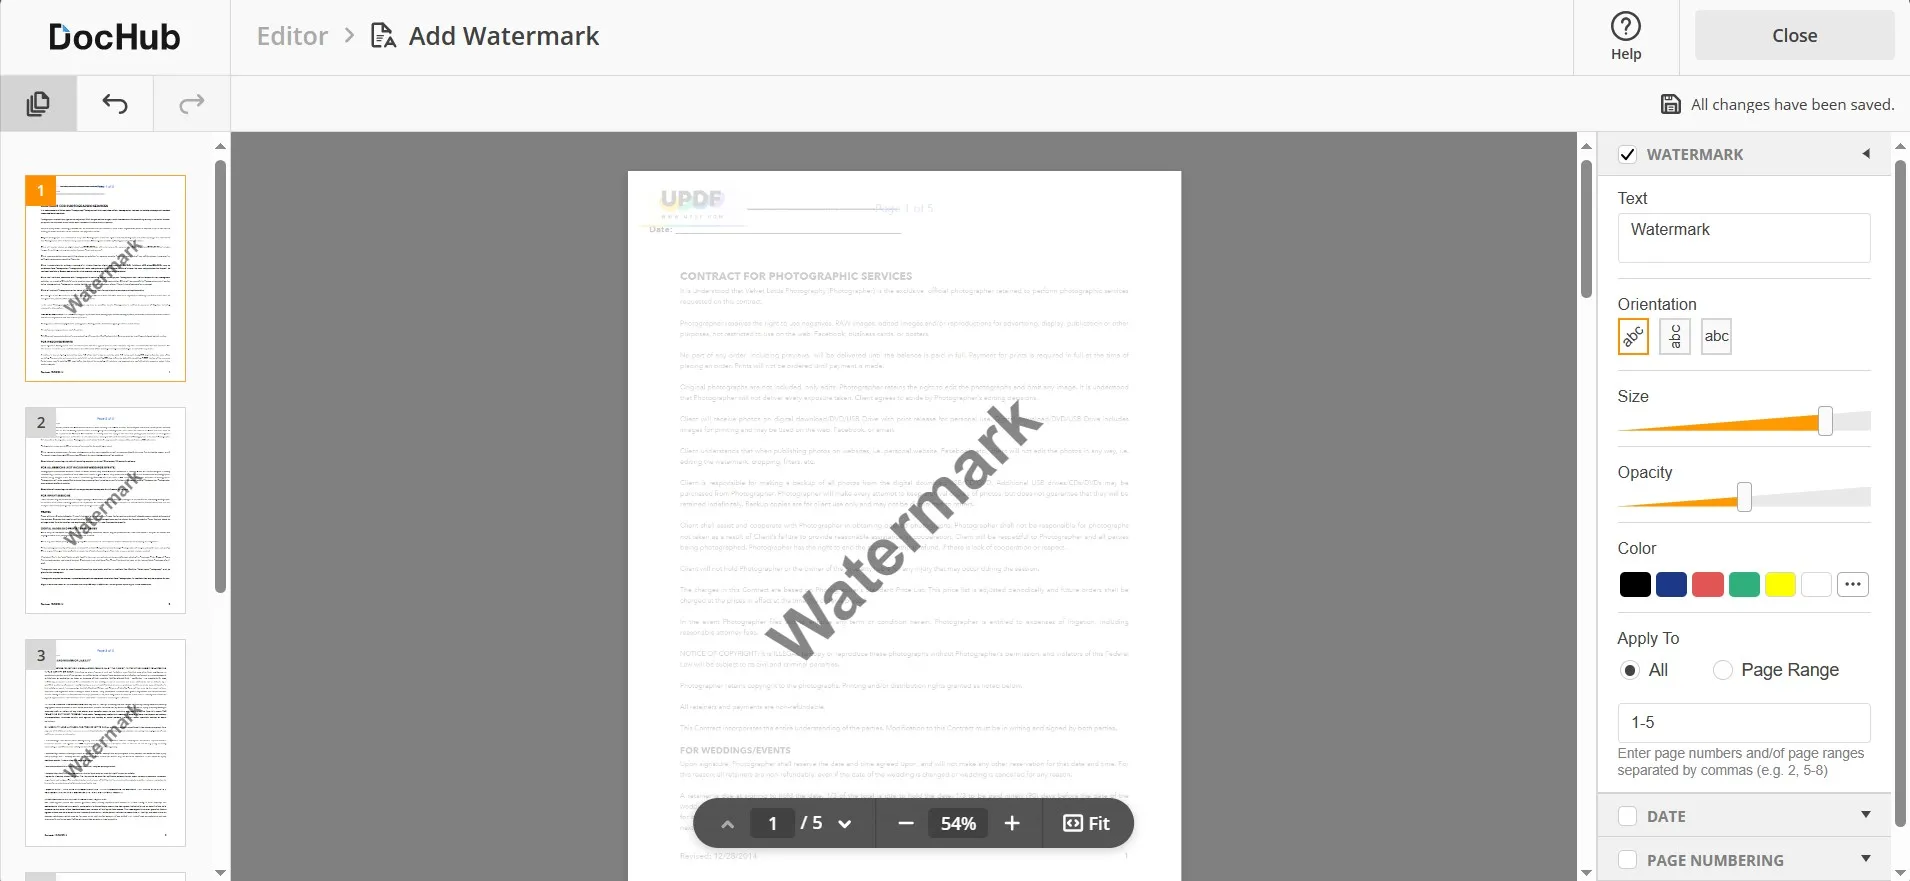
To add customized stamps to your PDF documents, you need to click the “Watermark” option and then select the following properties according to your requirements:
- Text
- Orientation
- Size
- Opacity
- Color
- Applying range
Now, your stamp has been applied to the PDF document successfully.
4. Click Close and then Done to save changes and save the PDF offline
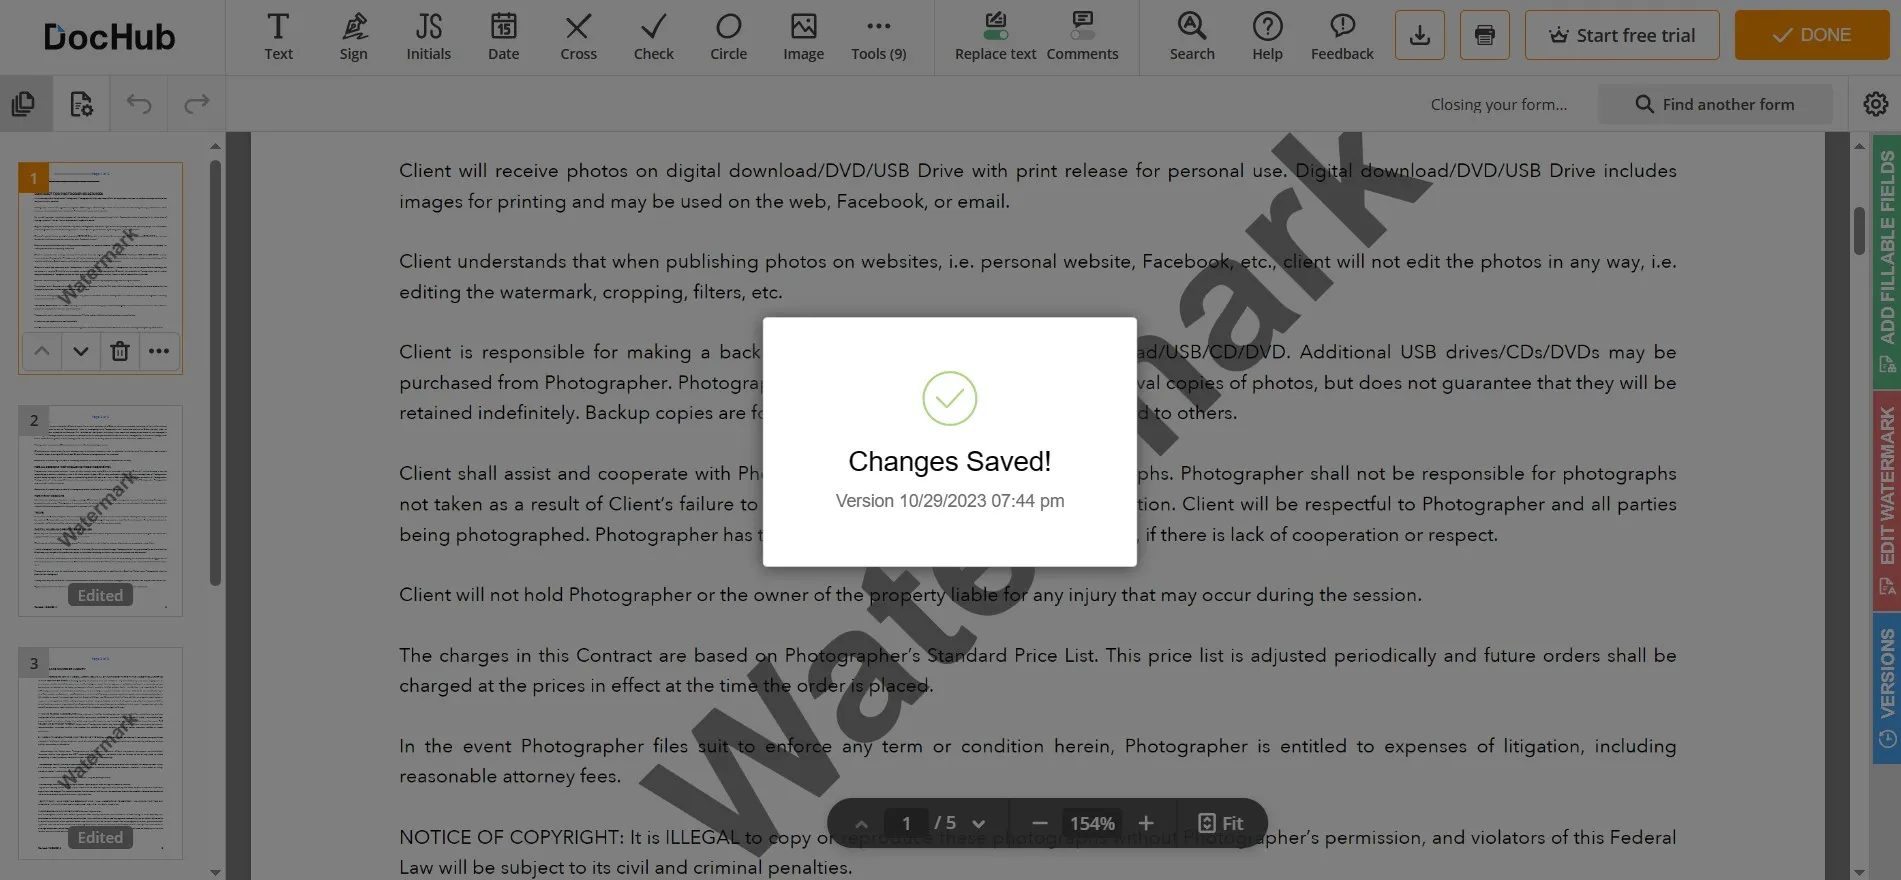
Click the "Close” > “Done" button from the top right to exit the document editor, and now you can click on the saving options to save your PDF document with the stamp in whichever format you want.
Part 3. Add Stamp on PDF Offline With UPDF
While you can add stamps to your documents with online PDF editing tools, the experience is not great. For instance, most online tools do not provide the option to create customized stamps to PDF, and they only allow adding images, text, or watermarks to PDF. Secondly, you rely on the internet connection for using those tools. Thirdly, it is not considered a safe option to upload your private and confidential PDF documents to online sites.
UPDF is an offline tool that solves all these issues, and it works without any privacy and security issues, does not require any connection, and provides a customized stamp-adding experience. It contains a lot of premade stamps that can be used for most PDF documents, streamlining the process for you. However, if you don’t find the stamp that you need, you can always customize your stamp with dynamic data for added privacy.
In addition to that, UPDF supports using the stamps that you have saved as an image before. For adding stamps to your PDF document in any of these ways, you can download UPDF on your PC and add stamps with the following steps:
Windows • macOS • iOS • Android 100% secure
1. Open the PDF document in UPDF
Double-click your UPDF desktop icon to open the UPDF application on your PC. After the app loads, you need to click the "File" tab from the top and click the "Open" button to browse for the PDF file and open it in UPDF.

2. Click Comment, and then pick a premade stamp to add it to the PDF.
Take the cursor to the left pane and click the button that has a pencil icon. It is the "Comment" button, and it contains the option to add stamps to your documents. To add premade stamps, you need to click the "Stamp" button and then go to the "Stamps" option to scroll and find the stamp that you want to use. Once you click to select a stamp, you can click anywhere in the PDF document to add that stamp. Finally, resize that stamp according to your requirements.
3. Click Custom and click Create to create your personalized dynamic stamp.
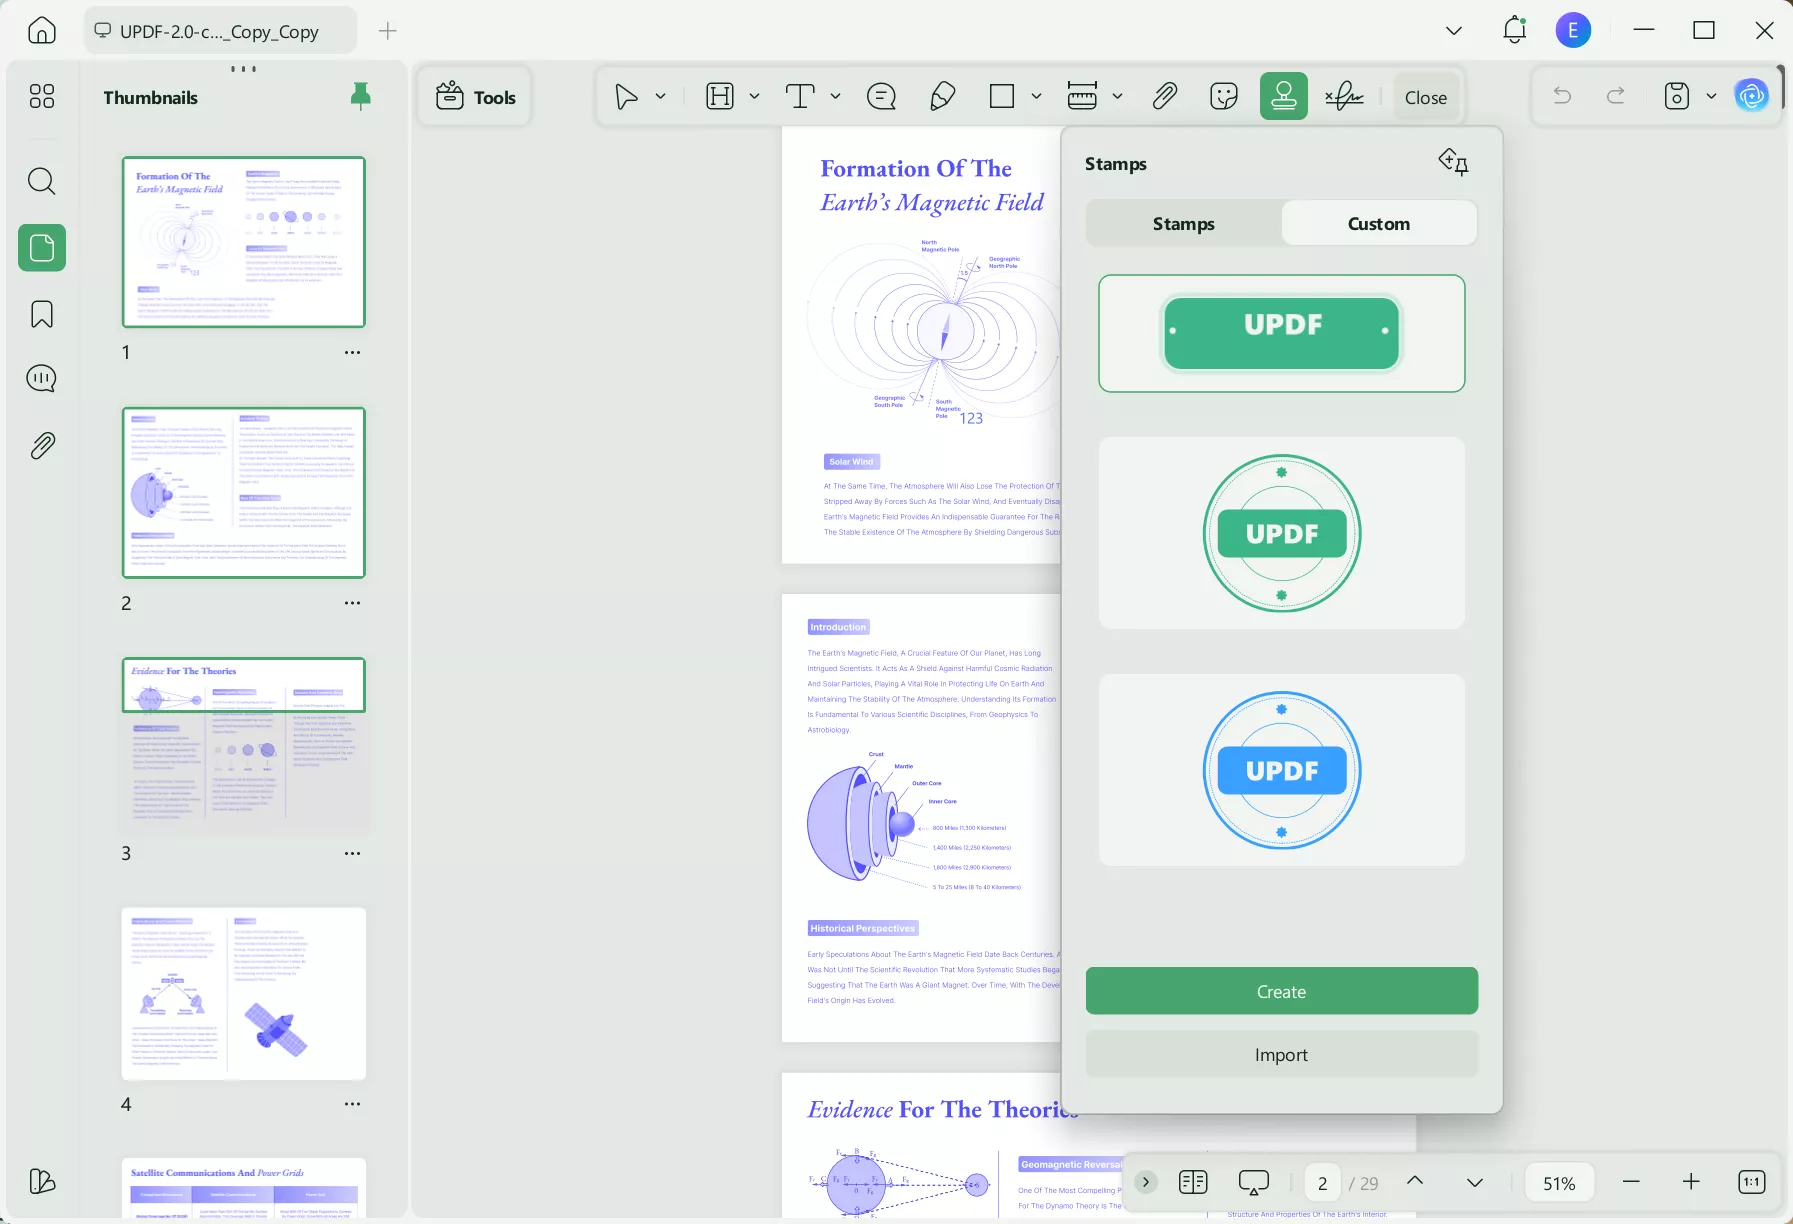
If you don’t want to use a premade stamp by UPDF, you can create your personalized dynamic stamps. These are the stamps where the date and time are automatically updated in real time to add a layer of authenticity to the documents. To create one, you need to click "Custom" > "Create". Then, you can edit the stamp's design, color, and text and add a date or time as per your requirements. Click the "Create" button to create your dynamic stamp with UPDF.
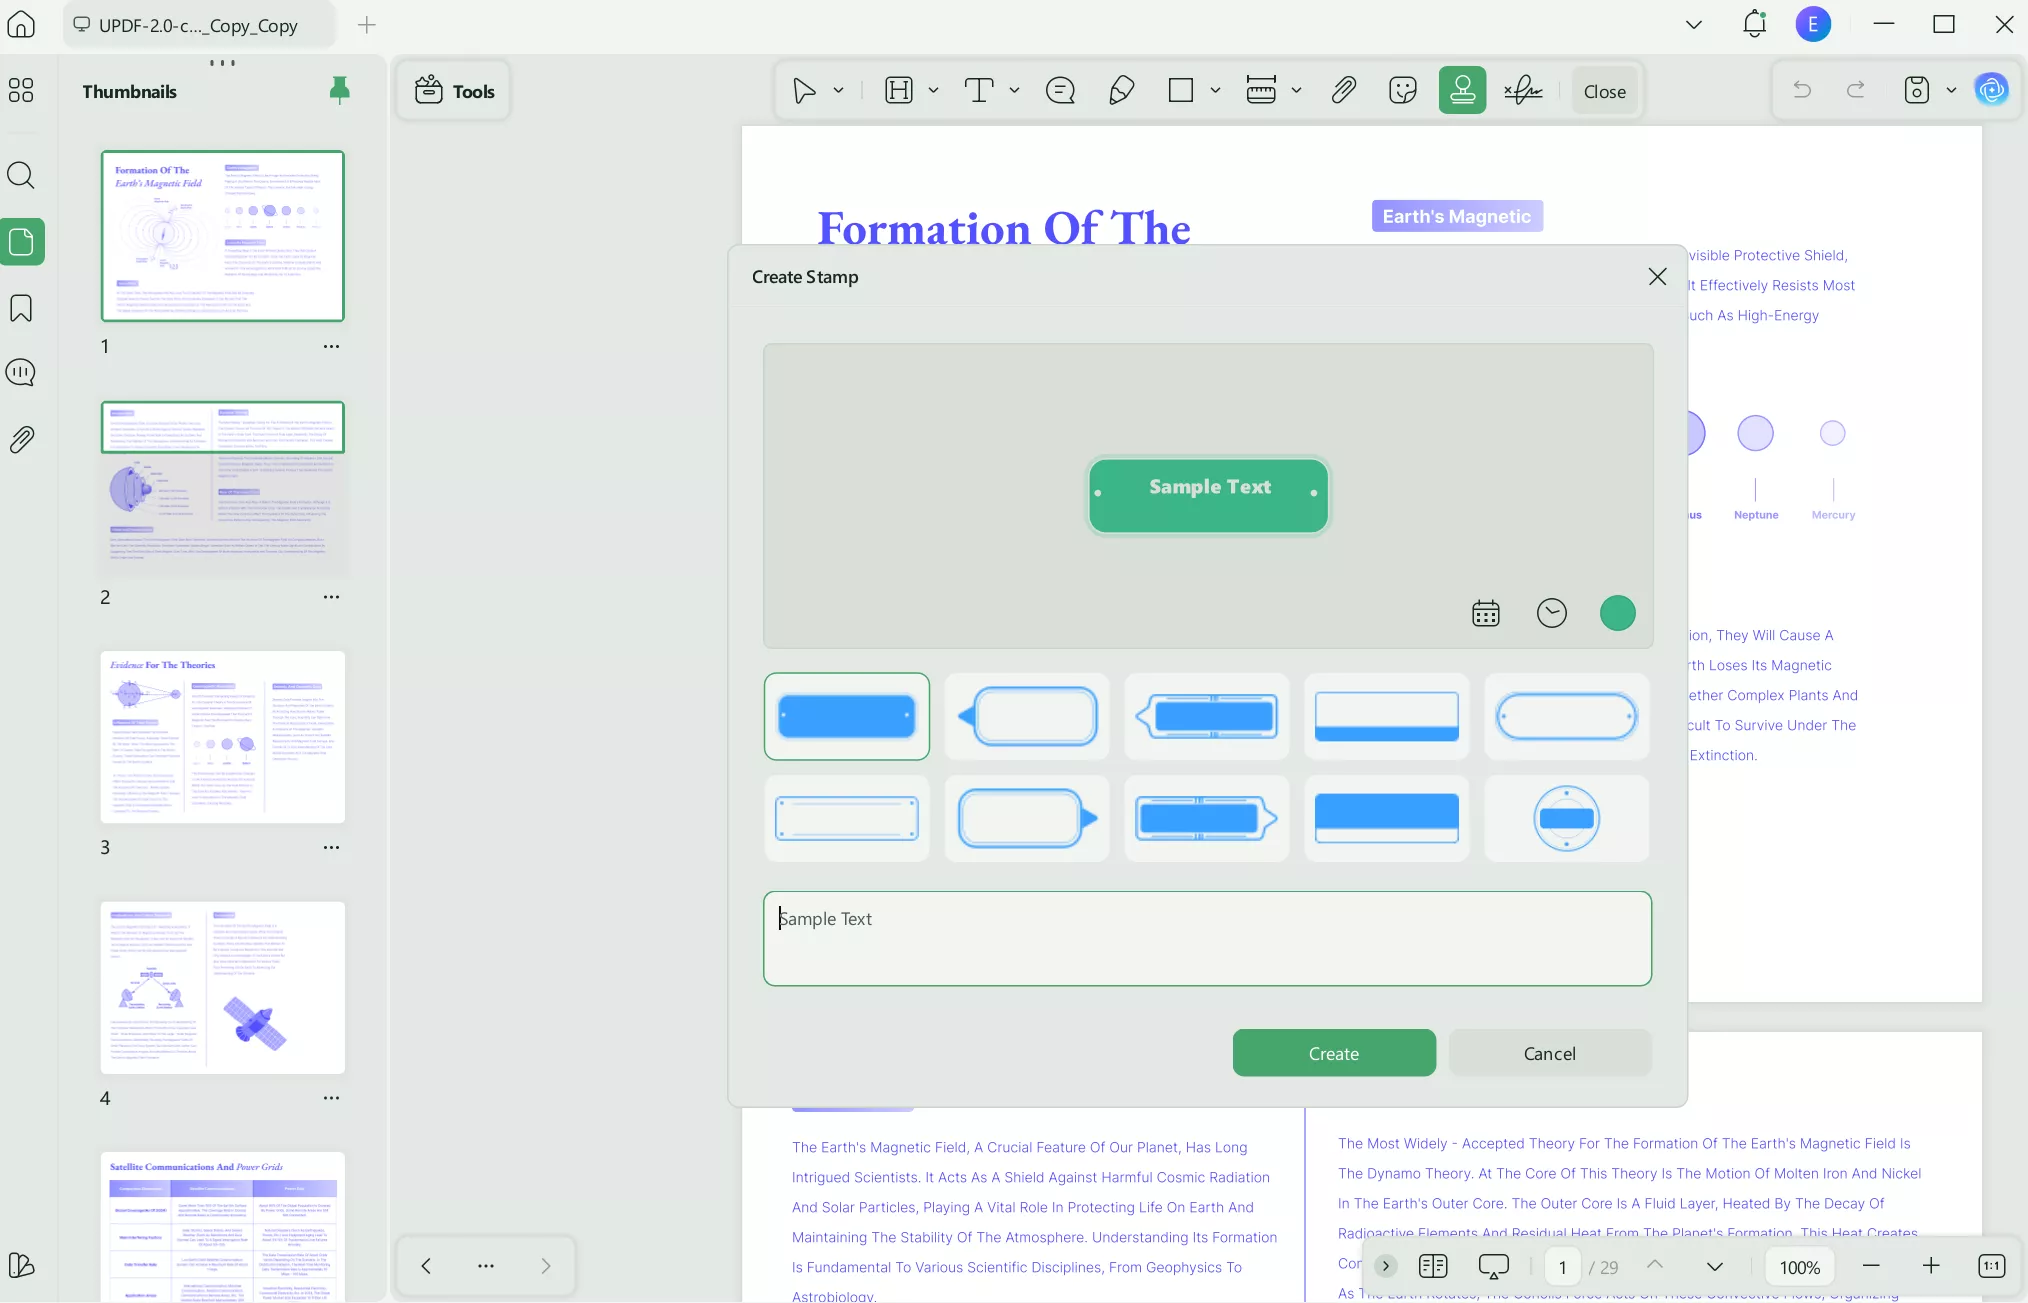
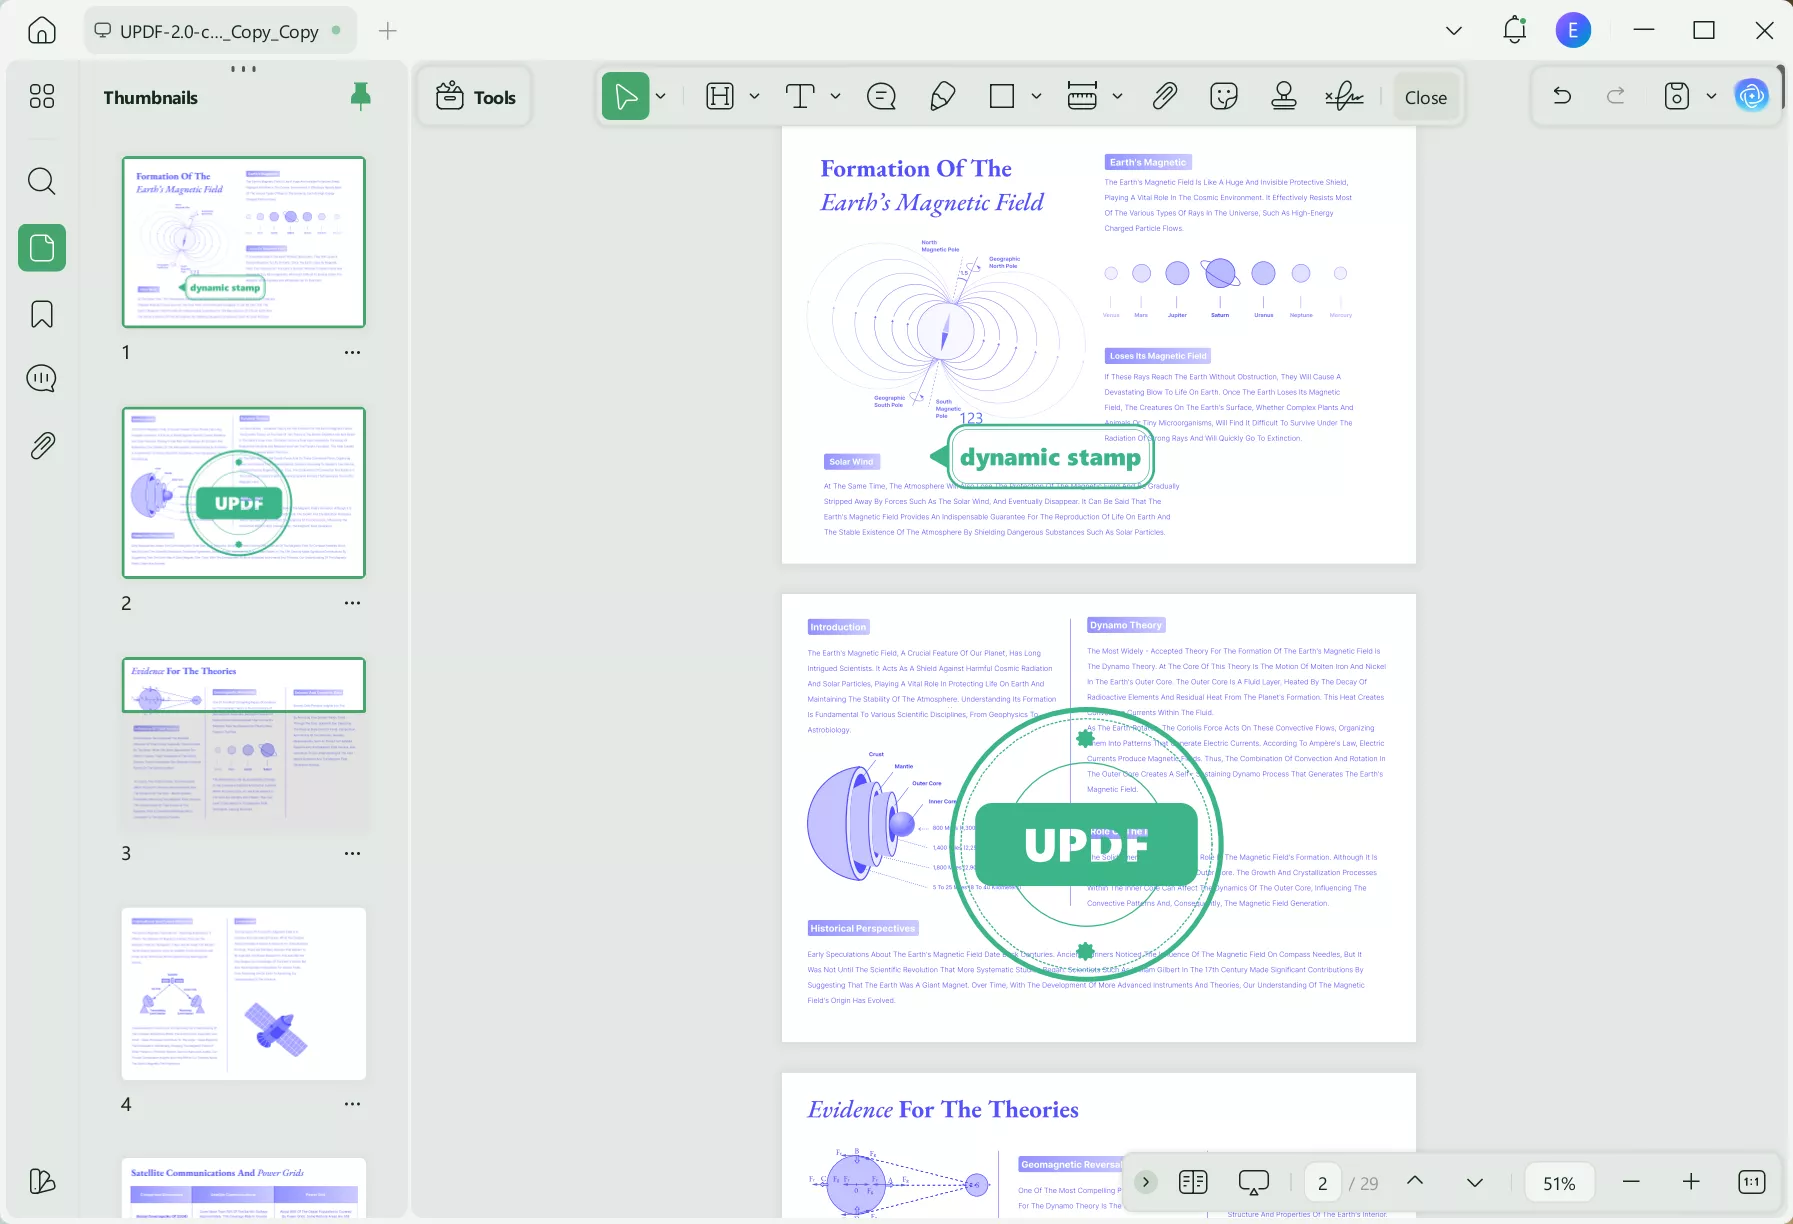
4. Add the dynamic stamp to your PDF document.
Now, your dynamic stamp is created in UPDF, and you can click anywhere to add it. After adding the dynamic stamp, you also get the option to customize its positioning and size in the PDF document.
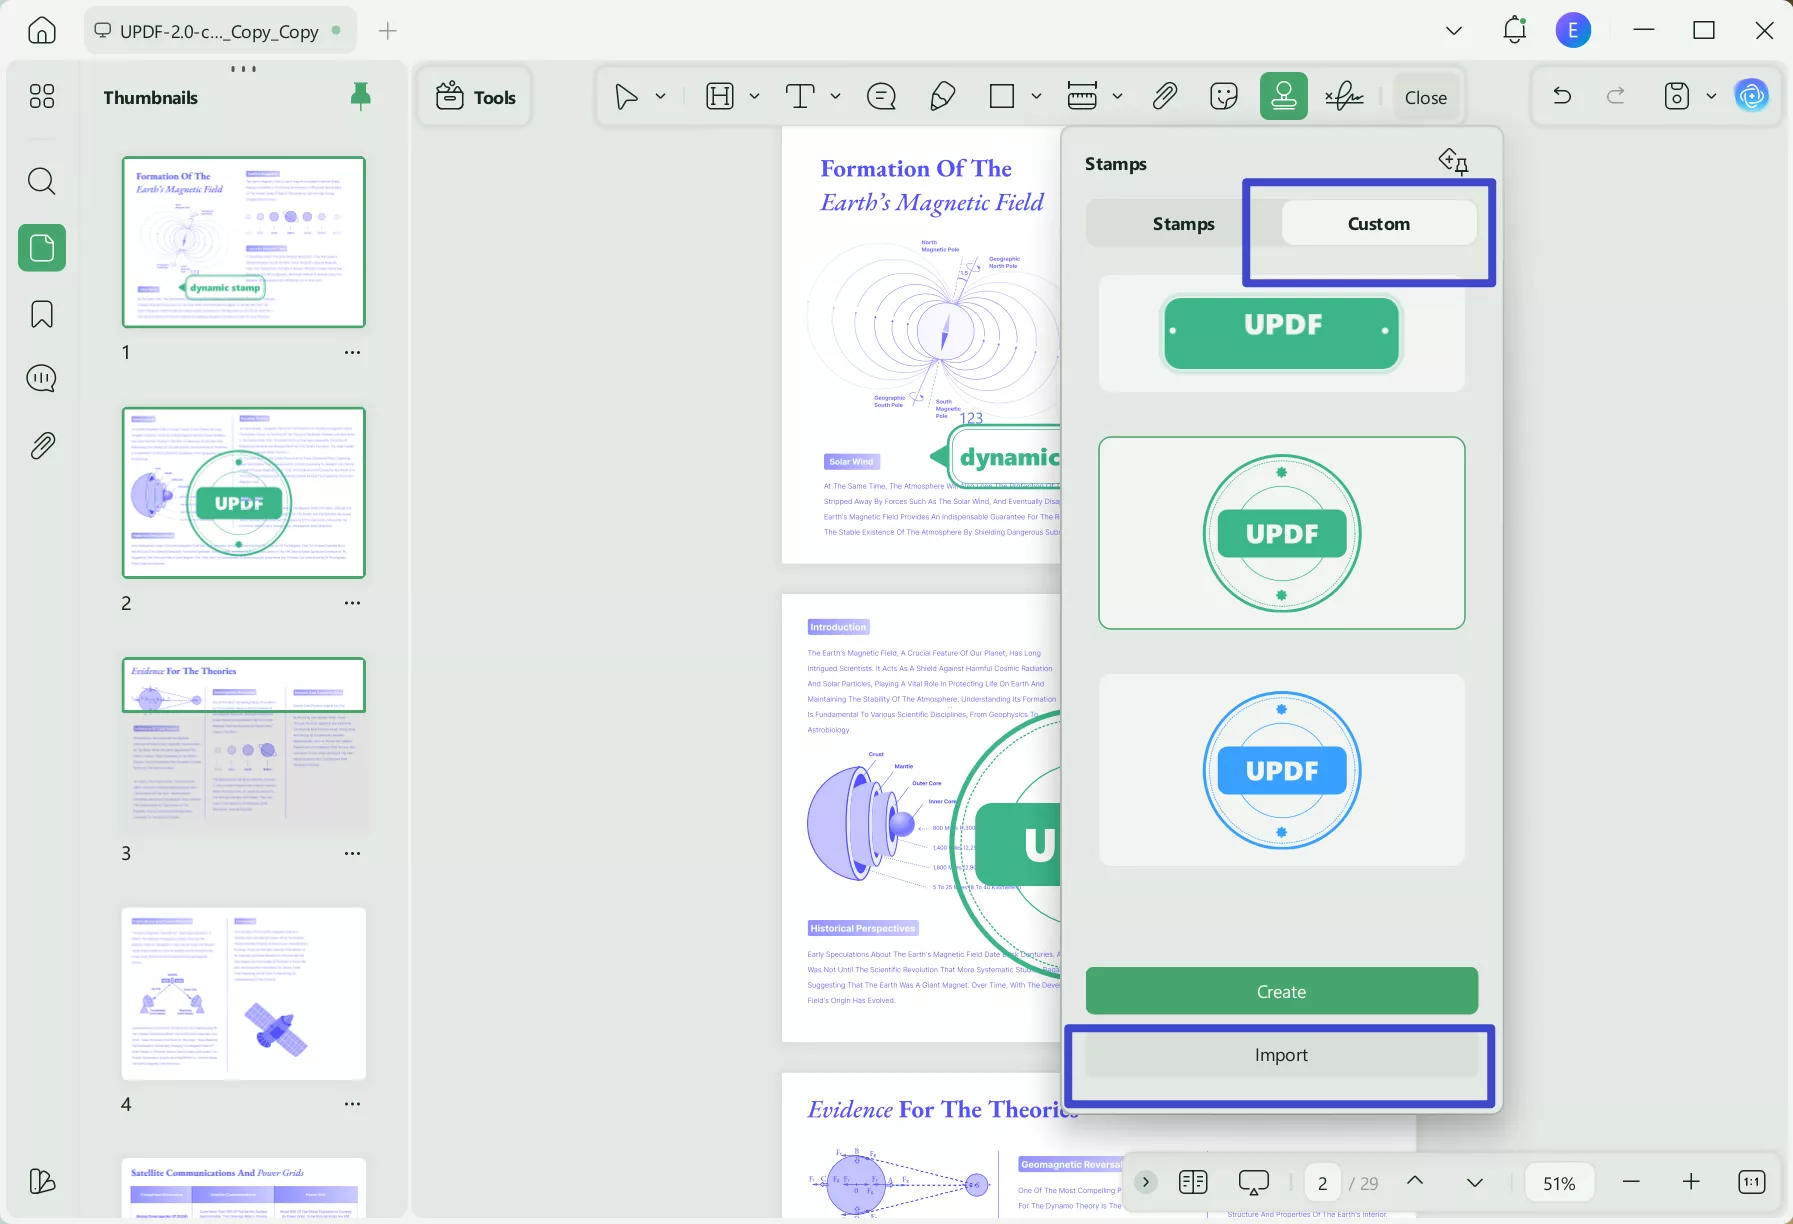
5. Click on Custom and then import to create a stamp from your images
If you already have an image stamp that you use in every document, you can use that too with UPDF. For this method, you need to click "Stamp" > "Custom" > "Import," and then you can select a stamp image from the file manager on your computer.
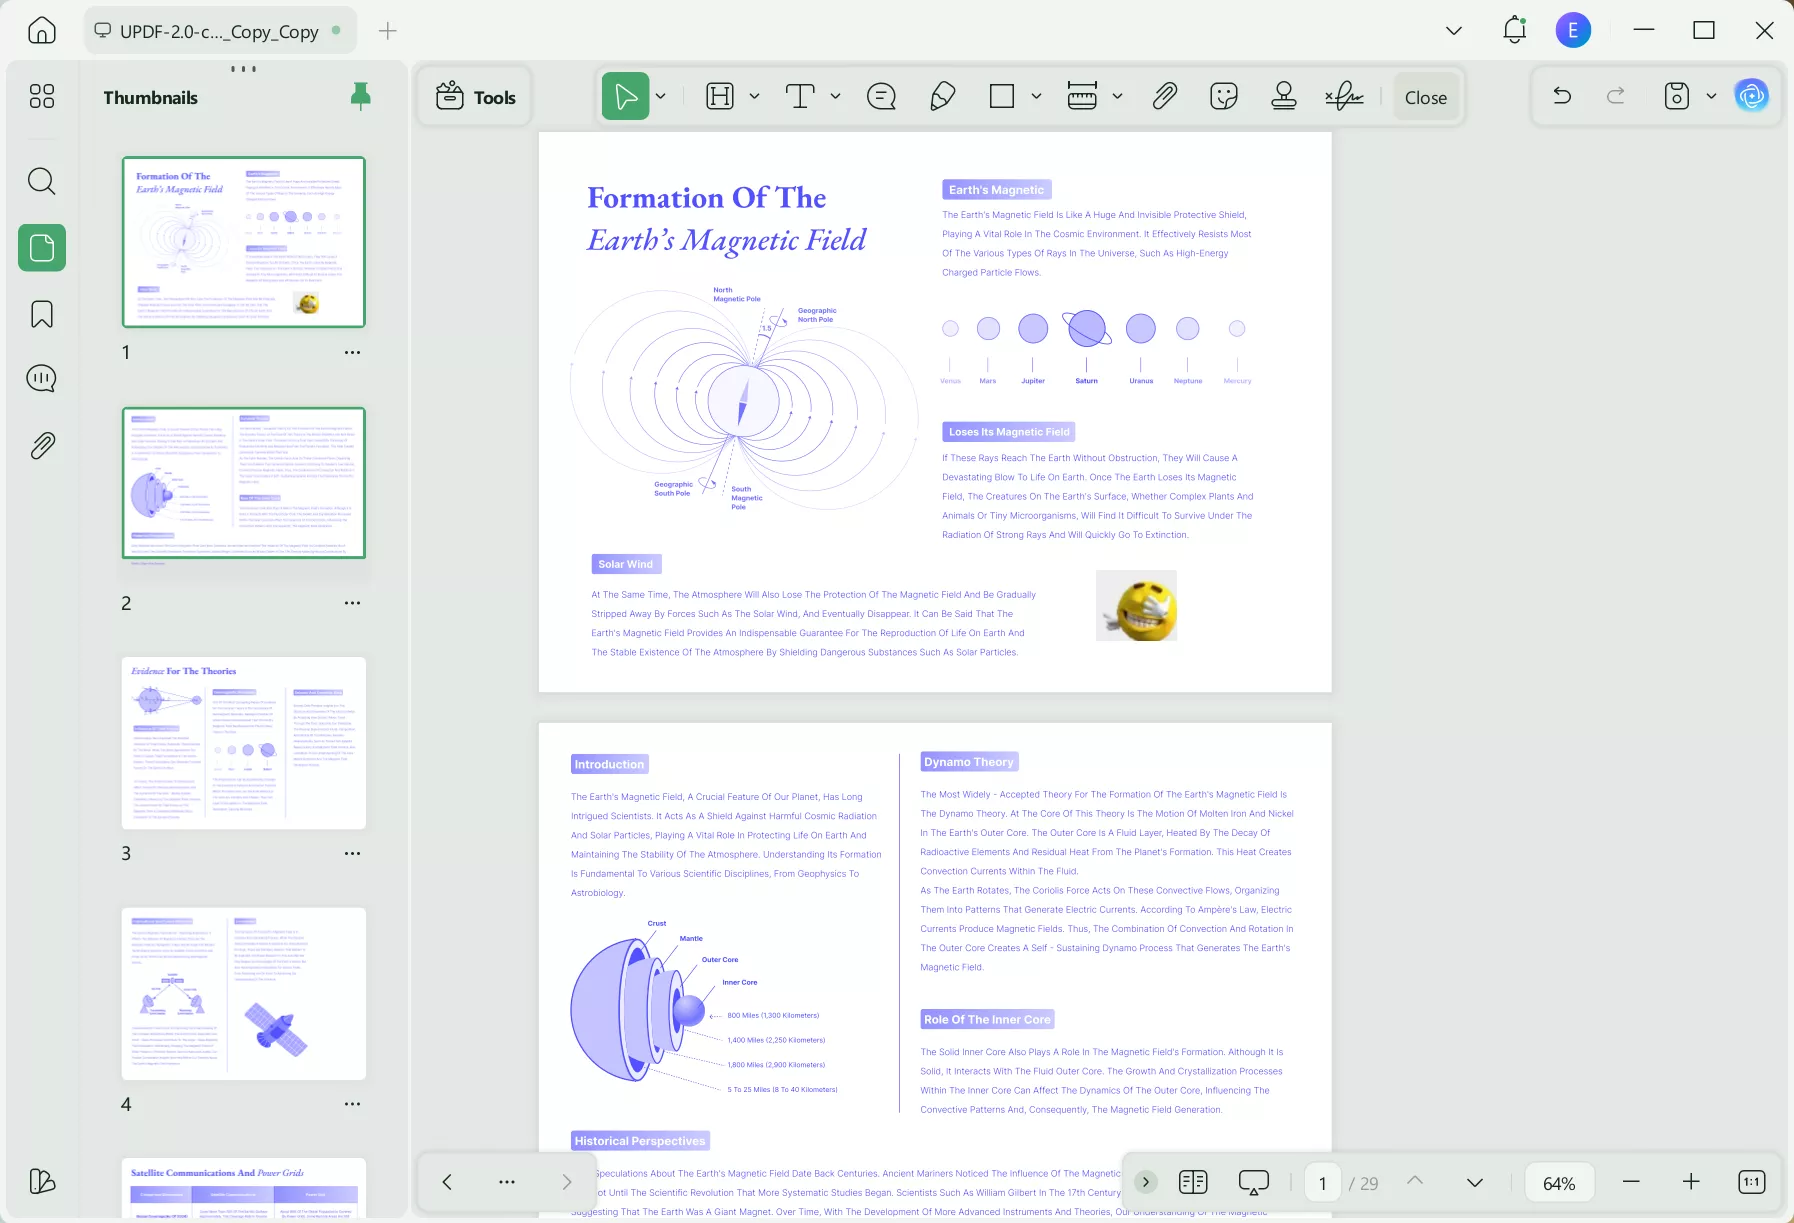
6. Select the image and position it in the PDF to create your stamp.
As you select a stamp image from the file manager browse window, it will appear in UPDF. You now need to click at the right location to add this stamp. Once added, you can reposition and resize it to get a perfect appearance. The last thing left to do now is saving the PDF document to save all changes and stamps in it, and that can be done by pressing "Ctrl + S".
Other Advanced Features That UPDF has:
UPDF has many other features in addition to adding stamps to your documents, which include:
- PDF Editing
- UPDF AI
- OCR
- Read PDF Aloud
- UPDF Cloud
- Page organizing
- PDF forms
- PDF conversion and exporting
- Easy PDF sharing for collaboration
- Page tools, etc.
Purchase UPDF Pro today and unleash its power on all your devices today.
Final Words
Now, you can create stamp online for PDF documents easily by following the guide we shared here. However, online tools may not provide the best experience, and that’s where you need to pick UPDF. With UPDF, you get complete control over your stamps in the PDF documents. So, start adding stamps to your PDF documents by downloading UPDF today.
Windows • macOS • iOS • Android 100% secure
 UPDF
UPDF
 UPDF for Windows
 UPDF for Mac
 UPDF for iPhone/iPad
 UPDF for Android
 UPDF AI Online
 UPDF Sign
 Edit PDF
 Annotate PDF
 Create PDF
 PDF Form
 Edit links
 Convert PDF
 OCR
OCR PDF to Word
 PDF to Image
 PDF to Excel
 Organize PDF
 Merge PDF
 Split PDF
 Crop PDF
 Rotate PDF
 Protect PDF
 Sign PDF
 Redact PDF
 Sanitize PDF
 Remove Security
 Read PDF
 UPDF Cloud
 Compress PDF
 Print PDF
 Batch Process
 About UPDF AI
 UPDF AI Solutions
 AI User Guide
 FAQ about UPDF AI
 Summarize PDF
 Translate PDF
 Chat with PDF
 Chat with AI
 Chat with image
 PDF to Mind Map
 Explain PDF
 Scholar Research
 Paper Search
 AI Proofreader
 AI Writer
 AI Homework Helper
 AI Quiz Generator
 AI Math Solver
 PDF to Word
 PDF to Excel
 PDF to PowerPoint
 User Guide
 UPDF Tricks
 FAQs
FAQs UPDF Reviews
 Download Center
 Blog
Blog Newsroom
 Tech Spec
 Updates
 UPDF vs. Adobe Acrobat
 UPDF vs. Foxit
 UPDF vs. PDF Expert




 Lizzy Lozano

 Enrica Taylor
 Enola Davis
 Enola Miller