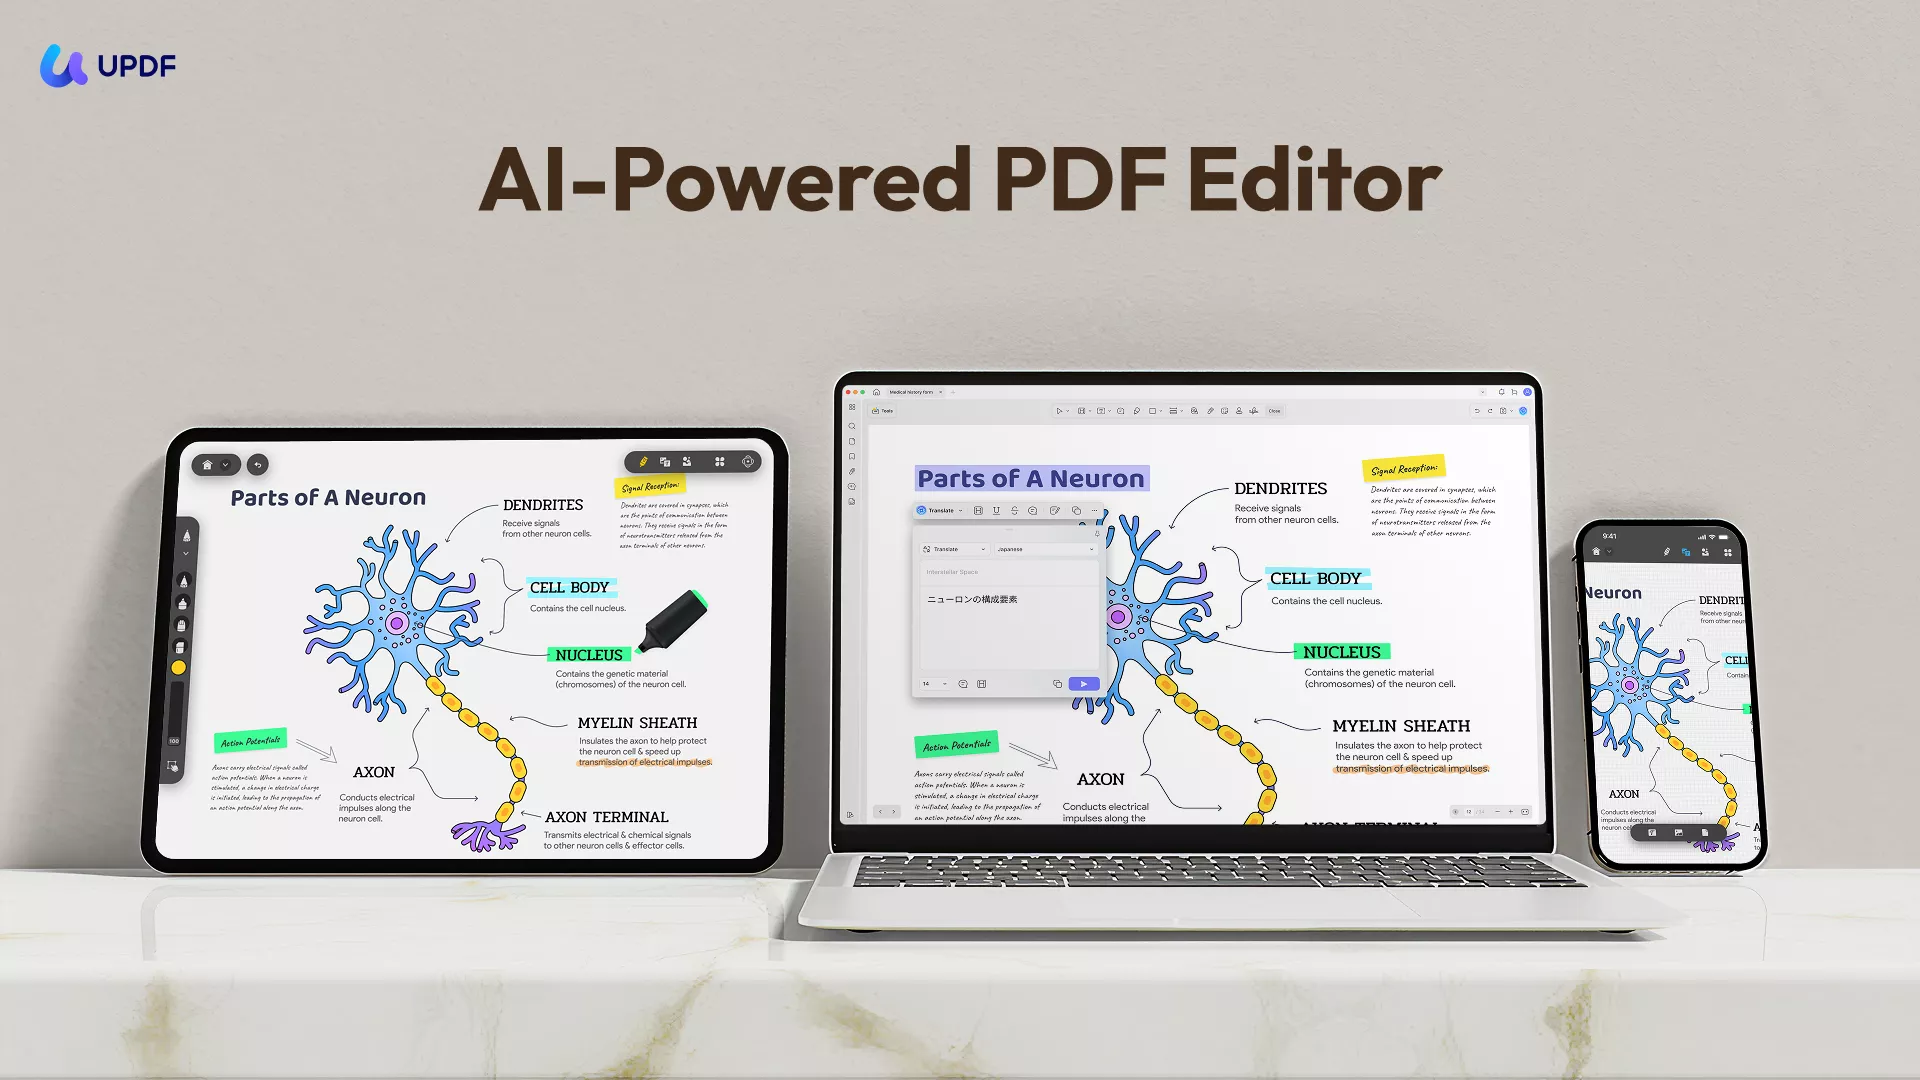
 UPDF for Windows
 UPDF for Mac
 UPDF for iPhone/iPad
 UPDF for Android
 UPDF AI Online
 UPDF Sign
 Edit PDF
 Annotate PDF
 Create PDF
 PDF Form
 Edit links
 Convert PDF
 OCR
OCR PDF to Word
 PDF to Image
 PDF to Excel
 Organize PDF
 Merge PDF
 Split PDF
 Crop PDF
 Rotate PDF
 Protect PDF
 Sign PDF
 Redact PDF
 Sanitize PDF
 Remove Security
 Read PDF
 UPDF Cloud
 Compress PDF
 Print PDF
 Batch Process
 About UPDF AI
 UPDF AI Solutions
 AI User Guide
 FAQ about UPDF AI
 Summarize PDF
 Translate PDF
 Chat with PDF
 Chat with AI
 Chat with image
 PDF to Mind Map
 Explain PDF
 PDF AI Tools
 Image AI Tools
 AI Chat Tools
 AI Writing Tools
 AI Study Tools
 AI Working Tools
 Other AI Tools
 AI Bookmark Generation
 AI Bookmark Summary
 AI Watermark Generation
 AI Background Generation
 AI Sticker Generation
 AI Stamp Generation
 AI Editing Suite
 UPDF Copilot
 AI Page Management
 AI Semantic Search
 PDF to Word
 PDF to Excel
 PDF to PowerPoint
 User Guide
 UPDF Tricks
 FAQs
FAQs UPDF Reviews
 Download Center
 Blog
Blog Newsroom
 Tech Spec
 Updates
 UPDF vs. Adobe Acrobat
 UPDF vs. Foxit
 UPDF vs. PDF Expert
If you have ever tried printing an Excel worksheet and ended up with extra blank pages, cut-off tables, or columns spilling onto the next sheet, you’re not alone. I’ve dealt with the same frustration—especially when the file looks perfect on screen but prints like a mess. That’s exactly why so many people ask, how do I set the print area in Excel properly. Once you define the correct print range, you can control what gets printed and avoid wasting paper, time, and patience.
In this guide, I’ll walk you through the easiest ways to set and adjust the Excel print area without confusion. Make sure you read until the end because I’ll also show how exporting the selected print area to PDF helps. After exporting, you can open the file in UPDF to edit, annotate, or share it cleanly—perfect for professional reporting and remote work.
Windows • macOS • iOS • Android 100% secure
Part 1. How Do I Set the Print Area in Excel?
If you are wondering, how do I set the print area in Excel, the good news is that it only takes a few clicks. I use this feature whenever I want to print only a specific table or report section—without dragging extra blank pages along with it.
In simple terms, this is the correct way of defining print area in Excel, and it works in all modern versions.
Here’s the exact method explained step by step.
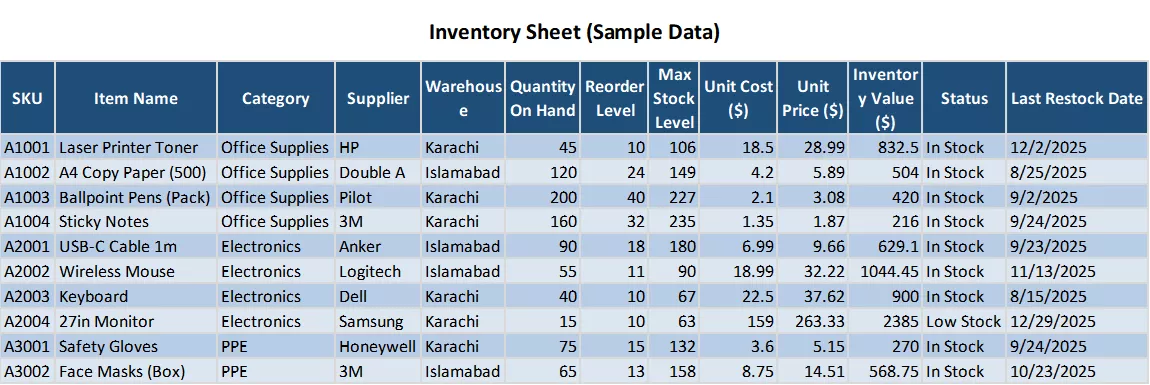
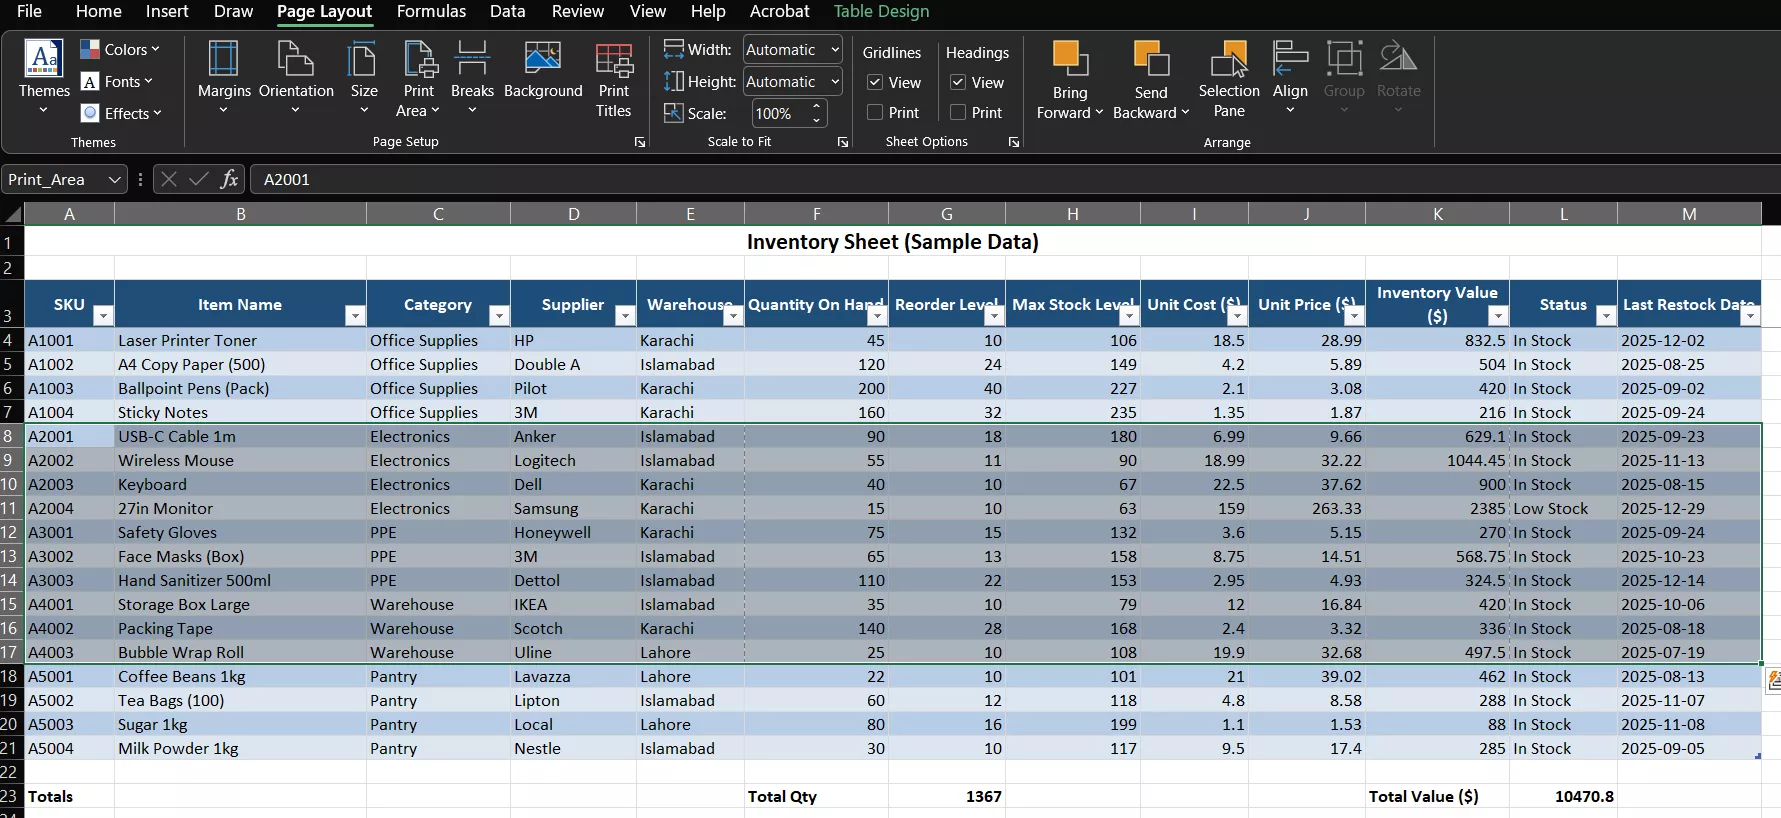
Step 1: Select Your Desired Cells
First, I open my worksheet and highlight the cells I actually want to print. I usually select the complete table range (including headings), because missing a header row is one of the most common printing mistakes.
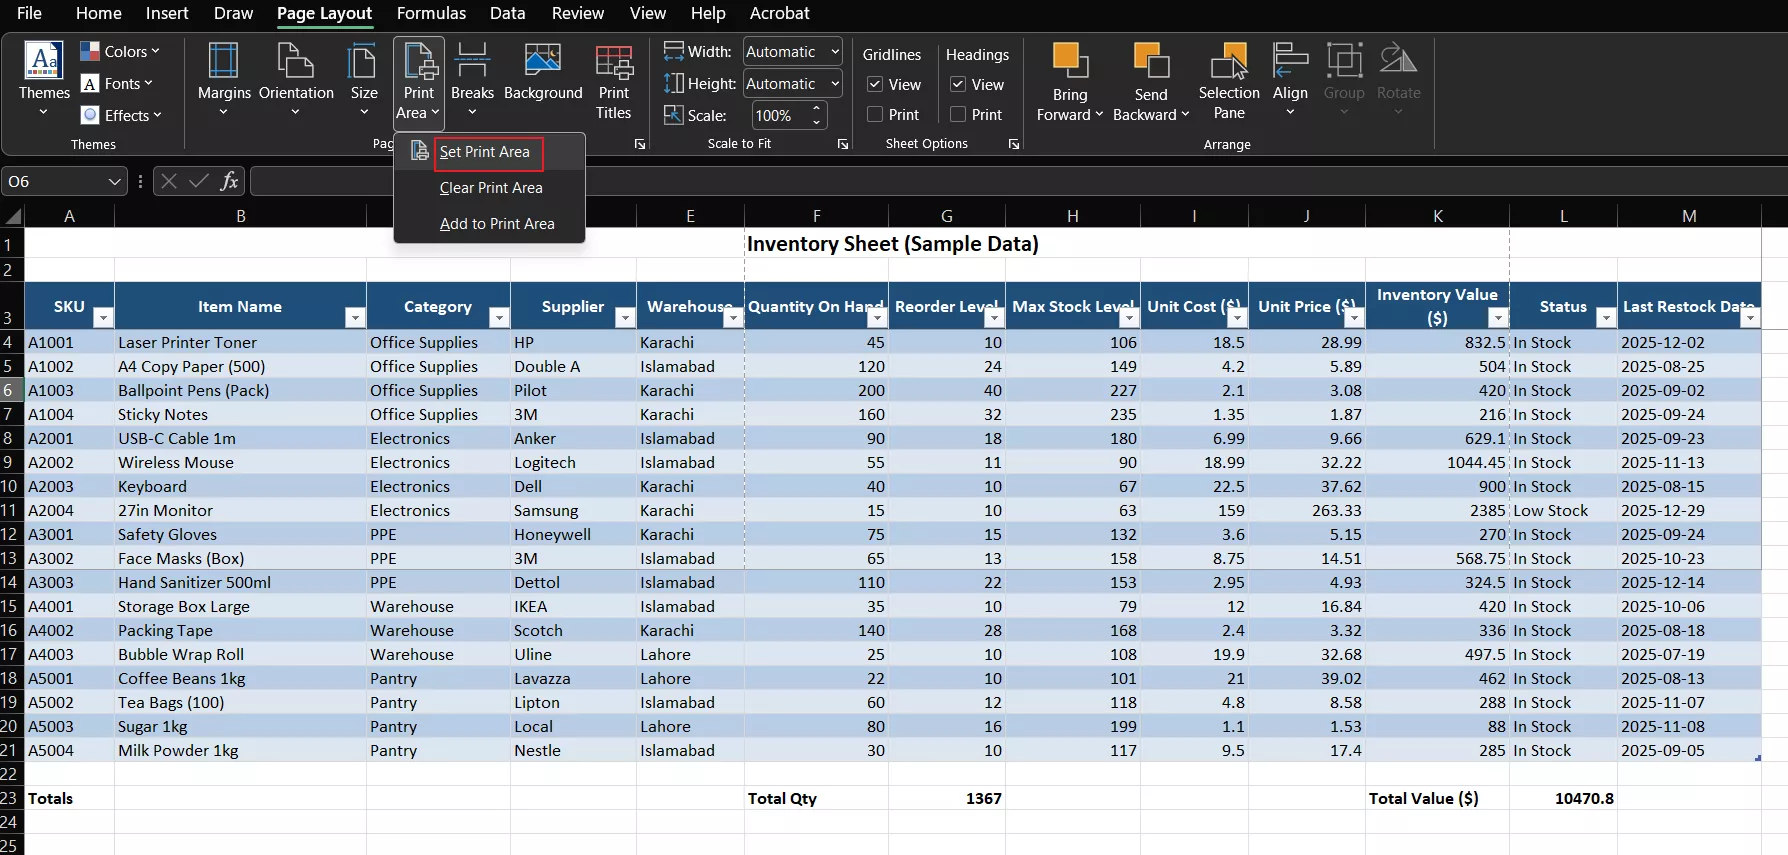
Step 2: Define The Print Area
Once the correct range is selected, I go to Page Layout > Print Area and click Set Print Area. This is the fastest way to do an excel print area set properly, because Excel locks printing to the chosen range only.
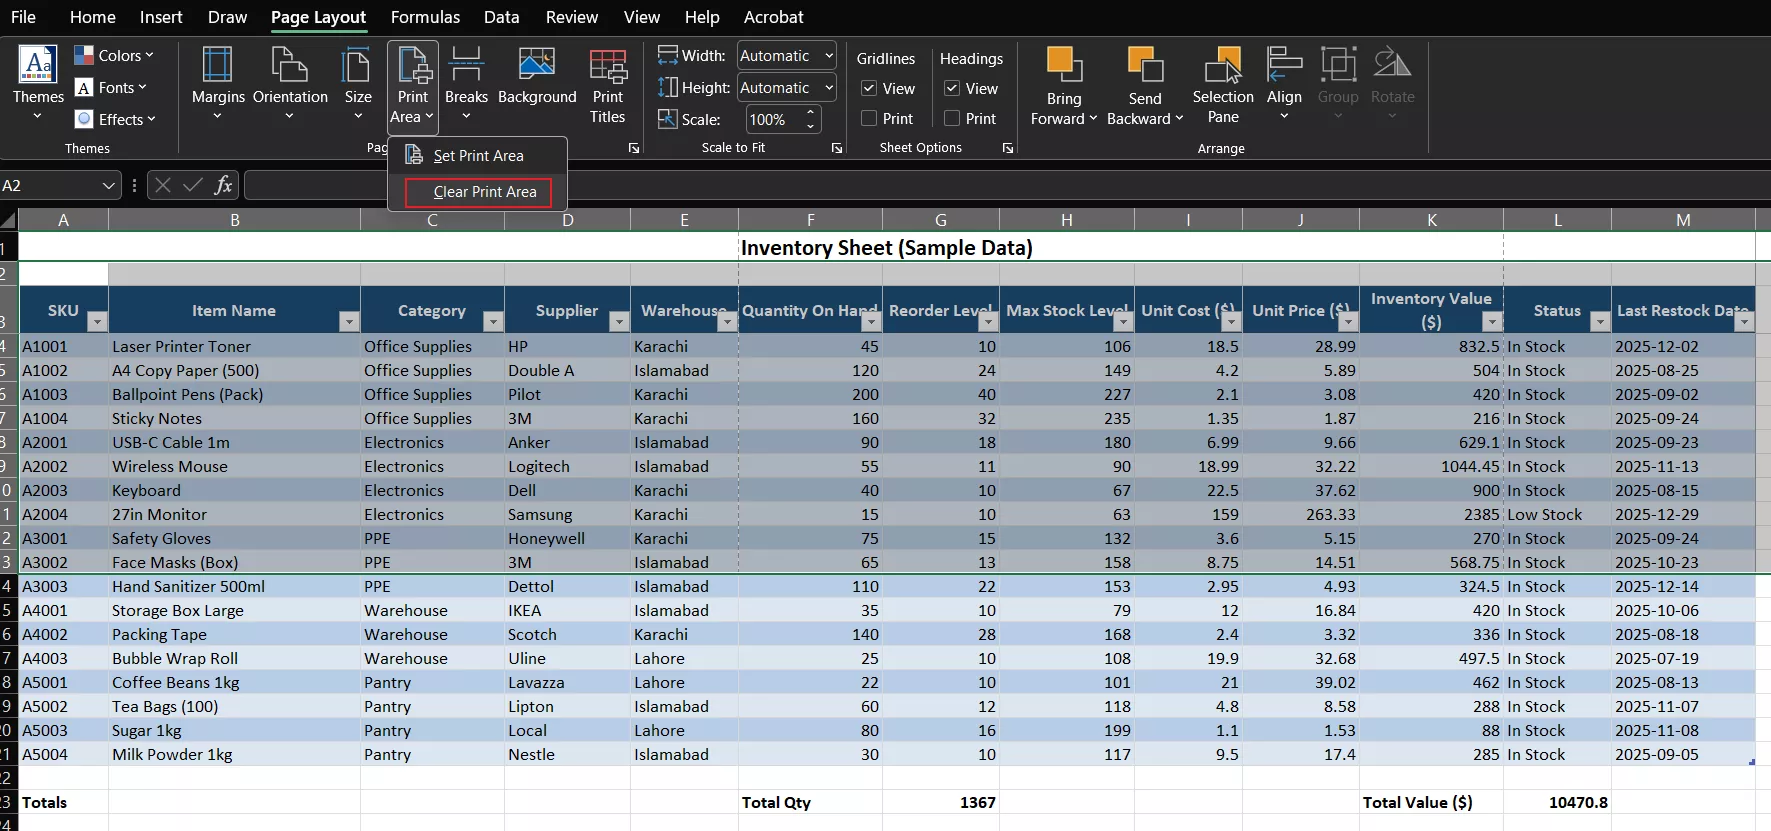
Step 3: Clearing A Print Area (If Needed)
If I ever want Excel to print the full worksheet again, I go to Page Layout > Print Area > Clear Print Area. This removes the restricted range completely and resets printing back to normal.
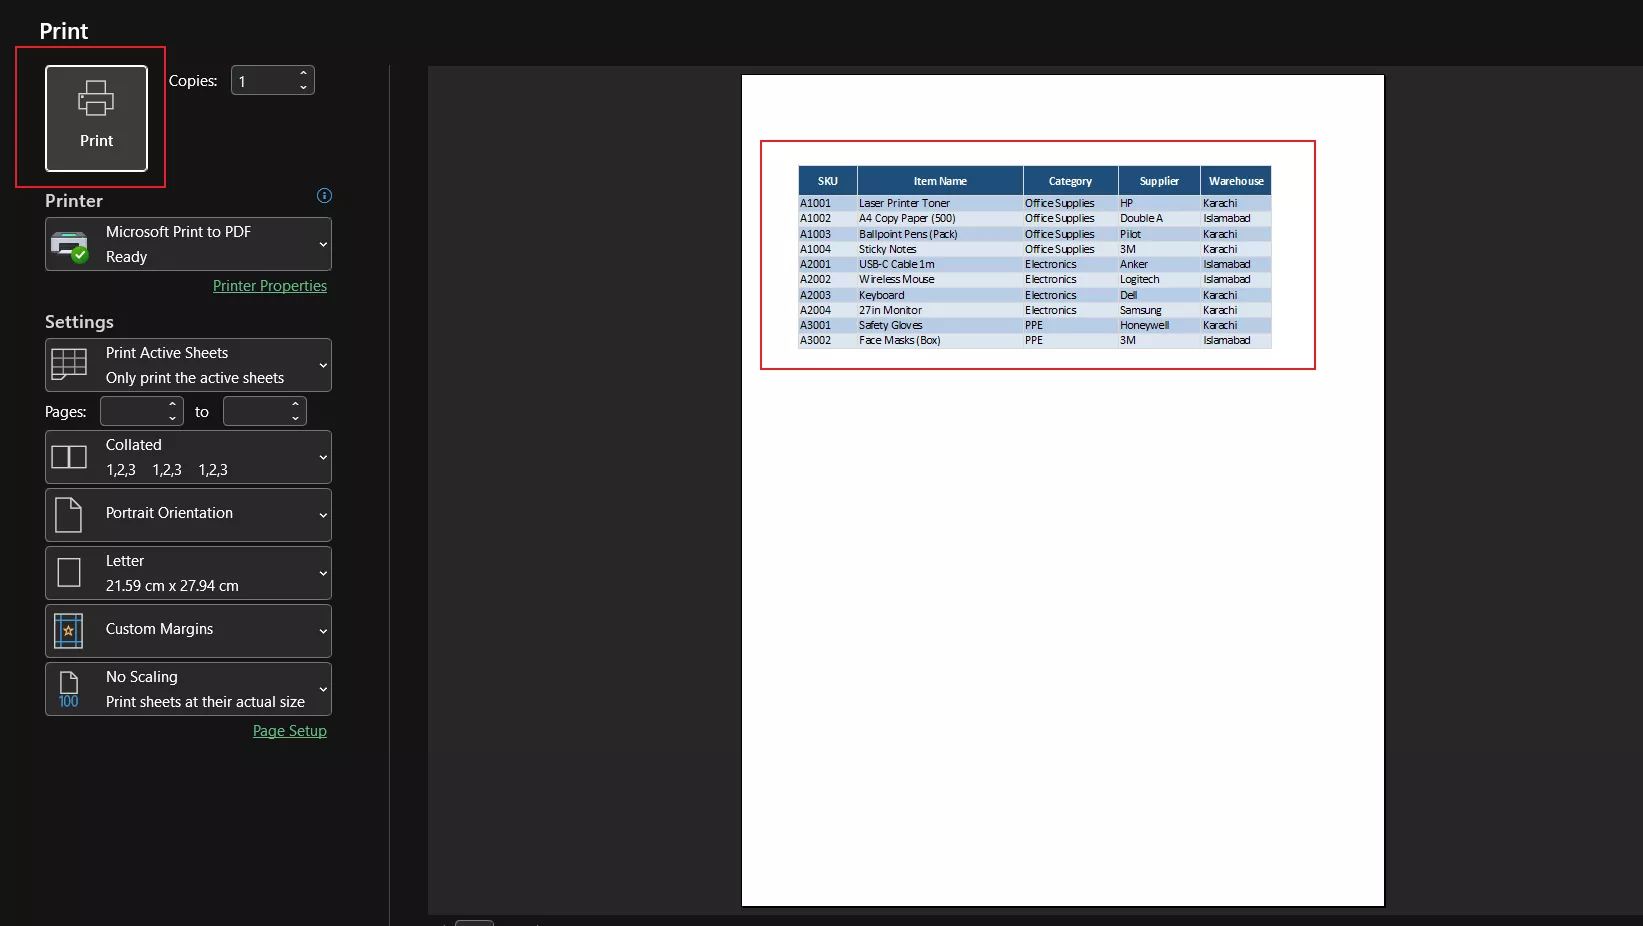
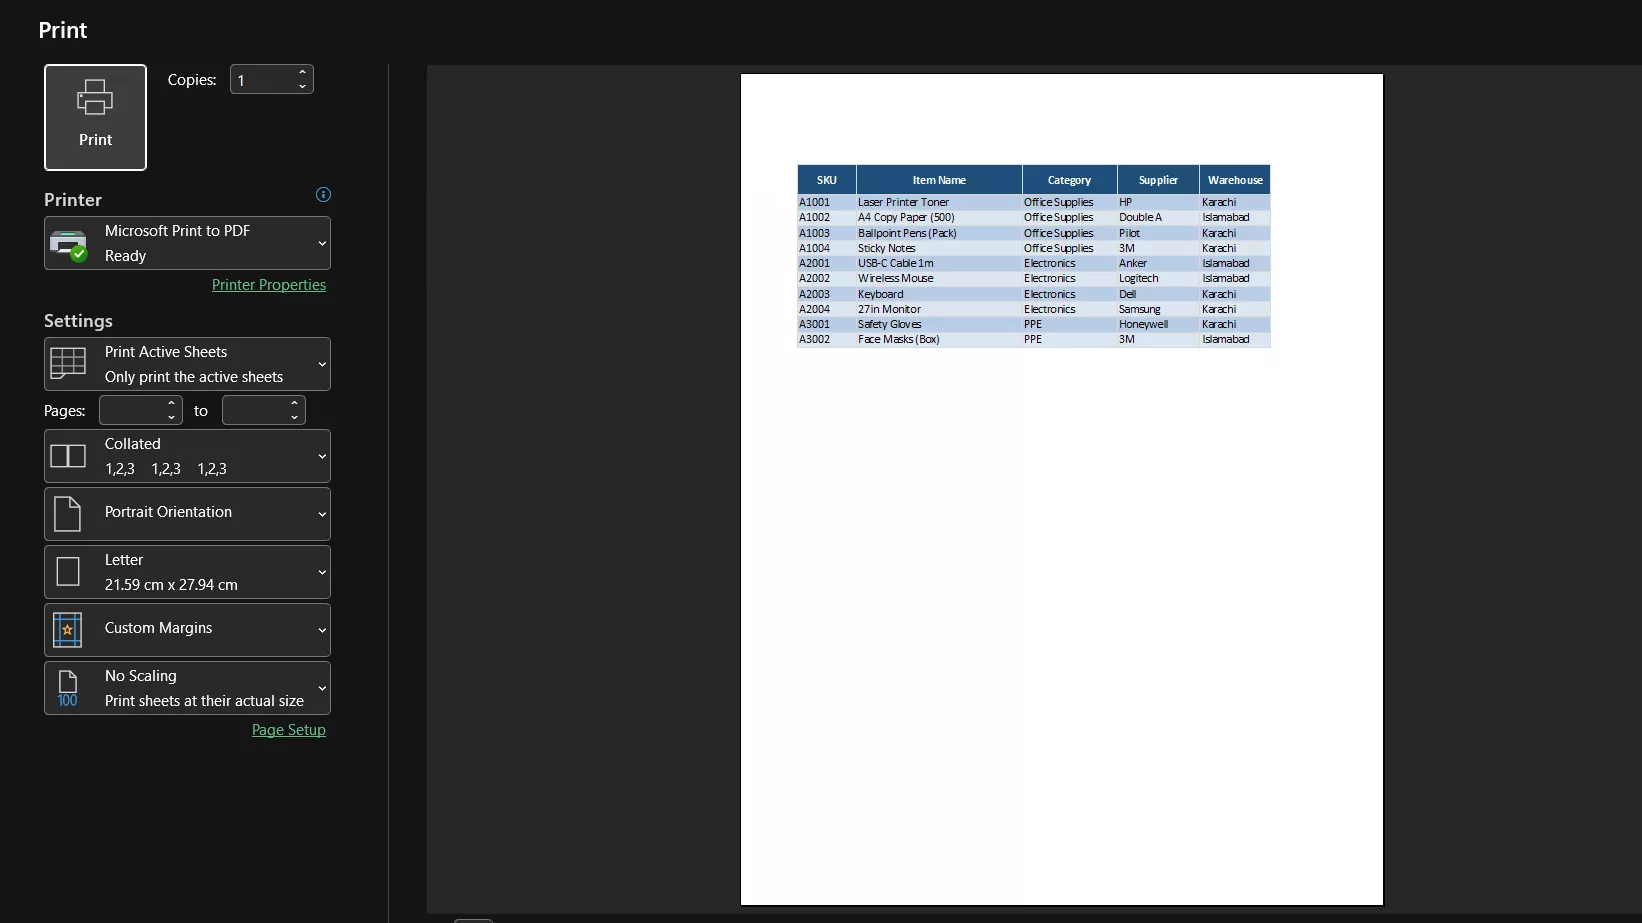
Step 4: Print Or Verify Your Print Area
To confirm everything looks right, I press Ctrl + P to open Print Preview. If the layout looks clean (no blank pages, no cut-off columns), I’m good to print.
Pro Tip:
Part 2. Defining Print Area In Excel – Advanced Tips
Once I’ve mastered the basics of setting a print area, I usually go a step further to make sure my Excel sheets print cleanly and professionally. These advanced options are especially helpful when I’m working with large reports, multiple tables, or worksheets that don’t fit perfectly on one page.
In many cases, these small adjustments are what turn a messy printout into something readable and presentable. Below are the tips I personally use when defining print area in Excel more efficiently.
1. Select Multiple Print Areas (Hold Ctrl While Selecting)
Sometimes my worksheet has separate tables in different sections. In that case, I hold Ctrl and select multiple ranges before using Page Layout > Print Area > Set Print Area. This allows me to print only the important sections—without including the unused space between them.
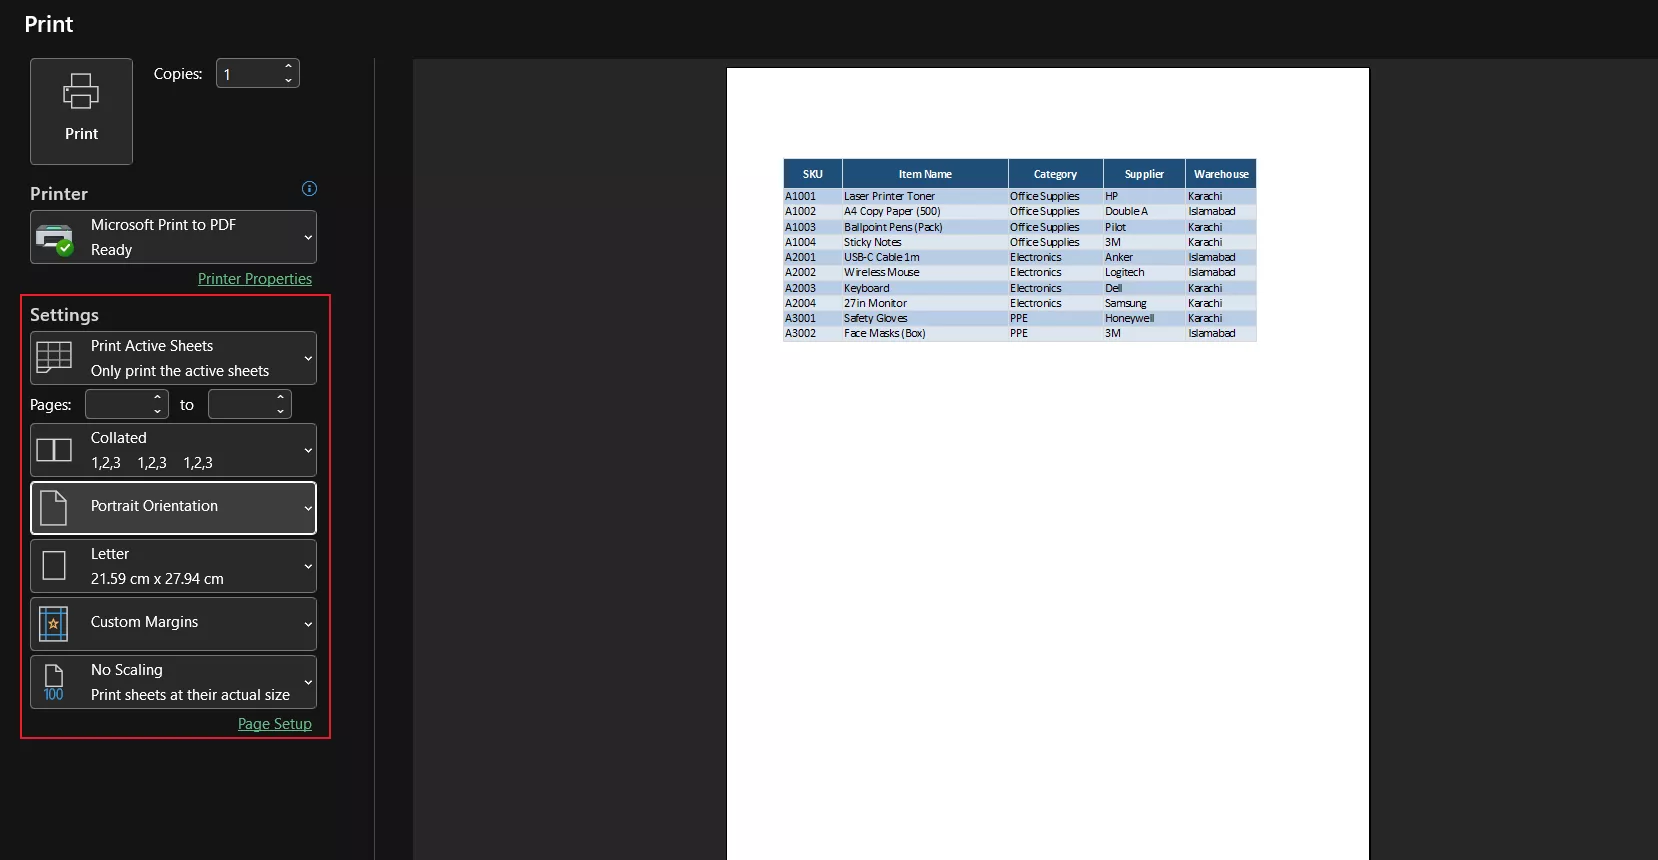
2. Preview The Print Area Before Printing
Before I hit print, I always verify the layout using Ctrl + P. Print Preview instantly shows whether my data is cut off, stretched awkwardly, or split into unwanted pages. It saves me from wasting paper, especially when the worksheet is long.
3. Print Settings Optimization
This is where Excel really becomes flexible. I fine-tune the print settings depending on the worksheet style:
- Orientation: If my table has too many columns, I switch to Landscape so everything fits better. For smaller reports, Portrait works fine.
- Margins: I often choose Narrow margins to squeeze more data onto the page without shrinking text too much.
- Scaling: If space is tight, I use scaling options like Fit to 1 page wide or Fit to 1 page tall. This helps keep the worksheet readable while controlling how many pages it prints.
Part 3. Bonus Tip: Exporting Your Print Area To PDF
Once I finish defining print area in Excel, I usually export that exact range to PDF before sharing it. The reason is simple: PDFs preserve the layout exactly as intended. Unlike Excel files, a PDF won’t randomly shift margins, split columns across pages, or introduce blank sheets when someone opens it on another computer. That’s why exporting the selected print area to PDF works perfectly for sending invoices, reports, and clean data snapshots.
How To Export from Excel (Quick Steps)
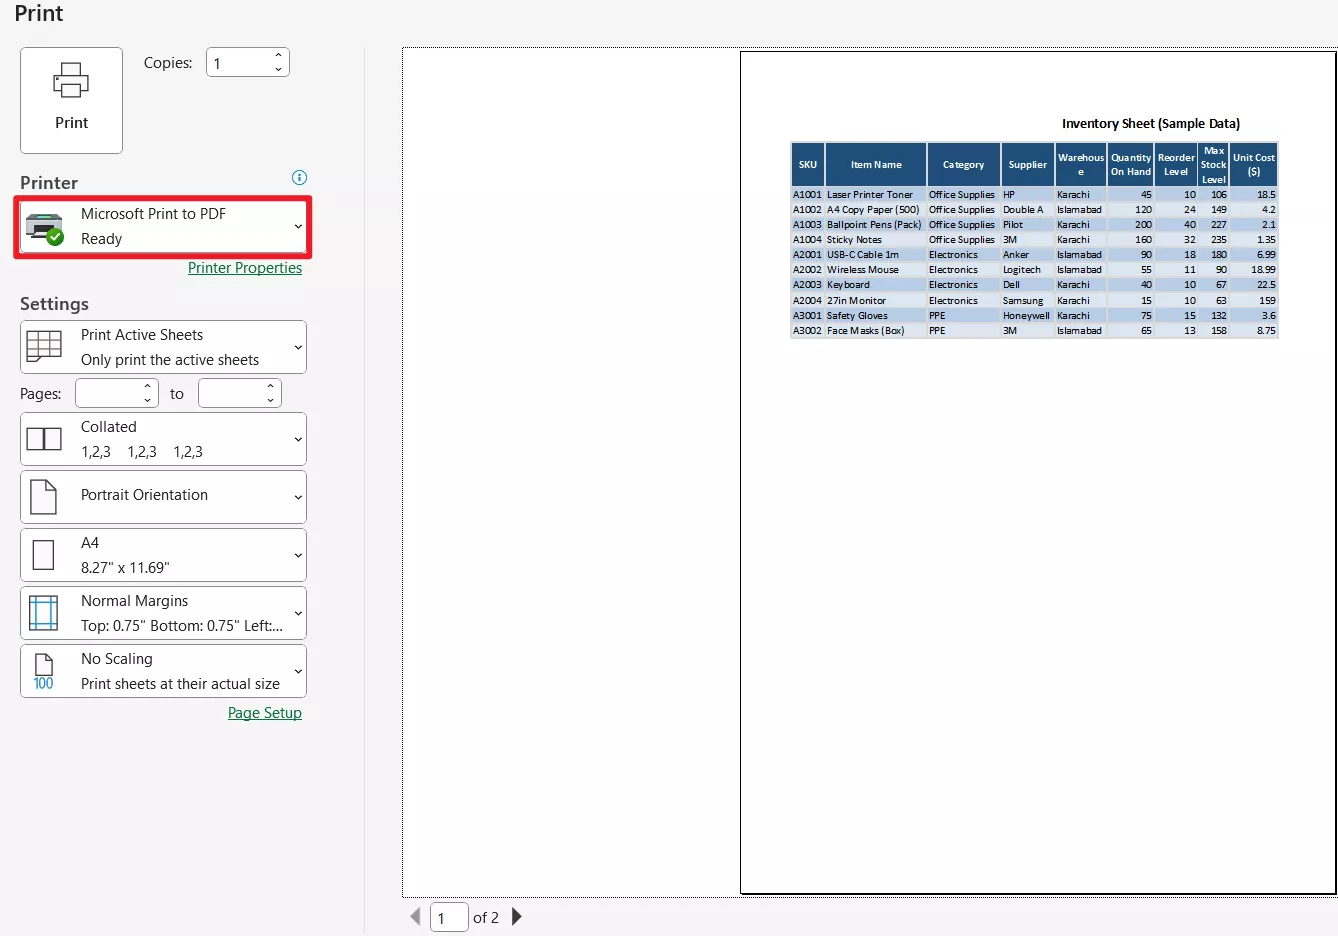
Step 1: Confirm Your Print Area
Before exporting, I open Print Preview (Ctrl + P) and make sure only the intended range is visible.
Step 2: Export the Print Area as PDF
Next, I go to File > Print > Select Micorsoft Print to PDF from the Printer section (or File > Save As and choose PDF). I make sure the option is set to export the selected range/worksheet so the PDF reflects my exact print layout.
Step 3: Save and Open the PDF
Once saved, I open the PDF to confirm it looks clean, same table size, correct page breaks, and no unexpected blank pages.
Edit And Polish the PDF In UPDF
After exporting, I use UPDF to make the PDF look more professional before sharing it. It’s fast, simple, and gives me complete control over the file. At the same time, for anyone who regularly shares Excel-based reports or invoices, UPDF works as a practical all-in-one editor for cleaning up, protecting, and finalizing PDFs without hassle.
Windows • macOS • iOS • Android 100% secure
- Advanced Editing: I can edit text, insert links, and adjust images directly in the PDF, which is useful when small corrections are needed before sending.
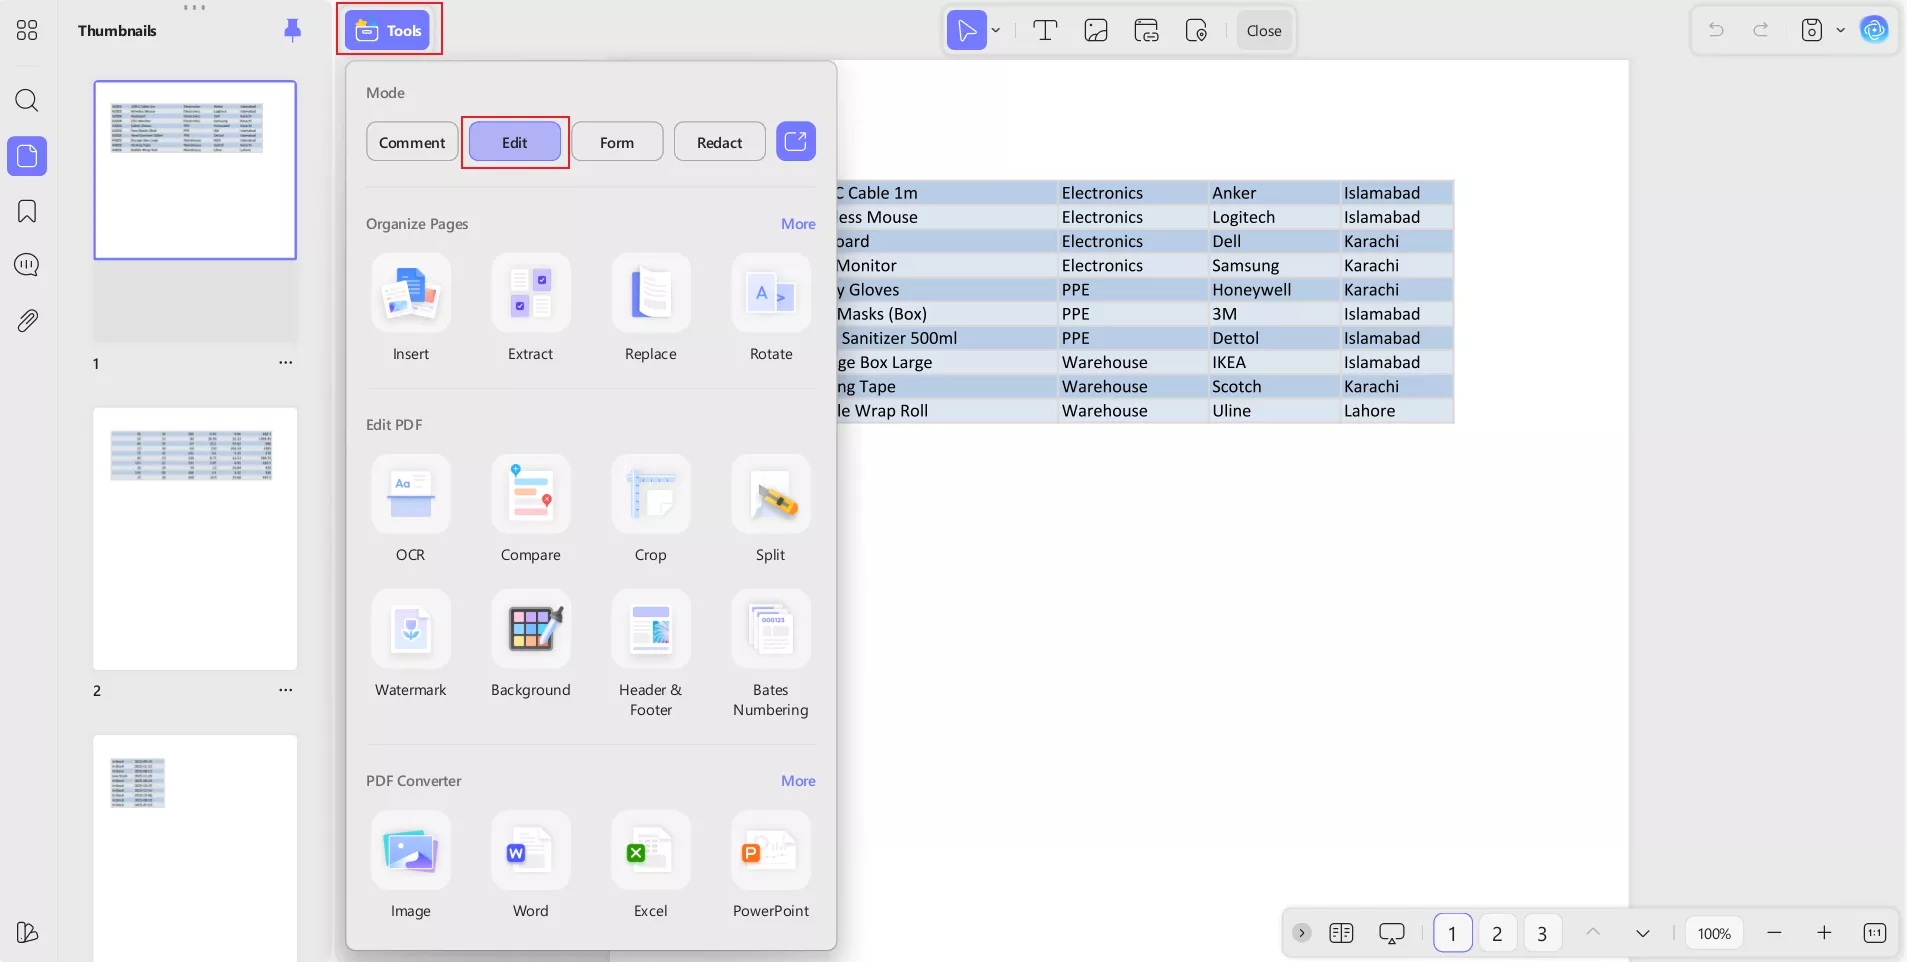
- OCR: If the PDF contains scanned content, UPDF’s OCR helps users convert it into searchable and editable text.
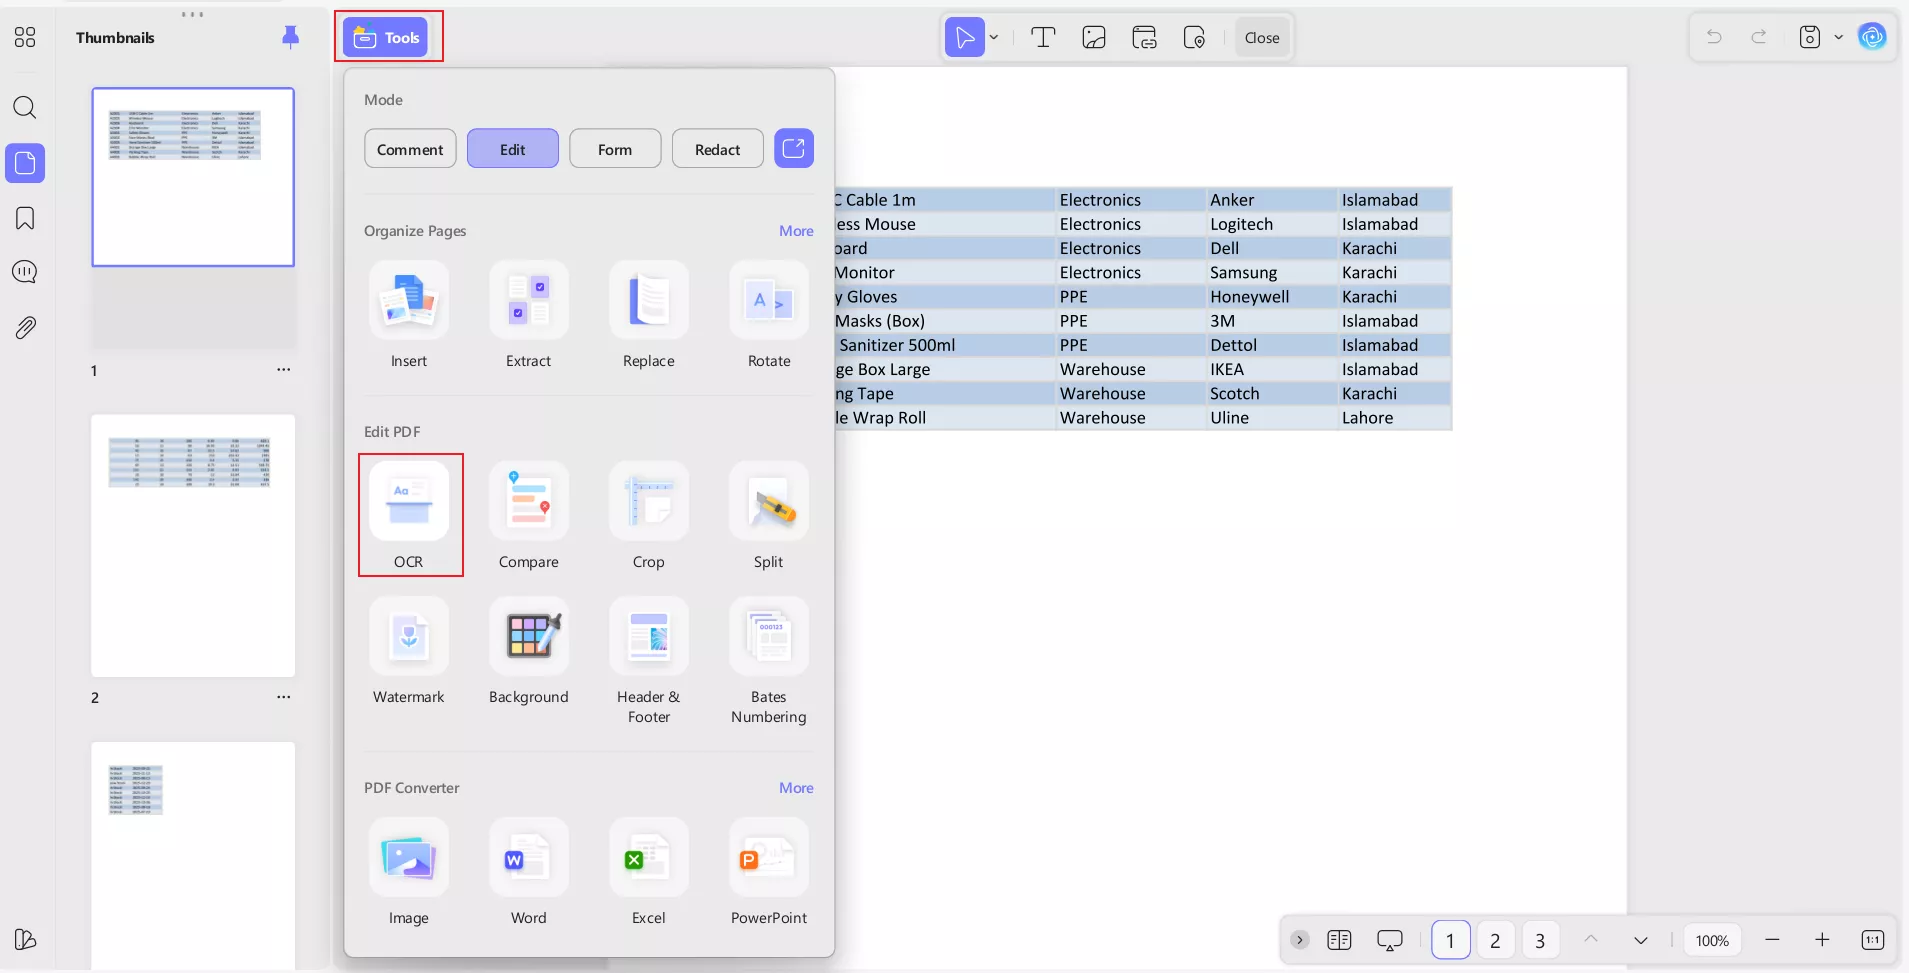
- High-Fidelity Conversion: I can convert PDFs to Excel, Word, PowerPoint, TXT, or JPG (and vice versa) while preserving layout and formatting—ideal when someone needs an editable version.
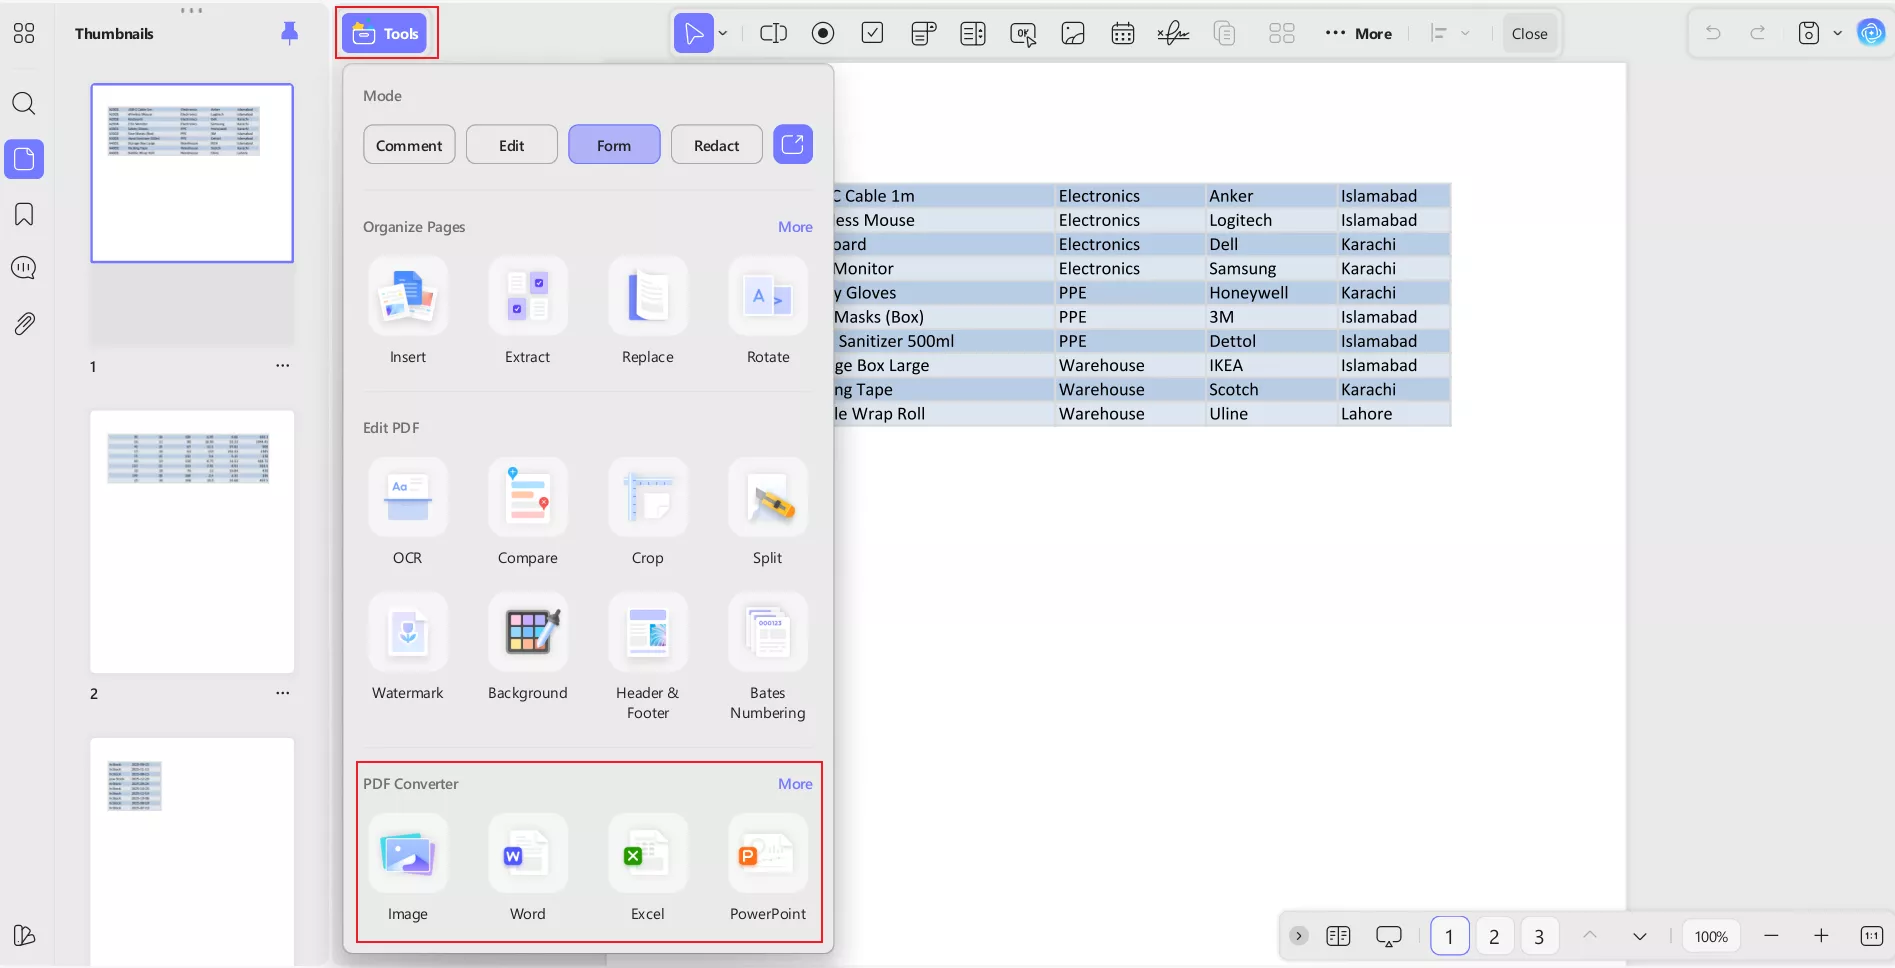
- Organize Pages: UPDF allows users to merge or split files, reorder pages, and add watermarks or headers/footers for a cleaner presentation.
- Security & Signing: I can add passwords, redact sensitive content, and sign documents—especially helpful for invoices or confidential reports.
- Annotation Tools: I can highlight key numbers, add comments, stamp files, or mark up the document before sharing it with clients or teammates.
- Device Flexibility: Users can work across Mac, Windows, iOS, and Android, which makes it easy to edit files on the go.
Windows • macOS • iOS • Android 100% secure
So, with UPDF, I’m not only printing correctly, but I’m also sharing a polished and stable document that looks consistent for everyone, no matter which device they open it on.
Conclusion
Once I understood how do I set the print area in Excel, printing worksheets stopped being a headache. I could finally avoid blank pages and make sure tables weren’t cut off. For professional sharing, exporting the selected print area as a PDF is even smarter because PDFs keep the layout stable on every device.
This is where UPDF becomes useful, it allows users to edit, annotate, protect, or sign PDFs with ease. Personally, it has helped me polish exported Excel reports quickly before sending them out.
Windows • macOS • iOS • Android 100% secure


 Enola Miller
 Engelbert White
 Enola Davis