 UPDF for Windows
 UPDF for Mac
 UPDF for iPhone/iPad
 UPDF for Android
 Nomostar
 UPDF AI Online
 UPDF Sign
 IvyCraft
 Edit PDF
 Annotate PDF
 Create PDF
 PDF Form
 Edit links
 Convert PDF
 OCR
OCR PDF to Word
 PDF to Image
 PDF to Excel
 Organize PDF
 Merge PDF
 Split PDF
 Crop PDF
 Rotate PDF
 Protect PDF
 Sign PDF
 Redact PDF
 Sanitize PDF
 Remove Security
 Read PDF
 UPDF Cloud
 Compress PDF
 Print PDF
 Batch Process
 About UPDF AI
 UPDF AI Solutions
 AI User Guide
 FAQ about UPDF AI
 Summarize PDF
 Translate PDF
 Chat with PDF
 Chat with AI
 Chat with image
 PDF to Mind Map
 Explain PDF
 PDF AI Tools
 Image AI Tools
 AI Chat Tools
 AI Writing Tools
 AI Study Tools
 AI Working Tools
 Other AI Tools
 AI Bookmark Generation
 AI Bookmark Summary
 AI Watermark Generation
 AI Background Generation
 AI Sticker Generation
 AI Stamp Generation
 AI Editing Suite
 UPDF Copilot
 AI Page Management
 AI Semantic Search
 PDF to Word
 PDF to Excel
 PDF to PowerPoint
 User Guide
 UPDF Tricks
 FAQs
FAQs UPDF Reviews
 Download Center
 Blog
Blog Newsroom
 Tech Spec
 Updates
 UPDF vs. Adobe Acrobat
 UPDF vs. Foxit
 UPDF vs. PDF Expert
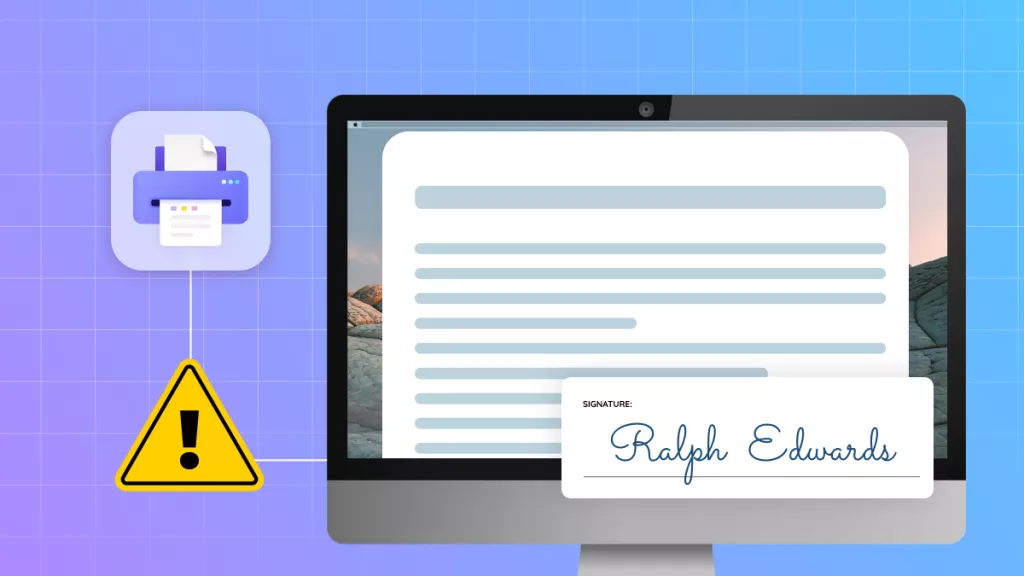
Why is my Word document black when it should be white? This common issue can occur for several reasons, such as corrupted files, Dark Mode being enabled, or incorrect display settings. Many users don’t know how to resolve this problem, but don’t worry—I’ve fixed several Microsoft Word issues, including why documents turn black instead of white.
In this guide, I’ll share the top reasons behind this error and show you how to fix it step by step. Along the way, you’ll also learn about a powerful new tool, UPDF, that can help you manage and view documents more efficiently. Let’s get started!
Windows • macOS • iOS • Android 100% secure
Part 1. Why Is My Word Document Black?
Sometimes, my Word document appears black because of formatting or conversion issues. This similar problem is also discussed in this Adobe Community post, where users explain how document layouts and page settings change when converting DOCX files to PDF. These formatting conflicts can affect how a document looks, including background colors. Does anyone know how to resolve this error— Adobe Community
Just like the user mentioned above, if you’re also facing this issue and don’t know why it’s happening, this section is for you. Below, I’ve listed the top reasons why your Word document appears black instead of white and how you can fix them.
1. Dark Mode
One of the most common reasons your Word document looks black is that you have enabled the Dark Mode. Microsoft Word offers several options for how a document will look, and when Dark Mode is turned on, the document background may appear black to reduce eye strain.
2. Black Word Background Color
Another reason your Word document may appear black is the page background color setting. Sometimes, when you apply a new theme or template, Word automatically changes the background color to black.
3. Black Text Selecting
Many users have reported this issue, “Why is my Word document black when I select text?”, on Reddit and Stack Overflow. This usually happens because of display or theme conflicts. For example, when you highlight text, Word may change the background or text color, making the selected text appear black.
4. Black Text Coping
If your text turns black after copying and pasting, it’s usually because of formatting problems. Word copies the same style from the original text, which can make your text or the background look black. This usually happens when you try to copy and paste something from a specific website.
Part 2. How Do I Turn Off Black Mode In Word?
Before trying other solutions for “Why is my Word document black?” I would first recommend turning off your Black mode in Word. Here is how you can do it.
Step 1. Open your Word file and go to File.
Step 2: Scroll down and click the “Account” option.
Step 3. From there, change the Office Theme color from Black to White.

Bonus Tip:
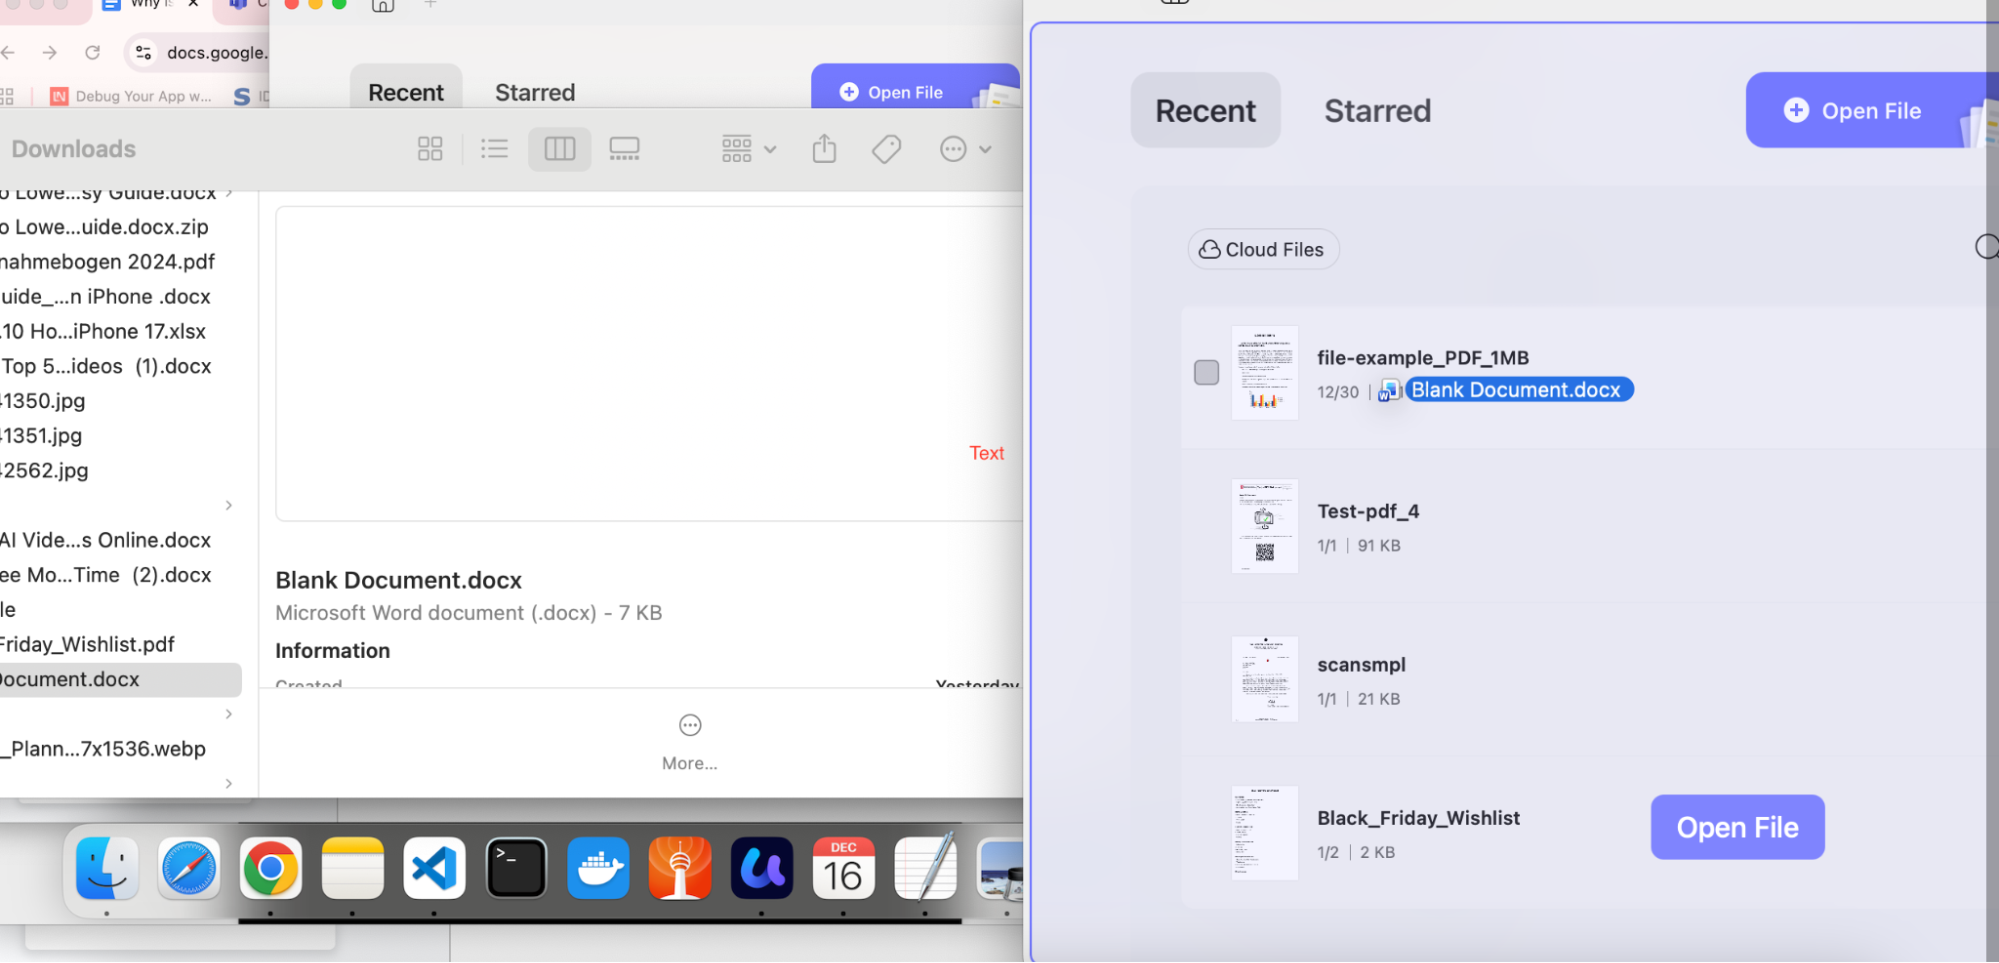
However, you first have to upload a Word file to UPDF, so it can convert it into a PDF. To do that, just drag-and-drop your Word file, and the tool will automatically convert it into PDF format.
Windows • macOS • iOS • Android 100% secure
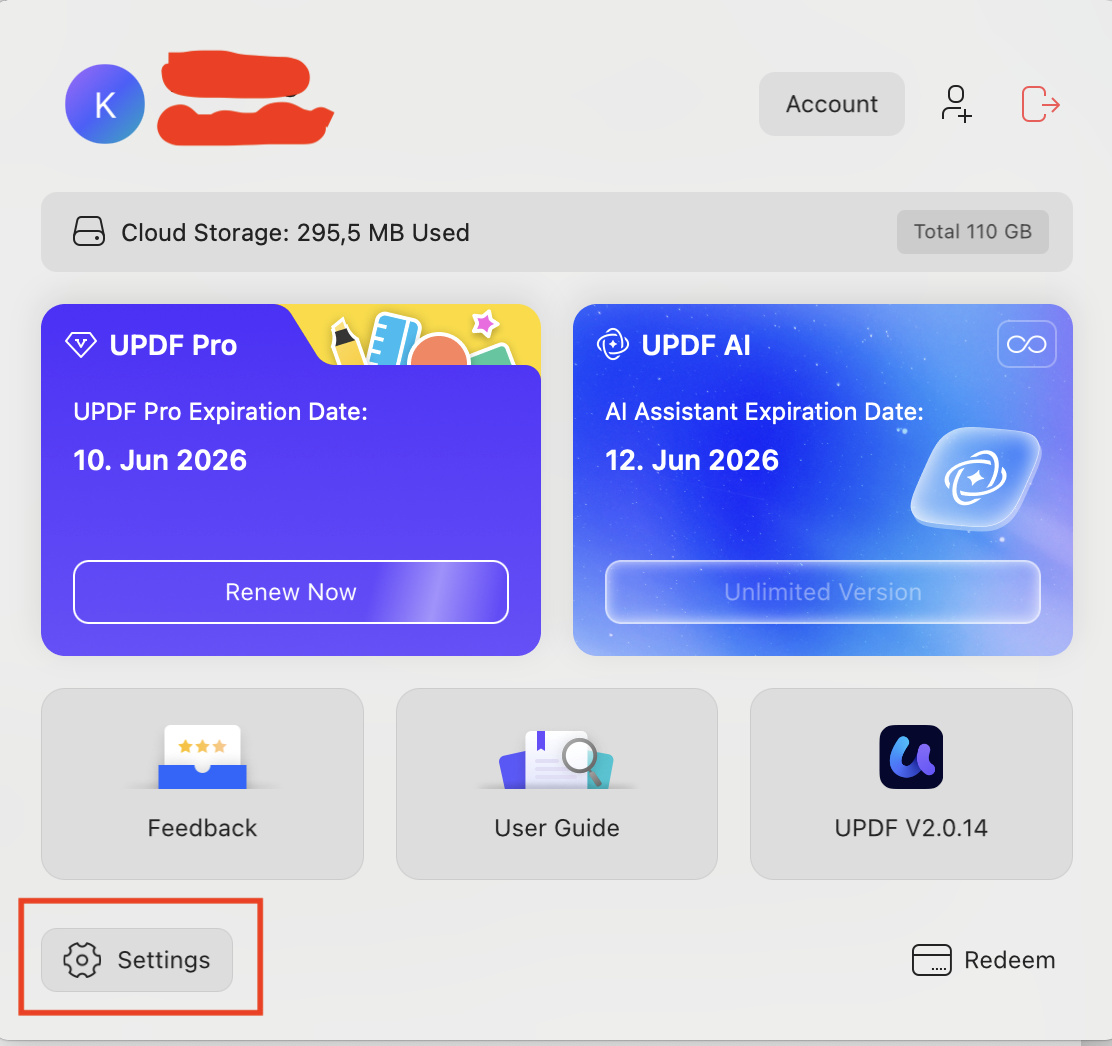
Now, open your PDF and click Accounts to open the “Settings” option.
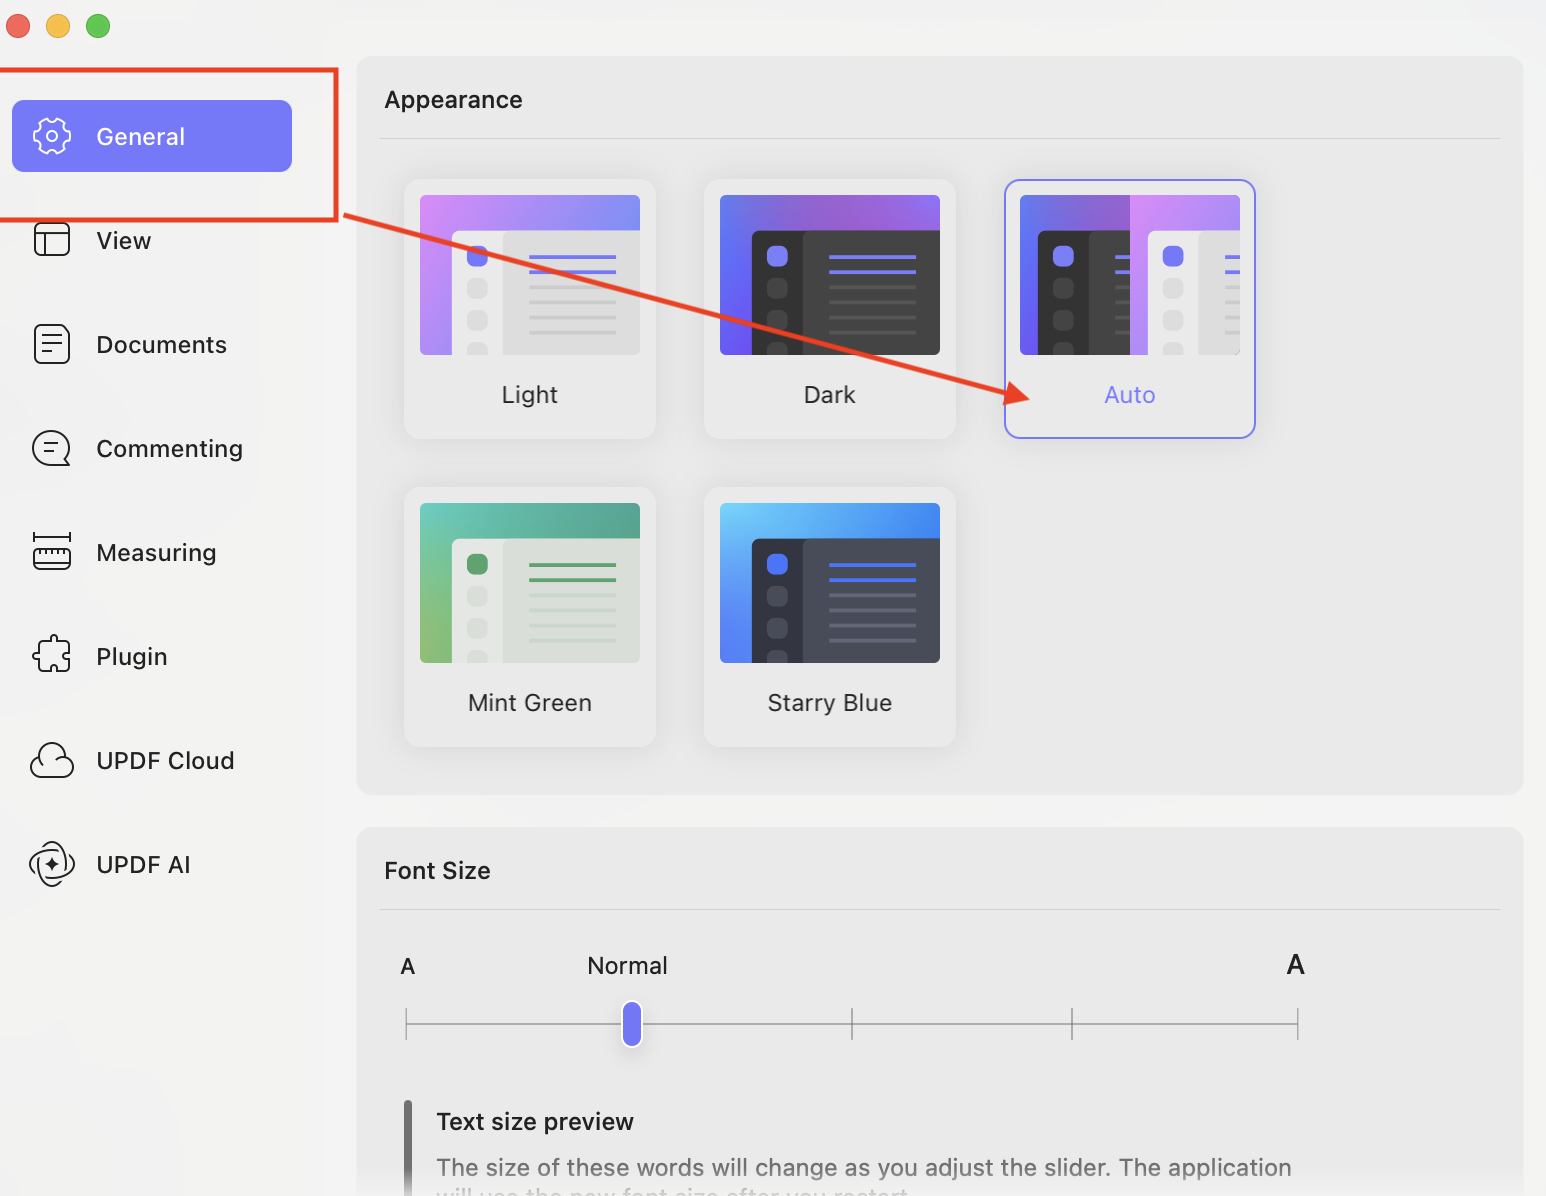
On the screen, you will see “General”, so click it and choose your document's Appearance, such as Light, Dark, Auto, and so on.
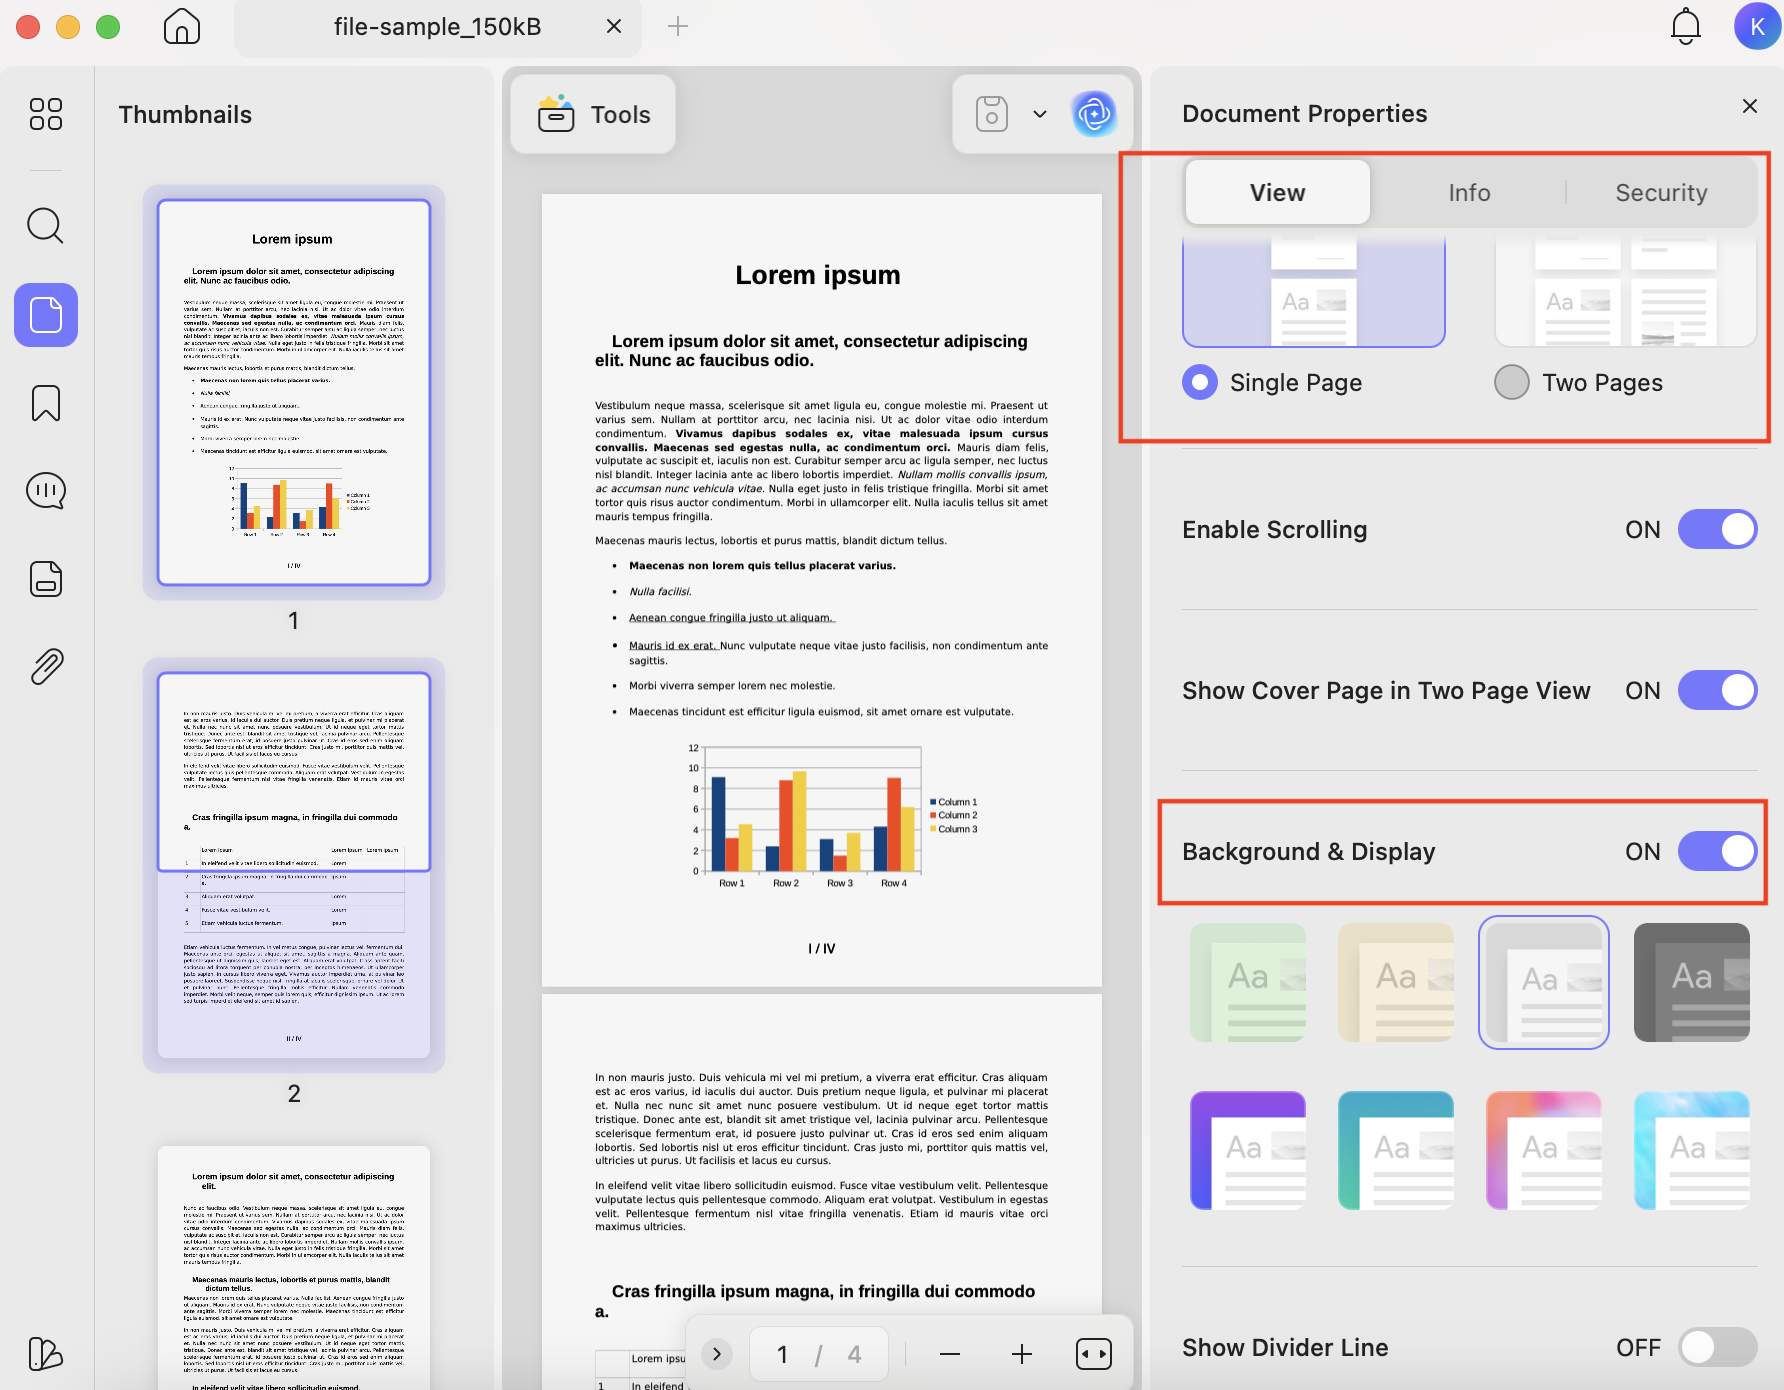
Next, choose the “View” mode for the Default Page layout. Choose your preferred reading mode: single page or two pages. Also, don’t forget to select your Background & Display settings as shown in the image below.
Part 3. How Do I Turn a Black Page Into White In Word?
There are two methods of turning a black page into white in Word. The first one is using UPDF software, and the second method is trying the Page color feature in Word. Let’s discuss these methods.
Way 1: UPDF
You can use your UPDF app to remove black background from your Word file.
Step 1. Open UPDF and drag-and-drop your Word file.
Windows • macOS • iOS • Android 100% secure
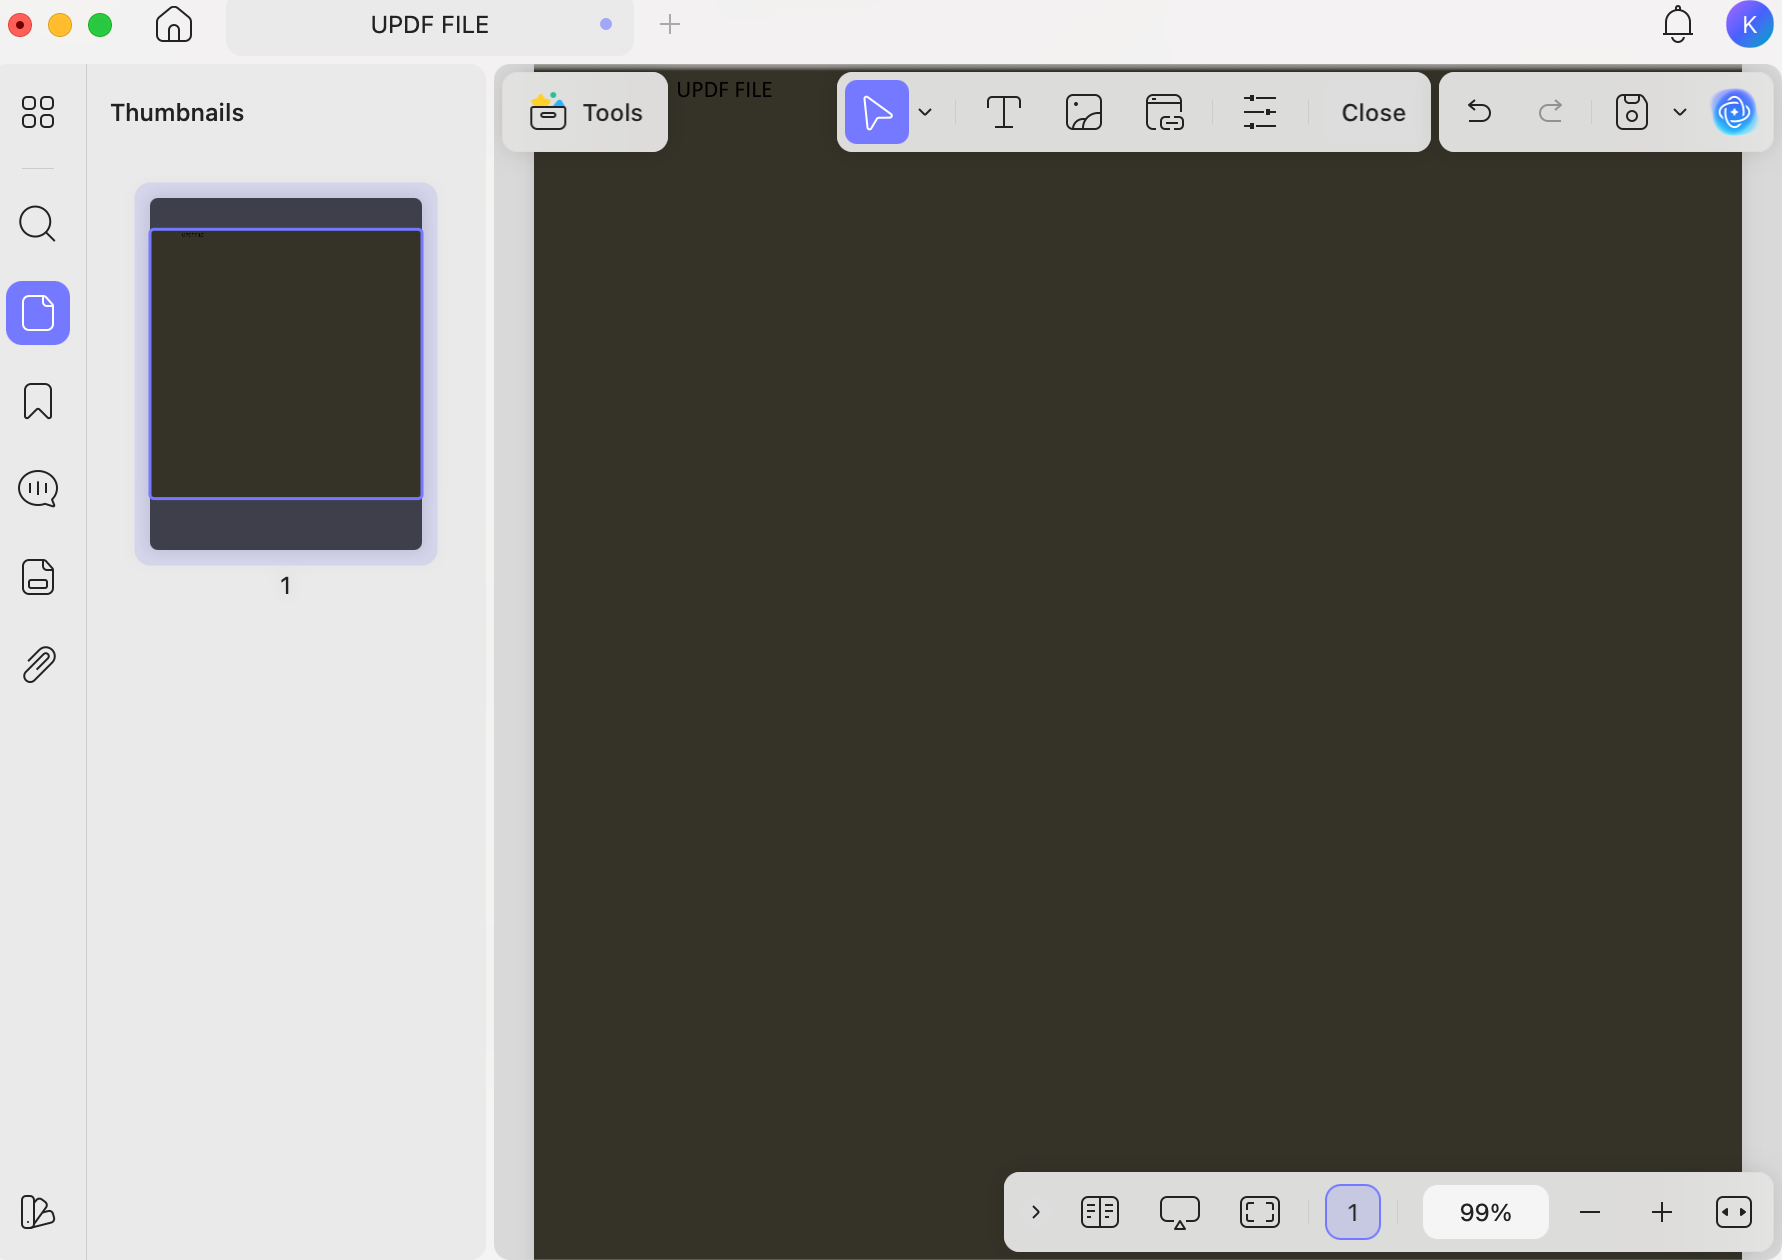
Step 2. To remove the black background, click the “Tools” option and select “Background.”
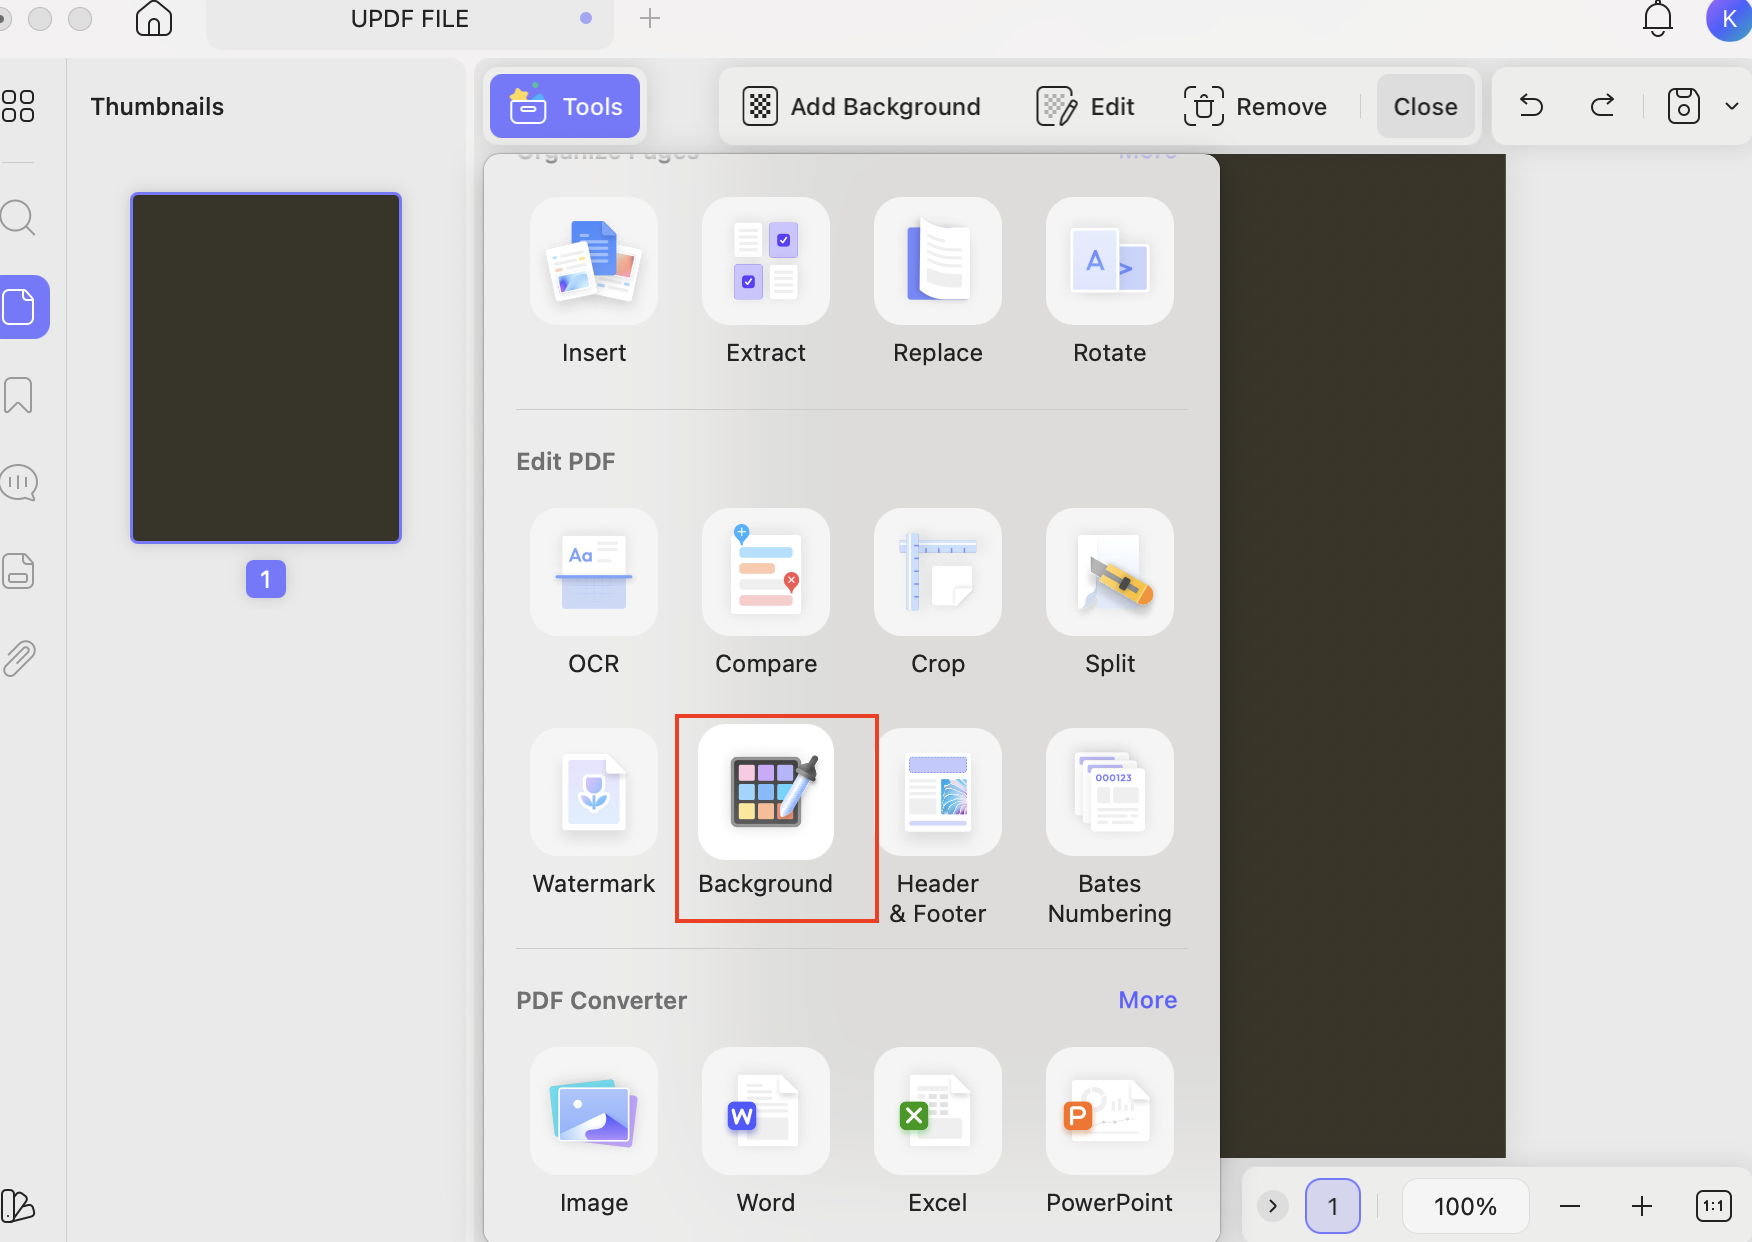
Step 3. Now, click the “Remove” option, and the tool will delete the background as an image.

Way 2: Page Color Feature
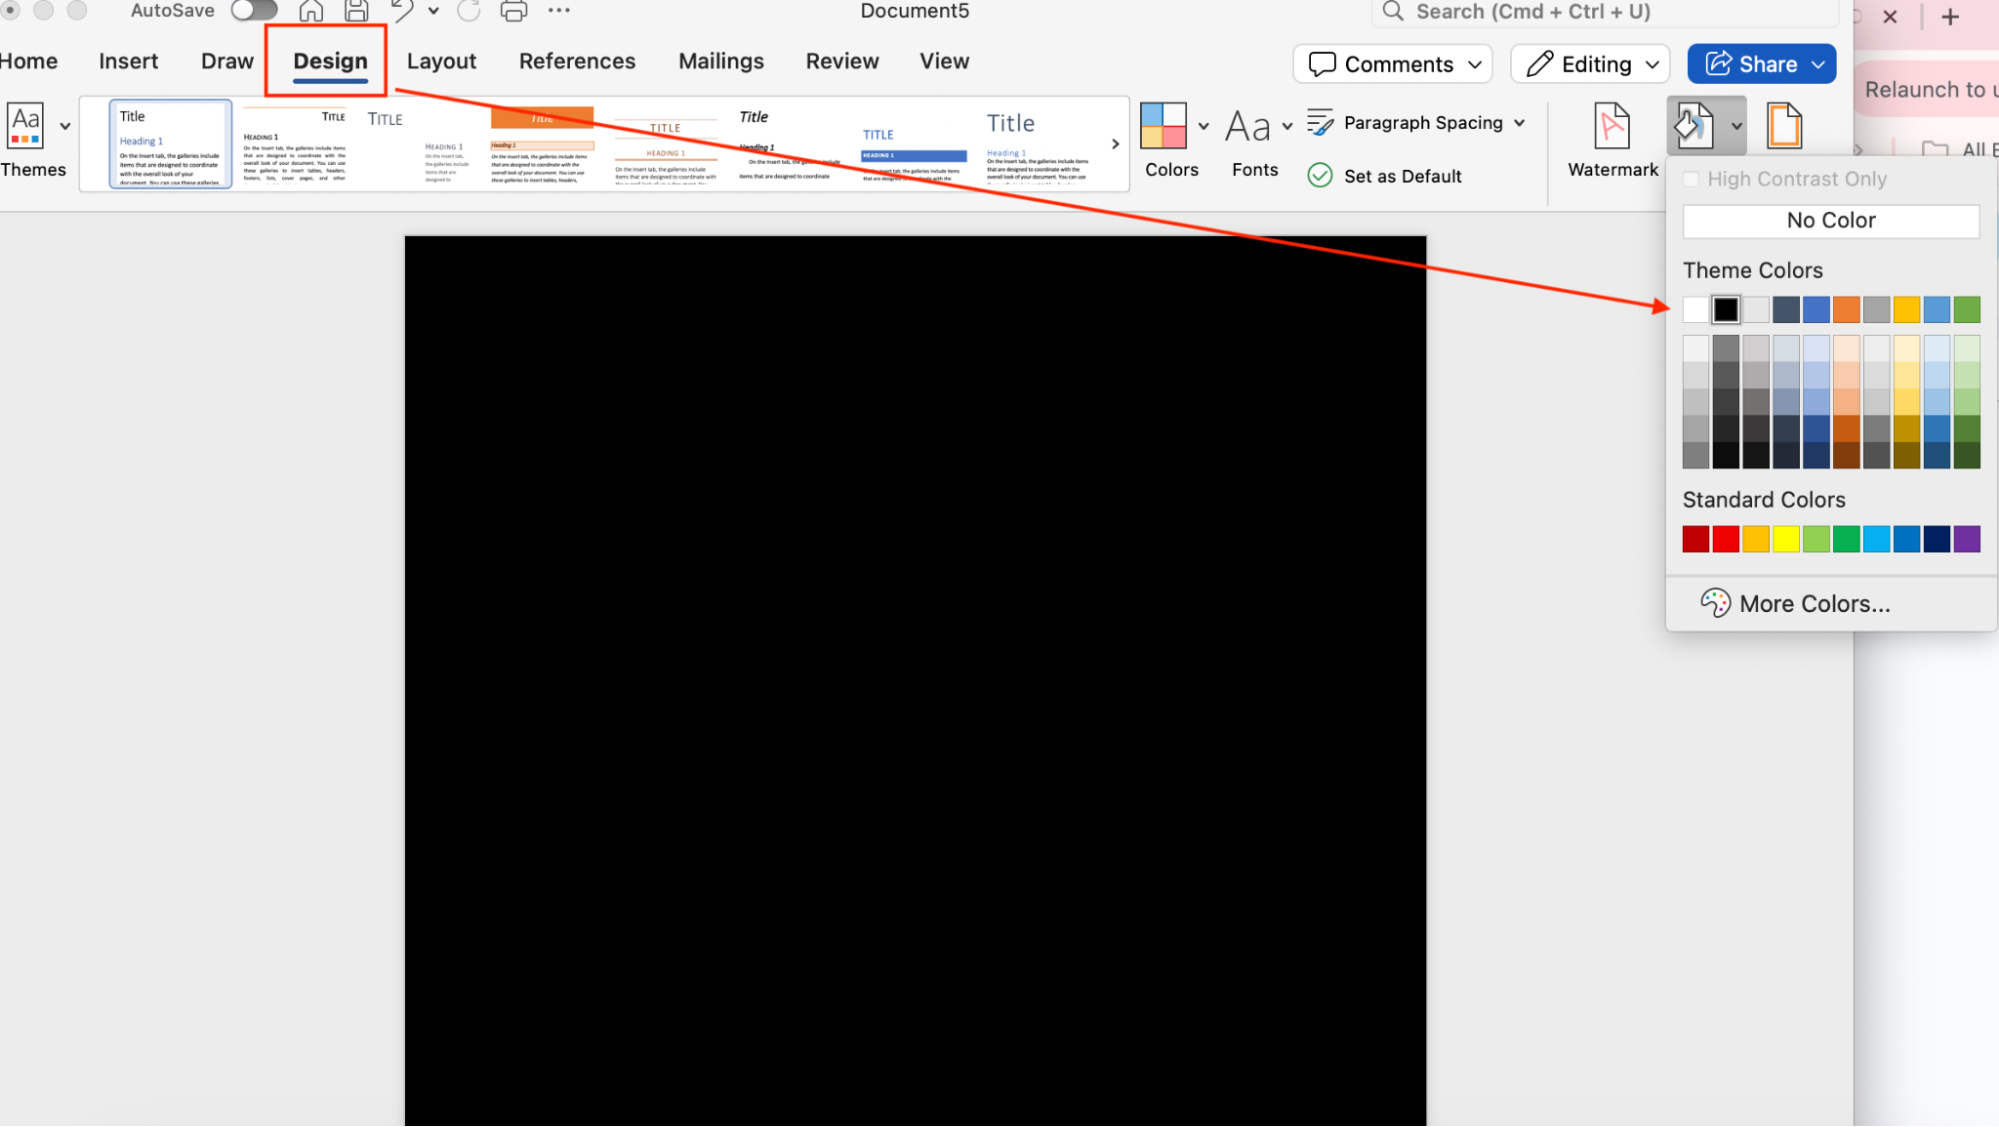
To change the page color from black to white in MS Word, open the document and click on the Design option. Then select Page Color and choose White from the given options.
Part 4. How to Get Rid of the Black Highlighted Text in Word?
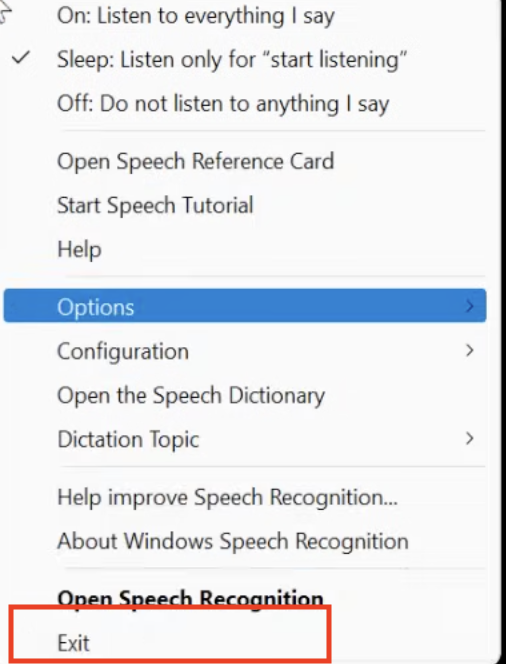
If the text you select in Word turns black, then it's because of Windows Speech Recognition. You can easily fix this problem by following a few simple steps.
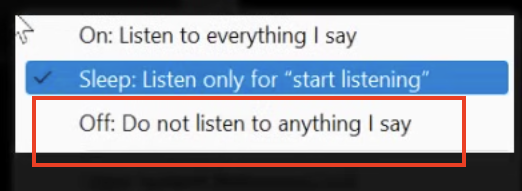
Step 1. Open your Windows search bar and look for the Windows Speech Recognition option. You will see the bar at the top of your screen. You can also press Windows + Ctrl + S to turn off this option.

Step 2. Right-click it and choose Off: Do not listen to anything I say.
Step 3. Again, click the bar and choose the “Exit” option.
Part 5. How To Remove a Black Background In Word When Copied Text?
If you copied from a website and it turns into black color, then here are three different methods that you can try to resolve this issue. Let’s discuss these methods one by one.
Method 1: Use Shortcut Keys
If your text background color is black while pasting, select all your content and press Ctrl + Space Key together. Your background color will be removed.

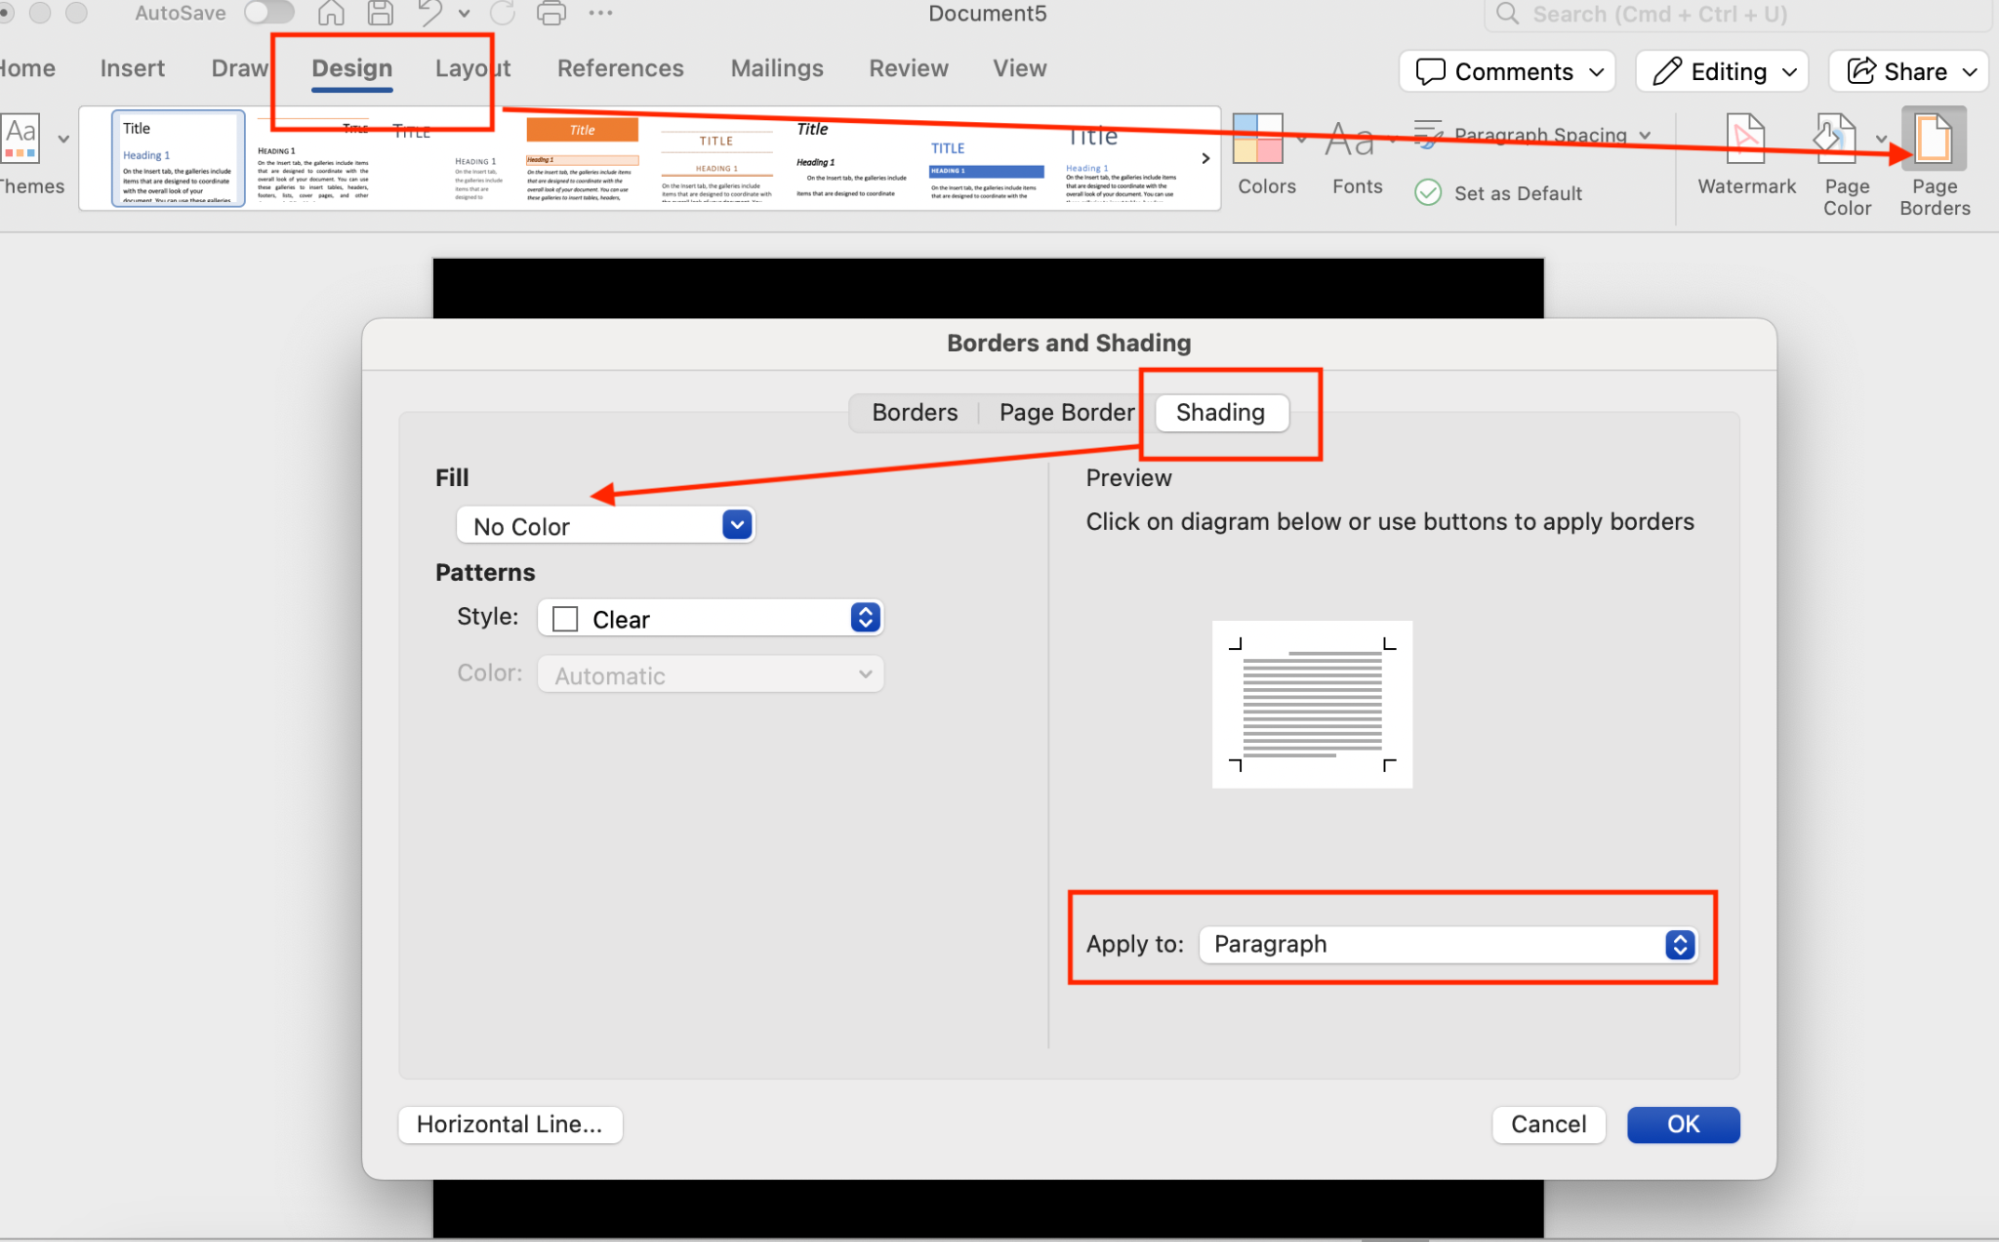
Method 2: Design Option
The second method is using the Design option to remove the background color. Here is what you have to do.
Step 1. Go to “Design” and click “Page Border.”
Step 2. Click the “Shading” tab and go to the “Fill” option to choose No Color.
Step 3. Apply the settings to the text and click “OK.” Your text background color will be changed.
Method 3. Use NotePad
If the first two methods didn’t remove the black background from your pasted text in Word, this third method will work for you.
Step 1. Open Notepad on your computer and paste the text into Notepad using Ctrl + V. Notepad will automatically remove all formatting and will show a plain text.
Step 2. Select all text in Notepad using Ctrl + A and copy it.
Step 3. Open your Microsoft Word document and paste the text again. Hopefully, you’ll see the text in Word with your default formatting.
Bonus Tip:
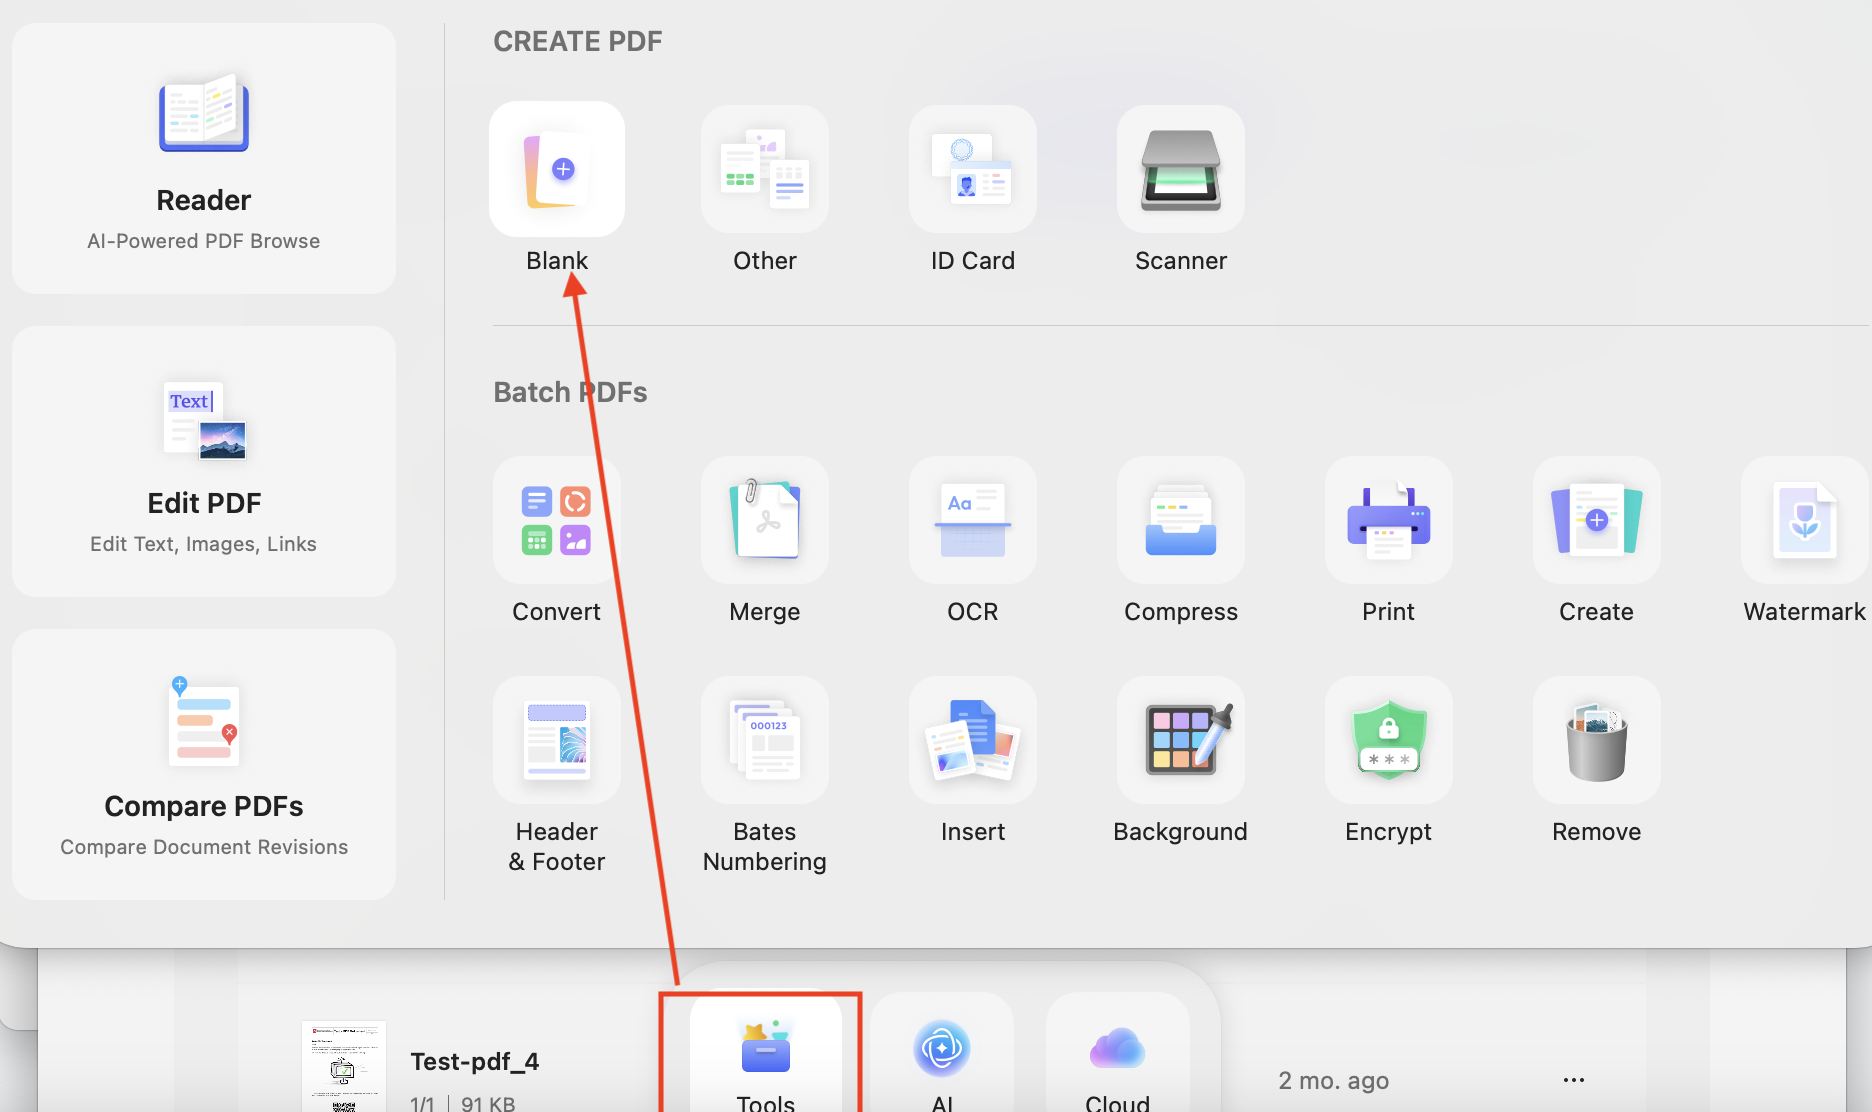
Instead of pasting text into Word, you can create a blank PDF in UPDF and paste your content there. With this option, you can easily edit or import the Word file to UPDF. To do that, follow the steps below.
Step 1. Open UPDF and click the “Tools” option. Now, choose “Blank” under Create PDF.
Windows • macOS • iOS • Android 100% secure
Step 2. Once your blank PDF is created, drag and drop the text directly from the webpage into UPDF. You will notice that the black background won’t be copied.
Step 3. After copying the text, you can edit the alignment, color, and so on.
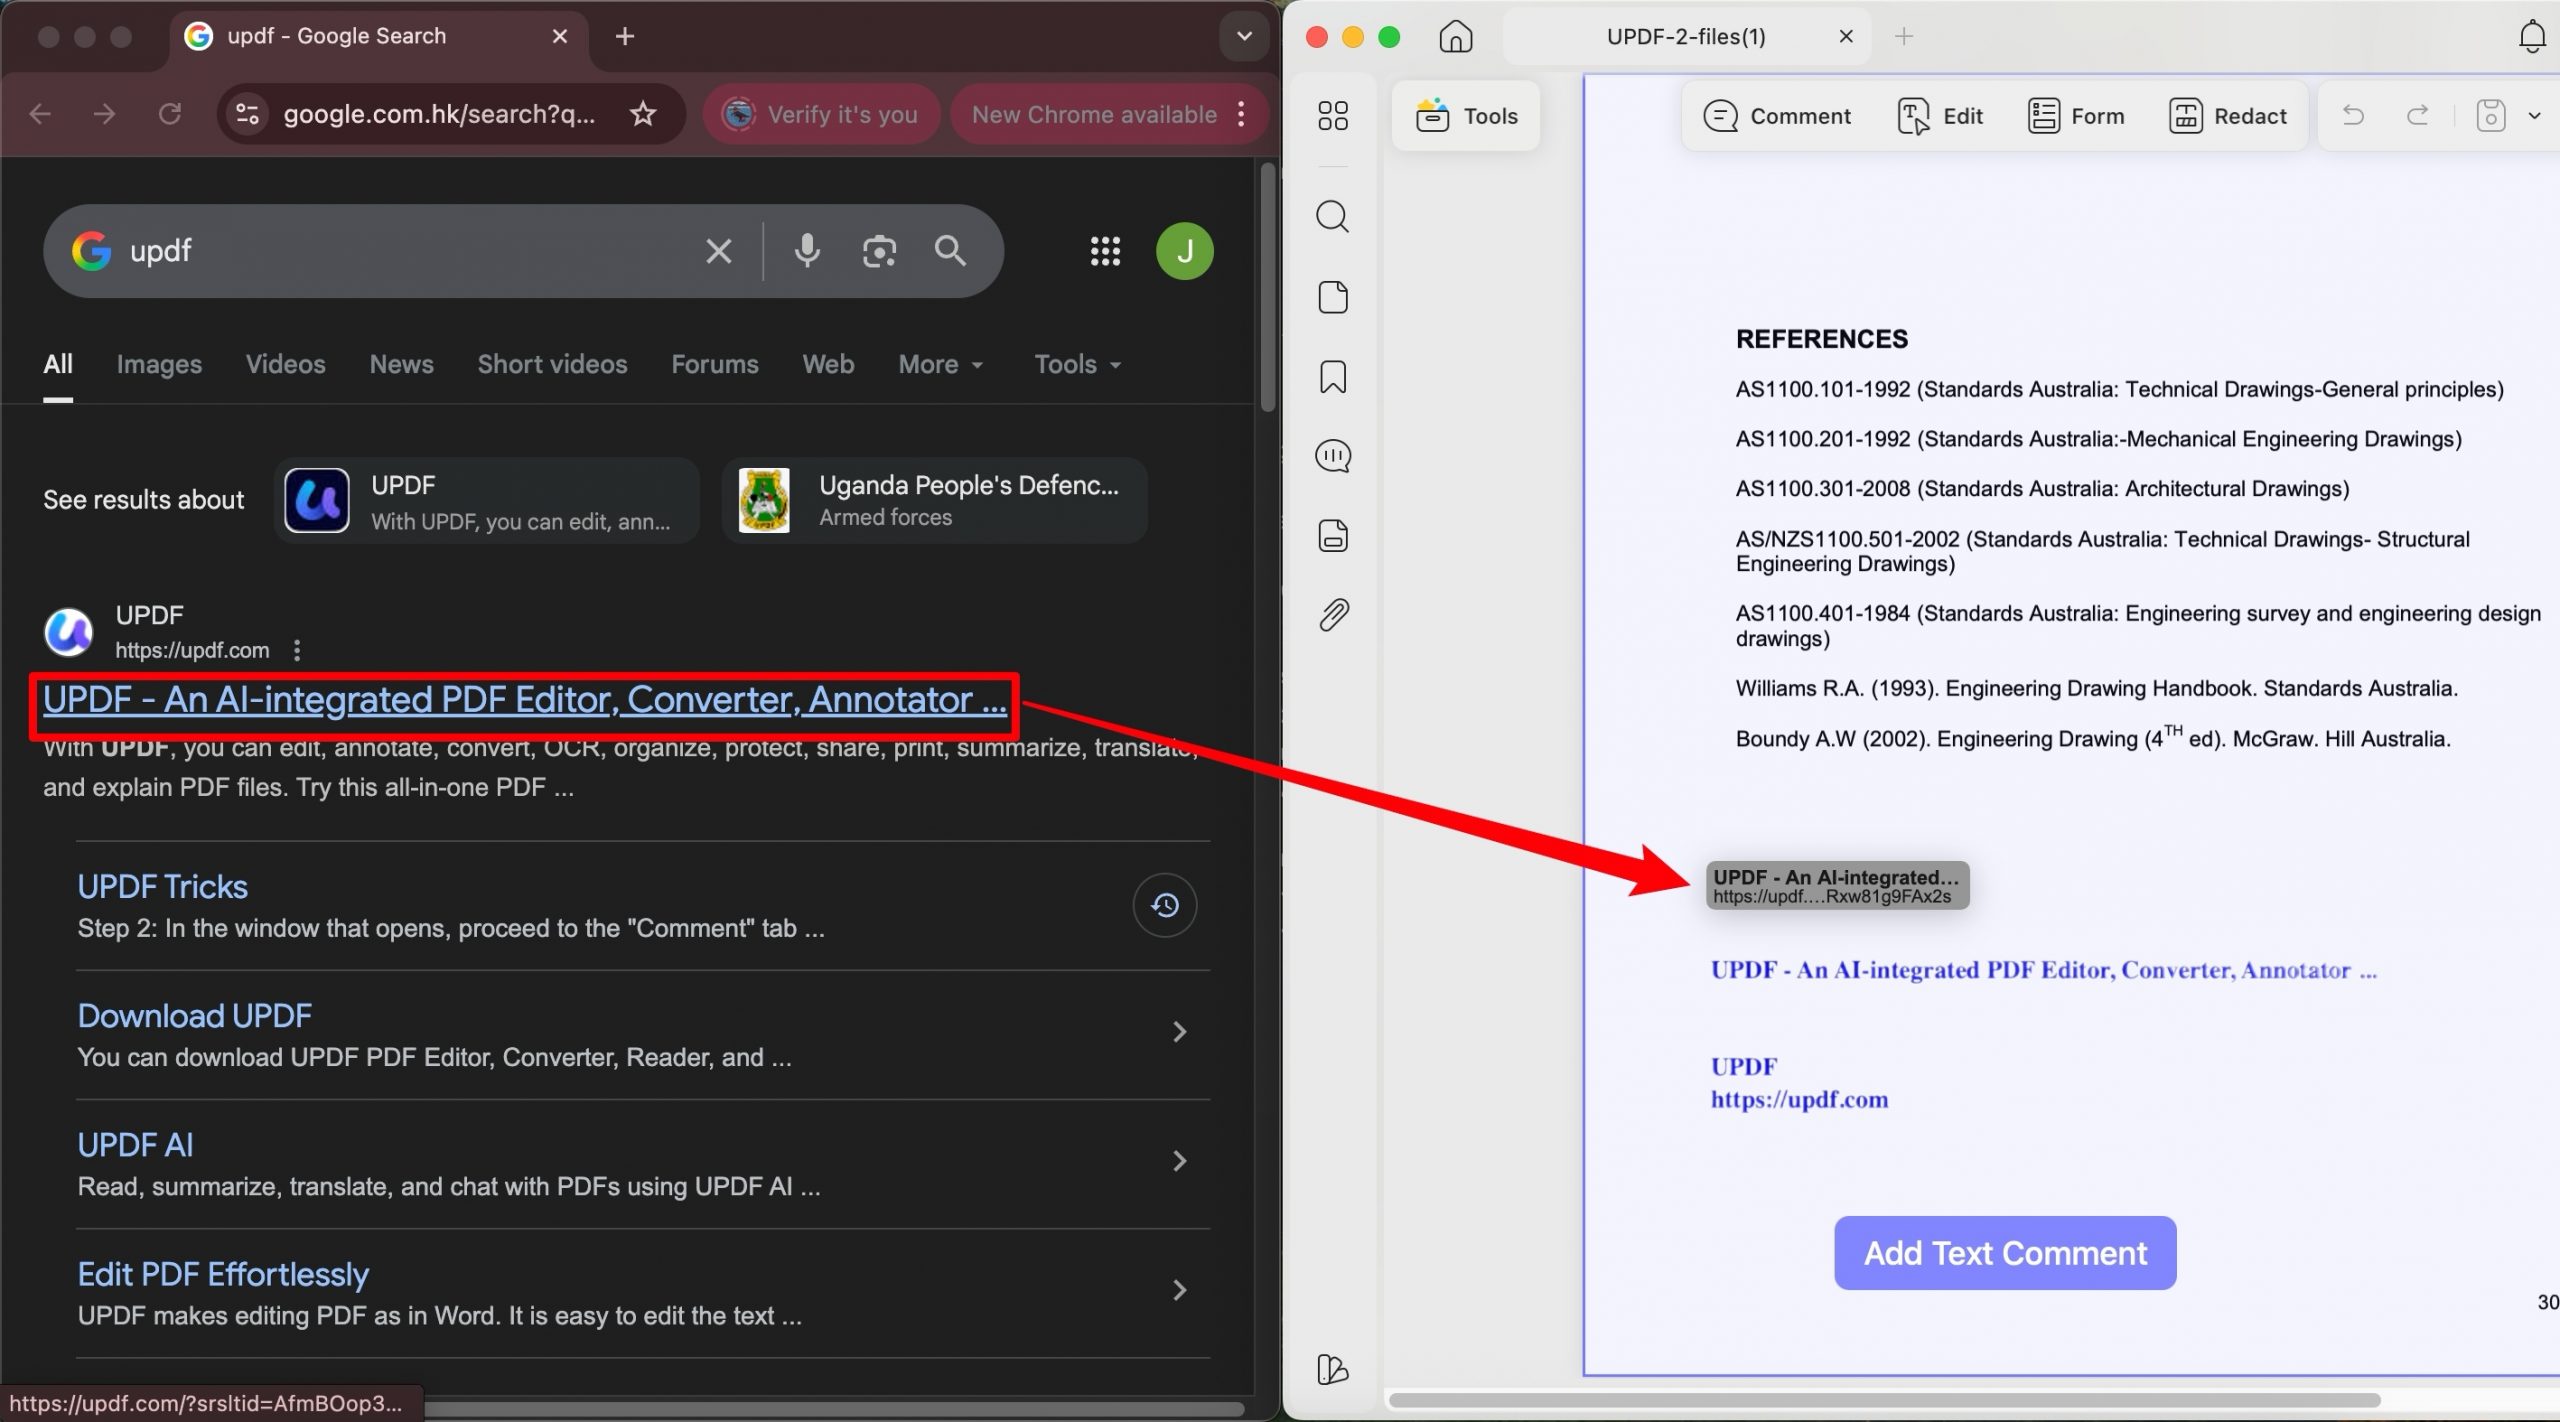
After finishing all edits in the PDF, simply convert the PDF to Word using UPDF. It is a powerful and easy-to-use PDF editor available for Mac, Windows, iOS, and Android. With this tool, you can edit text, annotate PDFs, organize pages, and convert PDFs to Word, Excel, PowerPoint, and more while maintaining formatting. To convert a PDF to Word, here is what you have to do.
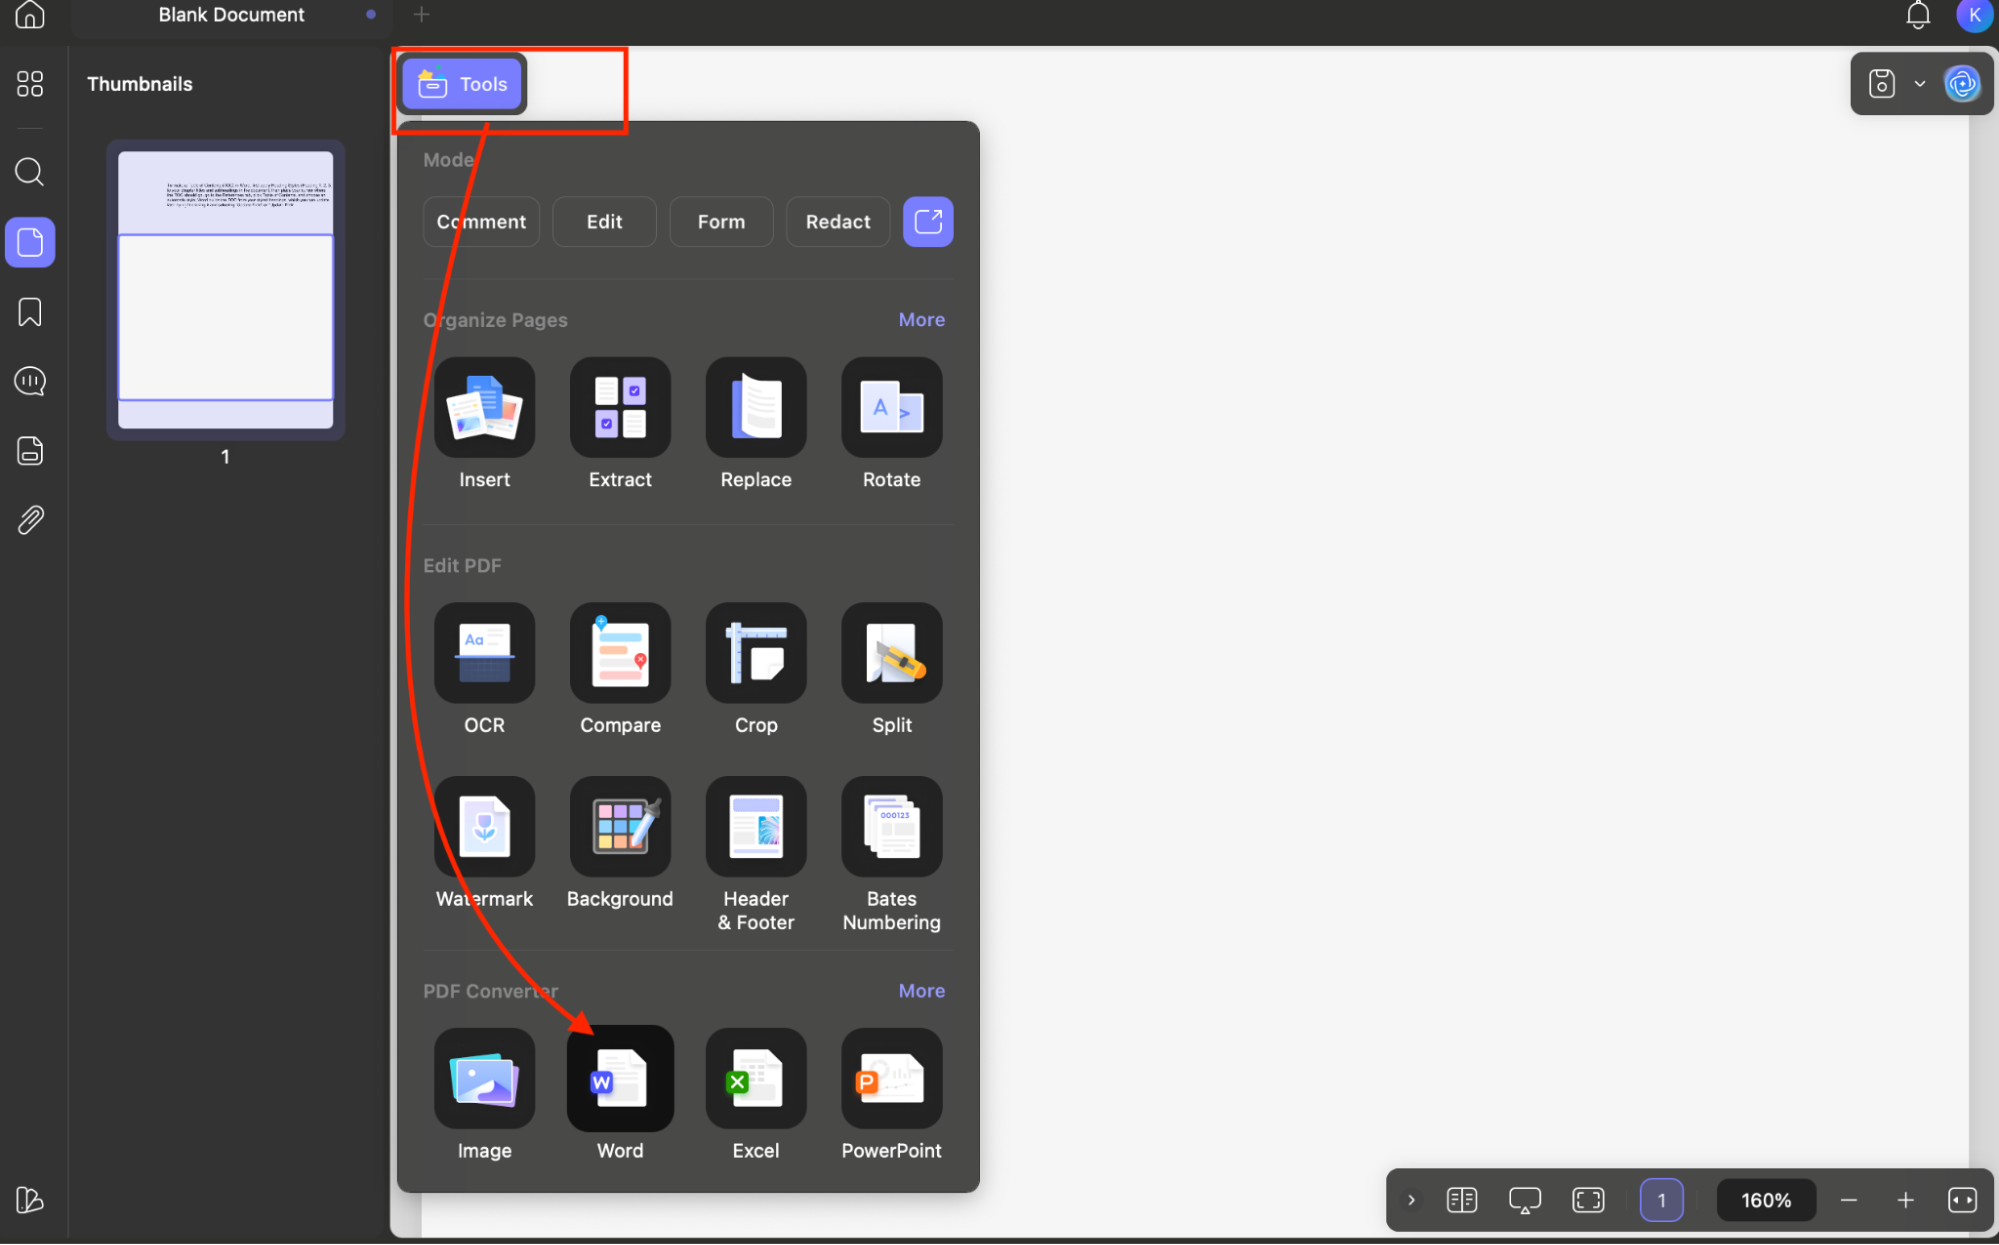
Step 1. Click “Tools” from the top menu and select “Word” from the PDF Converter section.
Windows • macOS • iOS • Android 100% secure
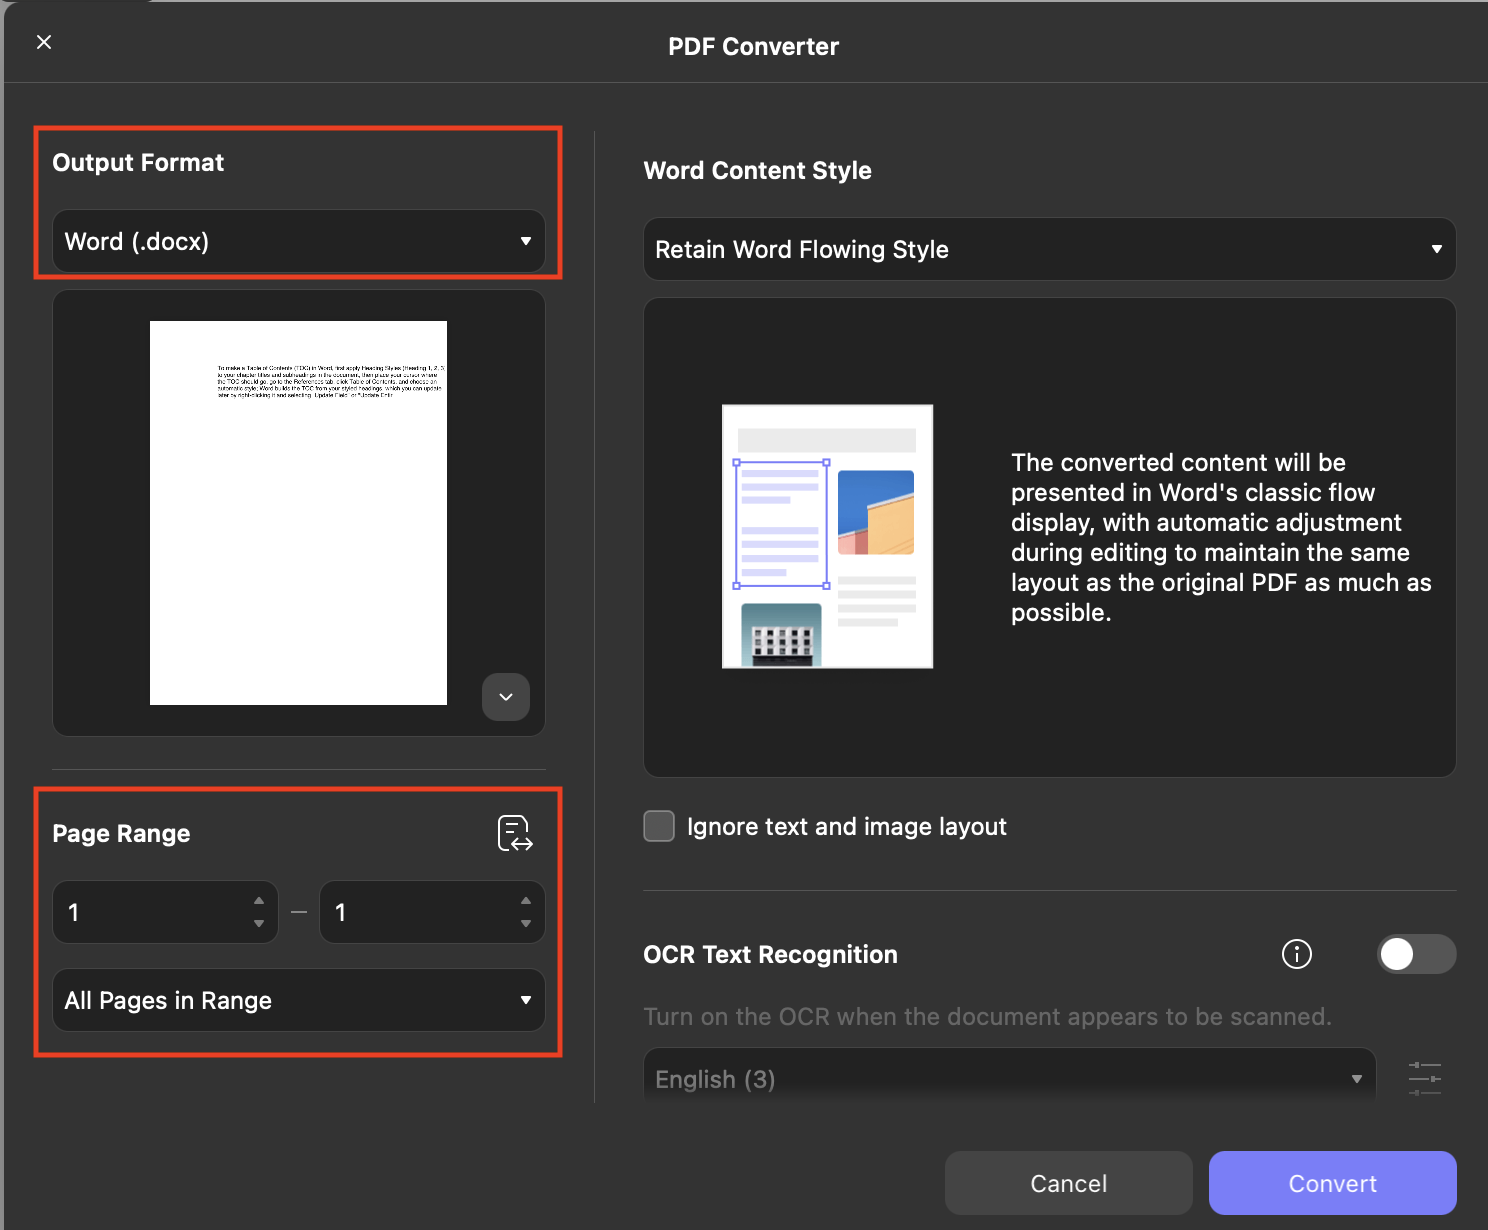
Step 2. Select your settings, such as Page Range, Word Content Style, and so on.
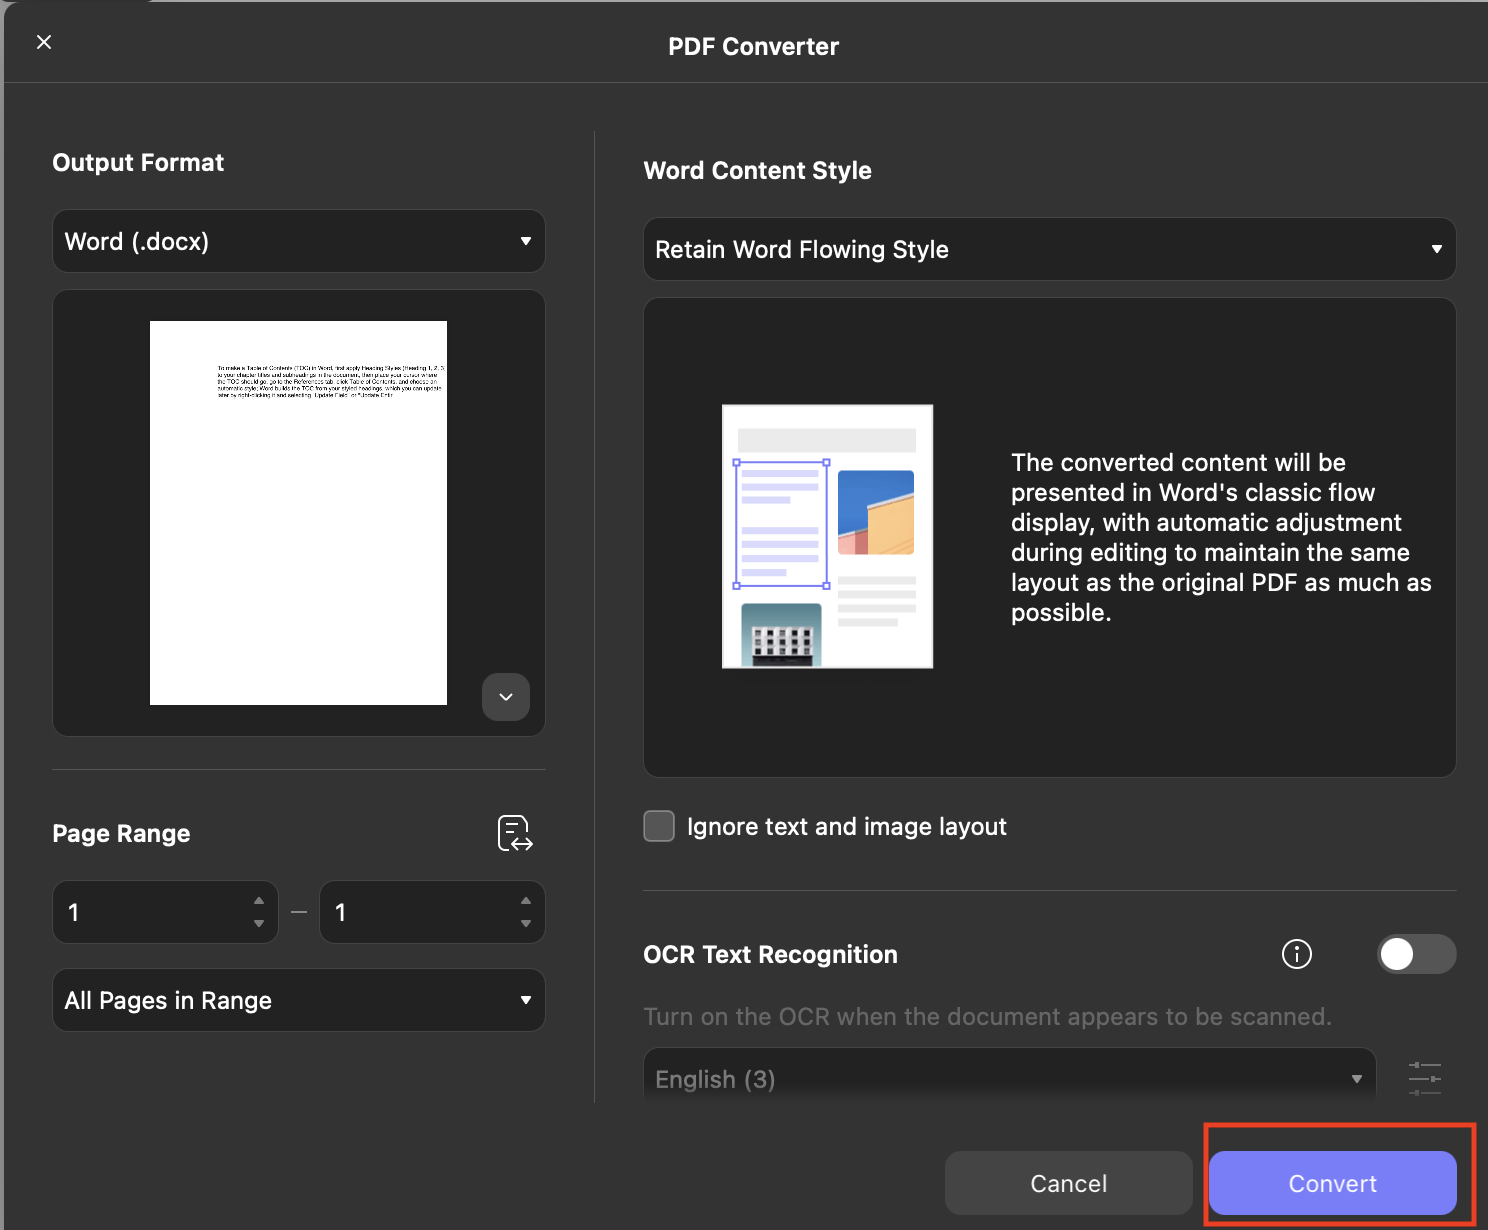
Step 3. Once you are done with the settings, click the “Convert” option, and you are good to go.
Conclusion
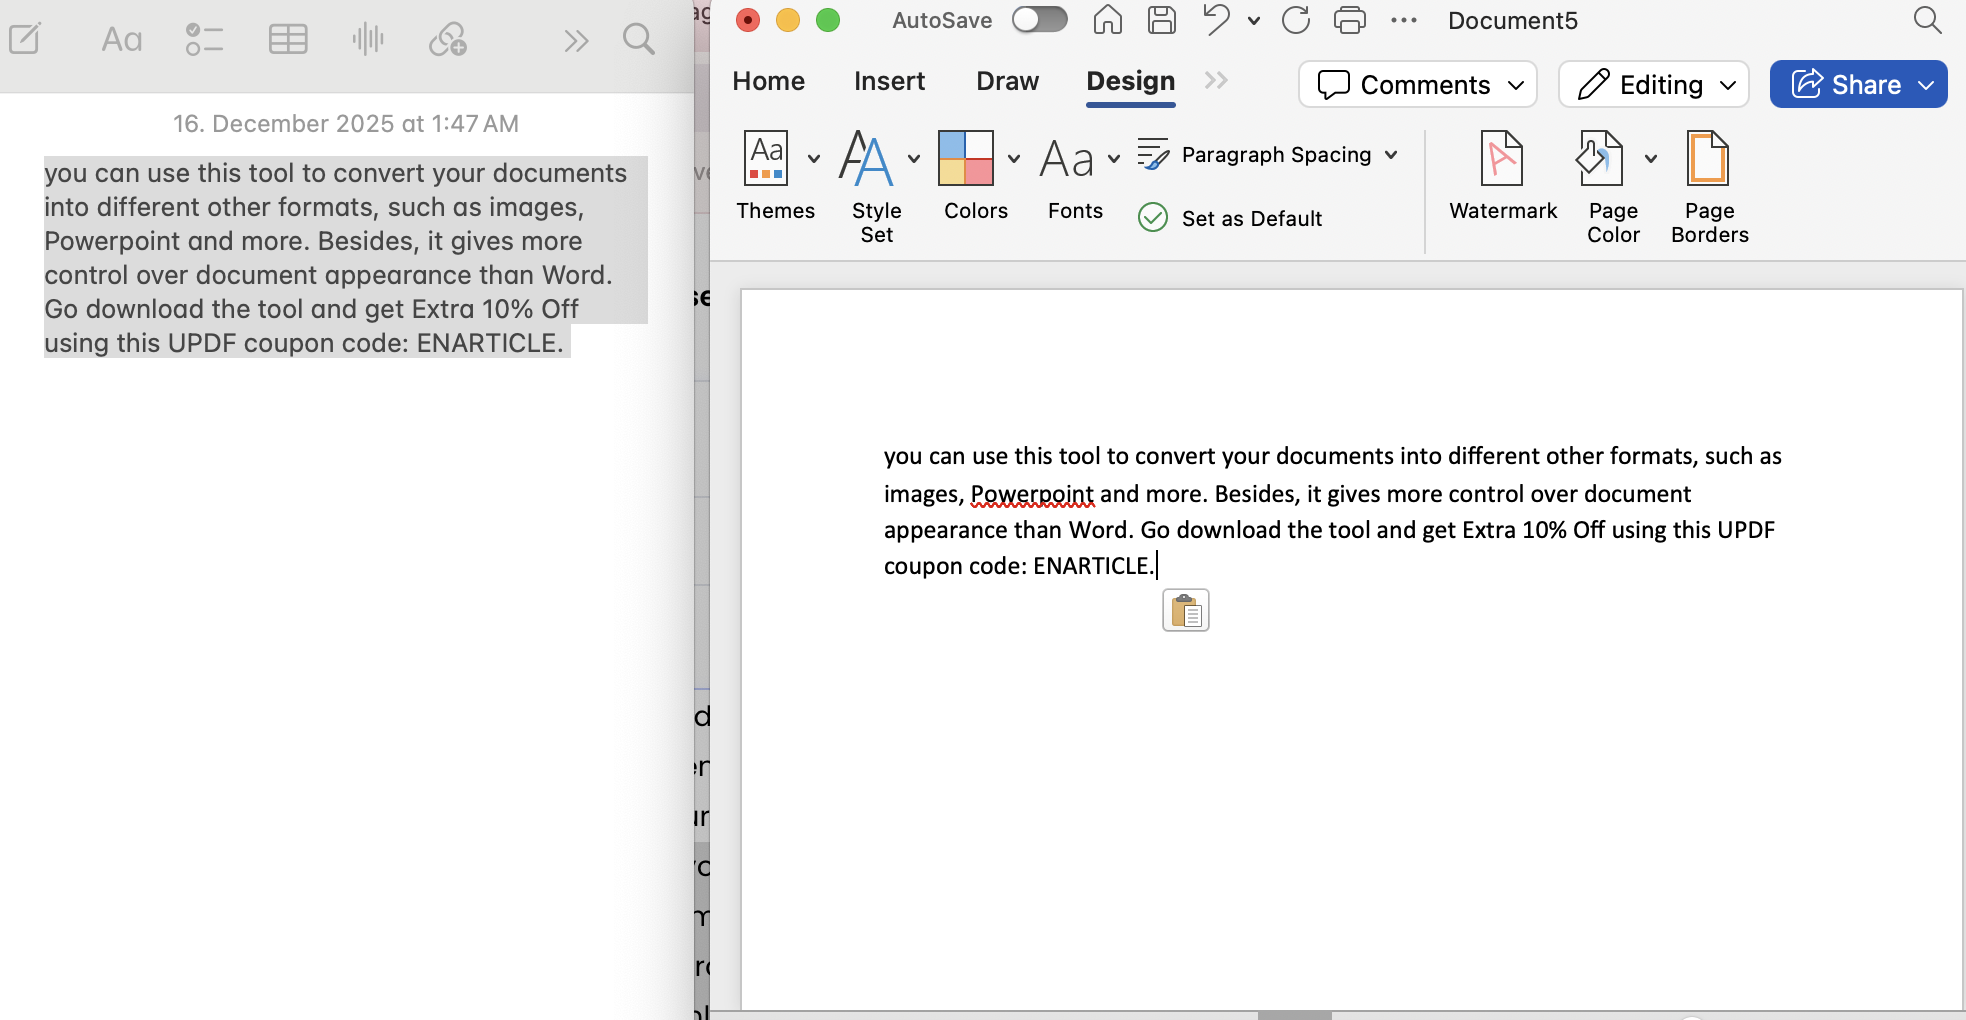
Dealing with black backgrounds or highlighted text in Word can be frustrating, but this issue can be resolved by following the methods mentioned above. On the other hand, if you frequently work with documents and want a smoother experience, I recommend using UPDF. It is a great alternative and offers more features than MS Word. Also, you can use this tool to convert your documents into different formats, such as images, PowerPoint, and more. Besides, it gives more control over document appearance than Word. Go download the tool and get an Extra 10% Off using this UPDF coupon code: ENARTICLE.
Windows • macOS • iOS • Android 100% secure


 Engelbert White
  Lizzy Lozano

 Enid Brown