UPDF for Windows
 UPDF for Mac
 UPDF for iPhone/iPad
 UPDF for Android
 Nomostar
 UPDF AI Online
 UPDF Sign
 IvyCraft
 Edit PDF
 Annotate PDF
 Create PDF
 PDF Form
 Edit links
 Convert PDF
 OCR
OCR PDF to Word
 PDF to Image
 PDF to Excel
 Organize PDF
 Merge PDF
 Split PDF
 Crop PDF
 Rotate PDF
 Protect PDF
 Sign PDF
 Redact PDF
 Sanitize PDF
 Remove Security
 Read PDF
 UPDF Cloud
 Compress PDF
 Print PDF
 Batch Process
 About UPDF AI
 UPDF AI Solutions
 AI User Guide
 FAQ about UPDF AI
 Summarize PDF
 Translate PDF
 Chat with PDF
 Chat with AI
 Chat with image
 PDF to Mind Map
 Explain PDF
 PDF AI Tools
 Image AI Tools
 AI Chat Tools
 AI Writing Tools
 AI Study Tools
 AI Working Tools
 Other AI Tools
 AI Bookmark Generation
 AI Bookmark Summary
 AI Watermark Generation
 AI Background Generation
 AI Sticker Generation
 AI Stamp Generation
 AI Editing Suite
 UPDF Copilot
 AI Page Management
 AI Semantic Search
 PDF to Word
 PDF to Excel
 PDF to PowerPoint
 User Guide
 UPDF Tricks
 FAQs
FAQs UPDF Reviews
 Download Center
 Blog
Blog Newsroom
 Tech Spec
 Updates
 UPDF vs. Adobe Acrobat
 UPDF vs. Foxit
 UPDF vs. PDF Expert
Before We Begin
Windows • macOS • iOS • Android 100% secure
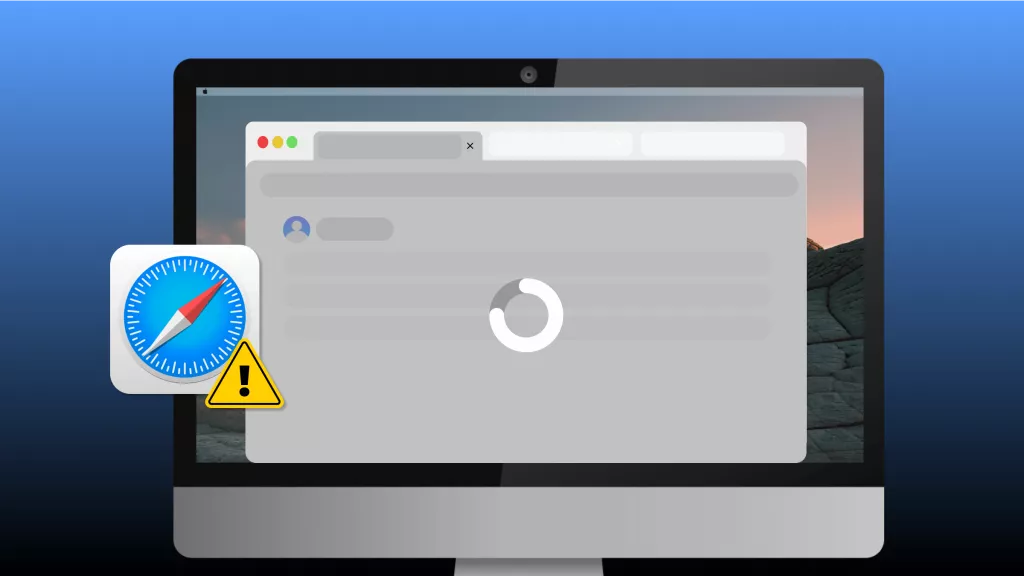
“The recovery server could not be contacted” is a common issue that occurs due to an error in network connectivity. This error prevents the proper functioning of the Mac and hinders application installation and processing.
In this article, I will outline all the possible reasons behind the “The recovery server could not be contacted” issue and its proven fixes to resolve it permanently.
Part 1. Why Do I Get “The Recovery Server Could Not Be Contacted”?
When your Mac is not establishing a connection with Apple servers for the recovery or installation of macOS software, it leads to the “The recovery server could not be contacted” error. I’ve listed all the possible reasons for you. Let’s start reading.
Unstable or Weak Internet Connection
Apple servers during the recovery or launch of macOS do not connect to the Mac if the internet connection is distorted or weak. Even a break of a few seconds may lead to this error.
Incorrect Time and Date Settings
Incorrect time and date settings of your Mac do not match the security of Apple’s recovery systems. This mismatch leads to a recovery server connection loss.
Outdated macOS Recovery Version
Older Mac versions, such as High Sierra, exhibit reduced compatibility with current or updated servers, resulting in broken or malfunctioning recovery server connections.
Corrupt Recovery Partition
During the recovery phase, missing or damaged files on the disk can cause issues in the recovery, leading to the “The recovery server could not be contacted” error.
Disk Format Incompatibility
The macOS version shows incompatibility with the hard drive if the disk is formatted. This incompatibility leads to a compromised recovery server connection.
Apple Server Maintenance
Sometimes, the Apple servers are down at the backend, and there is no fault in the system.
Expired Installer Certificates
The operating system installer may have an outdated digital certificate. The system cannot verify these certificates.
Firewall Restrictions
VPNs, corporate networks, and strong firewall settings also block the Apple server’s connection.
Wrong Keyboard Combinations
If you’ve typed a wrong combination from your keypad during recovery, it will lead to this issue.
Also Read: How to Fix Finder Not Responding on Mac? (7 Ways)
Part 2. How to Fix The Recovery Server Could Not Be Contacted?
The issue “The recovery server could not be contacted” is resolved after the correct identification of the underlying problem. Let’s go through the fixes one by one.
Fix 1. Reconnect Your WIFI
If your internet connection is lost during recovery, try to connect to another network. I’ve written the steps for you to connect to another wifi network.
Step 1: On the home screen of Mac, click the wifi icon in the top right corner of the menu bar.
Step 2: From the dropdown menu, select a stronger, reliable, and stable internet connection.
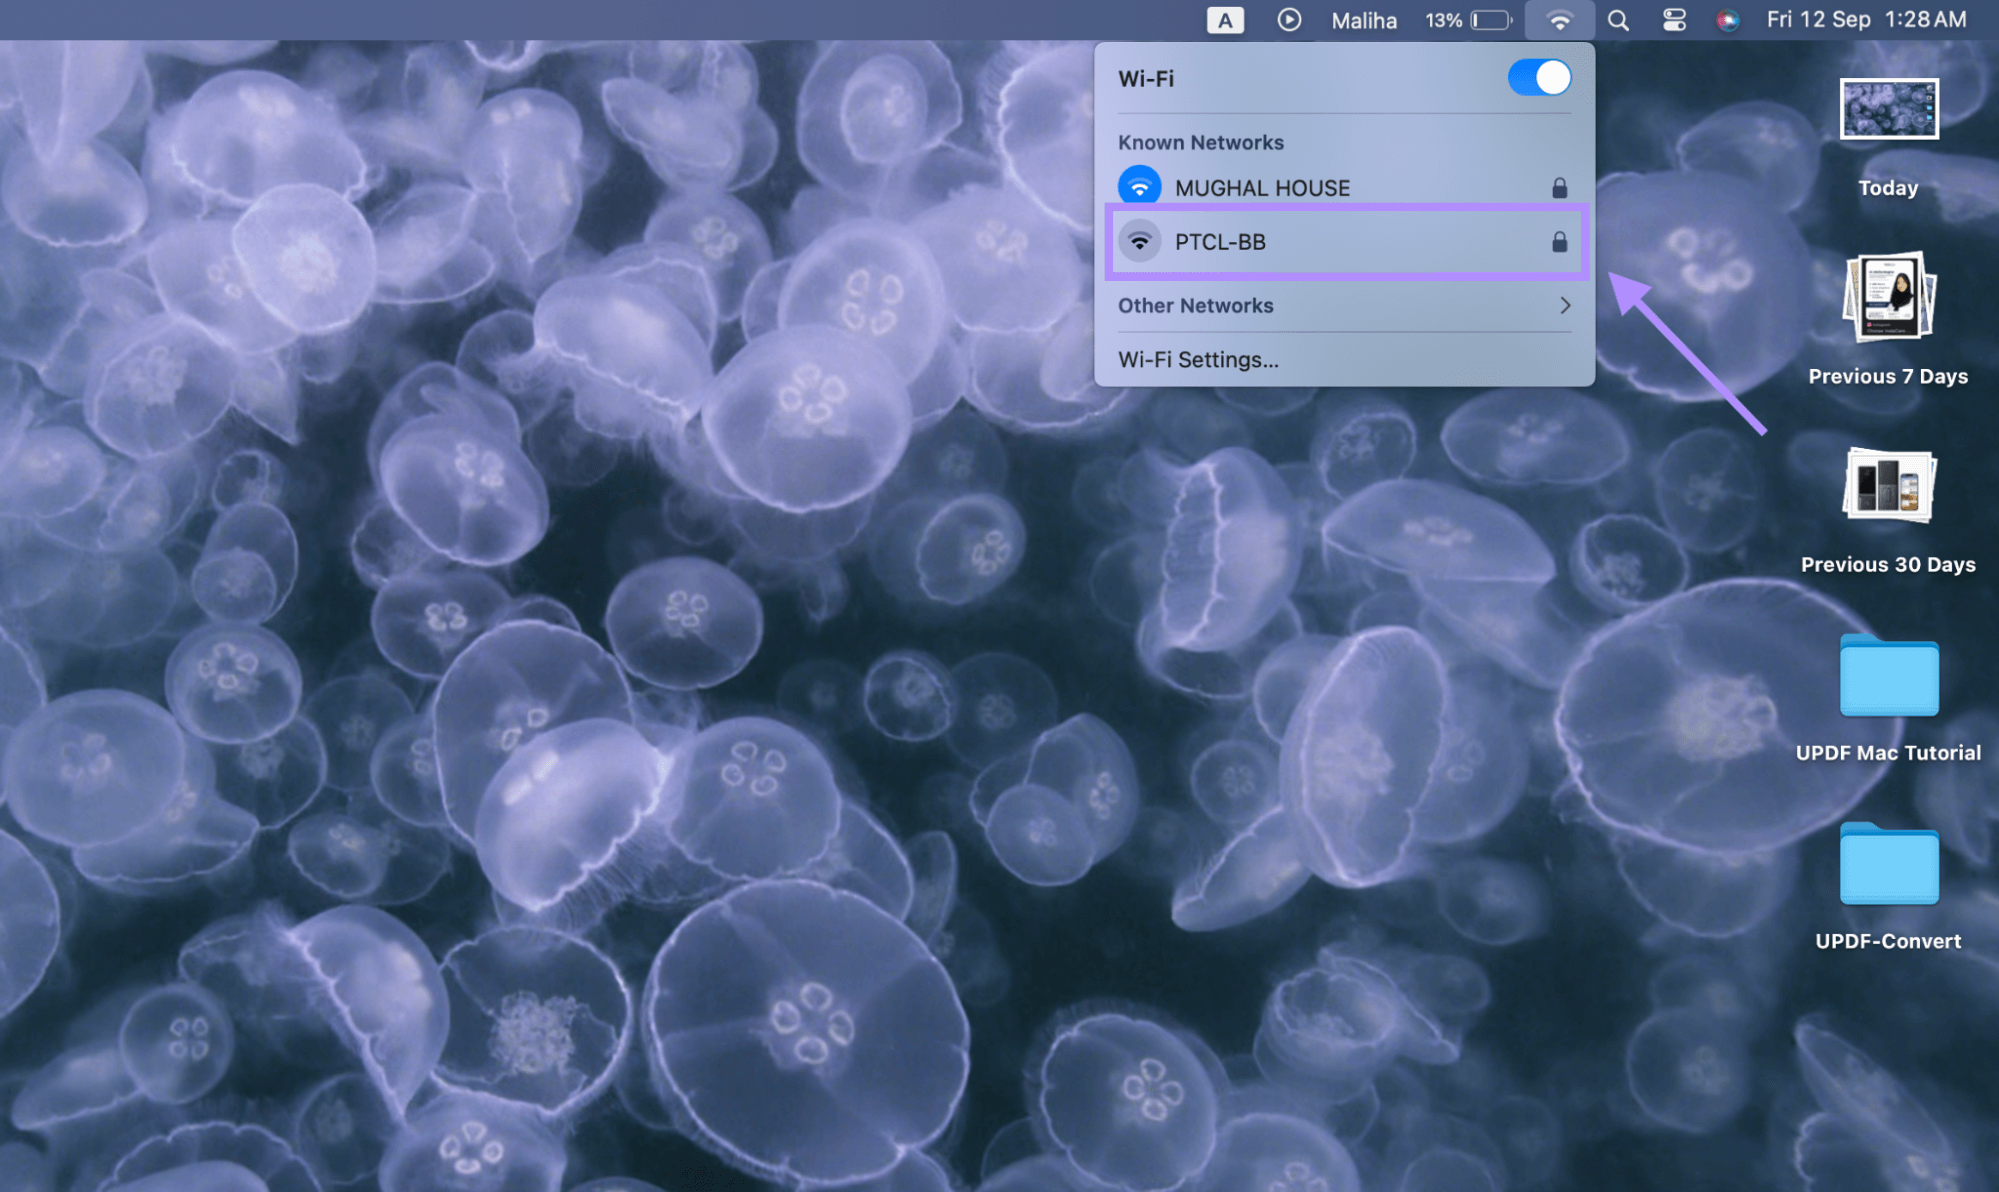
Step 3: Once connected, you can start your Mac recovery or installation.
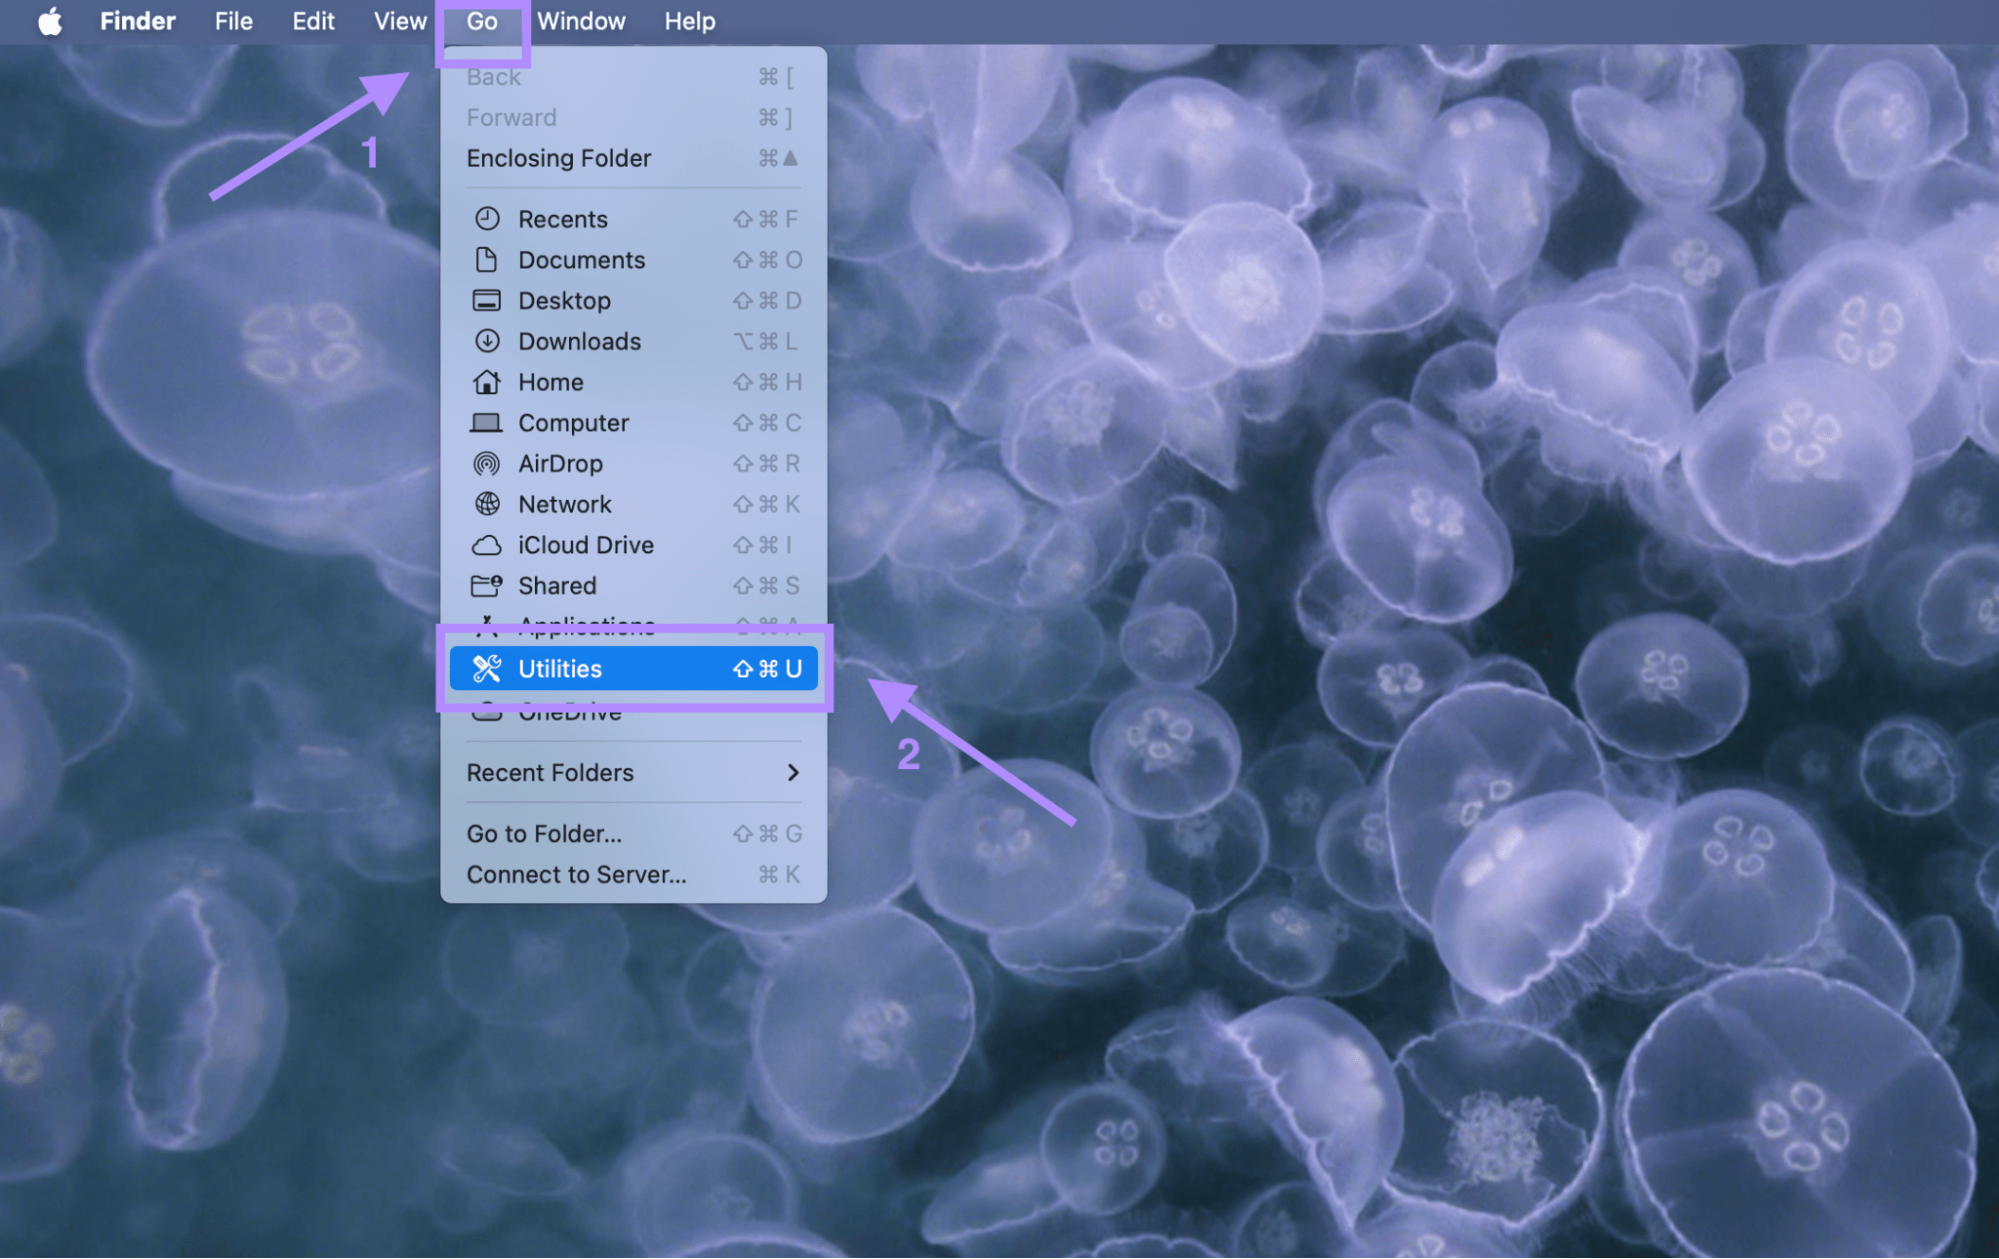
Fix 2. Set the Date via Terminal
Mismatched time and date of your Mac to the Apple recovery system can be resolved by changing the date in the terminal. The following steps will guide you.
Step 1: Click “Go” from the upper left corner in the menu bar of your Mac homescreen. Then select “Utilities” from the dropdown menu.
Step 2: Once the utilities window opens, select Terminal from the options and open it.
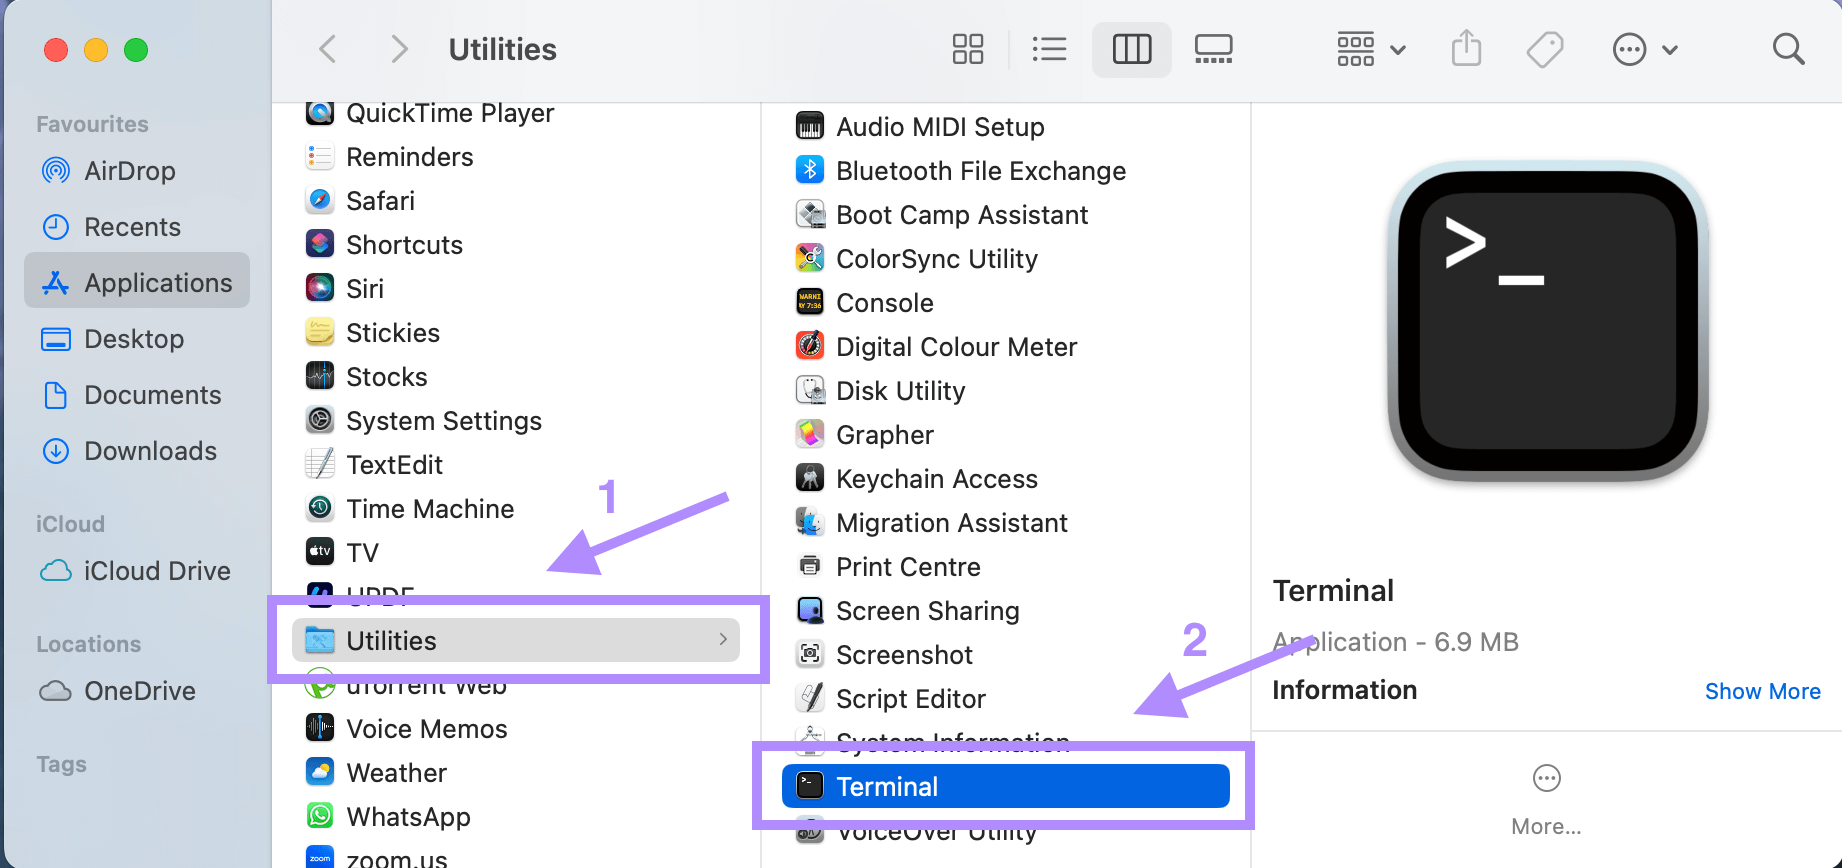
Step 3: Type “date” in the terminal and press “return”. The time and date will be displayed. If incorrect, type date mmddhhmmyy representing month, day, hour, minute, year. For example, 0911102525 for Sept 11, 10:25, 2026.
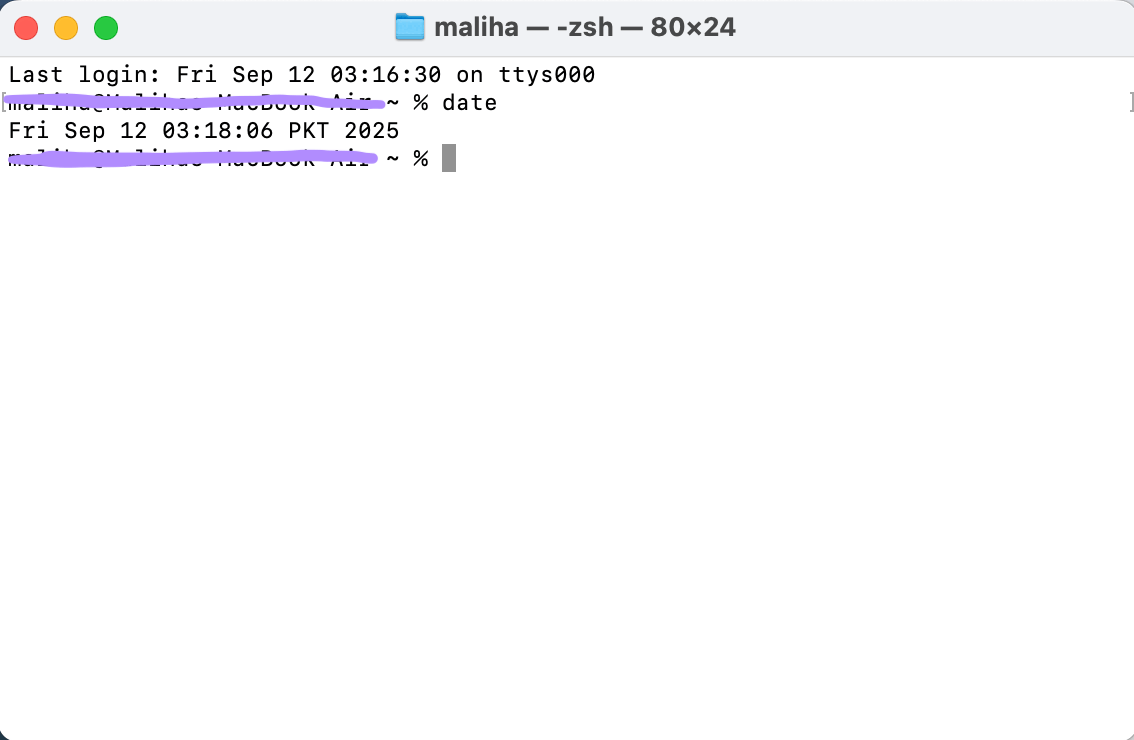
Step 4: Press “Return” and close the terminal. Now restart your installation.
Also Read: How to Fix "No Sound on YouTube on Mac?" 6 Proven Ways
Fix 3. Create a New Account
Sometimes the issue lies in the current user profile of your Mac. Switching to another user profile or creating a new one helps to resume your installation. To create a new user profile, follow the steps.
Step 1: Open “Settings” from the dock and select “Users and Groups” from the sidebar.
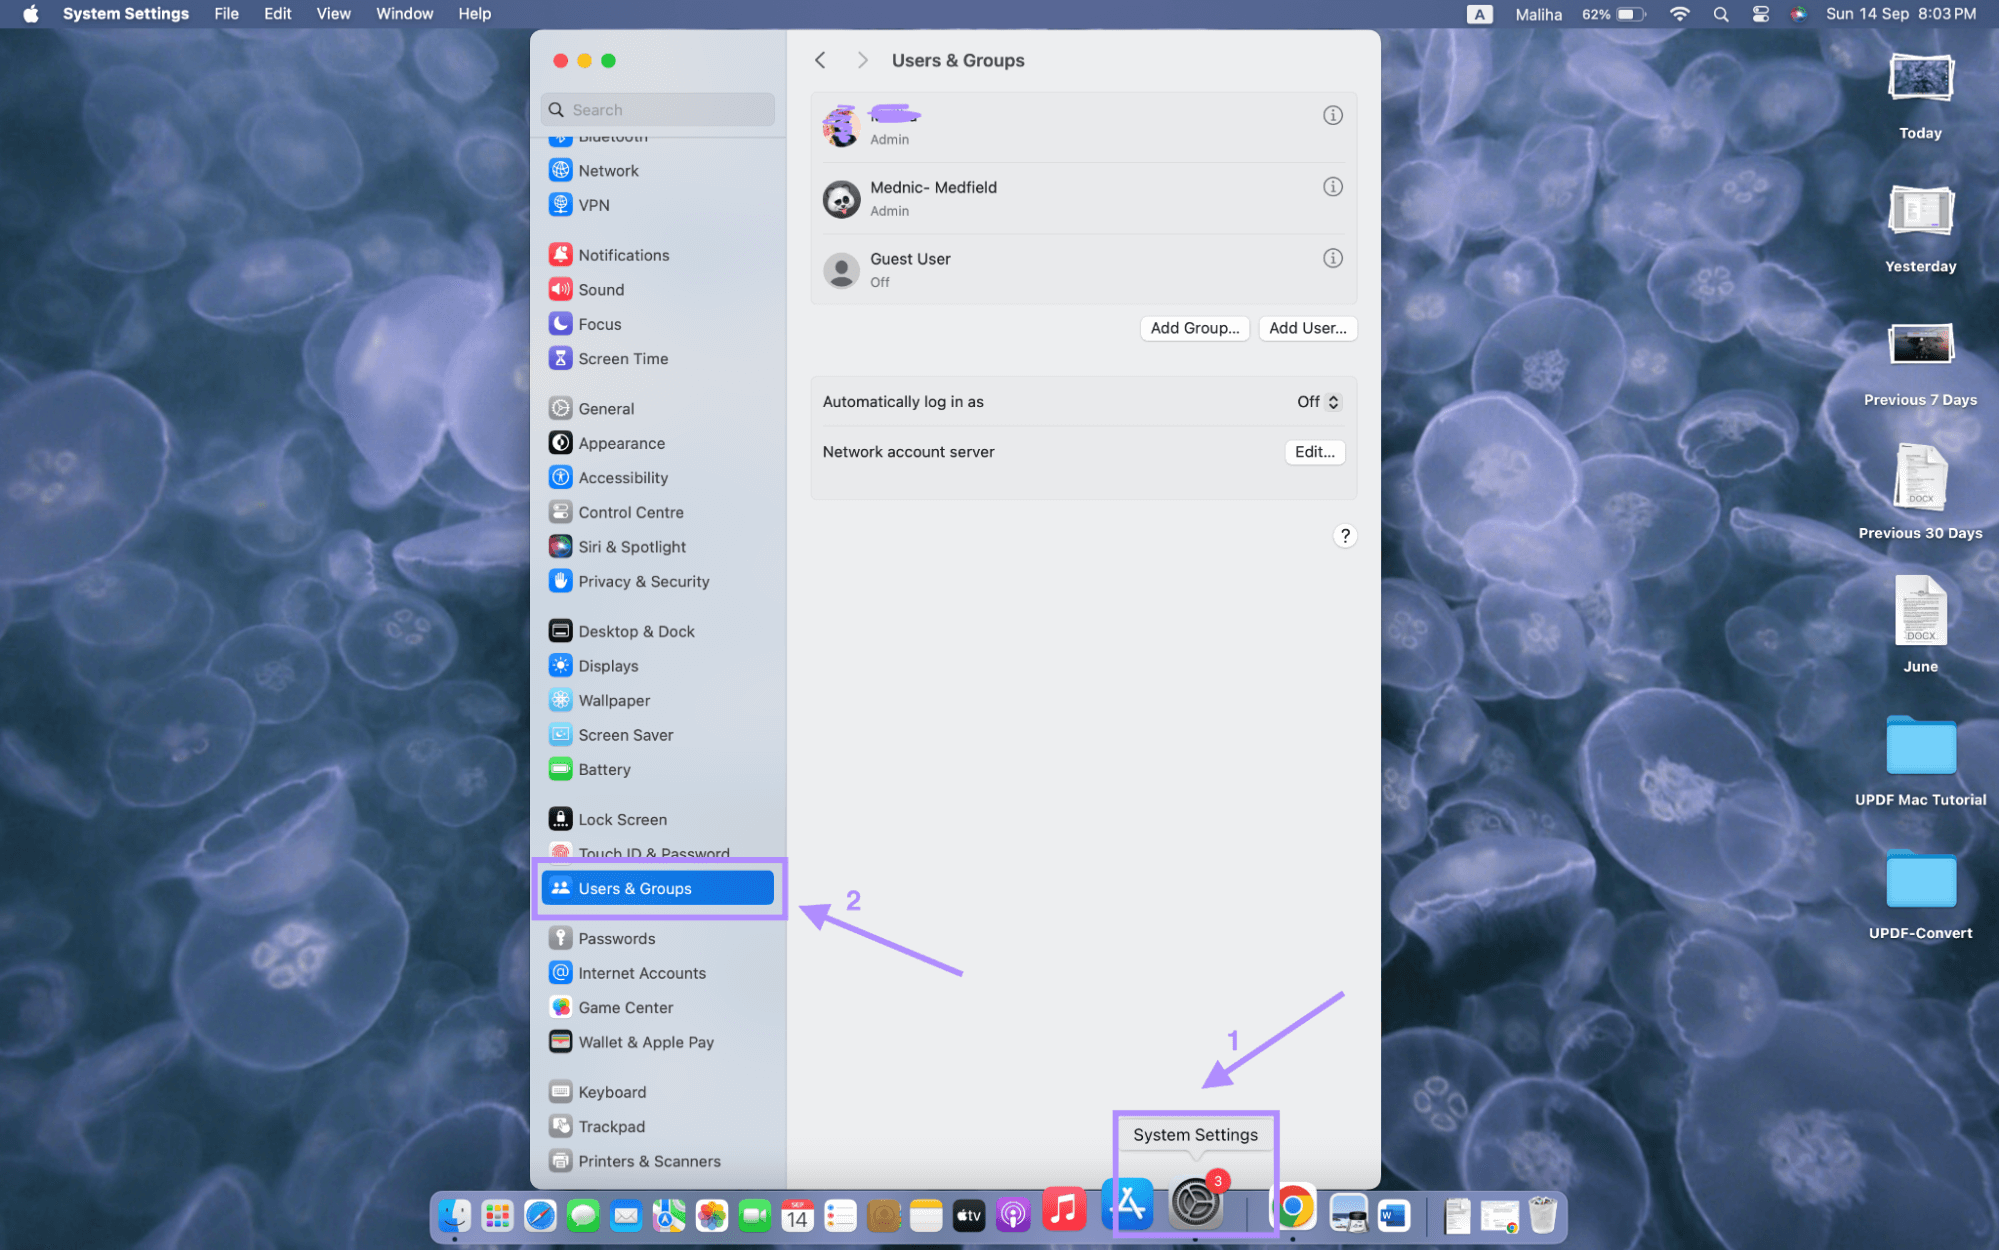
Step 2: Click “add user” to add a new user profile, or you can log in to another existing user profile.
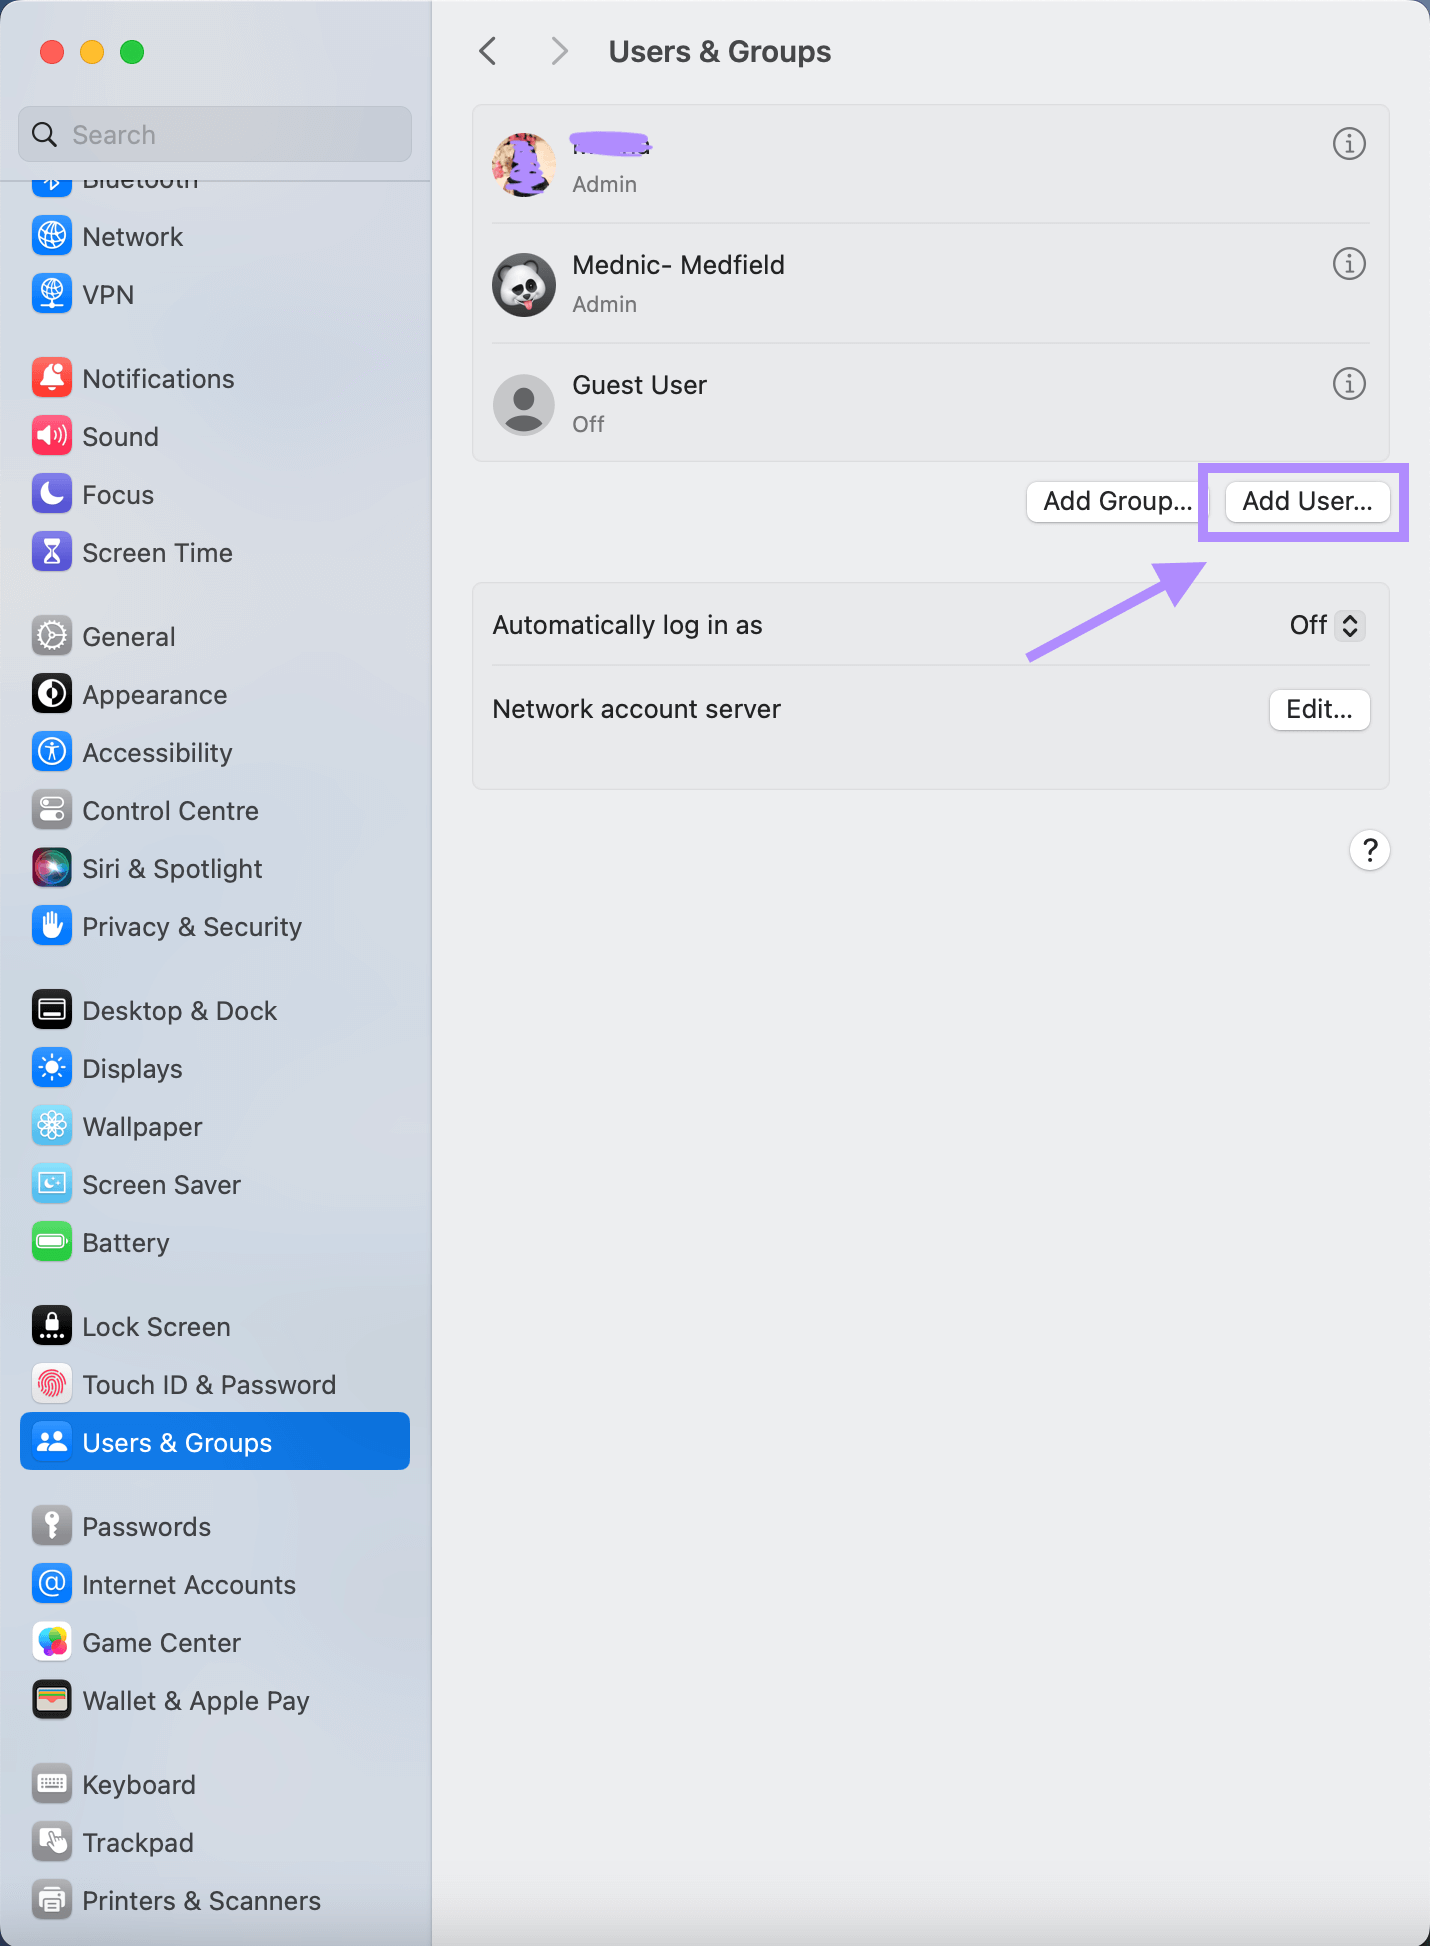
Step 3: Add the basic details to create the user account.

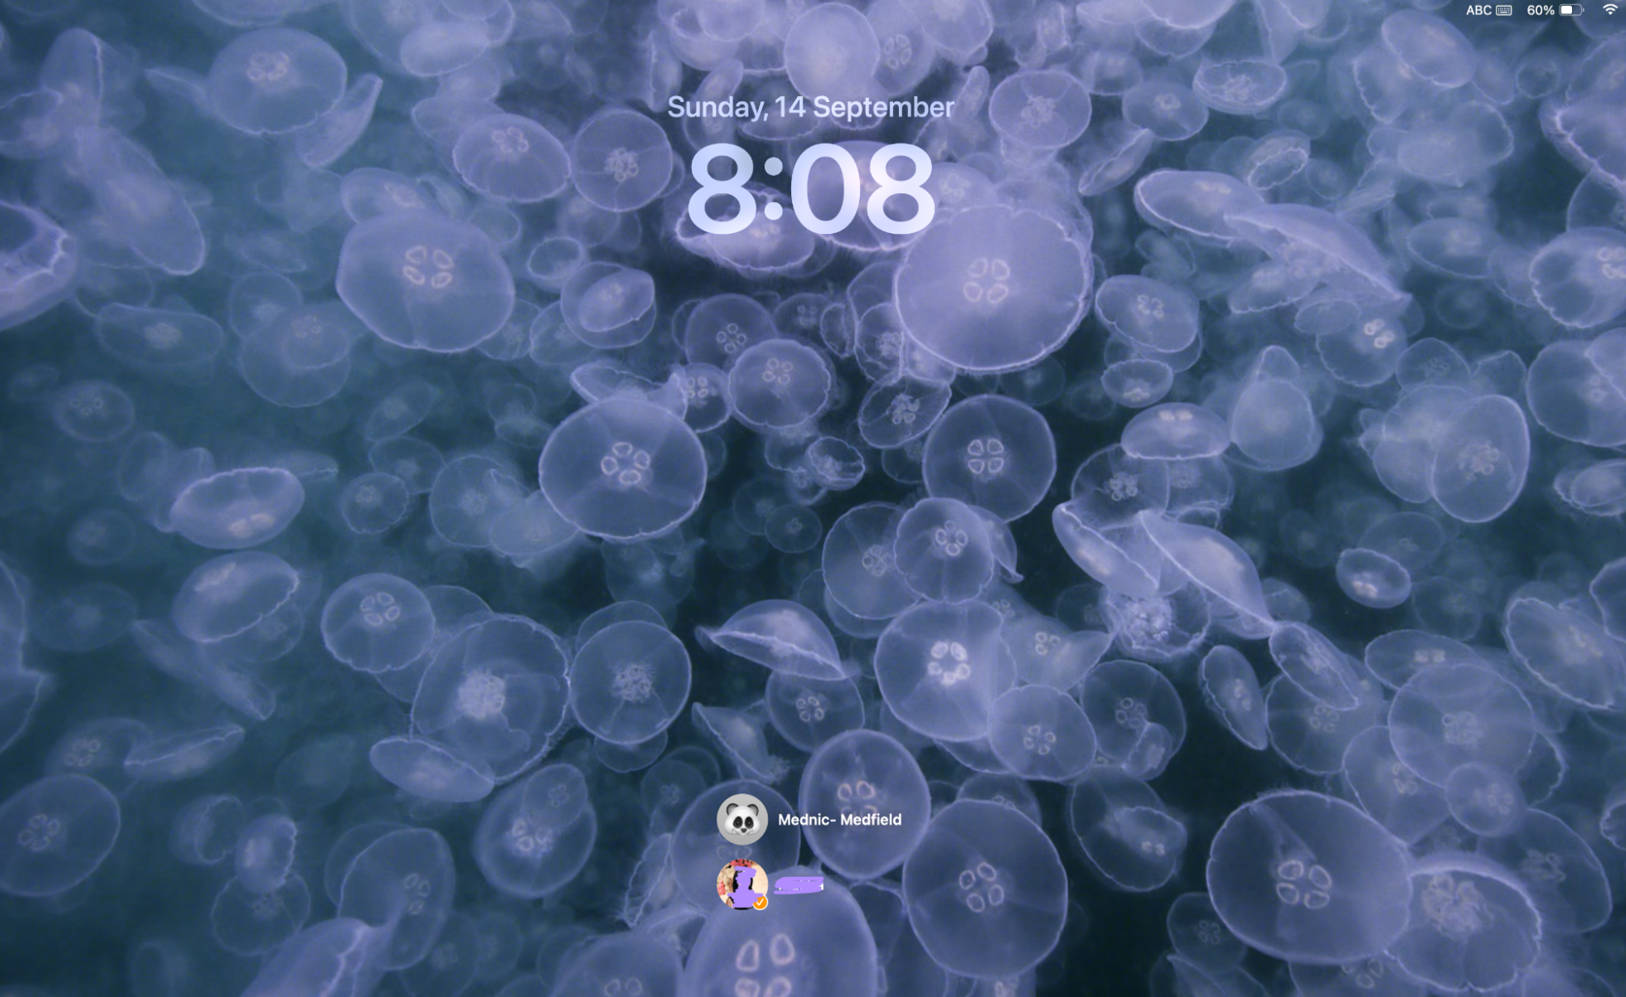
Step 4: Log out of the current profile, log in to another account, and resume your software recovery or installation.
Fix 4. Install macOS from App Store
You can install macOS from the App Store to install or recover the software version. The steps will show you how to download the macOS software version.
Step 1: Open the “App Store” from the dock
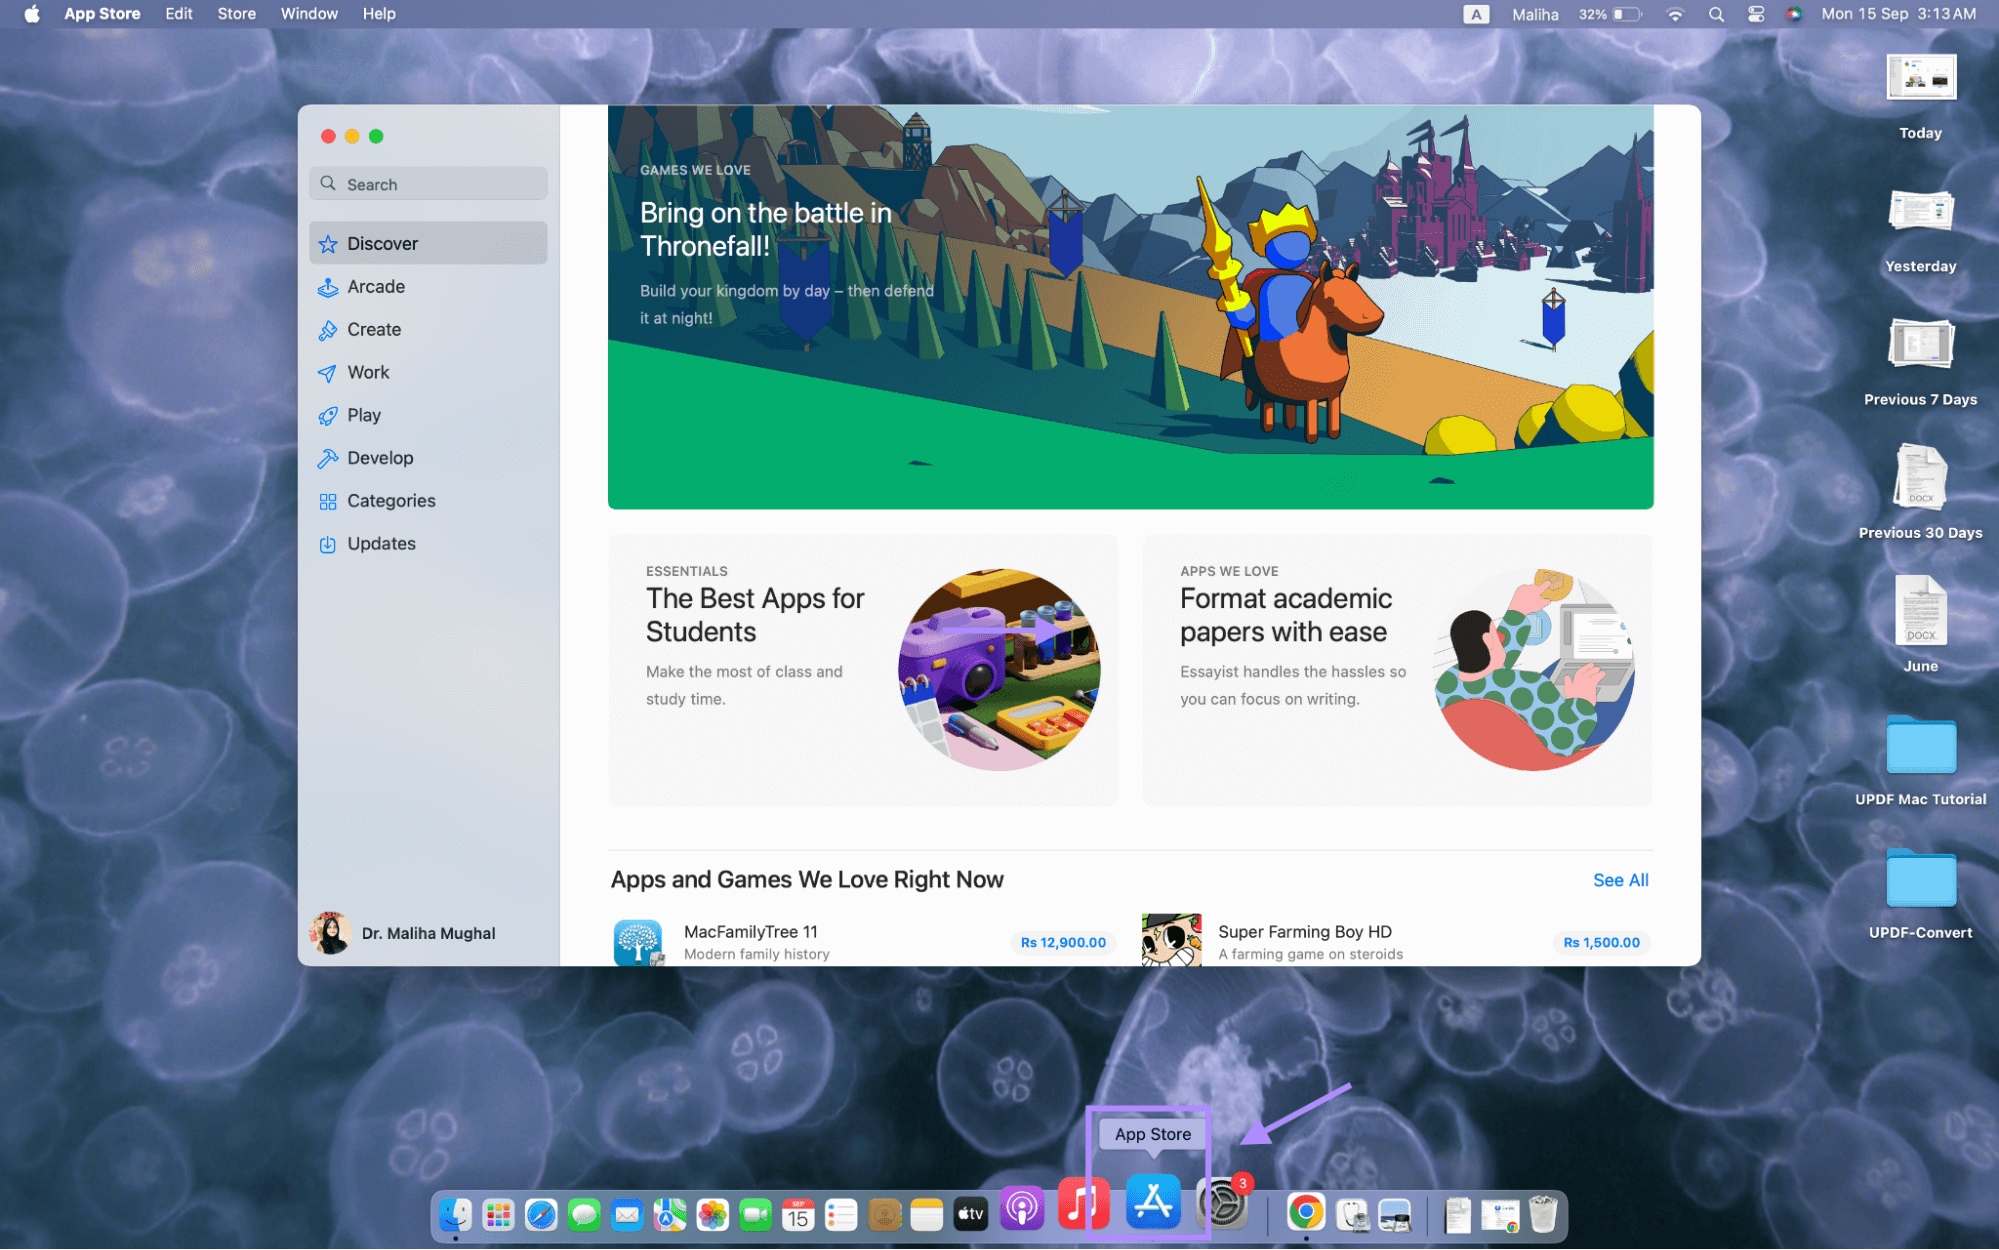
Step 2: Search for your required macOS version, like “macOS Sonoma,” and download.
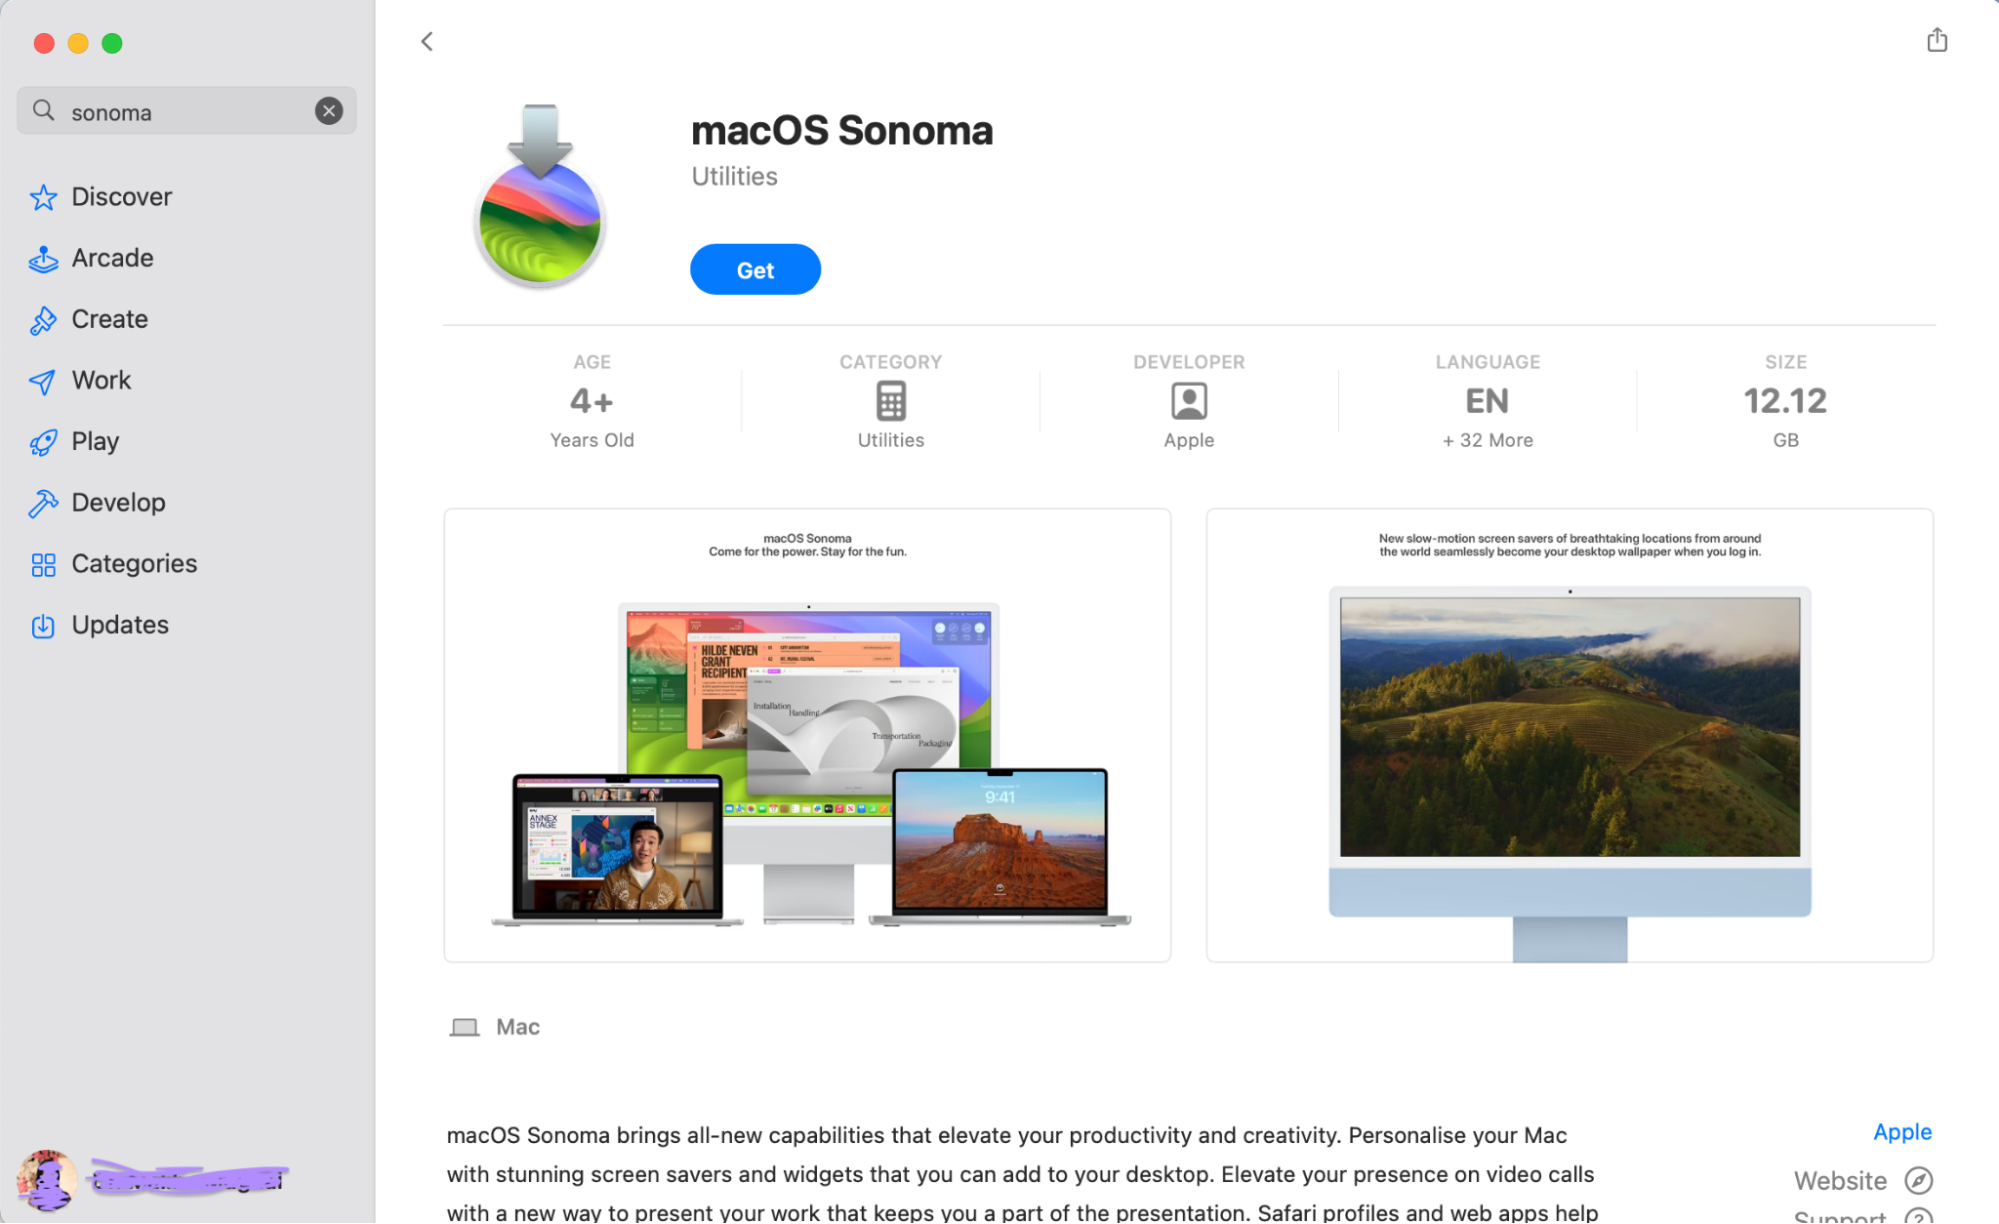
Step 3: Open “Applications” from “Finder” and look for the downloaded macOS version.
Step 4: Install the macOS version by following the prompts.
Also Read: How to Fix Copy and Paste Not Working on Mac? 8 Fixes
Fix 5. Erase macOS
If you’ve tried all the above-mentioned fixes but the issue persists, erasing the Mac is the only option left. Make sure to back up your important data to a USB because erasing your Mac will remove everything from your system. The following steps will guide you to erase your Mac.
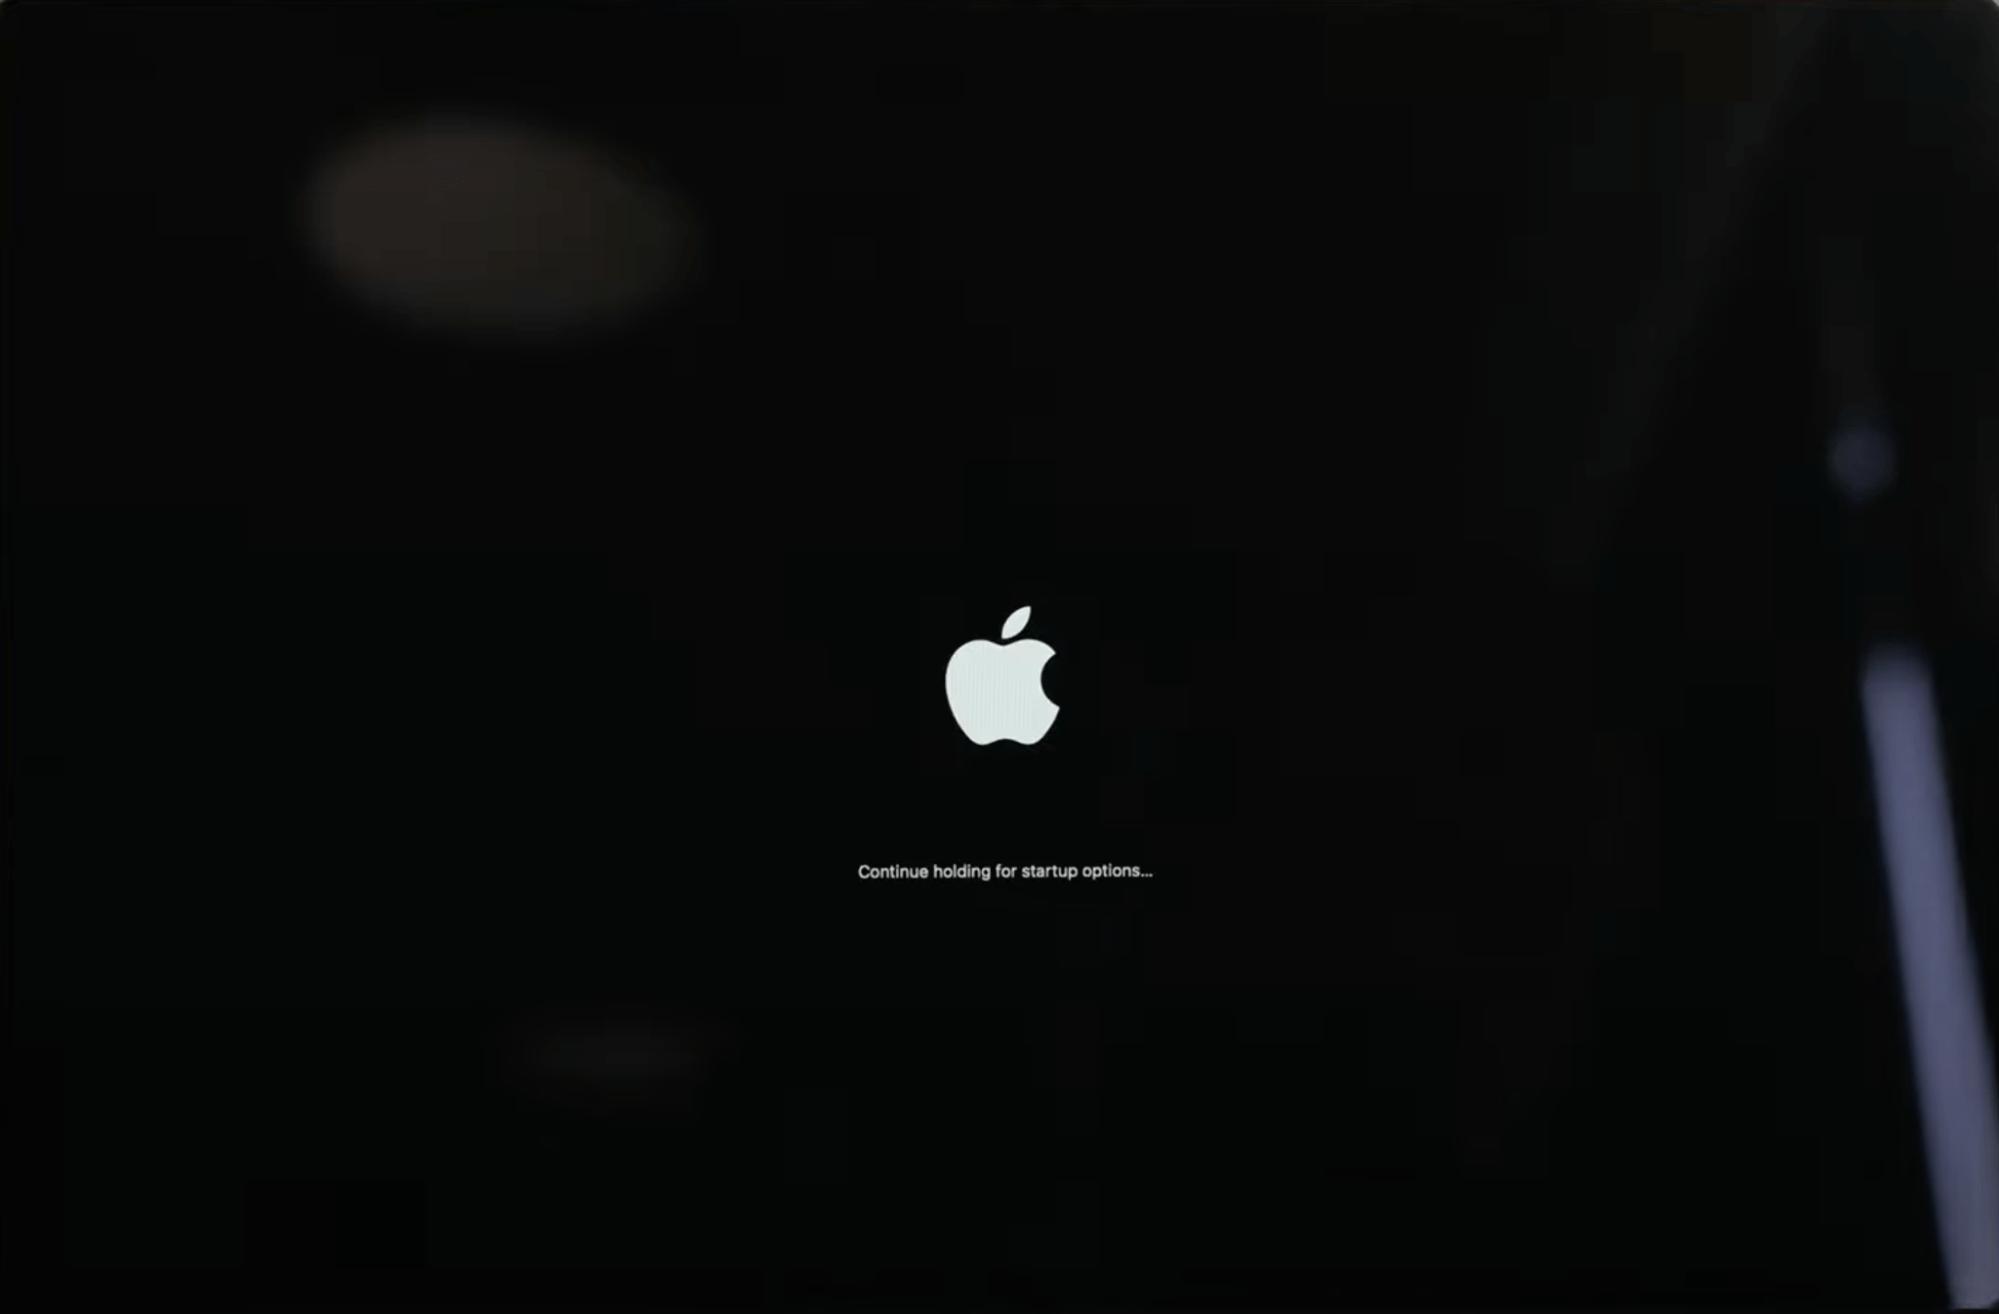
Step 1: Restart your Mac system and immediately hold Command + R from the keyboard to open recovery mode.
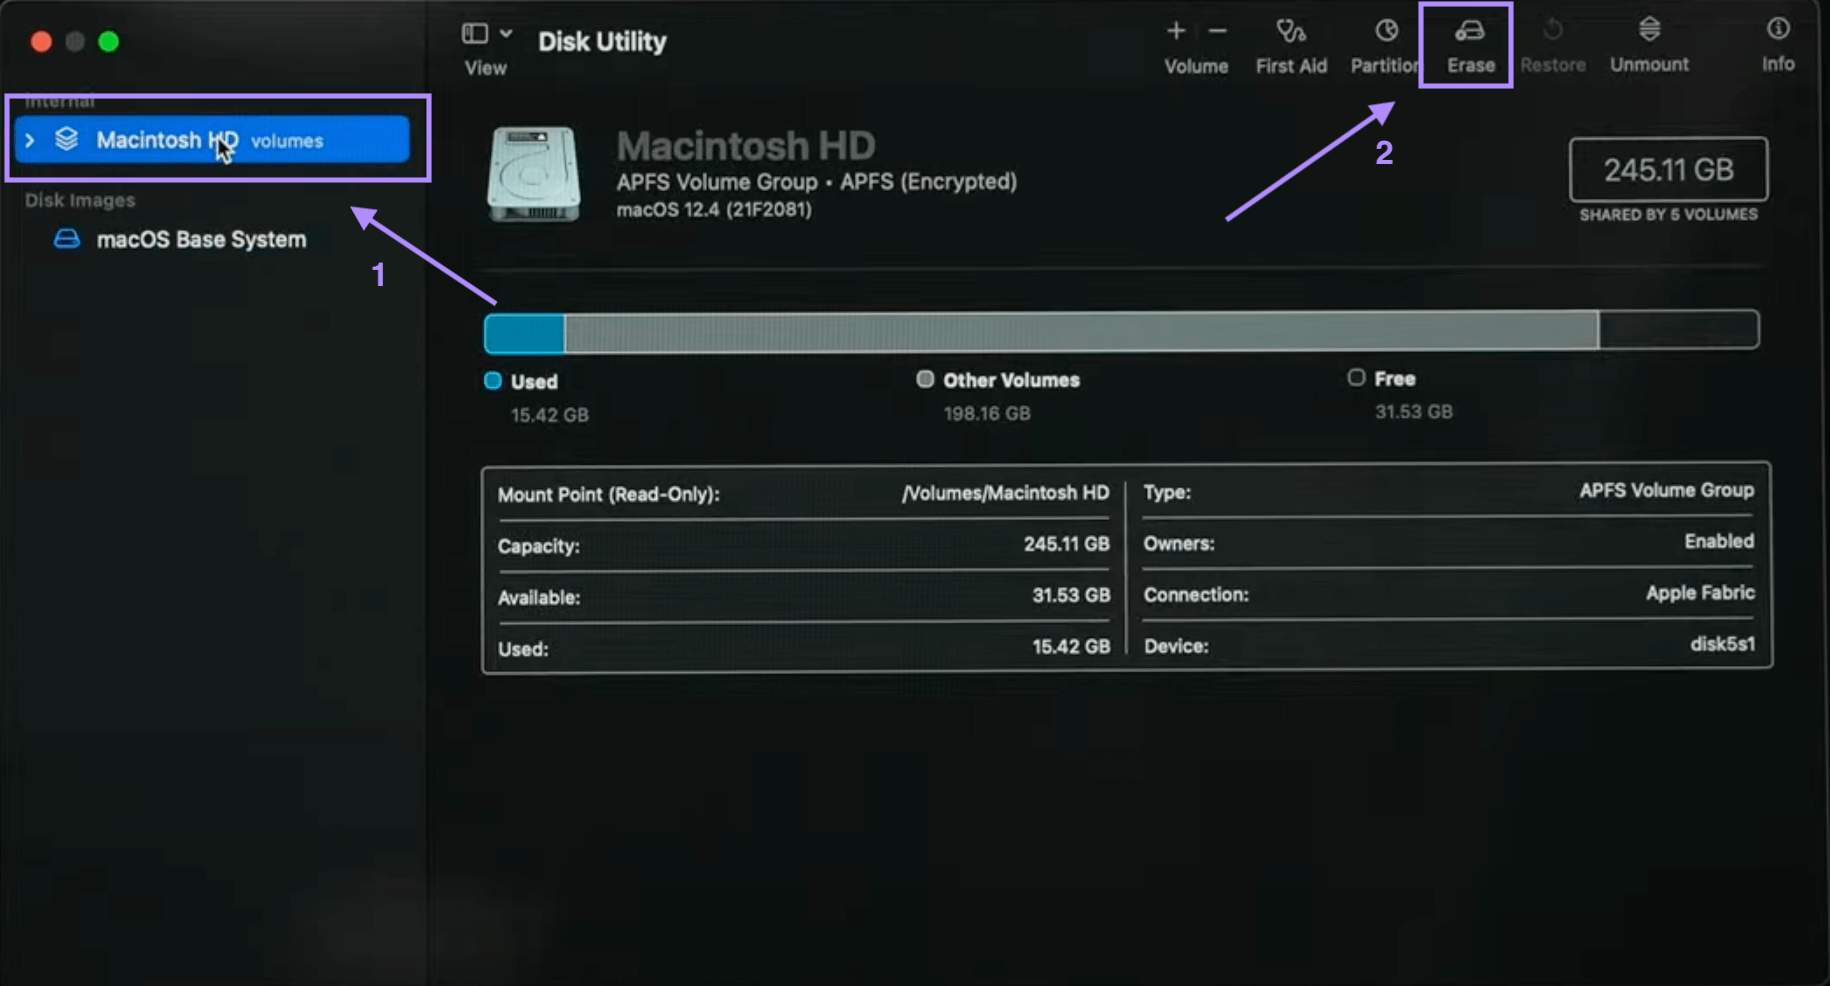
Step 2: Select Disk Utility from the macOS Utilities on the screen.
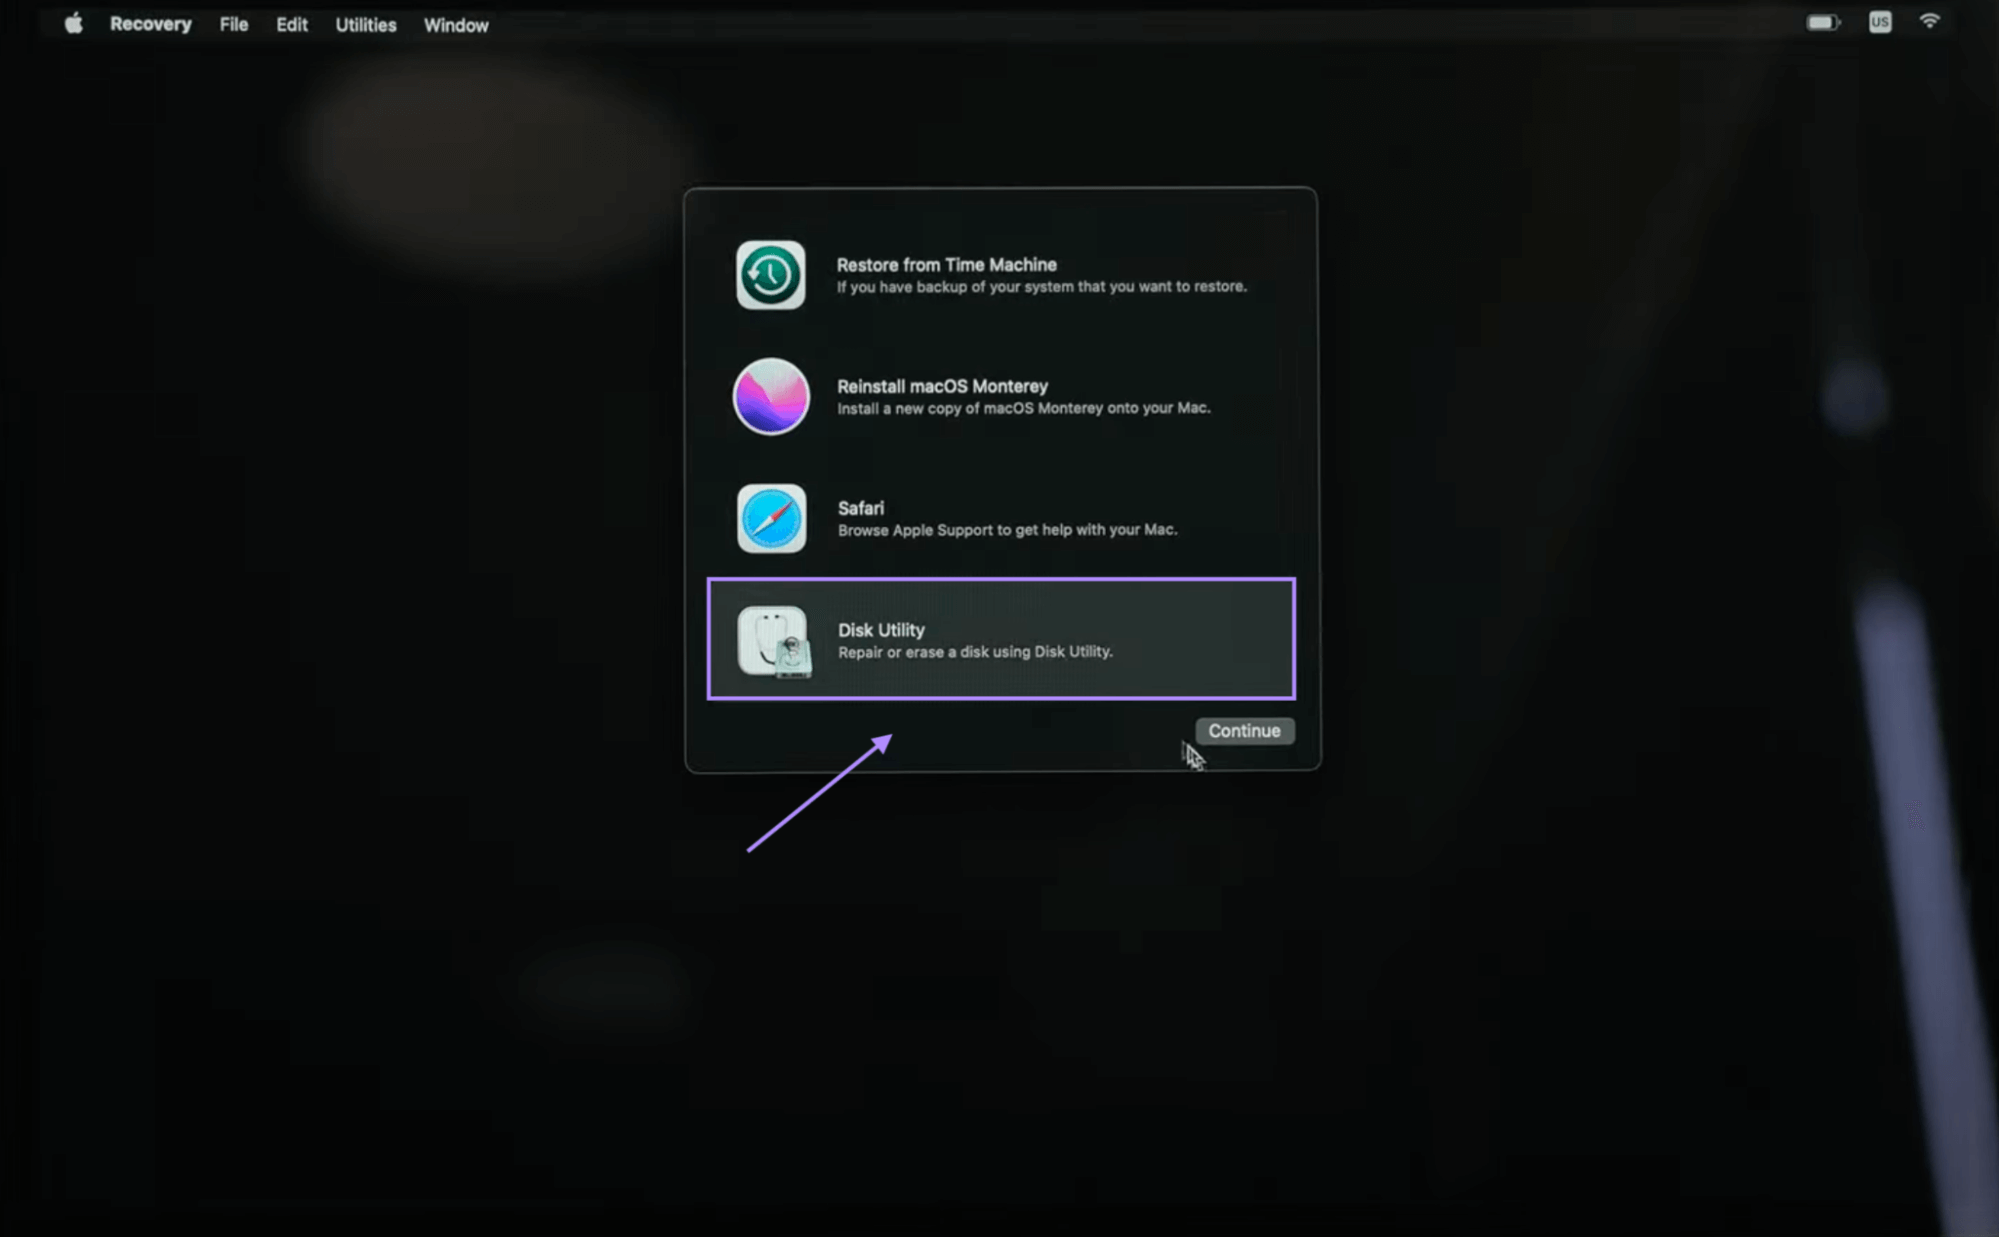
Step 3: Select the start-up disk from the sidebar and click “Erase” from the upper right corner of the window.
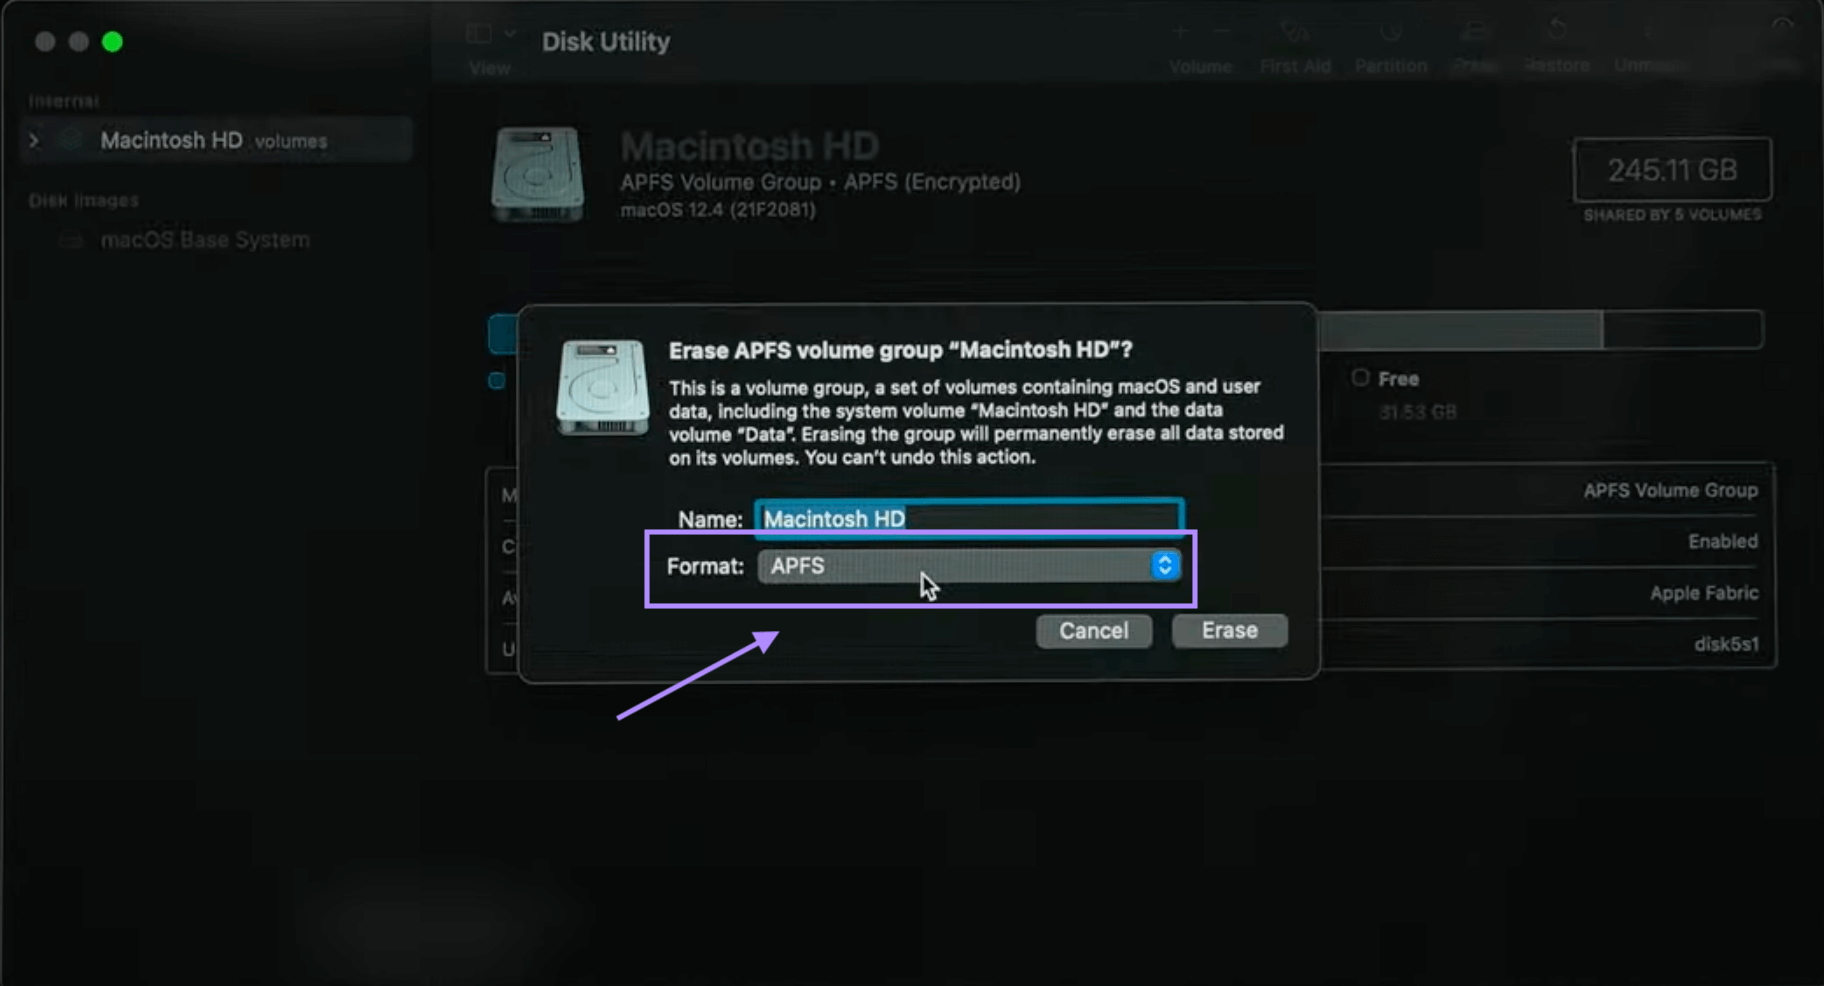
Step 4: Choose the format as “APFS” and click “Confirm”.
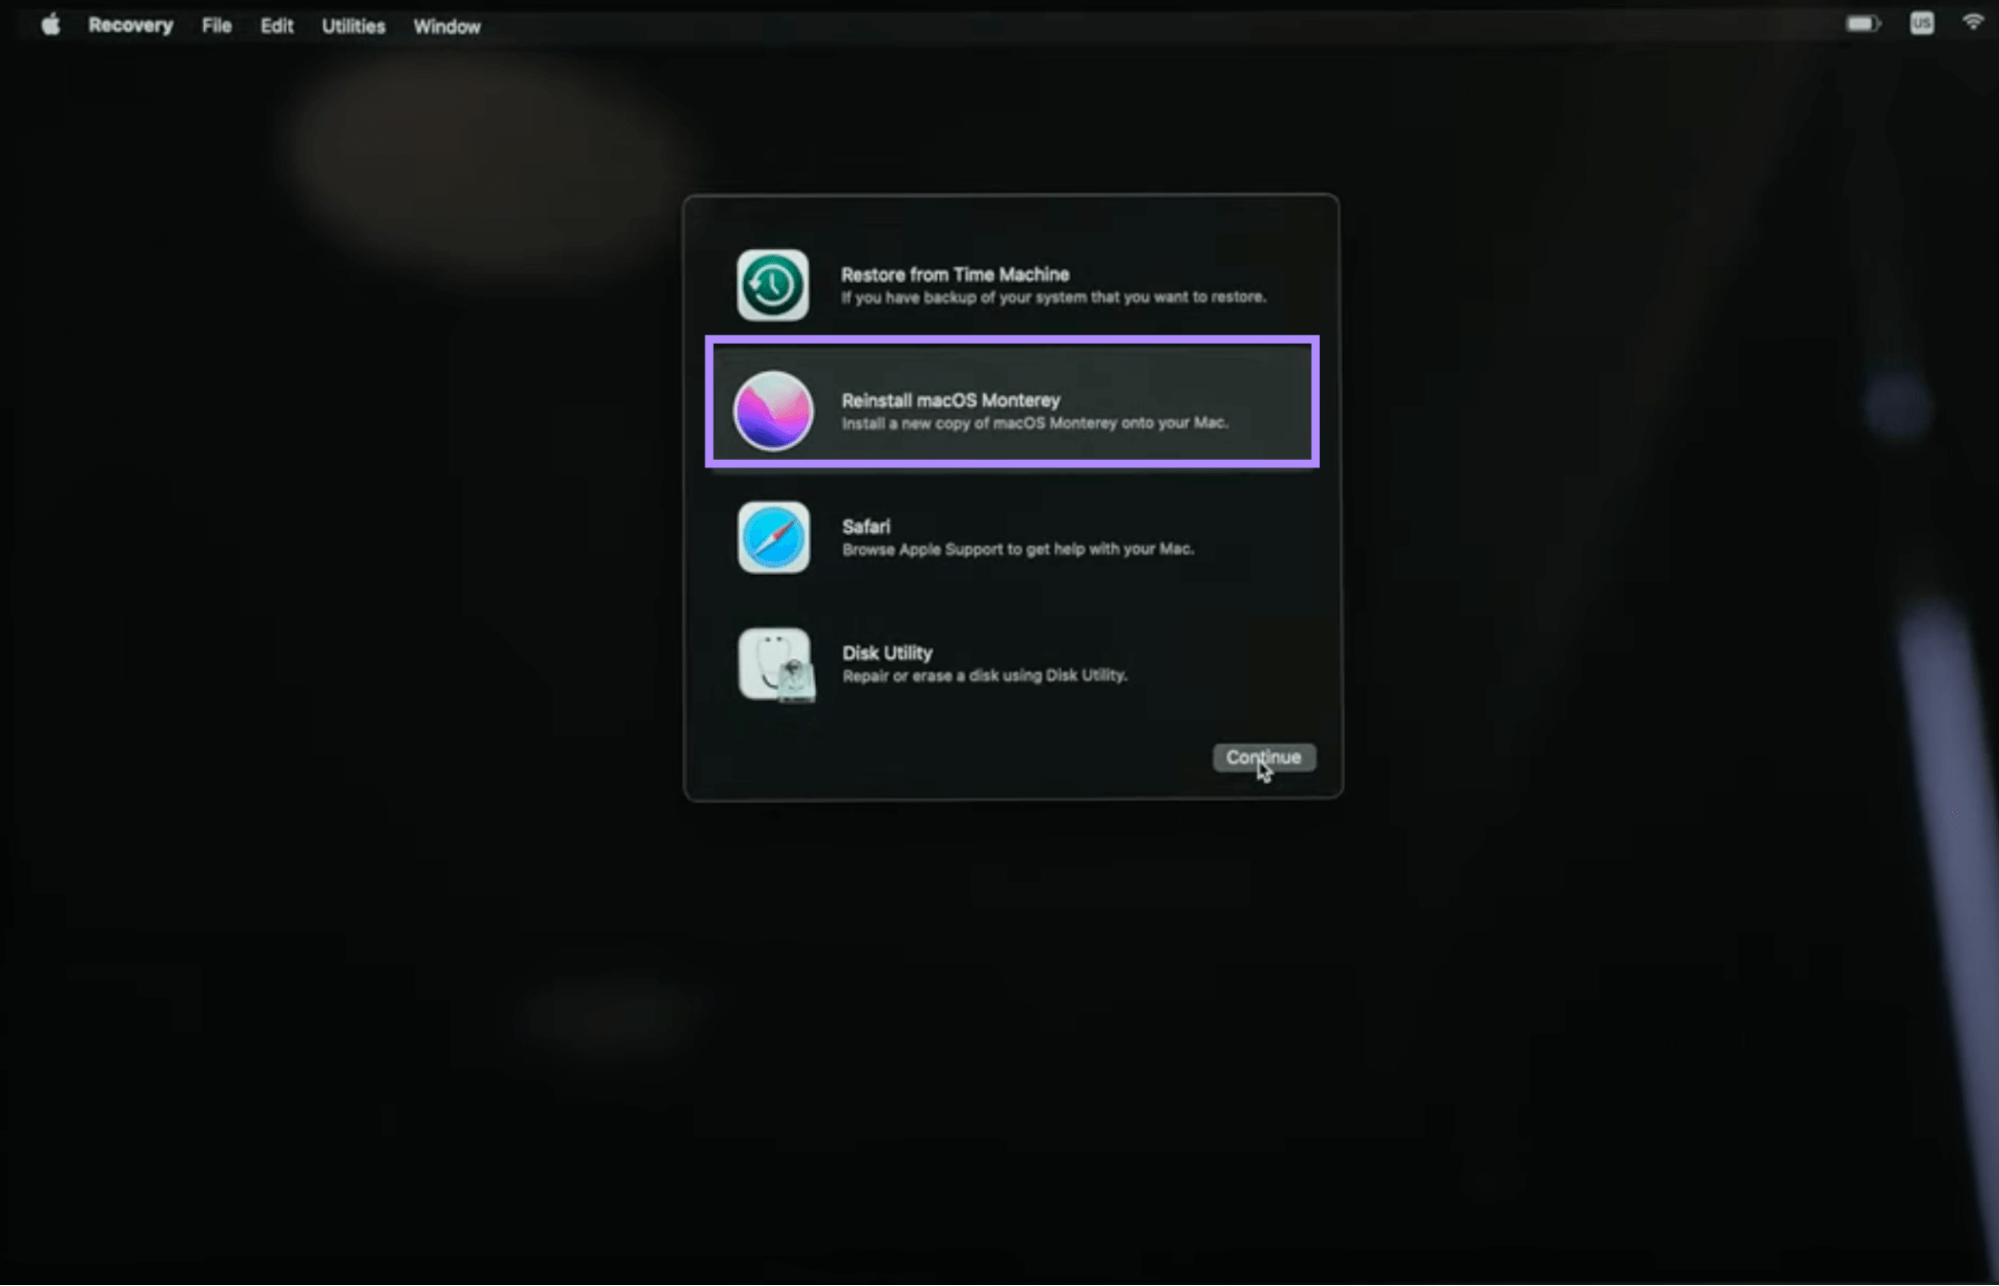
Step 5: Reopen the Utilities window and select “Reinstall macOS” to install the system.
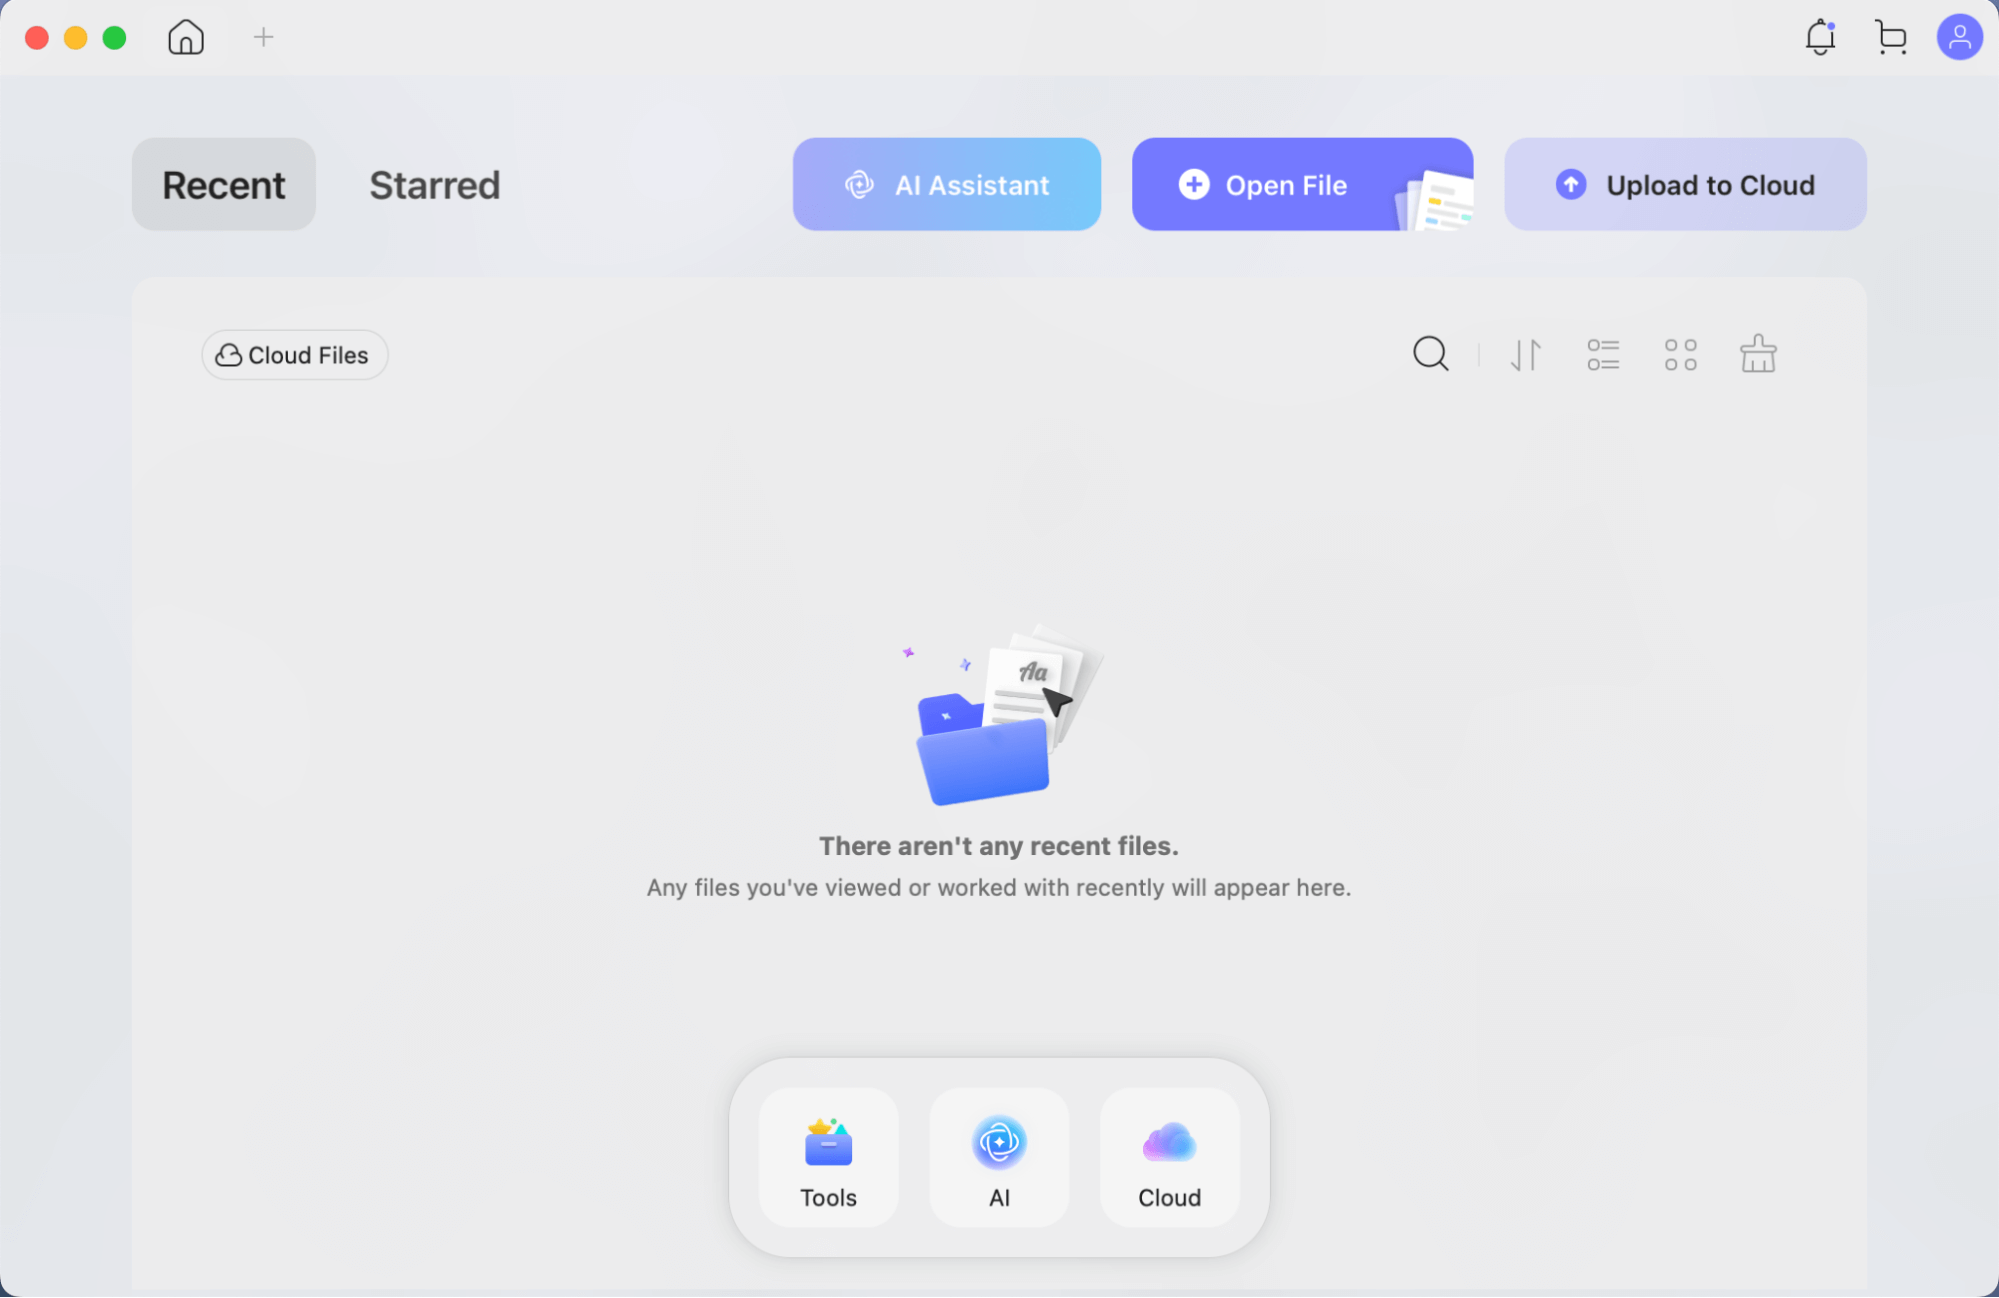
Part 3. Bonus Tip: The Best PDF Viewer and Editor for Mac - UPDF for Mac
Now that you’ve resolved the issue of “The recovery server could not be contacted, let’s talk about the outstanding features of UPDF Mac. This app is cheap and comes with a lot of editing and annotation tools. It also allows batch processing to work on multiple PDF files at a time. Why wait? Download UPDF from the link given below, and enjoy working!
Windows • macOS • iOS • Android 100% secure
Key Features of UPDF Mac
Let’s talk about some key features of the UPDF Mac.
- It can edit PDF files by signing the document, text editing, and drawing.
- It can view multiple files at a time without any delay.
- You can annotate your document, highlight text, add notes, and draw on your files.
- It has a feature that organizes documents by name and folders.
- Its paid features are UPDF Cloud and AI. These features make it an advanced tool.
- It allows downloading files in multiple formats. You can choose your desired format to save your file.
Want to have a detailed look at the app? Check out this video or review this article for a better understanding.
Wondering where to purchase UPDF? Click on the link below and choose your plan.
Ending Note
In summary, the issue “The recovery server could not be contacted” is resolvable. There are multiple reasons behind this, from date mismatching to corrupt version files. The solutions are chosen according to the underlying issues and vary from setting the date to erasing the Mac. But for erasing, do not forget to back up your data. After resolving this issue, install UPDF Mac to organize, view, and edit your PDF files. Click on the link given below to download.
Windows • macOS • iOS • Android 100% secure


 Enid Brown
 Enrica Taylor
 Lizzy Lozano