 UPDF for Windows
 UPDF for Mac
 UPDF for iPhone/iPad
 UPDF for Android
 UPDF AI Online
 UPDF Sign
 Edit PDF
 Annotate PDF
 Create PDF
 PDF Form
 Edit links
 Convert PDF
 OCR
OCR PDF to Word
 PDF to Image
 PDF to Excel
 Organize PDF
 Merge PDF
 Split PDF
 Crop PDF
 Rotate PDF
 Protect PDF
 Sign PDF
 Redact PDF
 Sanitize PDF
 Remove Security
 Read PDF
 UPDF Cloud
 Compress PDF
 Print PDF
 Batch Process
 About UPDF AI
 UPDF AI Solutions
 AI User Guide
 FAQ about UPDF AI
 Summarize PDF
 Translate PDF
 Chat with PDF
 Chat with AI
 Chat with image
 PDF to Mind Map
 Explain PDF
 PDF AI Tools
 Image AI Tools
 AI Chat Tools
 AI Writing Tools
 AI Study Tools
 AI Working Tools
 Other AI Tools
 AI Bookmark Generation
 AI Bookmark Summary
 AI Watermark Generation
 AI Background Generation
 AI Sticker Generation
 AI Stamp Generation
 AI Editing Suite
 UPDF Copilot
 AI Page Management
 AI Semantic Search
 PDF to Word
 PDF to Excel
 PDF to PowerPoint
 User Guide
 UPDF Tricks
 FAQs
FAQs UPDF Reviews
 Download Center
 Blog
Blog Newsroom
 Tech Spec
 Updates
 UPDF vs. Adobe Acrobat
 UPDF vs. Foxit
 UPDF vs. PDF Expert
Editing a PDF file requires using several tools in the PDF editor. These tools often appear in different menus or long lists. As a result, finding and using them can take a lot of time. This process can slow your work and reduce your overall productivity.
To solve this issue, UPDF Copilot offers an AI-powered shortcut. You do not need to search for tools manually. Instead, you can describe the tool you need in simple words. The AI identifies the correct feature and opens it for you. This approach saves time and keeps your workflow smooth.
Follow the guide below to learn how to use this tool effectively.
Part 1. How to Use UPDF Copilot AI
UPDF Copilot works by understanding the description of PDF tools or their intended function in plain language. To find a specific tool, you can either use the preset prompt options or you can write your own description.
Regardless of which method you use, the tool automatically opens the relevant tool within the UPDF interface. From there, you can complete the task manually using standard controls for the tool.
Let’s see how it works.
Accessing UPDF Copilot
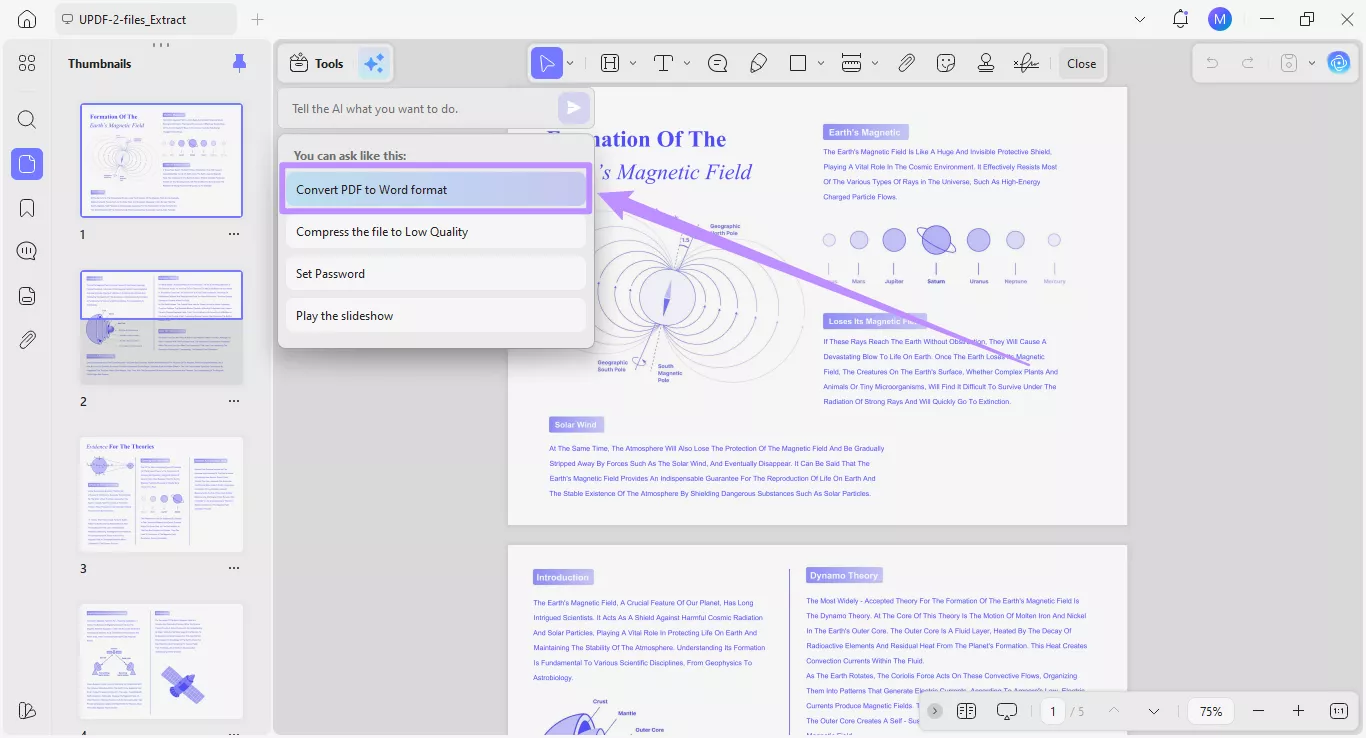
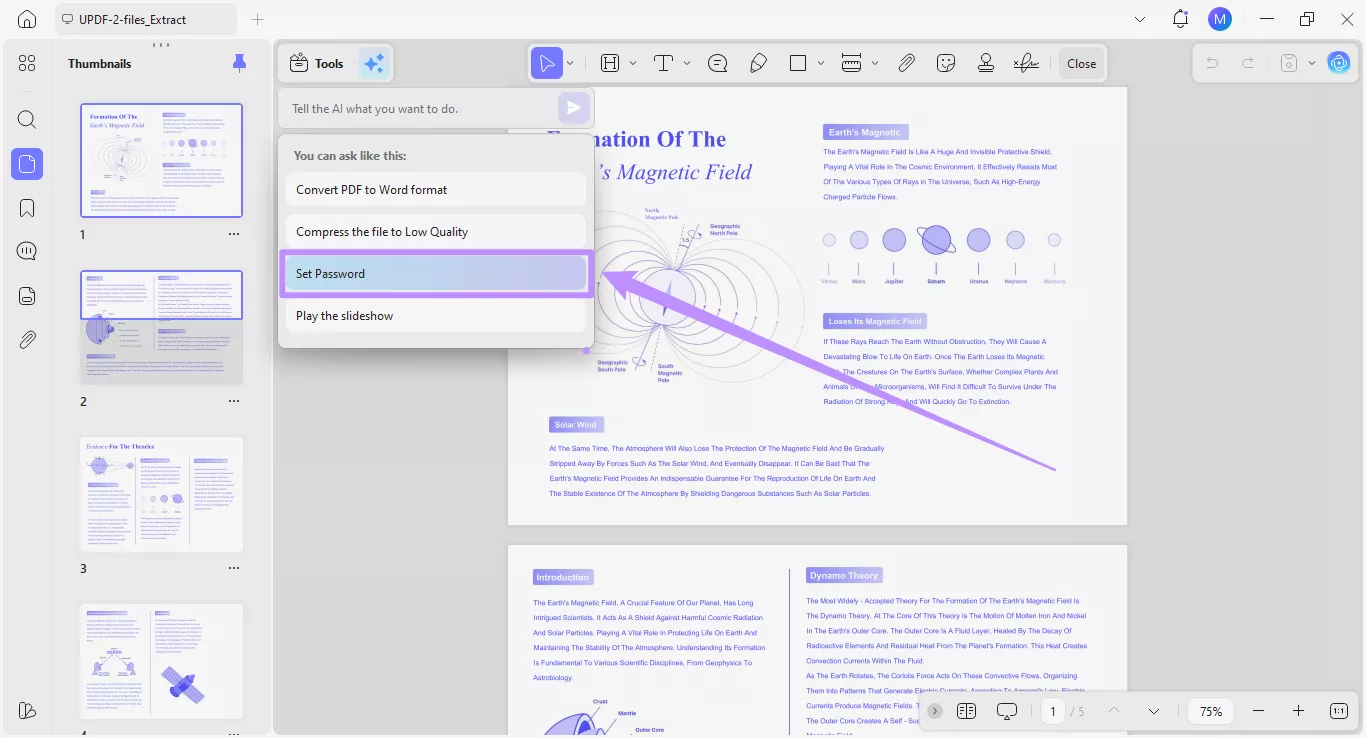
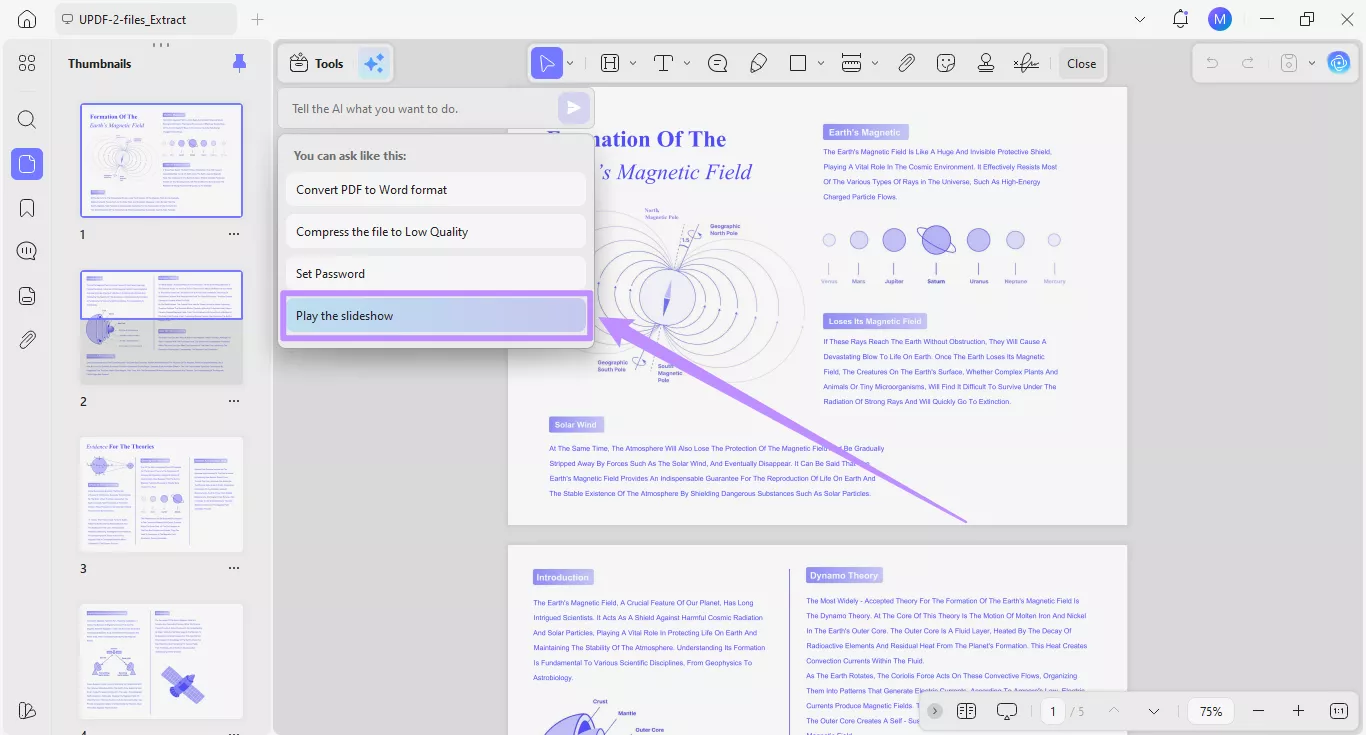
Open your PDF in UPDF. Then, click the “UPDF Copilot” icon next to the Tools option at the top. This will open a menu with a text box and a list of presets.

Method 1: Using Preset Prompts
The preset options show prompts for common actions. These actions include converting a PDF to Word, compressing a file, adding a password, and playing a PDF as a slideshow. Each option connects to a specific tool. You can click any option. The system then opens the related tool immediately.
Let's look at how each of the presets works.
1. Convert PDF to Word
Step 1. Click on the “Convert PDF to Word Format” preset from the list of options.
Step 2. This will open the PDF Converter tool with the Output Format automatically set to “Word (.docx).”
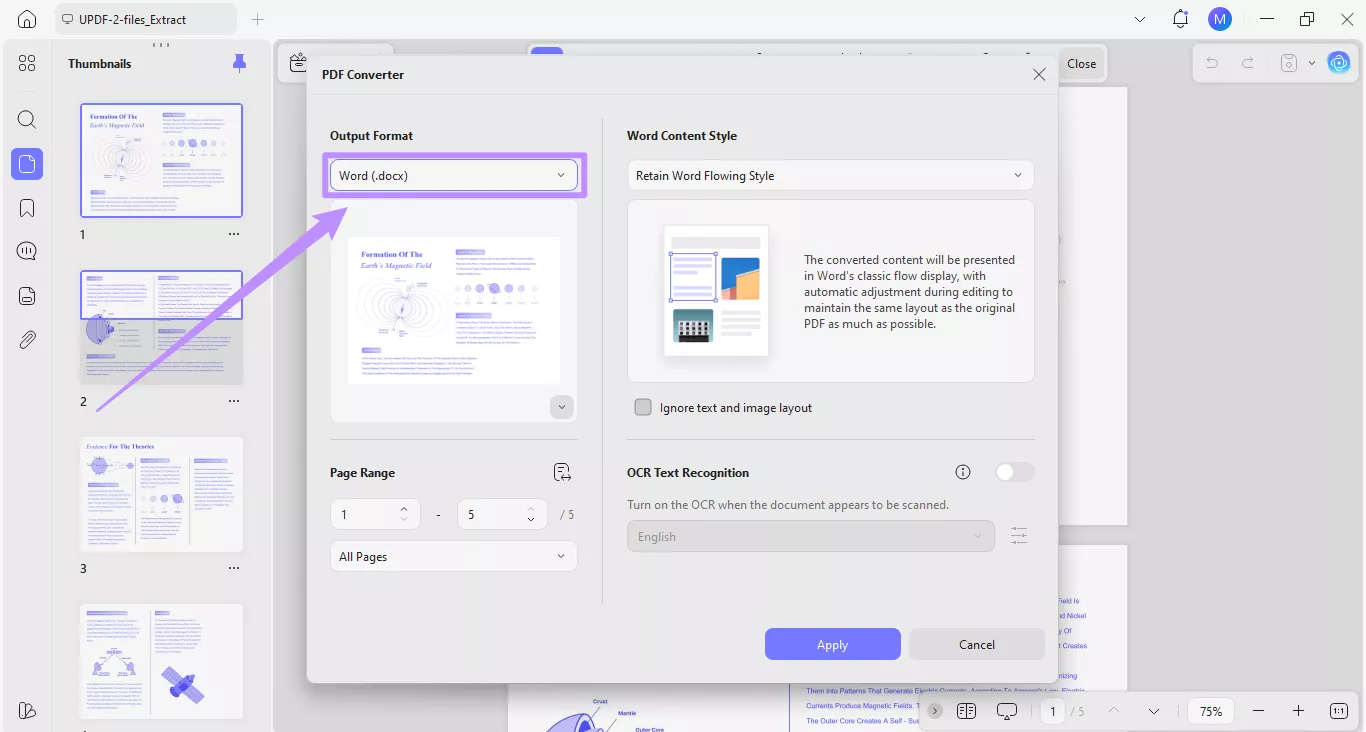
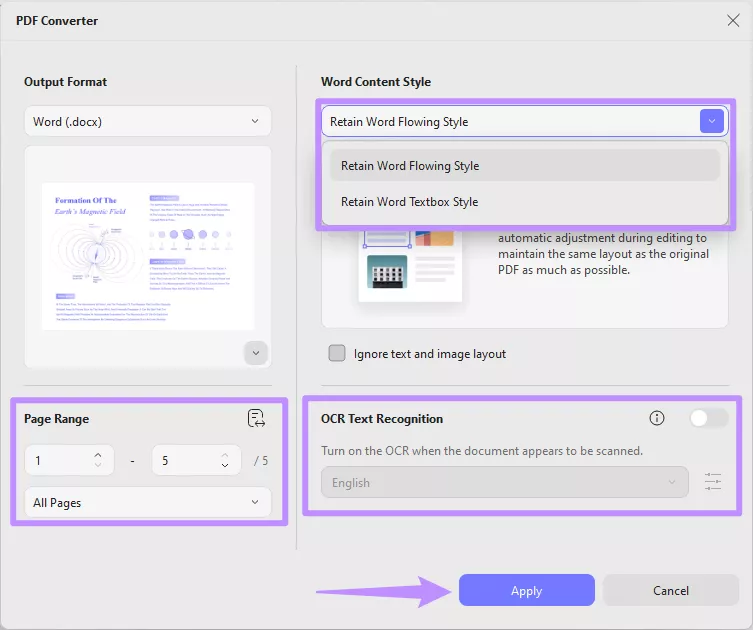
Step 3. From here, you can adjust other settings to customize the output. Click the dropdown for Word Content Style and choose whether you want to “Retain Word Flowing Style” or “Retain Word Textbox Style.” You can also enable OCR if needed and set your desired Page Range. Then, click “Apply” to complete the action.
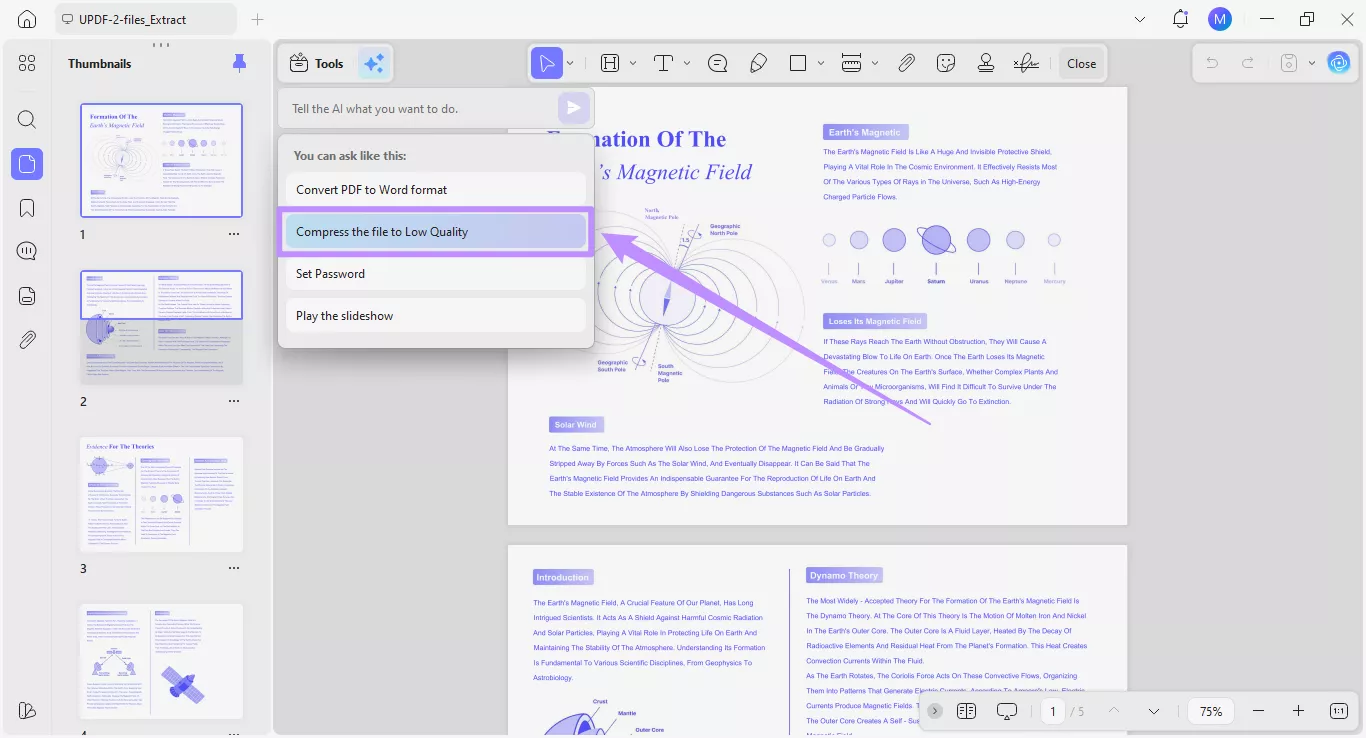
2. Compress the File to Low Quality
Step 1. If you want to reduce the PDF file size, click the “Compress the file to Low Quality” preset option.
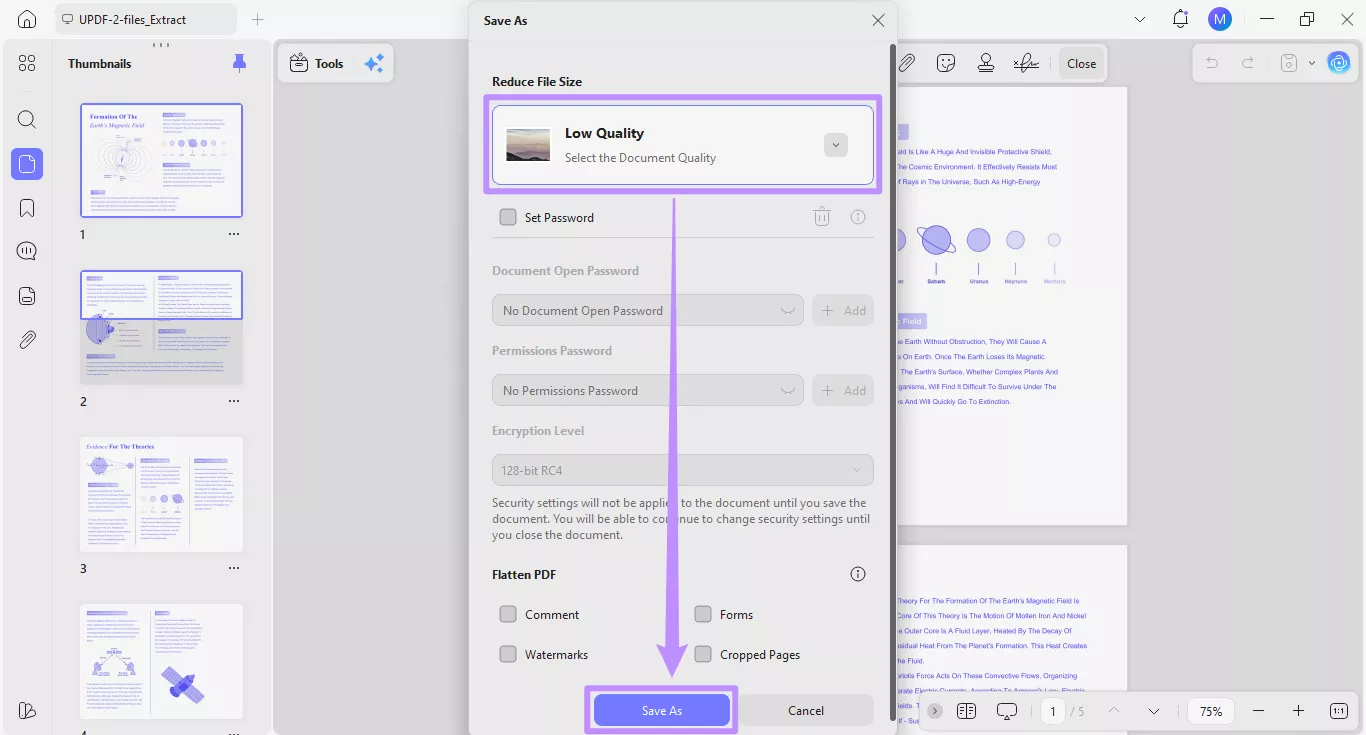
Step 2. A window for the Save As tool will open with the compression level set to “Low Quality.”
Step 3. From the window, adjust other settings if needed. Then click the “Save As” button to apply your settings and store the file on your device.
Note: UPDF also offers many other compression levels based on the document quality you want. To learn more about how these options work, see our detailed guide on how to compress PDFs in UPDF.
3. Set Password
Step 1. If you need to protect your PDF before sharing it, you can use the “Set Password” preset.
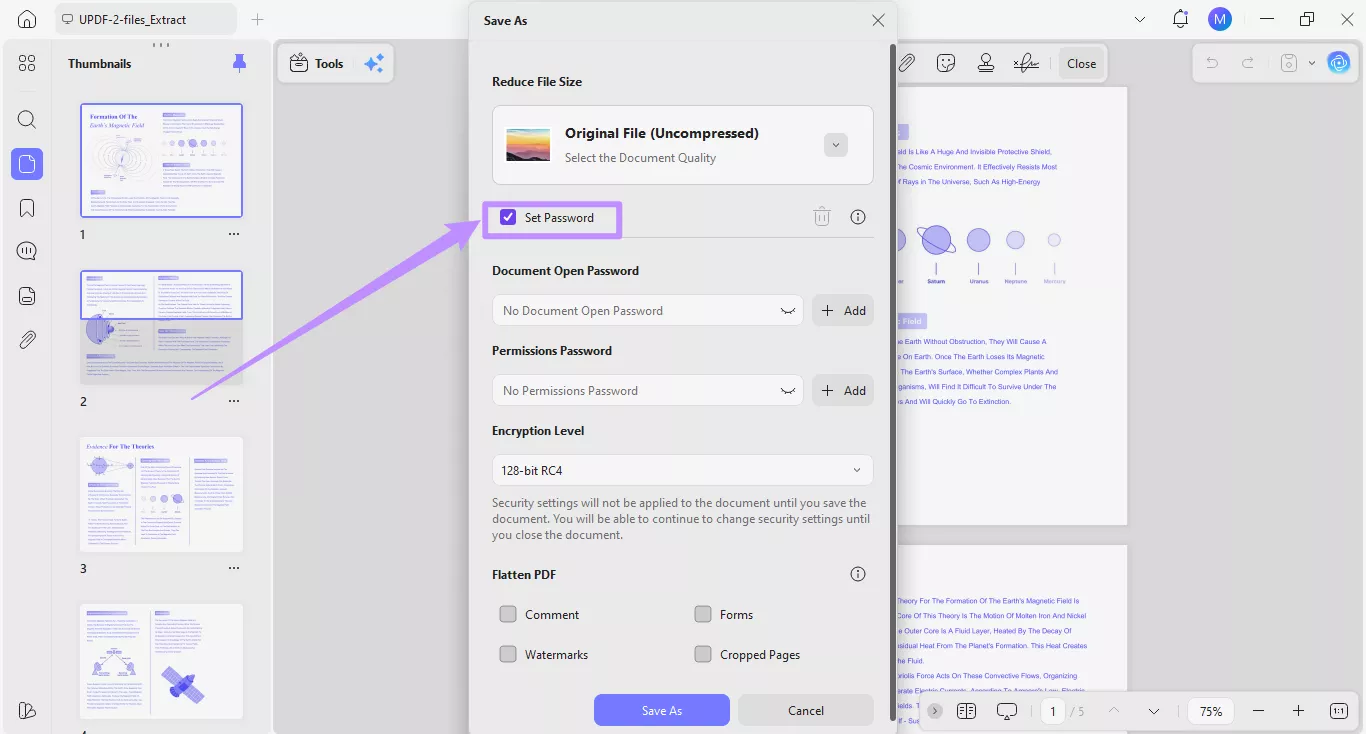
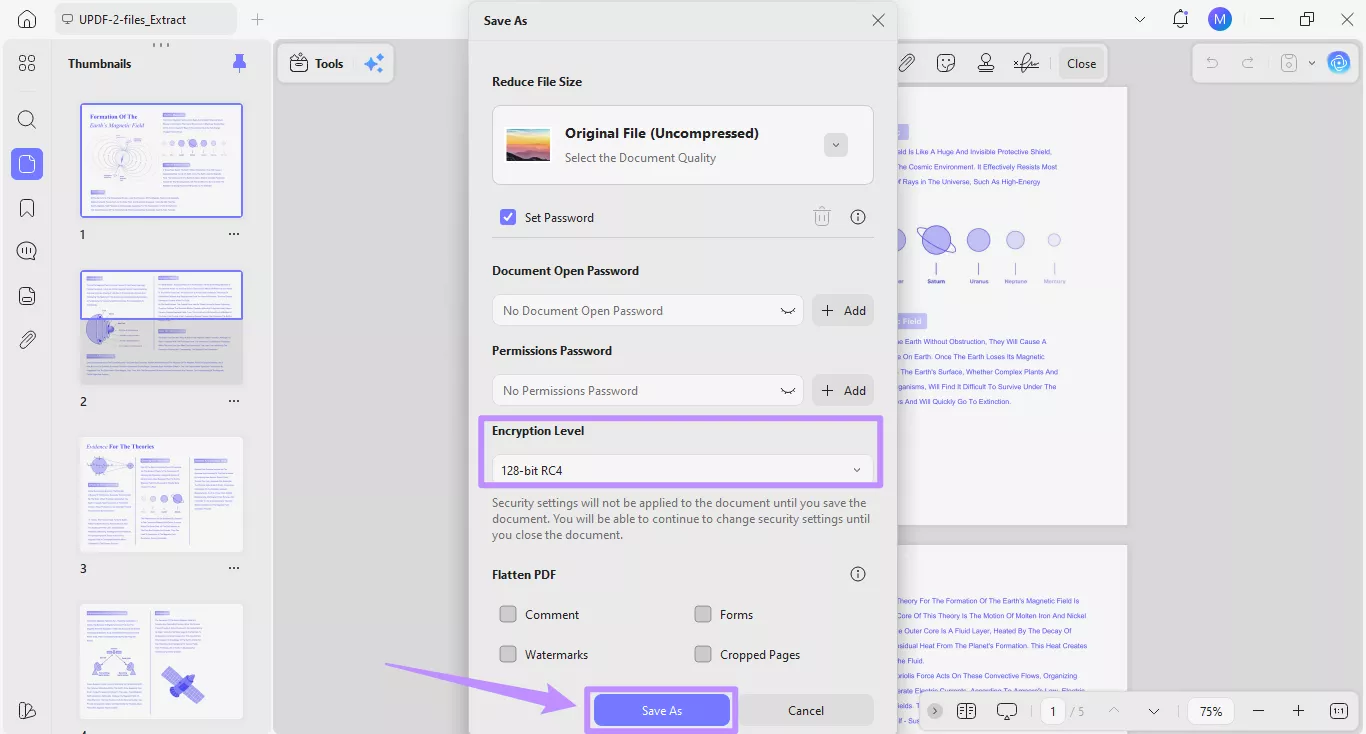
Step 2. Once you click the preset option, it will open a window for the Save As tool. The Copilot AI will enable the “Set Password” option automatically.
Step 3. Now, click the “Add” button under Document Open Password to set a password for opening the PDF. Similarly, click the “Add” button under Permissions Password to restrict printing and certain changes to the PDF.
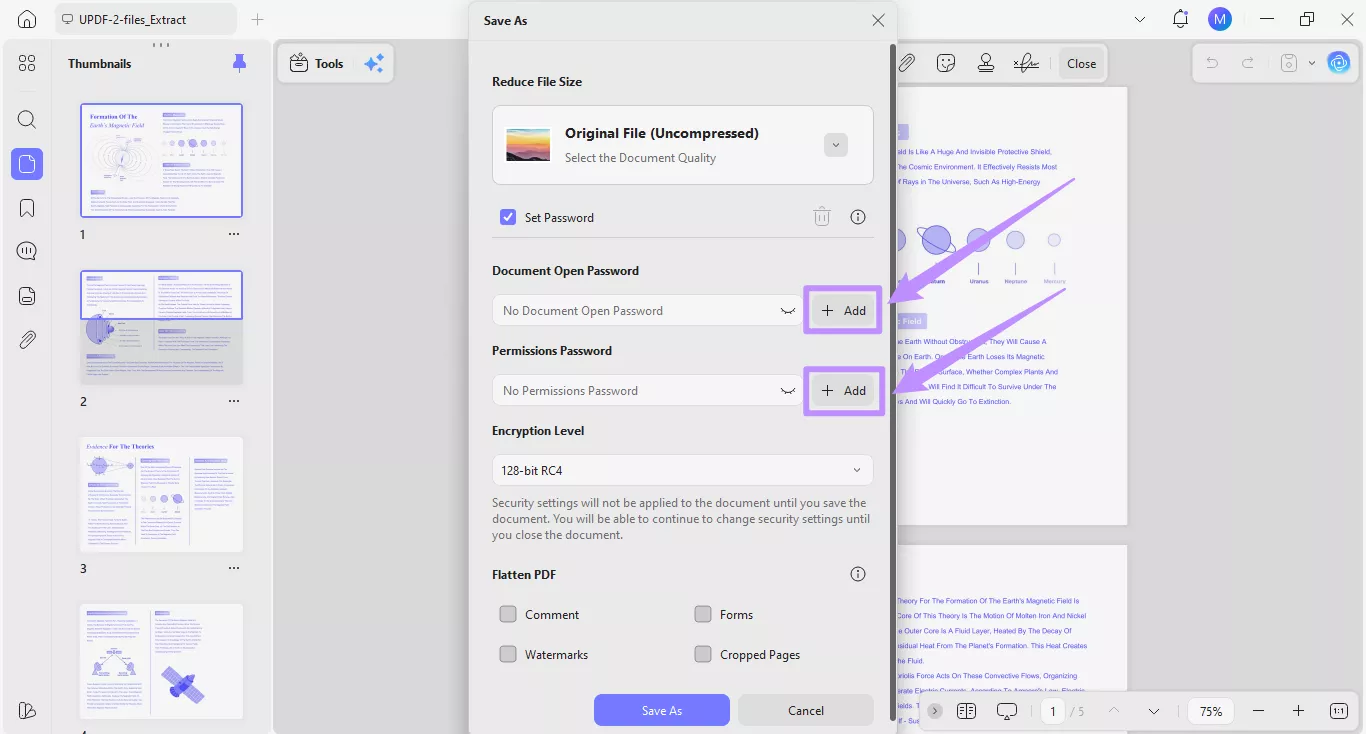
Step 4. Select an Encryption Level from the dropdown if needed. Then click “Save As” to apply the password and save the file.
For a complete breakdown of setting passwords on PDFs, you can read our detailed guide on different ways to protect PDF files, including passwords.
4. Play the Slideshow
Step 1. Click on the “Play the Slideshow” option from the presets.
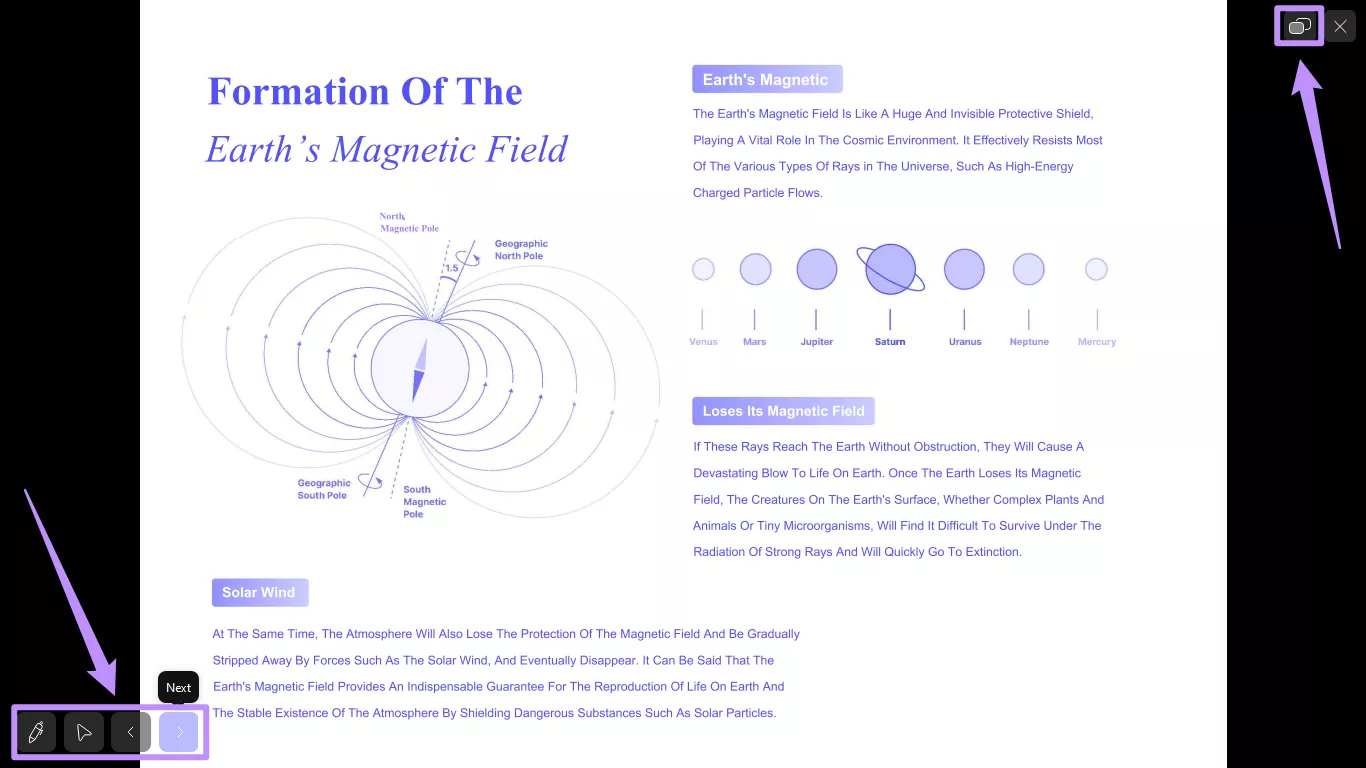
Step 2. UPDF Copilot will open your PDF in slideshow mode. From here, you can access controls to play the slides, edit them, and even use the presenter view.
To learn more about UPDF’s slideshow mode, you can check out our detailed guide on the page view mode in UPDF.
Method 2: Writing a Custom Prompt
Besides using presets, you can describe the tool you need in your own words. The AI will understand your description and guide you to the correct tool to complete your task.
Here’s how it works.
Step 1. Type a short description of the action you want in the input field. For example, write “Add Watermark” and click the “Send”button. You can also press the Enter key.
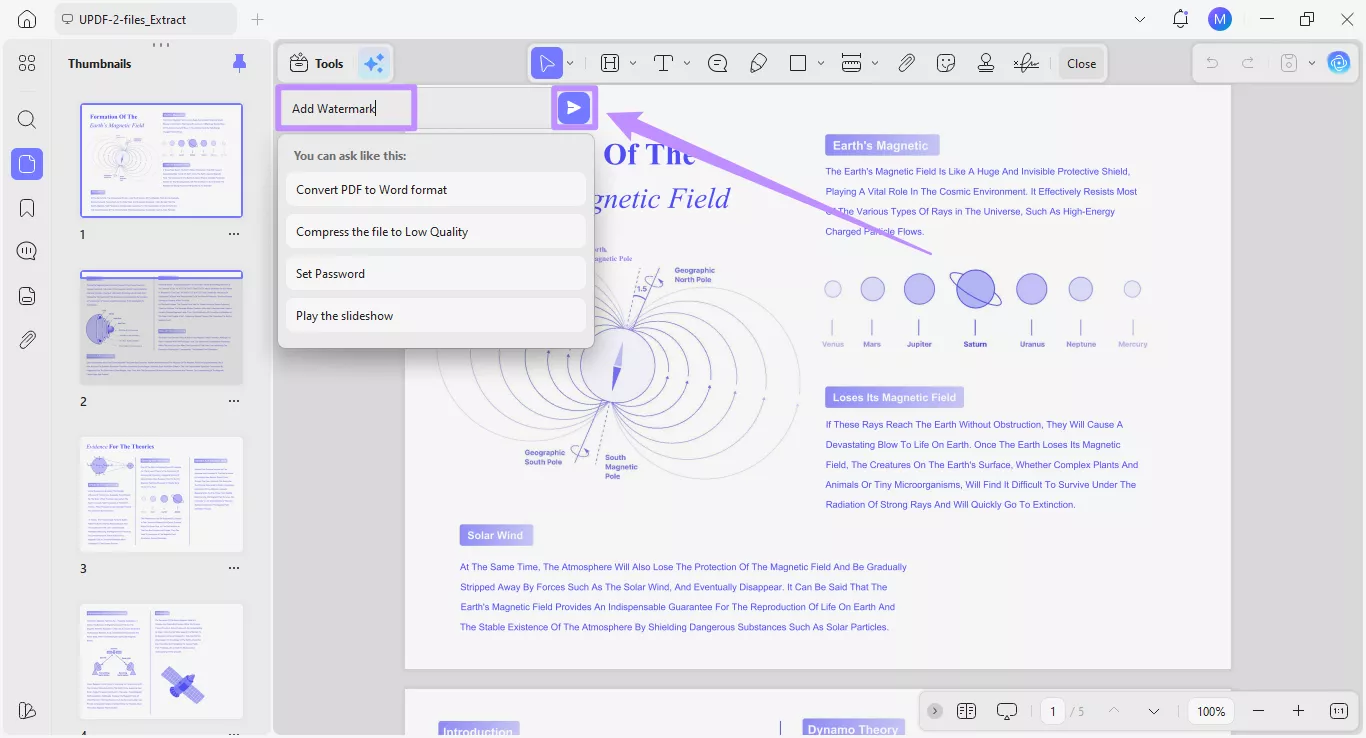
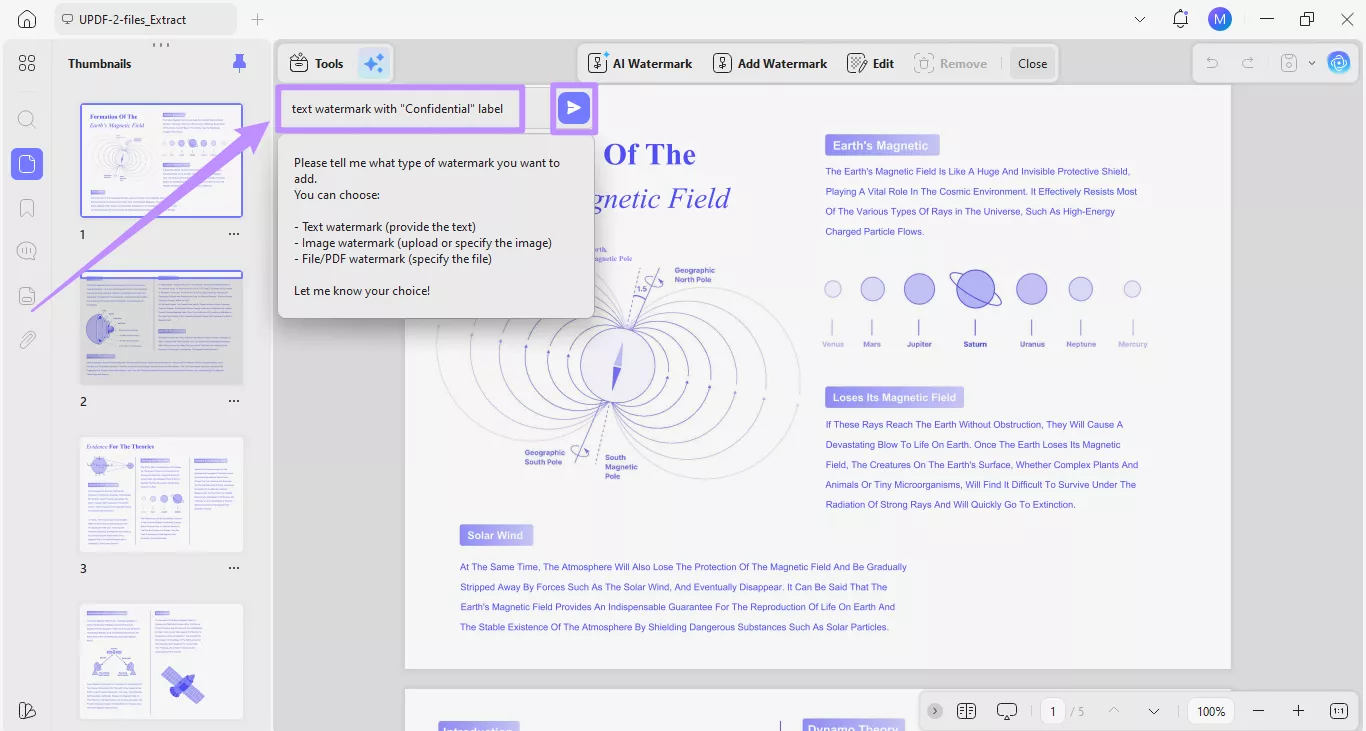
Step 2. The AI will ask for more details. It may ask which type of watermark you want and what content it should include. Type your details in the input field. For example, write “text watermark with Confidential label.” Then click Send again.
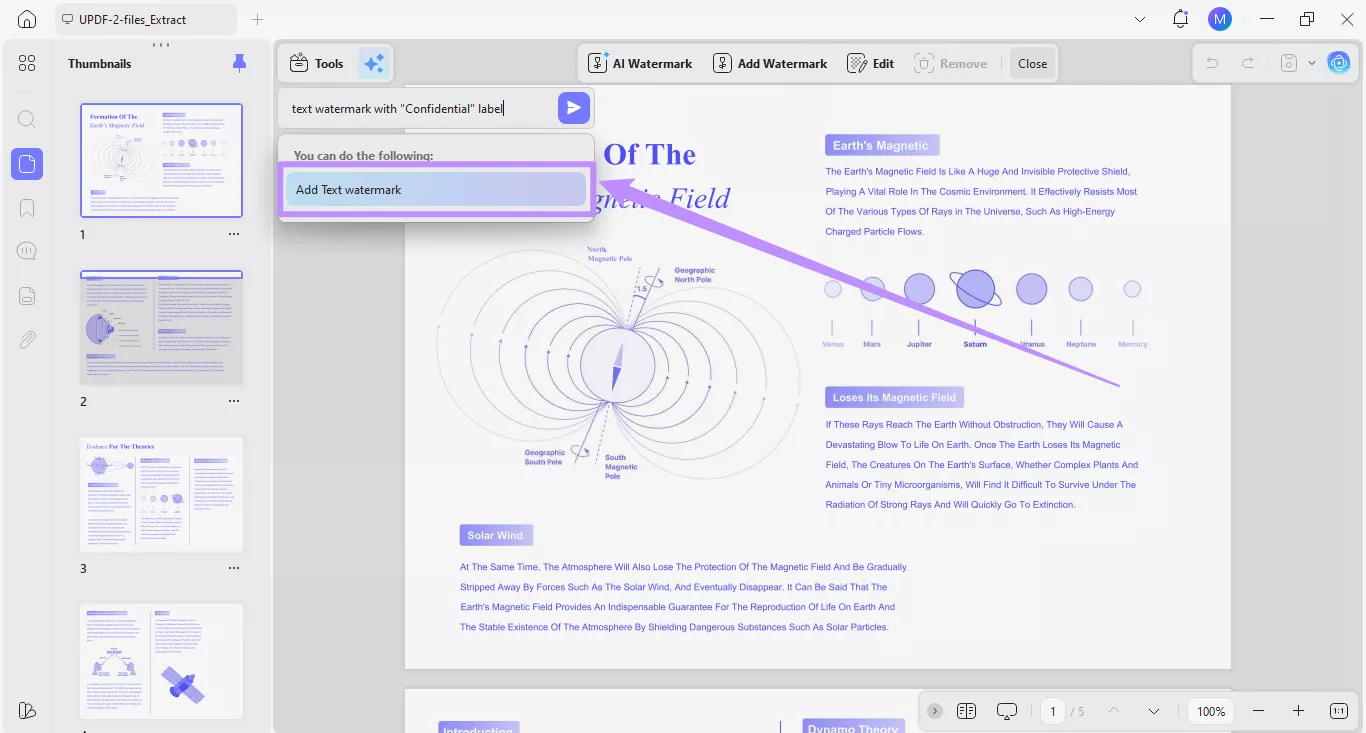
Step 3. The AI will search for the most appropriate feature to complete the action and display it in the results. Taking the example from above, you will see the “Add Text watermark” option. Click on it to open the corresponding tool.
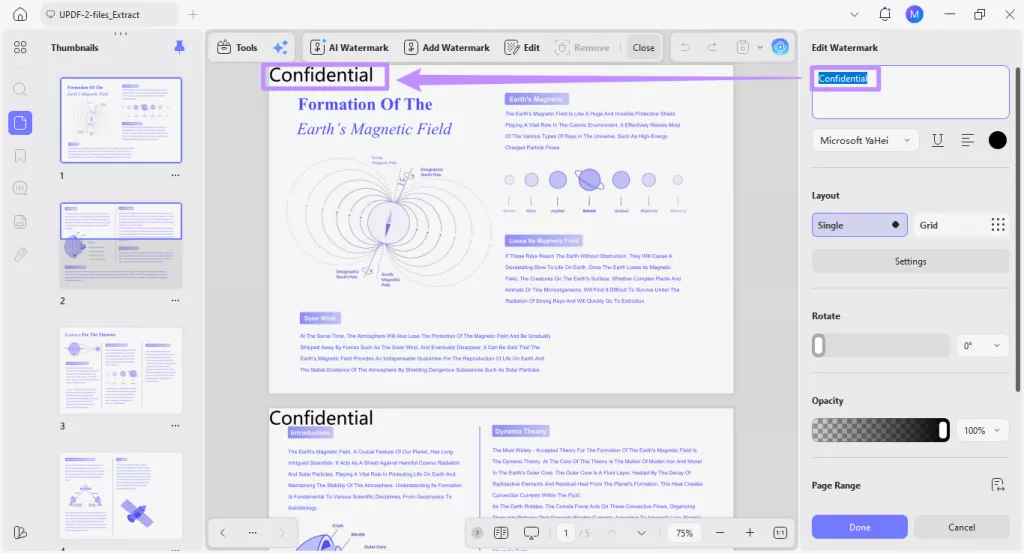
Step 4. An Edit Watermark panel will open on the right. The AI will automatically set the watermark text to “Confidential” or any other label you may mention in your prompt.
Step 5. From the editing panel, continue to adjust the watermark settings. You can change the font, style, alignment, color, layout, and other options. After finishing all adjustments, click “Done”. This action applies the watermark to all pages of your document.
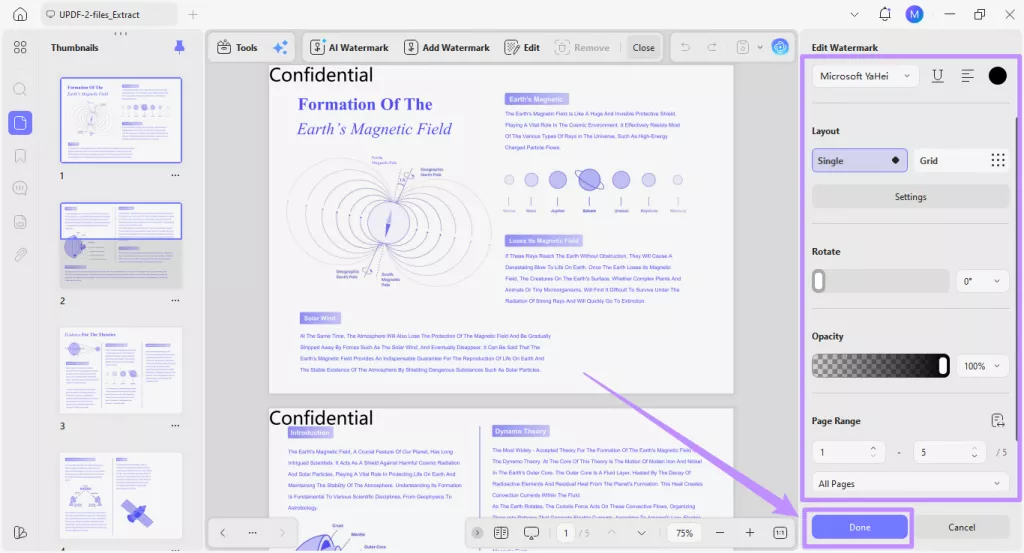
The watermark editing panel provides several options to personalize your watermark. You can learn how each option works by reading our user guide on adding watermarks to PDFs.