UPDF for Windows
 UPDF for Mac
 UPDF for iPhone/iPad
 UPDF for Android
 Nomostar
 UPDF AI Online
 UPDF Sign
 IvyCraft
 Edit PDF
 Annotate PDF
 Create PDF
 PDF Form
 Edit links
 Convert PDF
 OCR
OCR PDF to Word
 PDF to Image
 PDF to Excel
 Organize PDF
 Merge PDF
 Split PDF
 Crop PDF
 Rotate PDF
 Protect PDF
 Sign PDF
 Redact PDF
 Sanitize PDF
 Remove Security
 Read PDF
 UPDF Cloud
 Compress PDF
 Print PDF
 Batch Process
 About UPDF AI
 UPDF AI Solutions
 AI User Guide
 FAQ about UPDF AI
 Summarize PDF
 Translate PDF
 Chat with PDF
 Chat with AI
 Chat with image
 PDF to Mind Map
 Explain PDF
 PDF AI Tools
 Image AI Tools
 AI Chat Tools
 AI Writing Tools
 AI Study Tools
 AI Working Tools
 Other AI Tools
 AI Bookmark Generation
 AI Bookmark Summary
 AI Watermark Generation
 AI Background Generation
 AI Sticker Generation
 AI Stamp Generation
 AI Editing Suite
 UPDF Copilot
 AI Page Management
 AI Semantic Search
 PDF to Word
 PDF to Excel
 PDF to PowerPoint
 User Guide
 UPDF Tricks
 FAQs
FAQs UPDF Reviews
 Download Center
 Blog
Blog Newsroom
 Tech Spec
 Updates
 UPDF vs. Adobe Acrobat
 UPDF vs. Foxit
 UPDF vs. PDF Expert
AI-Generate Backgrounds for PDF
Adding backgrounds to PDFs is a great way to enhance the aesthetics of your documents. But finding the exact background design you need can be tricky. You'll have to spend hours searching online. Even then, most background images come with fees and copyright.
The AI-Generate Background feature makes things easier by helping you generate your own background designs directly in UPDF. You can create any type of background without worrying about fees or copyright issues.
Follow the step-by-step guide below to learn how to use this feature.
Part 1. How to AI-Generate Background for PDF
UPDF allows you to generate three high-resolution background images from one text prompt. You can either type the background description manually or use preset prompt options.
Here are the steps.
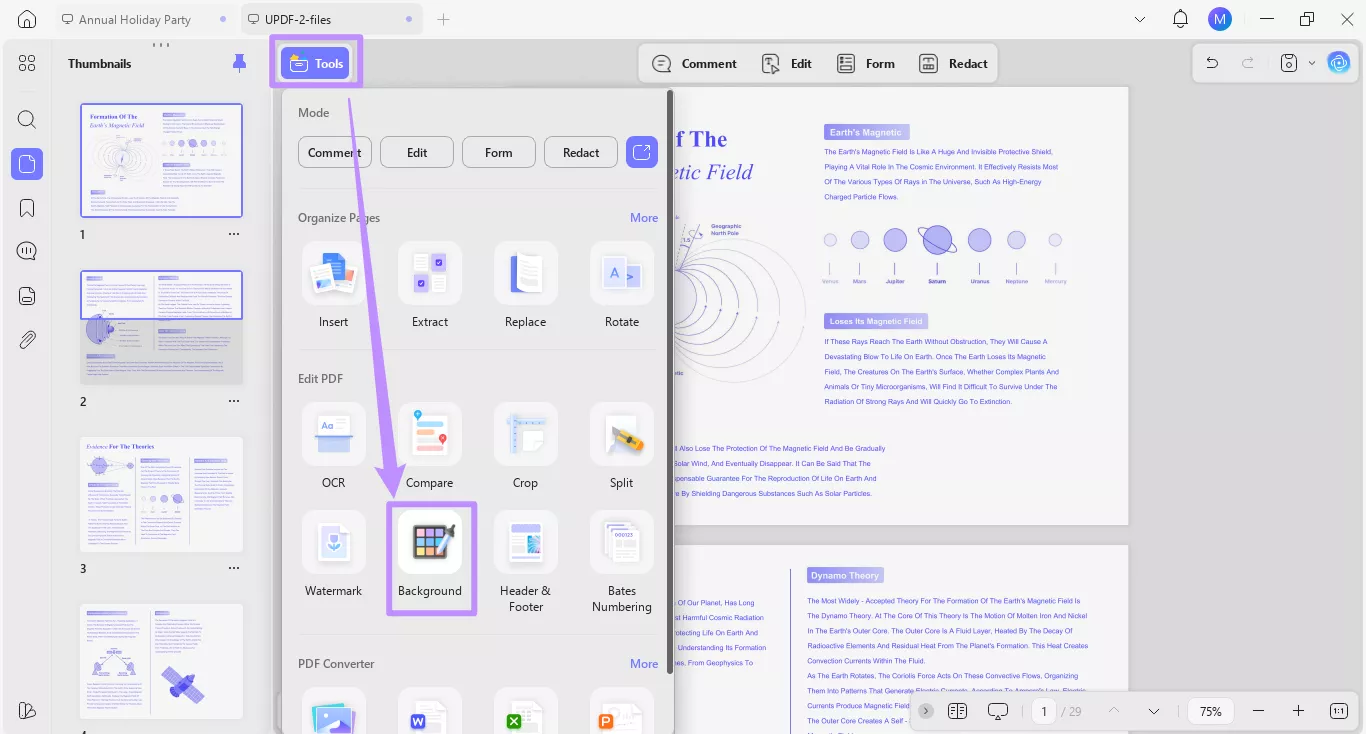
Step 1. Open the PDF in UPDF and click “Tools” from the top. Then, select “Background” under the Edit PDF section.
Step 2. A toolbar for backgrounds will appear at the top. From here, click the “AI Background” option
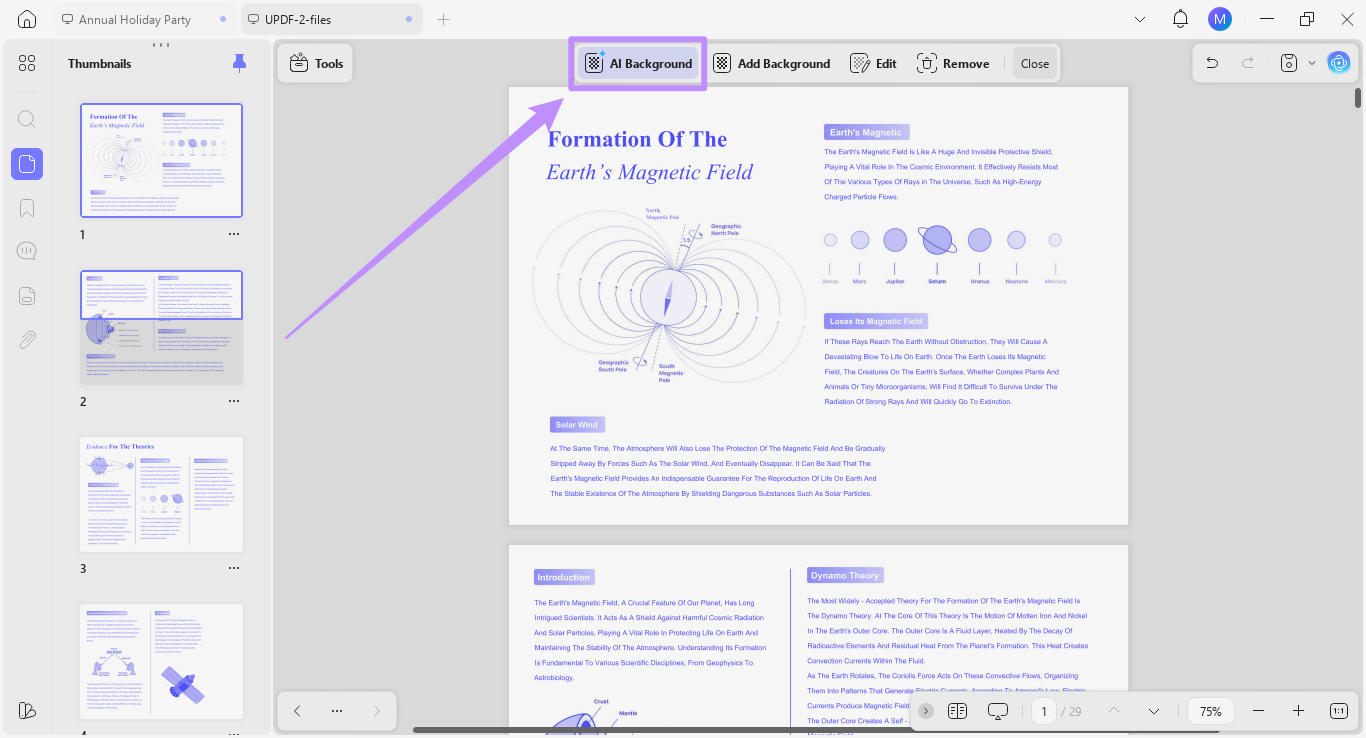
The window for the AI Generate Background tool will open. From here, you can generate backgrounds in two ways using AI.
Method 1. Generate Background with a Personalized Prompt
To generate a background image, you can type in a detailed description of the design. You can personalize it with descriptions of your desired background style, color, and aesthetic.
Here’s how it works.
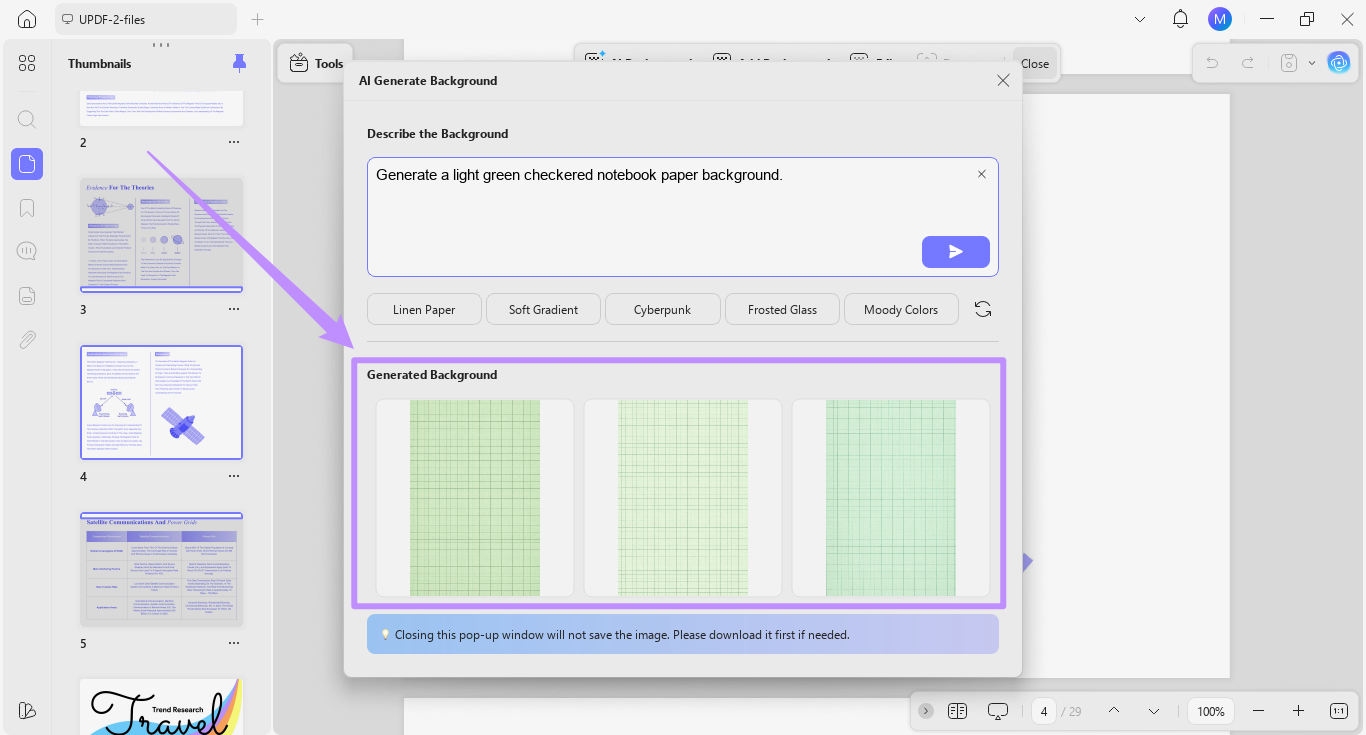
Step 1. In the text box, under Describe the Background, type in the background details you want to generate. You can add as many details as you want.
- For example, you can write a prompt to “Generate a light green checkered notebook paper background.” Once you’re done customizing your prompt, click the “Send” button.
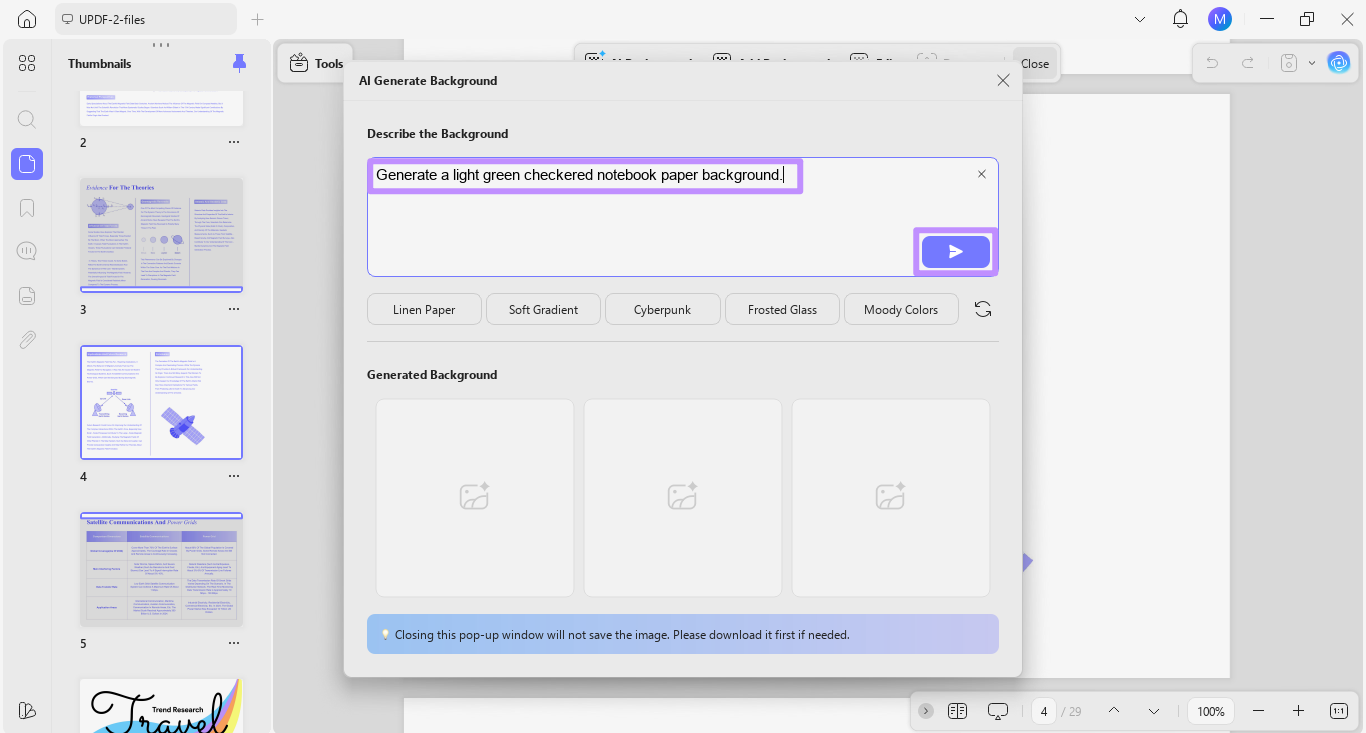
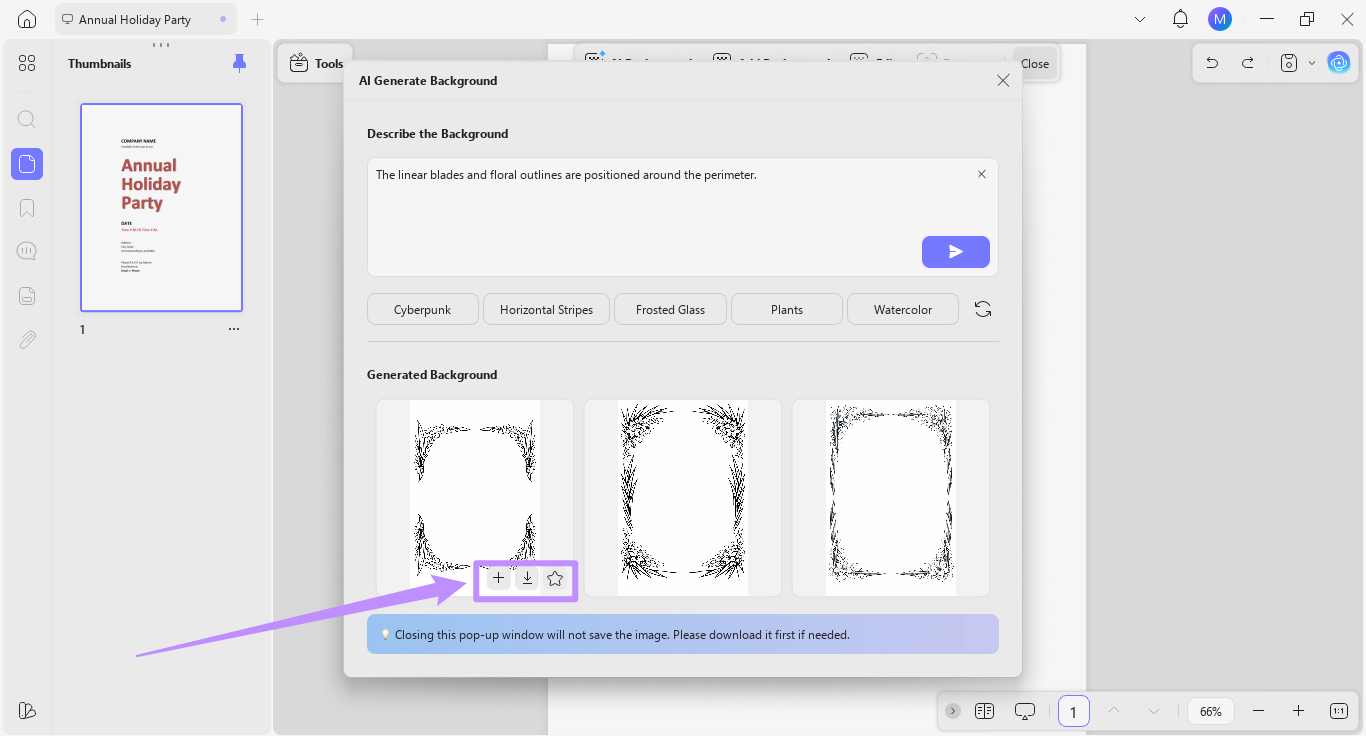
Step 2. UPDF AI will produce three high-resolution PNG background images based on your description. You can view these under the “Generated Background” section.
Please note that one complete AI generation will produce 3 backgrounds and uses up to 3 credits. If an unexpected issue occurs and the AI produces fewer than 3 backgrounds, the credits will be deducted only for the backgrounds successfully generated.
Method 2. Generate Backgrounds with Smart Presets
The smart presets allow you to automatically generate a background description instead of manually writing it. You can still customize the description to add more details if needed.
Here’s how it works.
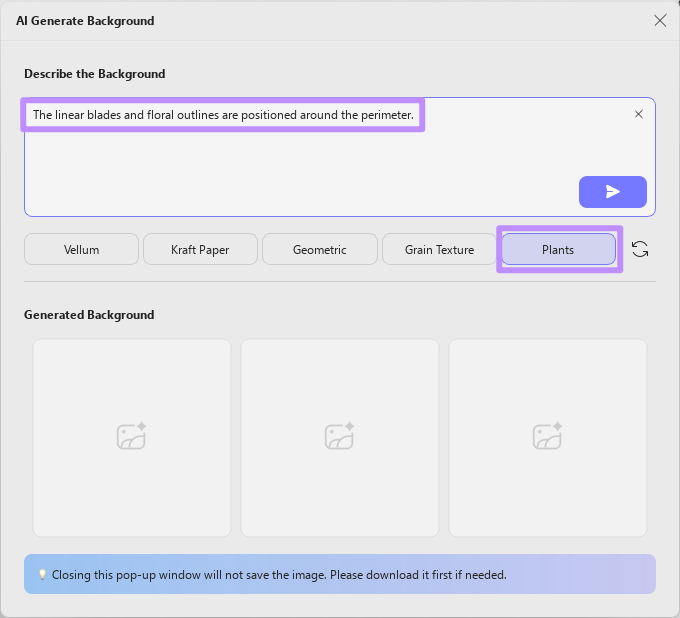
Step 1. Under the prompt box, you’ll see several preset options. Click the one you want to use, and the relevant background description will appear in the prompt box.
- For example, if you click the “Plants” preset, it will insert the prompt to generate the linear blades and floral outlines in a specific layout.
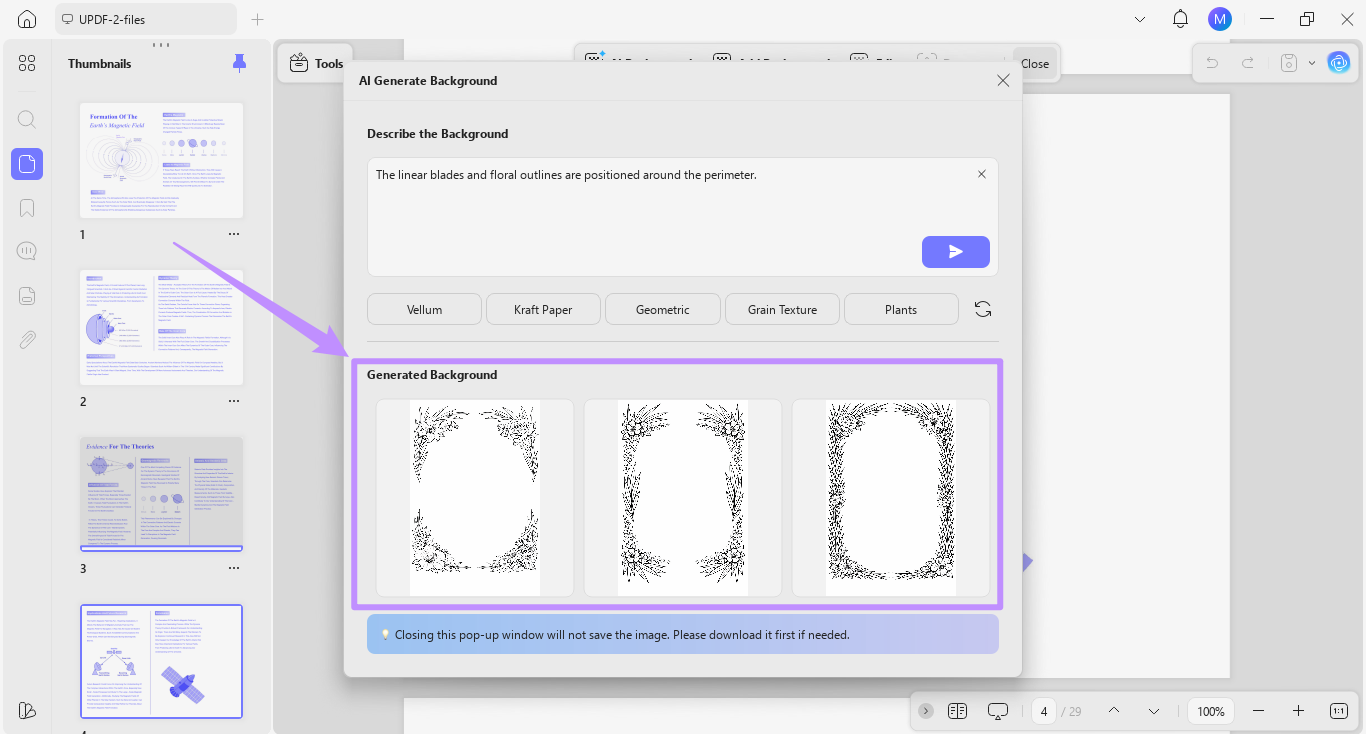
Step 2. Edit and modify the preset prompt if needed. Then, click the “Send” button. This will create three AI backgrounds and show them under the “Generated Background” section.
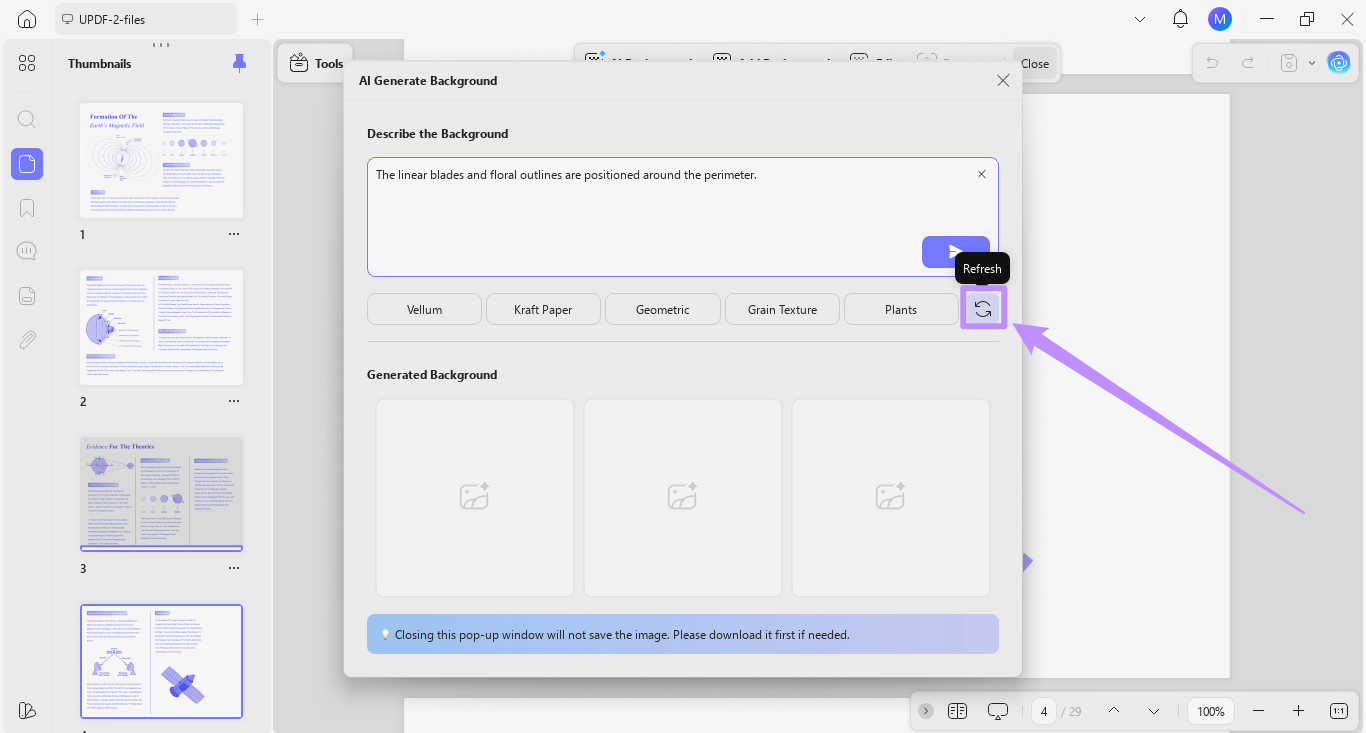
Step 3. If you cannot find a preset you want to use, click the “Refresh” button on the right. This will replace the available presets with new options.
Note:
Part 2. Managing AI-Generated Backgrounds
UPDF allows you to easily manage and reuse your AI-generated backgrounds. You have the options to save the backgrounds in UPDF or download them to your device. You can also add them directly to your document and customize their appearance.
To do this, follow these steps.
Step 1. After generating backgrounds with AI, hover your cursor over the image you want to use. This will show three options to manage the background.
- Star: Click the “Star” icon to save the background for future use in UPDF.
- Download: Click the “Download” icon to store the background as a PNG file on your device.
- Add: Click the “+” button to place the background directly on your PDF.
Step 2. After adding the AI background to your PDF, an Edit Background panel will appear on the right. From here, you can customize your background’s Size and Opacity. You can also define the Page Range to apply the background.
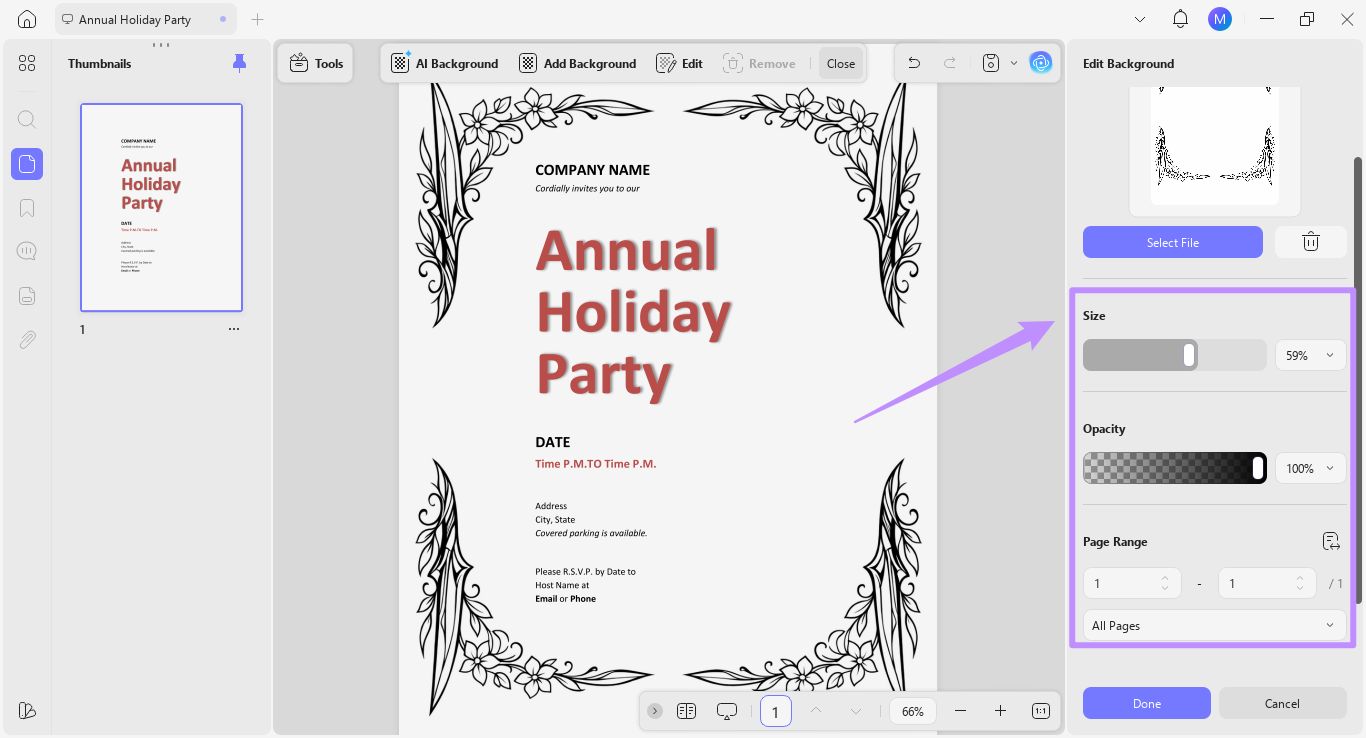
Step 3. You can also check the “Automatically add to starred” option. Then, click “Done” to add the background to the “Starred” section in UPDF.

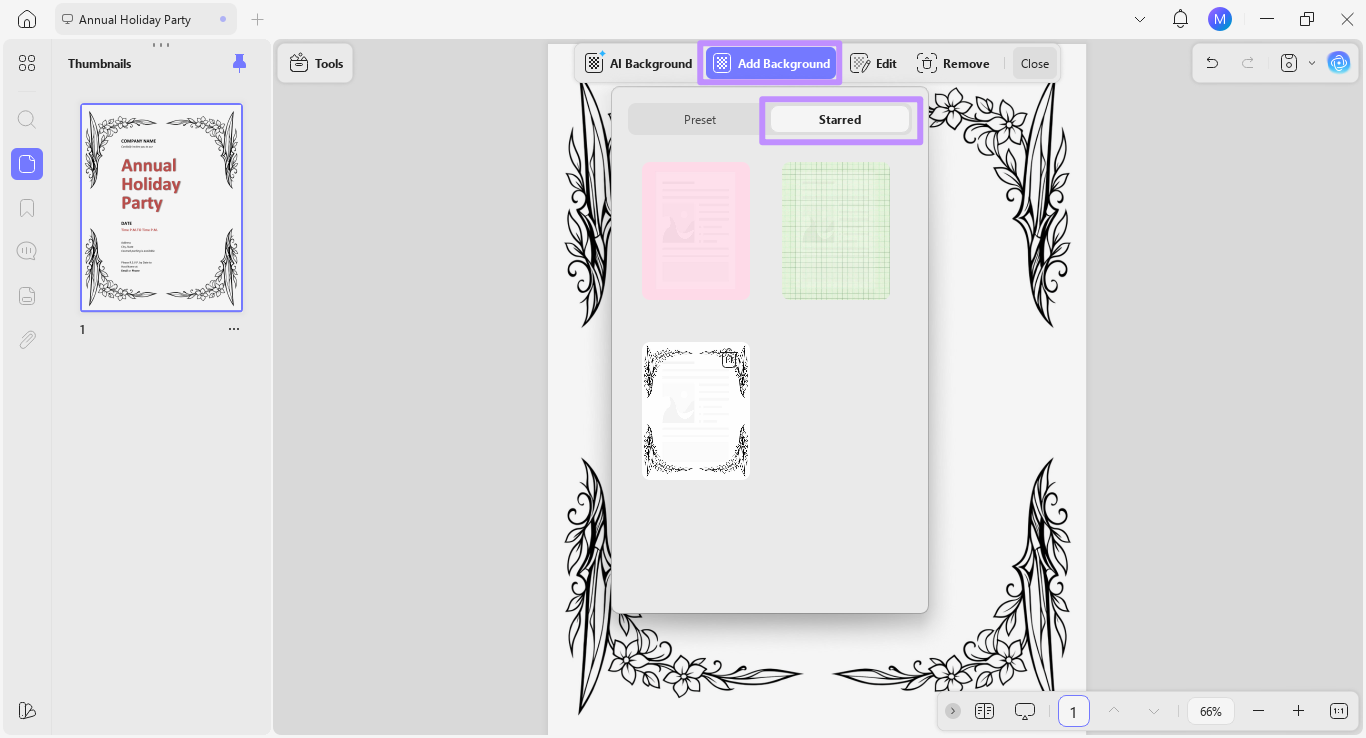
To find the saved background, click the “Add Background” option from the top and go to the “Starred” tab.