 UPDF per Windows
 UPDF per Mac
 UPDF per iPhone/iPad
 UPDF per Android
 Nomostar
 UPDF AI Online
 UPDF Sign
 IvyCraft
 Modifica PDF
 Annota PDF
 Crea PDF
 Modulo PDF
 Modifica collegamenti
 Converti PDF
 OCR
OCR PDF a Word
 PDF a Immagine
 PDF a Excel
 Organizza PDF
 Unisci PDF
 Dividi PDF
 Ritaglia PDF
 Ruota PDF
 Proteggi PDF
 Firma PDF
 Redige PDF
 Sanziona PDF
 Rimuovi Sicurezza
 Leggi PDF
 UPDF Cloud
 Comprimi PDF
 Stampa PDF
 Elaborazione Batch
 Cos'è UPDF AI
 Revisione di UPDF AI
 Guida Utente per l'Intelligenza Artificiale
 FAQ su UPDF AI
 Riassumi PDF
 Traduci PDF
 Chat con PDF
 Chat con AI
 Chat con immagine
 Da PDF a Mappa mentale
 Spiega PDF
 Strumenti AI PDF
 Strumenti AI Immagine
 Strumenti Chat AI
 Strumenti AI Scrittura
 Strumenti AI Studio
 Strumenti AI Lavoro
 Altri Strumenti AI
 Generazione Segnalibri AI
 Riepilogo Segnalibri AI
 Generazione Filigrane AI
 Generazione Sfondi AI
 Generazione Adesivi AI
 Generazione Timbri AI
 Suite di Scrittura AI
 UPDF Copilot
 Gestione Pagine AI
 Ricerca Semantica AI
 PDF a Word
 PDF a Excel
 PDF a PowerPoint
 guida utente
 Trucchi UPDF
 faq
faq Recensioni UPDF
 Centro download
 Blog
Blog Notizie
 spec tec
 Aggiornamenti
 UPDF vs. Adobe Acrobat
 UPDF vs. Foxit
 UPDF vs. PDF Expert
Modifica PDF con UPDF
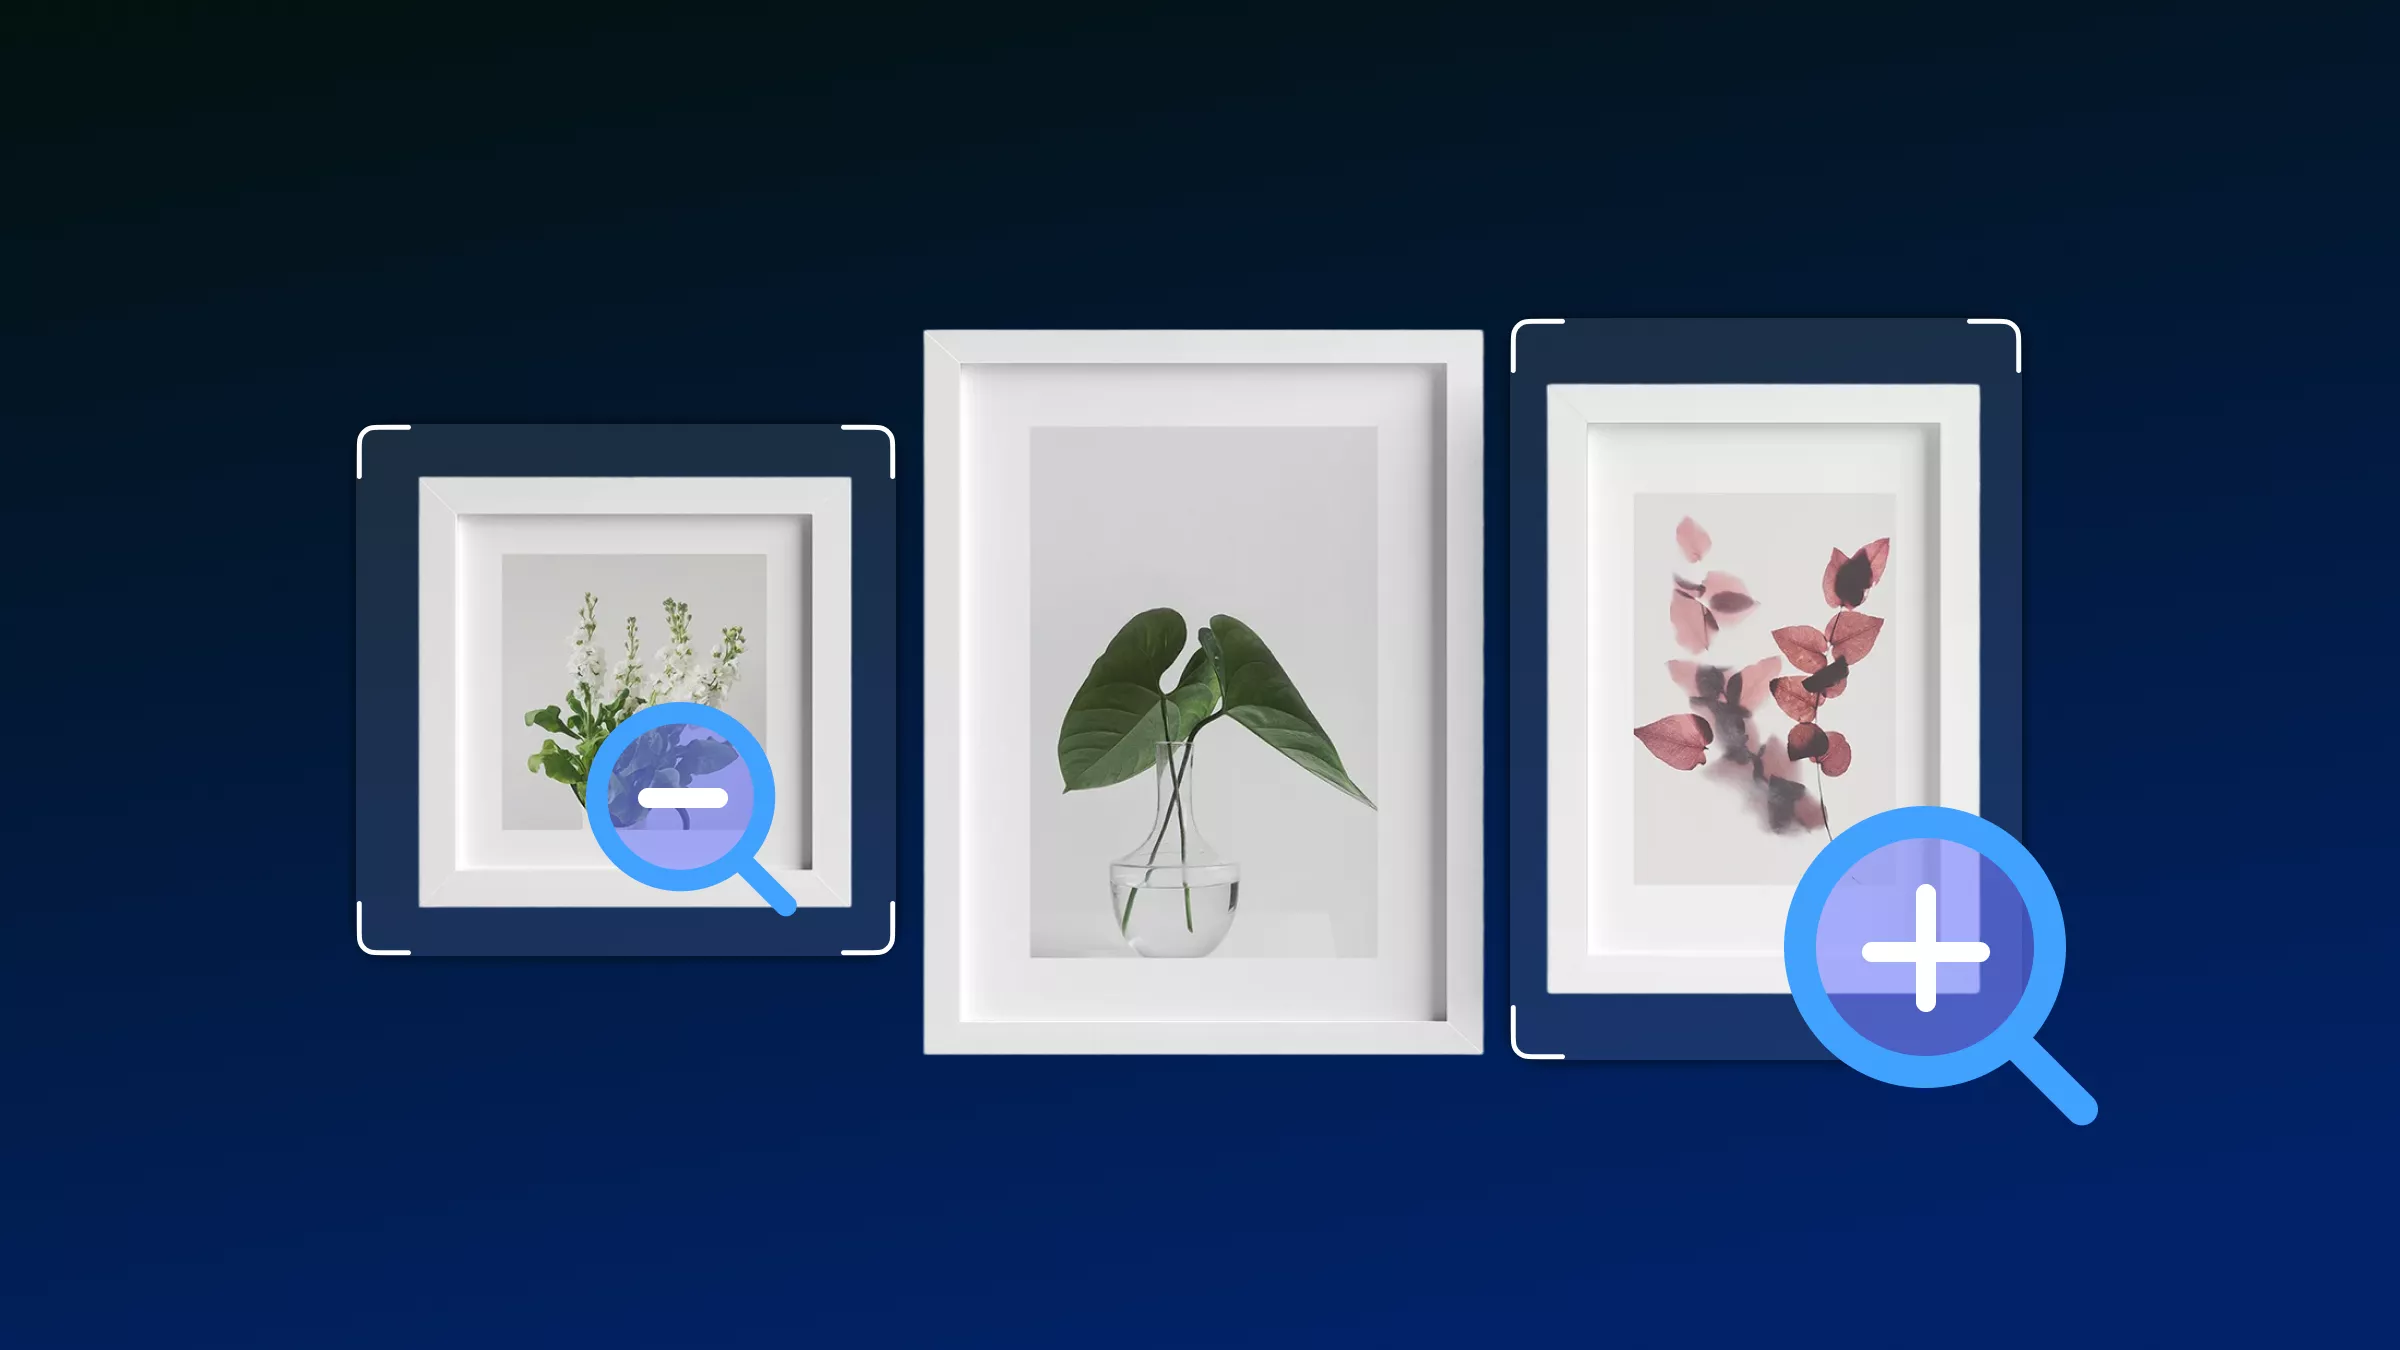
I migliori strumenti per ridimensionare immagini in blocco da utilizzare nel 2026
Ridimensionare una per una innumerevoli foto di prodotti pe...
Leggi di Più
![Guida Completa per Convertire da BTW a PDF [2 Metodi]](/wp-content/uploads/2025/03/btw-to-pdf.webp)

![I migliori convertitori da ACSM a PDF [I Più Nuovi]](/wp-content/uploads/2025/07/acsm-to-pdf-converter-it.webp)


![[Novità] I 4 migliori editor PDF per l’Hindi del 2026](/wp-content/uploads/2025/10/hindi-pdf-editor-it.webp)


![Le 5 migliori alternative ad Adobe Acrobat (opzioni migliori) [Aggiornato]](/wp-content/uploads/2025/12/top-five-alternatives-to-adobe-acrobat-it.webp)
Ultimi Blog
Conversione istantanea: padroneggiare la conversione da MHTML a PDF per una gestione dei documenti senza stress I migliori convertitori da ACSM a PDF [I Più Nuovi] Recensione dettagliata di PDF-XChange Editor Come aggiungere un bordo ad un PDF? (3 metodi da seguire) Recensione su PDF Guru: caratteristiche, prezzi & la migliore alternativa Recensione Adobe PDF Editor online: caratteristiche, prezzi e pro e contro
Altri suggerimenti su PDF.