Windows
 Mac
Mac iPhone/iPad
 Android
 UPDF AI 在線
 UPDF 數位簽名
 PDF 閱讀器
 PDF 文件註釋
 PDF 編輯器
 PDF 格式轉換
 建立 PDF
 壓縮 PDF
 PDF 頁面管理
 合併 PDF
 拆分 PDF
 裁剪 PDF
 刪除頁面
刪除頁面 旋轉頁面
旋轉頁面 PDF 簽名
 PDF 表單
 PDF 文件對比
 PDF 加密
 列印 PDF
 批次處理
批次處理 OCR
OCR UPDF Cloud
 關於 UPDF AI
 UPDF AI解決方案
  UPDF AI常見問題解答
 總結 PDF
 翻譯 PDF
 解釋 PDF
 與 PDF 對話
 與圖像對話
與圖像對話 PDF 轉心智圖
 與 AI 聊天
 使用者指南
使用者指南 技術規格
技術規格 產品更新日誌
 常見問題
常見問題 使用技巧
使用技巧 部落格
部落格 UPDF 評論
 下載中心
下載中心 聯絡我們
聯絡我們
使用 UPDF Mac 新增或編輯 PDF 中的圖像
- 若要編輯圖像,請先點選編輯 PDF圖示進入編輯PDF文檔的模式。
- 按一下以選擇要編輯的圖像。
- 旋轉、裁切、提取或替換圖像。 (註:在編輯模式下選擇圖片後,可以透過拖放的方式替換圖片。)
或者,右鍵單擊圖像並選擇工具來複製、旋轉、裁剪、提取、替換或刪除圖像。
以下是有關如何編輯 PDF 圖像的影片教學。
2. 將圖像添加入PDF
- 若要新增圖像,請進入編輯模式並點擊圖像圖示。
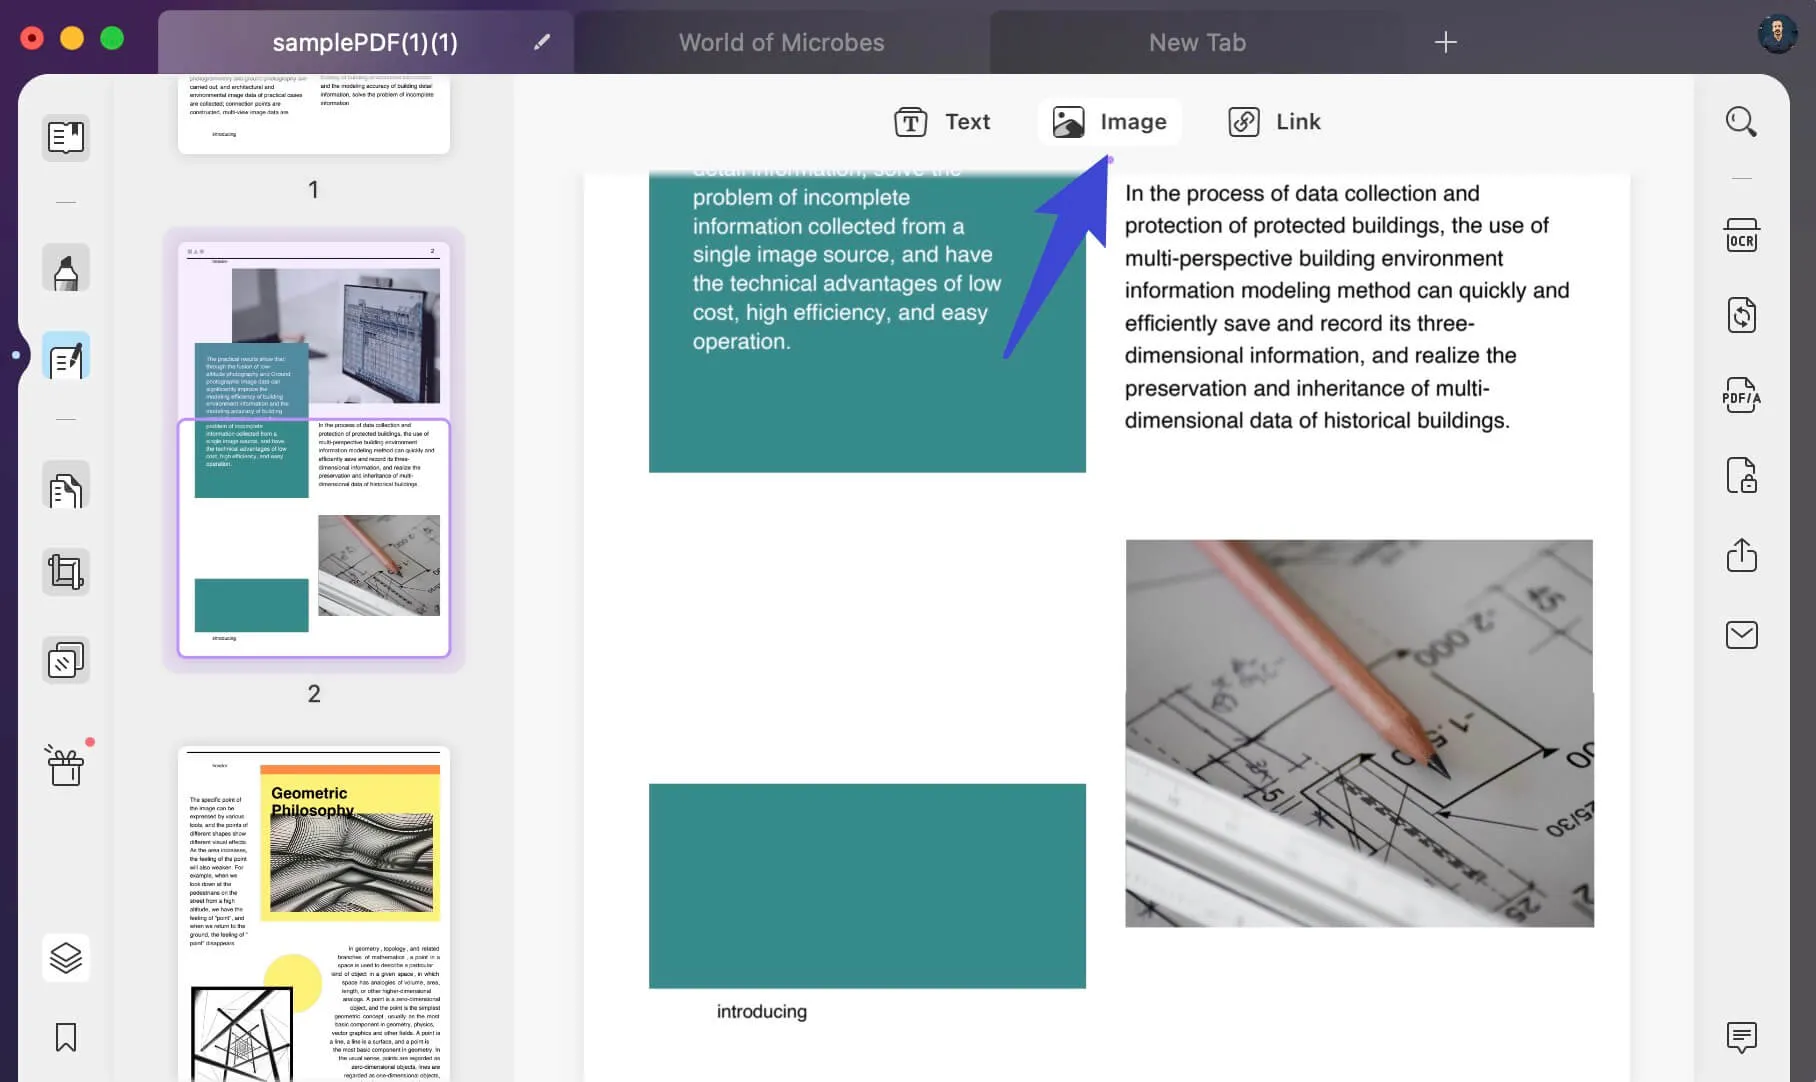
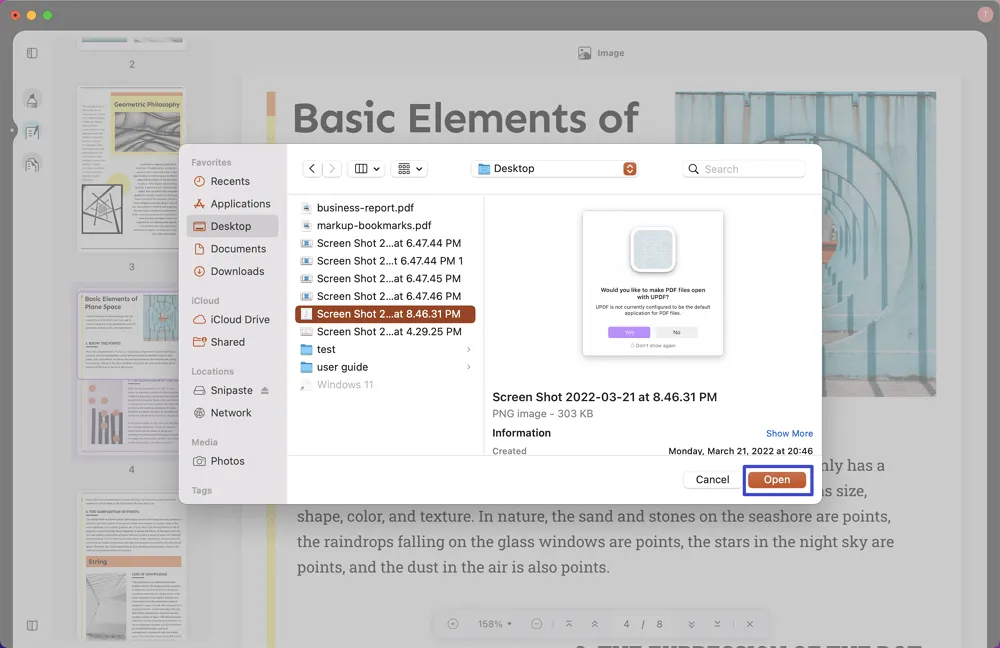
- 然後在彈出視窗中,選擇並插入本機資料夾中的圖像。 (或者,您可以簡單地將圖像拖曳到 UPDF 介面中進行新增。)
- 新增圖像後,您可以調整位置、旋轉圖像並執行其他圖像編輯。
Windows • macOS • iOS • Android 100% 安全性